
Thread started by RReis
added a new photoalbum.
40 images
Gee Bee R1 (WIP)
1:48
And I'm calling it done; just found out the painting in the legs is wrong, but I don't have the energy to go back and co...


Project: Gee Bee R1


69 1 May, 22:24
Nice topic! Great work as usual 👍 I enjoy watching.
There was a kit with a lot of PE and a clear fuselage.
1 6 May, 09:40
Hello bughunter, thanks and nice to see you again! I always liked this plane but never built it, so finally I decided to move forward; let's see what I can make out of it... 🙂 The other kit you mention I think is Aerobase, but this one, although short run, is more mainstream and easier, I expect.
1 6 May, 09:55
Ah, yes! Aerobase from Japan.
Do you know the difference between DW48001 and DW48002? In the SM database it says "New parts", but the sprues looks identical? May be only the decals are changed?
EDIT: The sprue with the wheel cover seems to be changed and is called E on the later one.
6 May, 10:26
Looking closely at the painting instructions, I see the R2 model has left red light / right green light behind the transparent canopy, which mine does not have
1 6 May, 11:08
@bughunter (from Wikipedia):
The 1932 R-2 was identical to the 1932 R-1 except that it used a smaller 550 hp (410 kW) Pratt & Whitney Wasp Junior (R-985) nine cylinder radial powerplant, with a narrower engine cowling, as the aircraft was intended primarily as a cross-country racer with a larger fuel capacity of 302 US gal (1,140 L; 251 imp gal) to increase the distance between fuel stops. The gross weight of the R-2 with full tanks was 3,883 lb (1,761 kg). In 1933, the R-2 was modified with the more powerful Pratt & Whitney Wasp and its cowling from the 1932 R-1 which was uprated for 1933 with the bigger, more powerful Pratt & Whitney R-1690 Hornet. Other 1933 R-2 modifications included a new thicker wing with a longer span of 27.8 ft (8.5 m) and an area of 104 sq ft (9.7 m2), and Granville's 2-piece, double hinged flaps to aid in getting in and out of very short runways with a full fuel load. The landing speed of the R-2 was cut from 100 to 65 mph (161 to 105 km/h). Both racers also got an aluminum extension to their rudder.
3 6 May, 13:36
This bird is ultimately linked in my head to one of my favourite modelling quotes which can be found in the instructions of the 1:32 kit by William Brotheres who write in their instructions: This kit should be approached with patience and care. It is not intended for the rank beginner or 'instant gratification' model assembler. 🙂
2 7 May, 16:45
Eheheheheh!!!! I sincerely hope that the "gratification" part is waiting for me in the end! 😄
8 May, 08:34
The figures looks already impressive without paint 👍 Good luck with painting them!
1 18 July, 16:10
Looks nice already. Lookng forward to see how it will turn out, also with the figures.
18 July, 22:31
Joli travail, je vais suivre avec intérêt. Il sera bientôt aussi sur mon établi.
18 July, 23:04
Thank you mates; I think it's a very interesting (and strange) subject 🙂
19 July, 10:31
The masking foil seems to be ORAMASK 810. It allows fine details to cut, but may cause some trouble on model surfaces.
1 15 October, 10:07
Yes, I have not peeled it yet, but given the irregular surfaces where it (doesn't) sit and what I observe, I am now 100% sure I will have severe touch-ups to do; I'll let it cure some more then apply the other part of the mask over the red to try to spray the very thin black stripe that separates the white from the red...
1 15 October, 15:59
I can confirm this kit has the 810 mask. I found it to be quite good, and it worked OK
I had to do some touch ups in the wheels, but nothing terrible
1 15 October, 16:24
Great! You are a real artist: you have managed the thinn black strips between white and red absolutely clean! 🙂 BTW: I also have this kit. I think I remember that the flat profiles for tensioning are also made of copper. Do you intend to use them?
1 17 October, 13:58
Thank you Bernhard; yes, the thin stripe came out fine on the flat surfaces, not so perfect on the corrugated ones, let's see in the end; regarding the tensioning cables, I don't like that they are flat... so, I not yet decided what to do, I may try some very thin brass tube instead... not decided yet, I must confess.
1 17 October, 14:27
Boas Ricardo!
Esse pormenor da linha preta podia ser corrigido com uma das novas canetas da AK, ou outra marca. Só uma sugestão 🙂
Boa continuação de build!
1 23 October, 12:54
Olá Pedro; obrigado pela dica, mas essas canetas (tenho diversas cores) são demasiado grossas para funcionarem bem aqui; abraço!
1 25 October, 16:31
essa linha preta só com um decalque de linha fino, e nunca iria ficar curvo, não sei como faria para ficar melhor do que está agora.
that black line only with a thin decal line, and it would never look curved enough, don't know how I would to to make it better than it is now.
1 25 October, 18:55
No critics - just for info: The rigging was not round but aerodynamic profiles, so the PE would be may more correct. But on kits from Ukraine the PE are often made from copper which is a bit soft for parts like this. But there are also flat strong parts available e.g. from SBS.
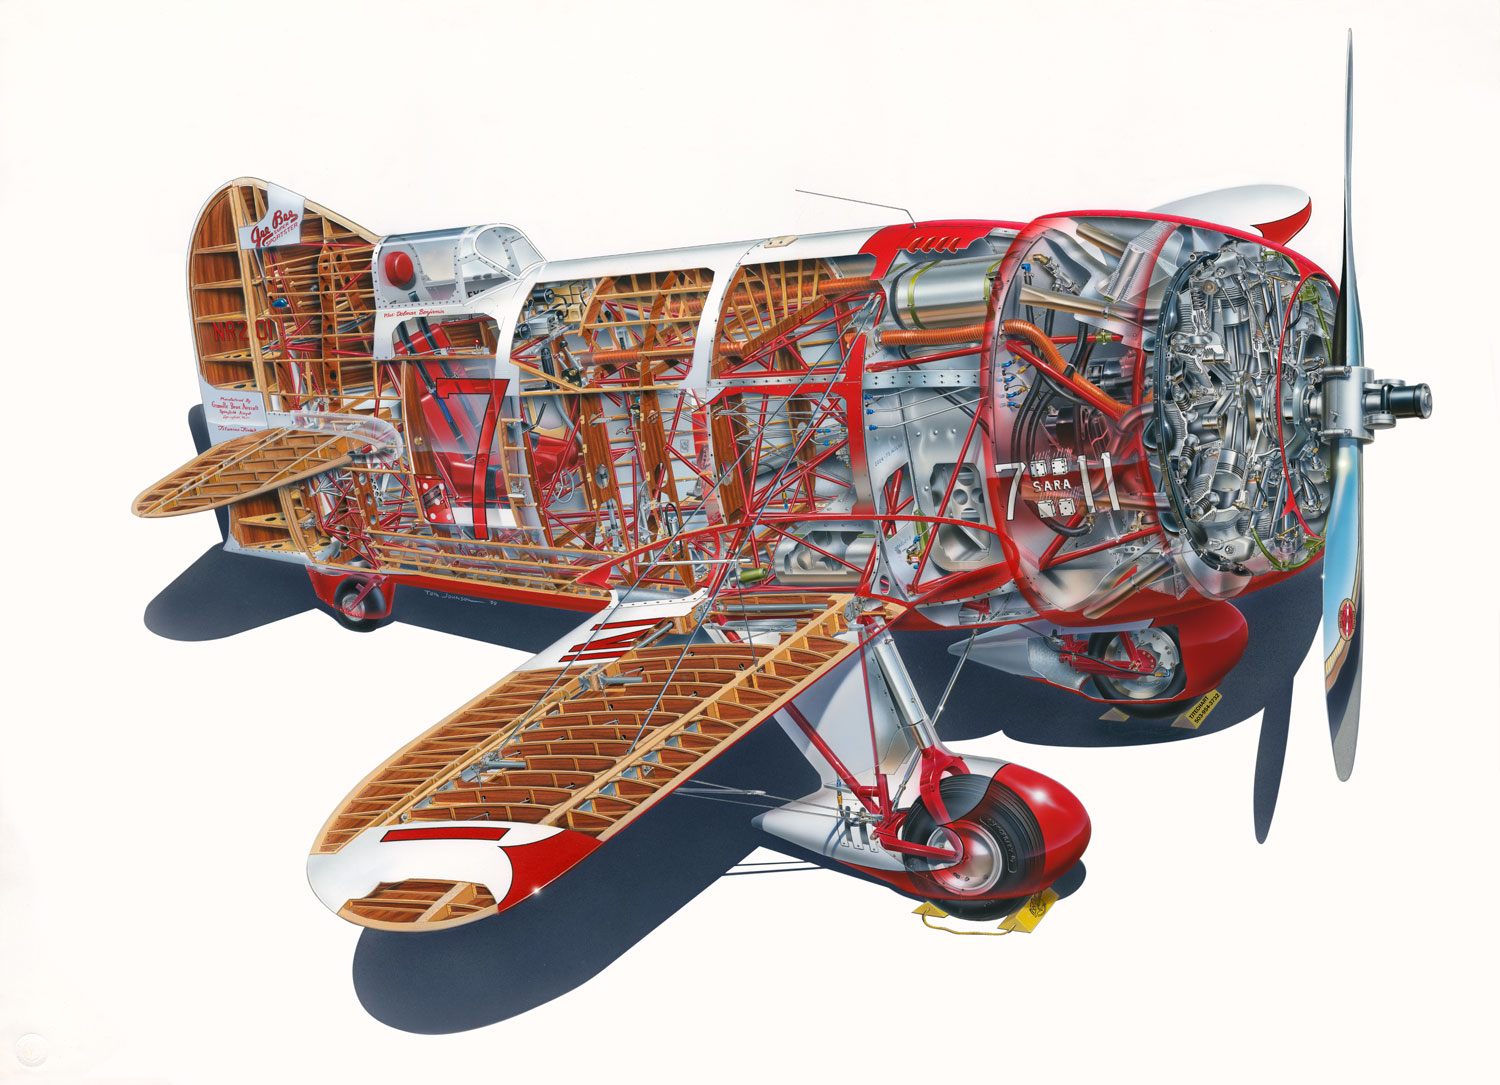
See a high resolution picture here: [img1]
For the mounts the GasPatch Models parts would fit.
[img2]

13 November, 07:59
Interesting info @bughunter, I did not know the rigging was flat (or flatish), thank you for this; anyway, as you mention, the provided PE is long and soft and will surely sag... and maybe too flat, anyway; so I'll use the brass tube - I could maybe try to press it into a flatter cross section, but it's extremely thin, hopefully we can't see the profile as it is 🙂
1 13 November, 10:37
I know this form my biplanes. This rigging looks like the so called "RAF wires" on British planes from Great War. Round with threads on the end (sitting in terminals) and aerodynamic shaped in the middle.
2 13 November, 10:56
Thanks, yes, it looks nice; although the white paint came out with some dust, which bothers me a lot… but I'll not spend more time making corrections… 🙂
1 27 November, 10:28
Your figurines also look good and seem to be consistent with the period. 👍
27 November, 10:44
...is the black line on the paint common? it does not show on the photo....just curious....
27 November, 11:08
Getting into the final stages now, still looking good from where I'm sitting.
27 November, 14:39
Ah, sorry, I did not understand first question; from the photos I have seen, yes; however, the line was very fine, difficult to see; actually, this means the line I have on the plane is not in scale, it's too wide, but if it wasn't, it would be difficult to see…
1 28 November, 11:55
Finished; I can't say I'm happy with the result, but I'm not spending more time with this model; done and archived, final photos here: Gee Bee R1 | Album by RReis (1:48)
1 28 November, 23:35
Mr. & Mrs. Doolittle visiting and iconic aircraft of his own design on a fine Saturday afternoon!!!
1 28 November, 23:42