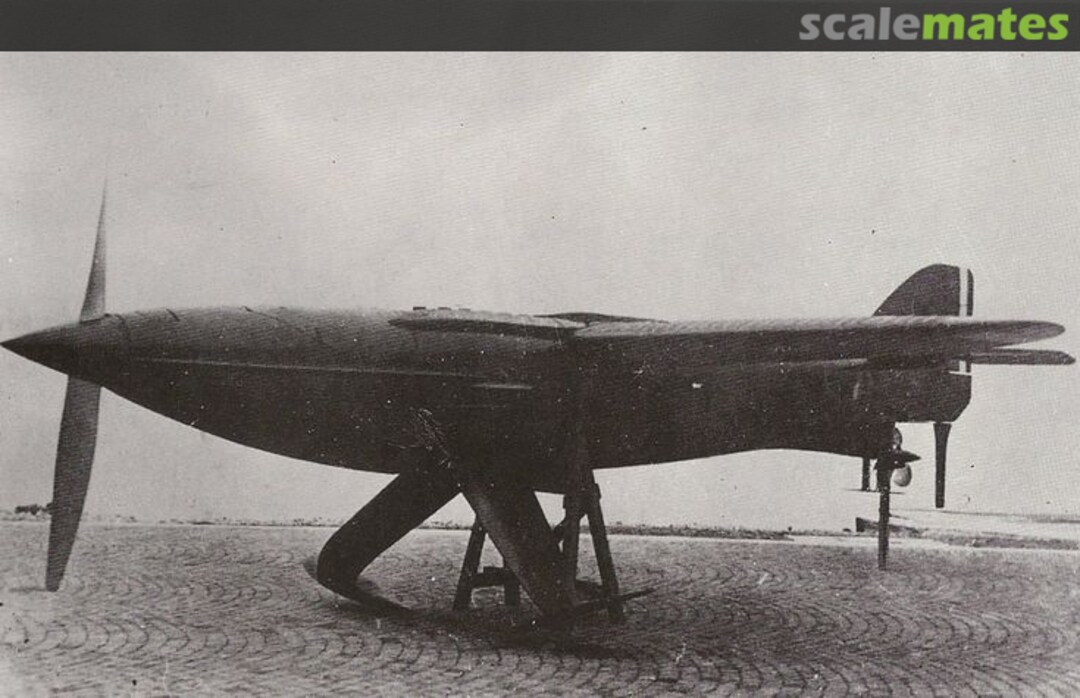
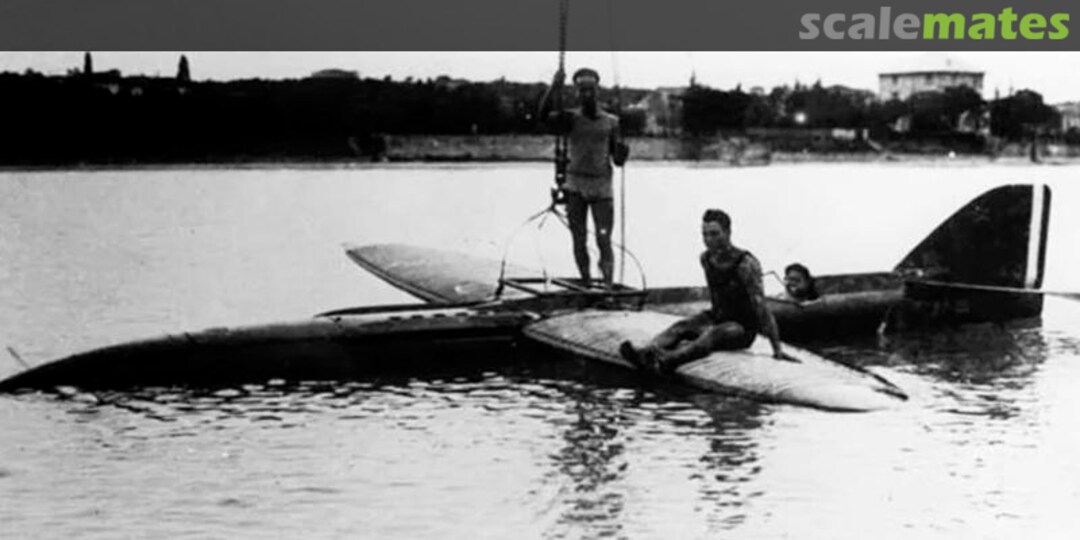
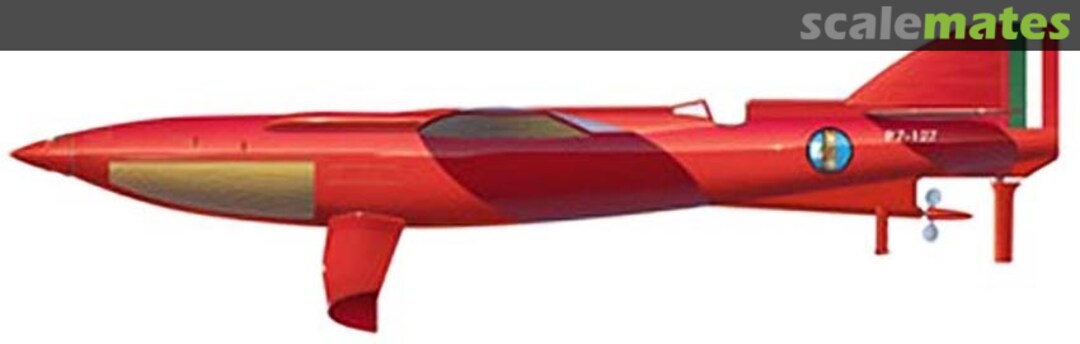
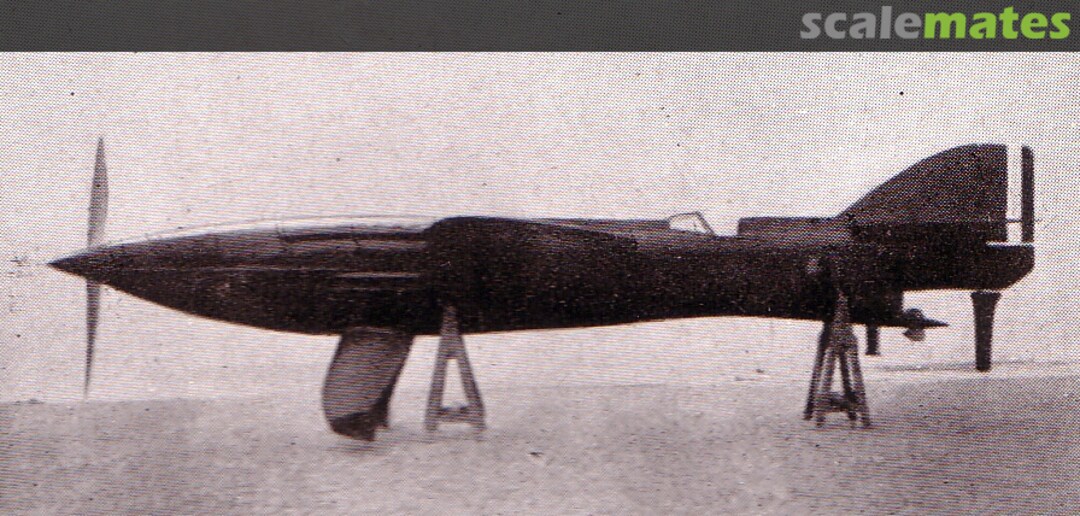
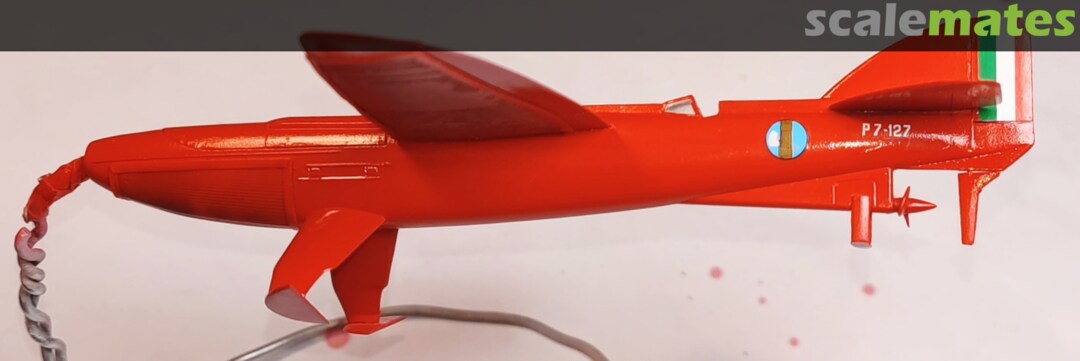
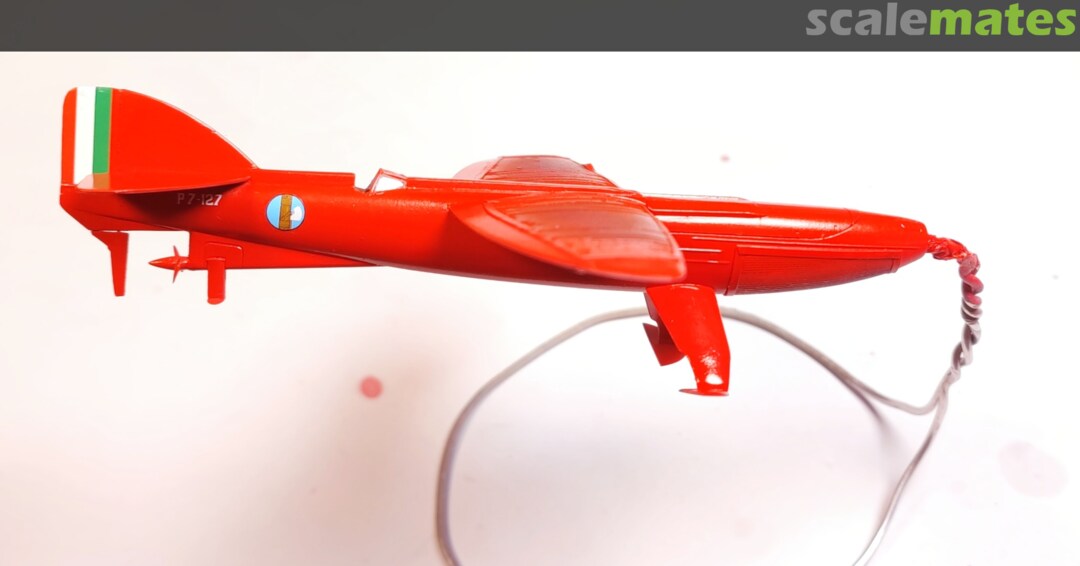
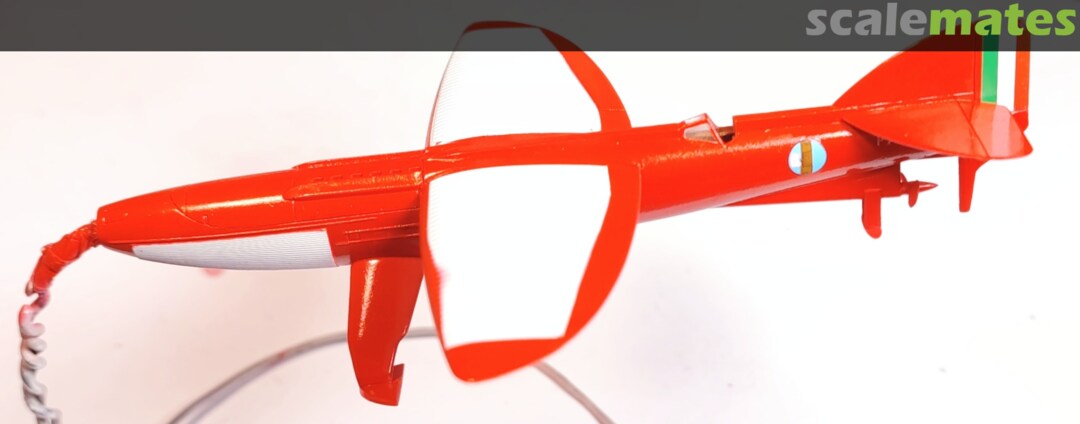
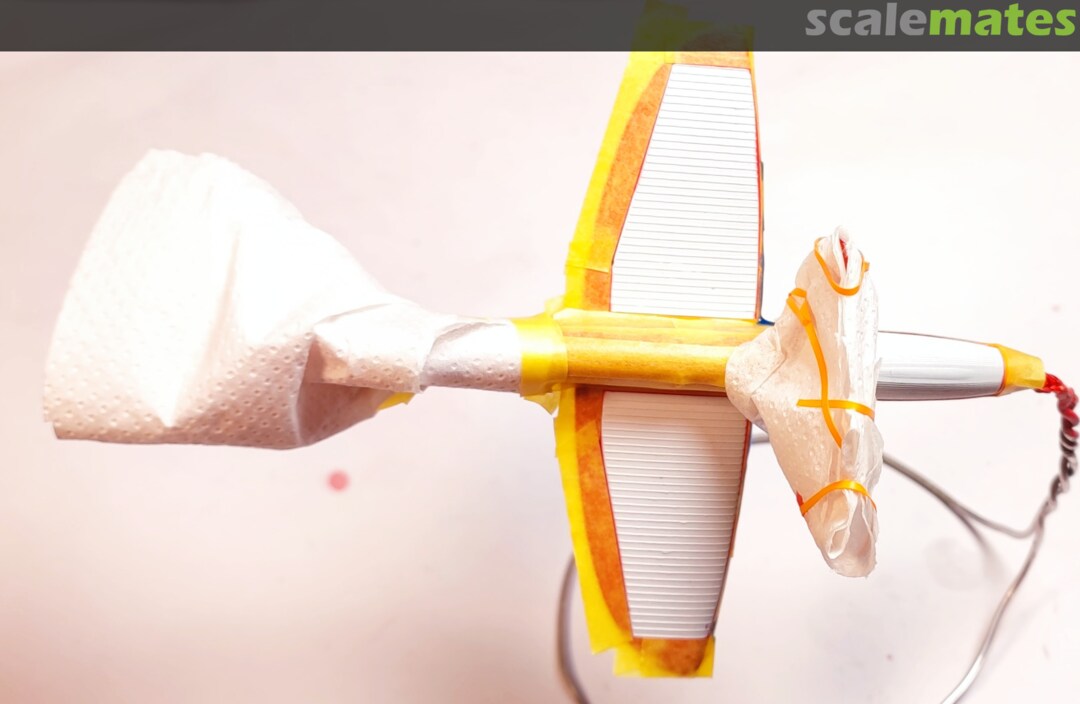
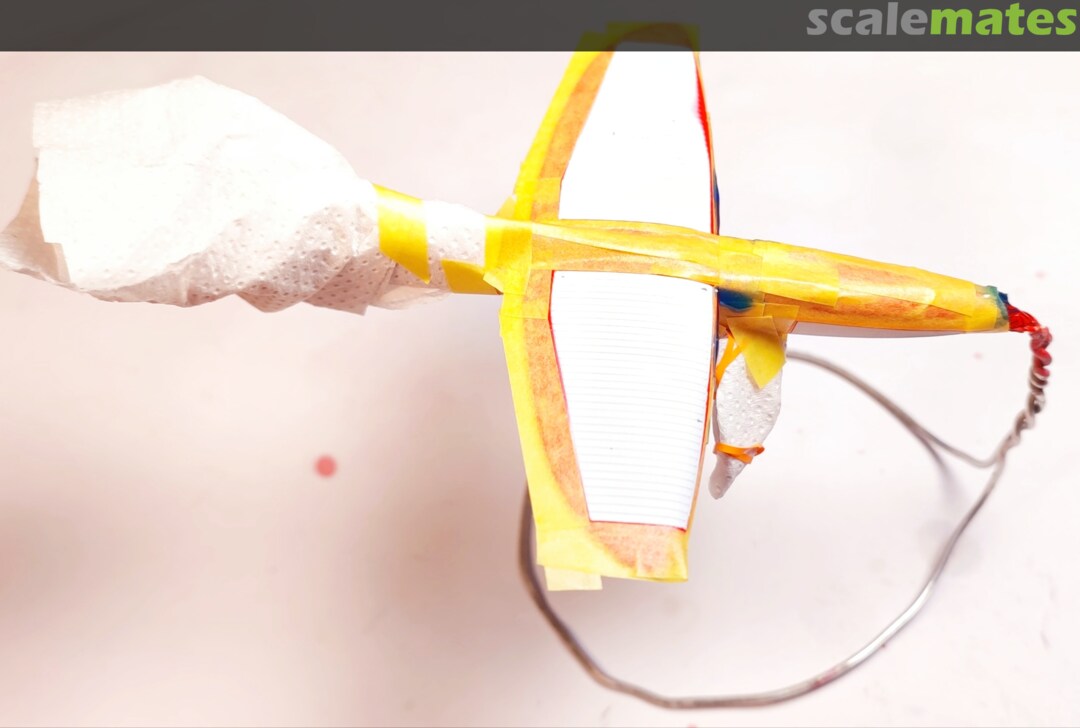
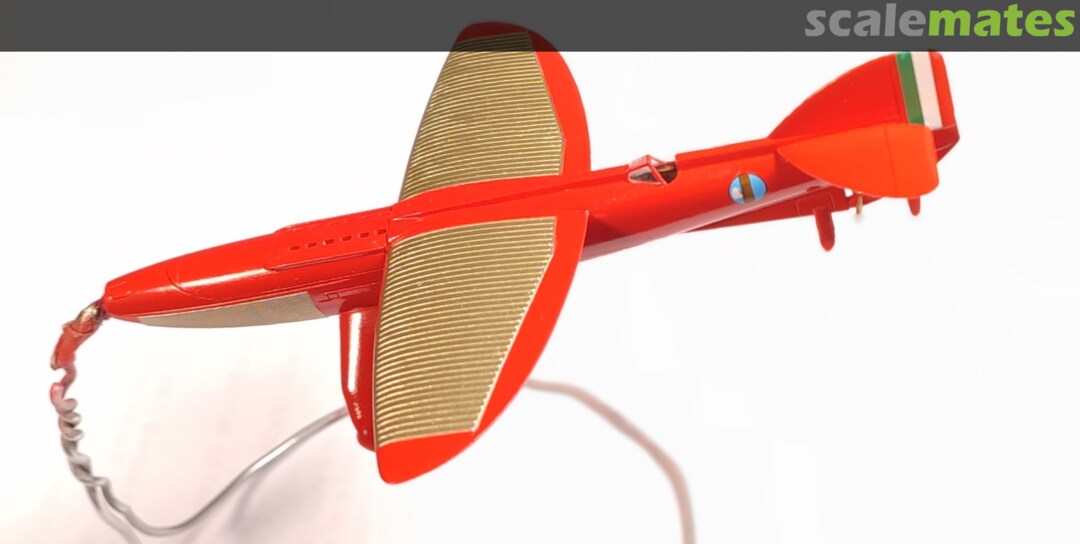
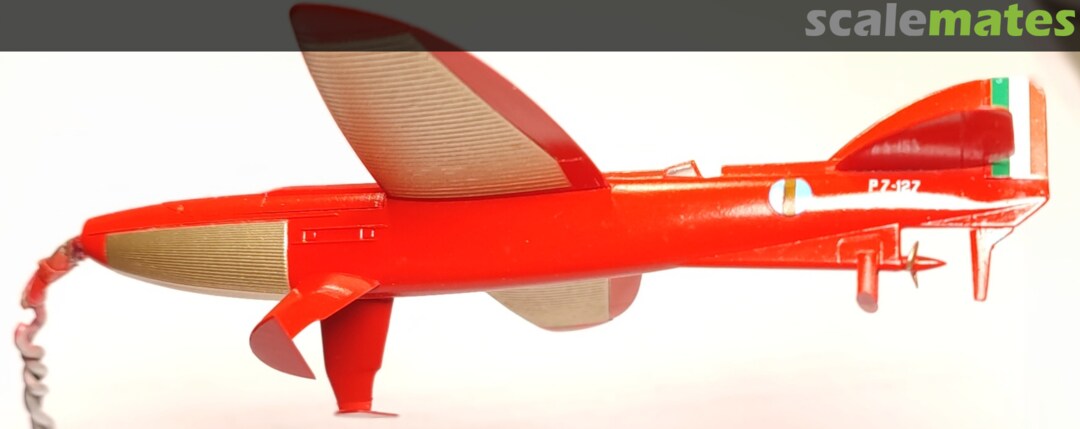
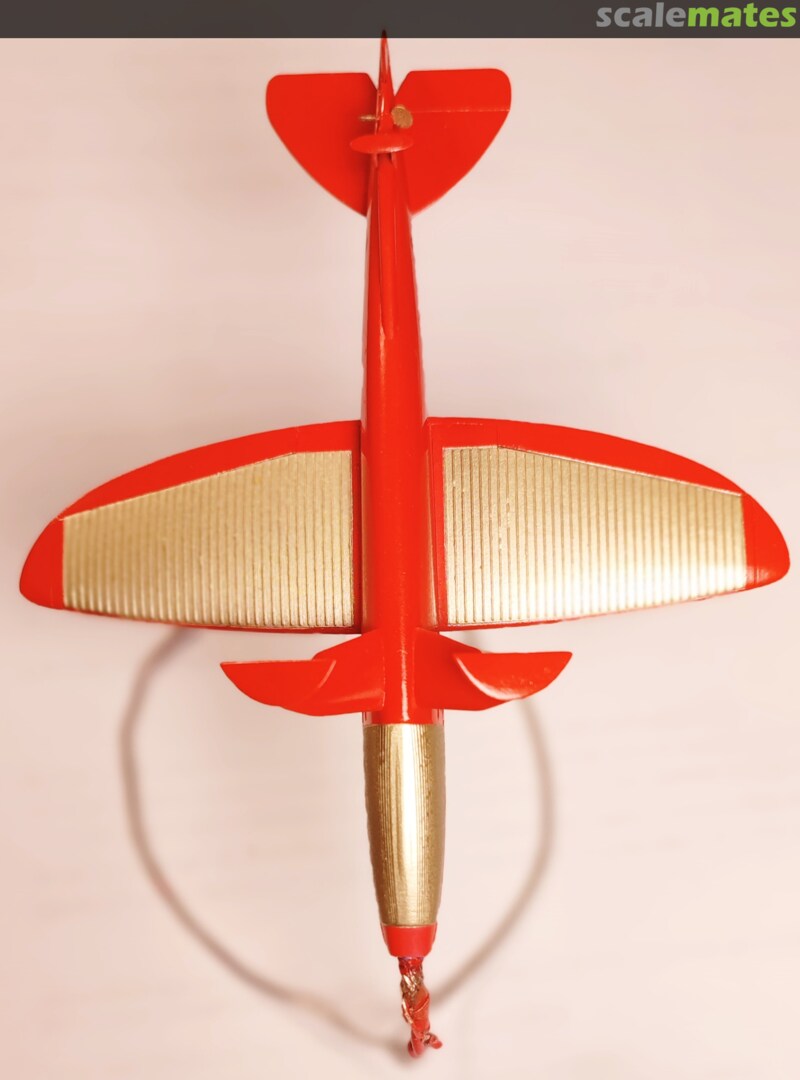
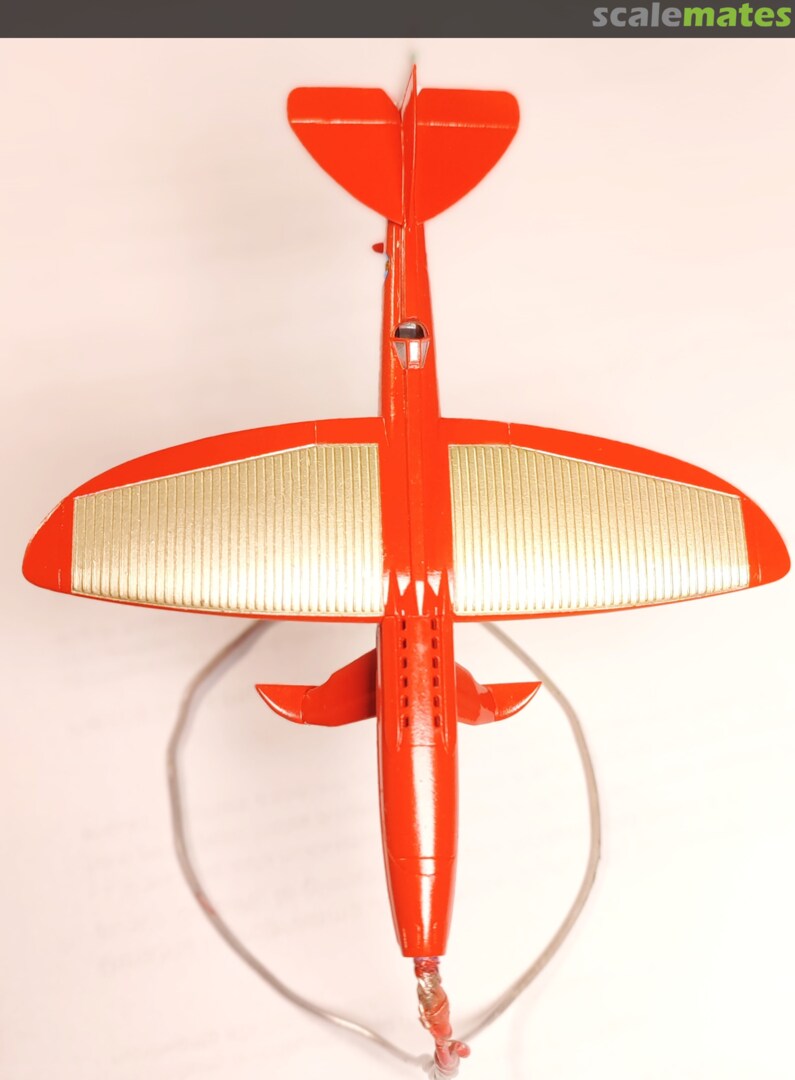
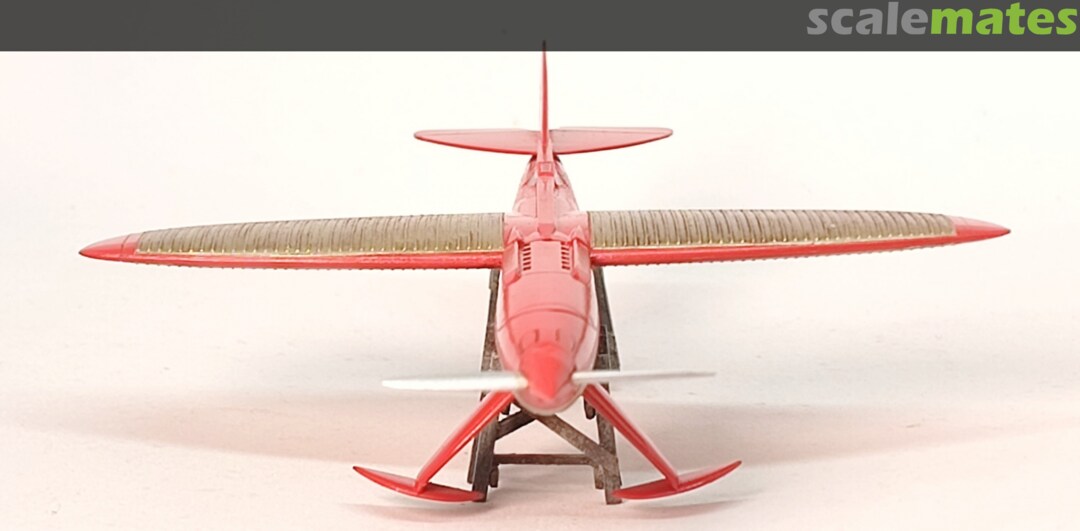
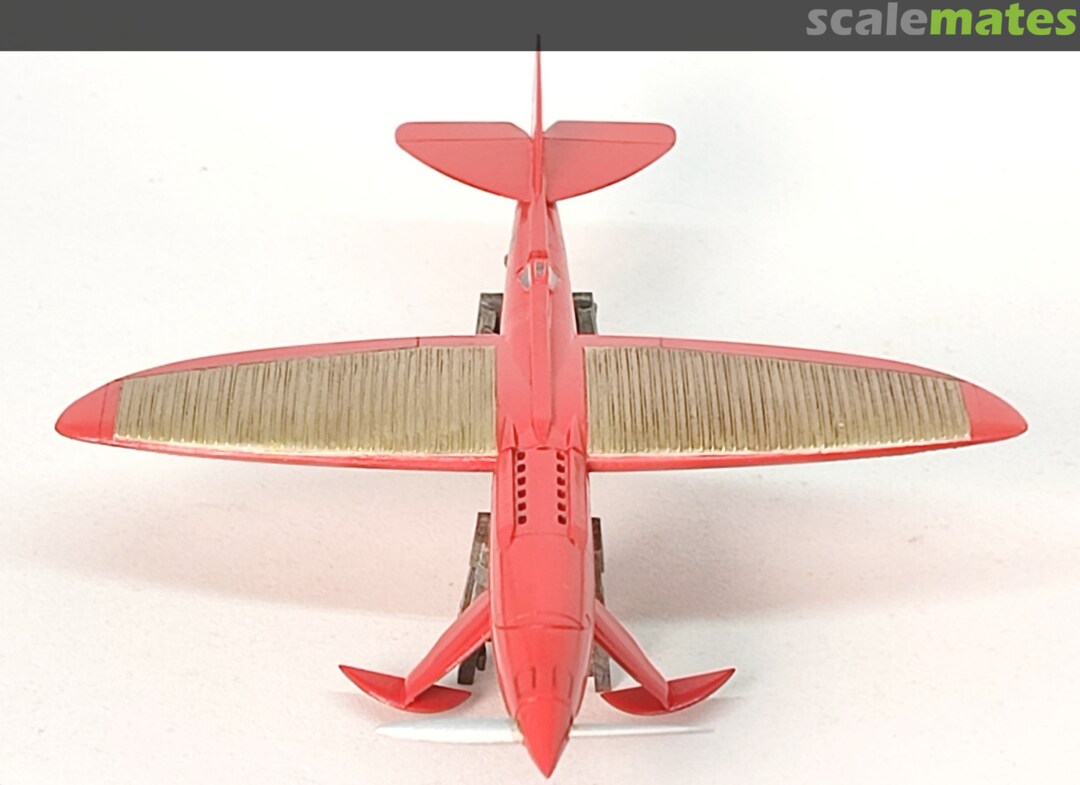
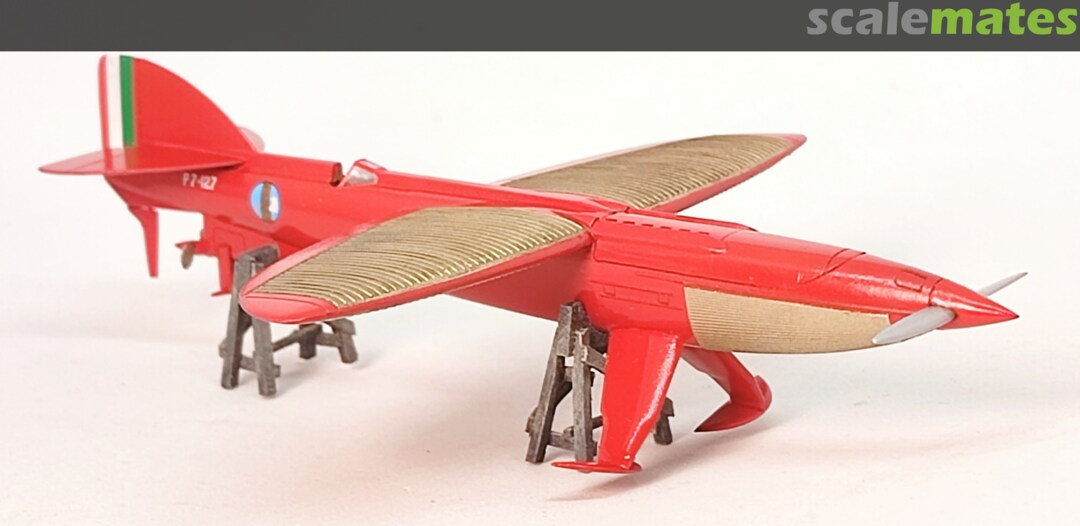
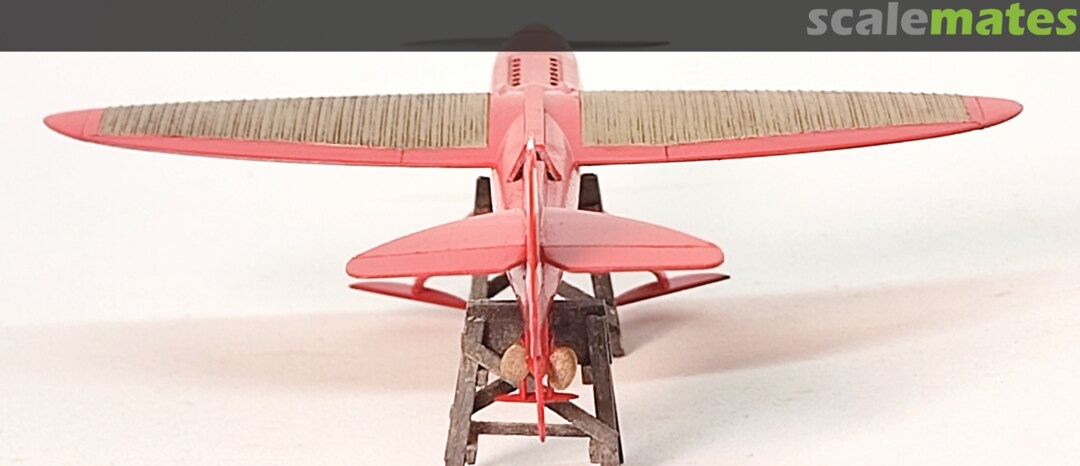
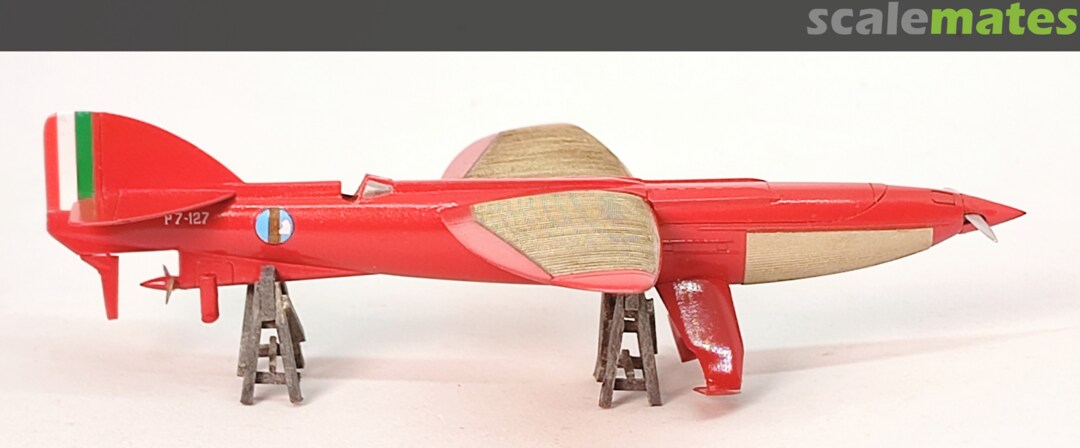
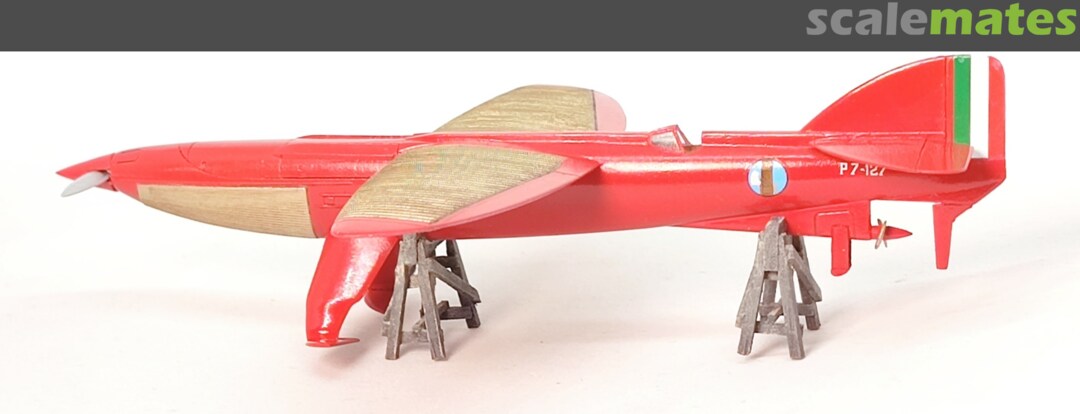
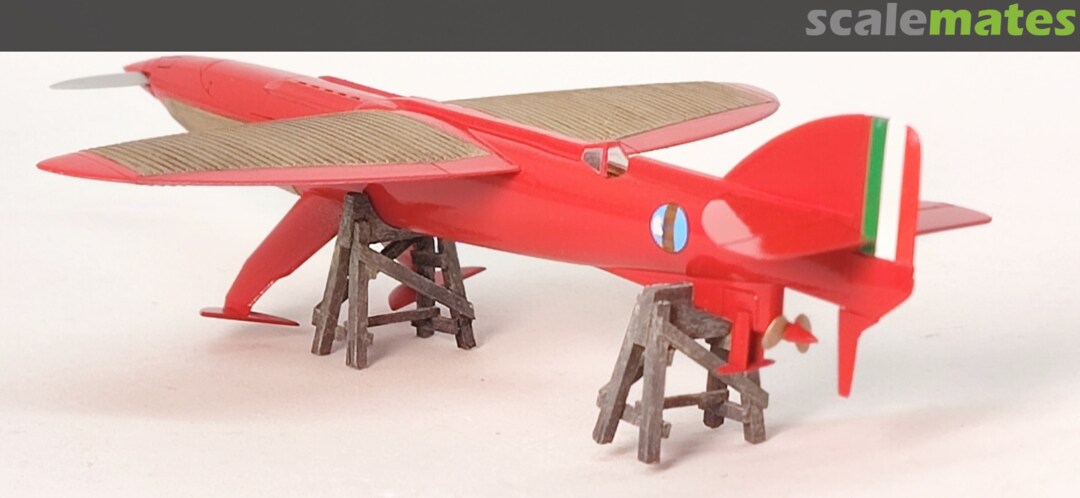
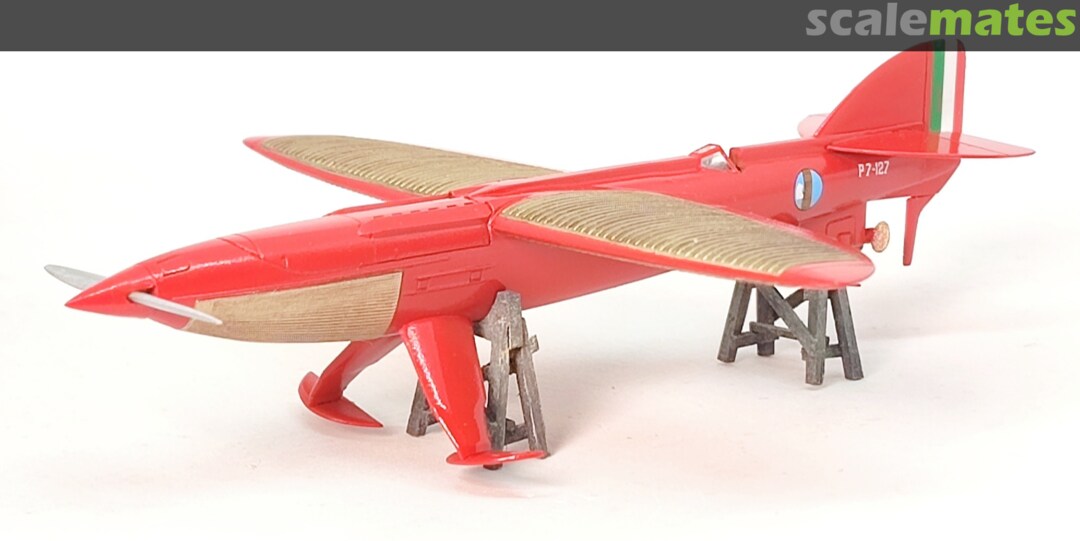
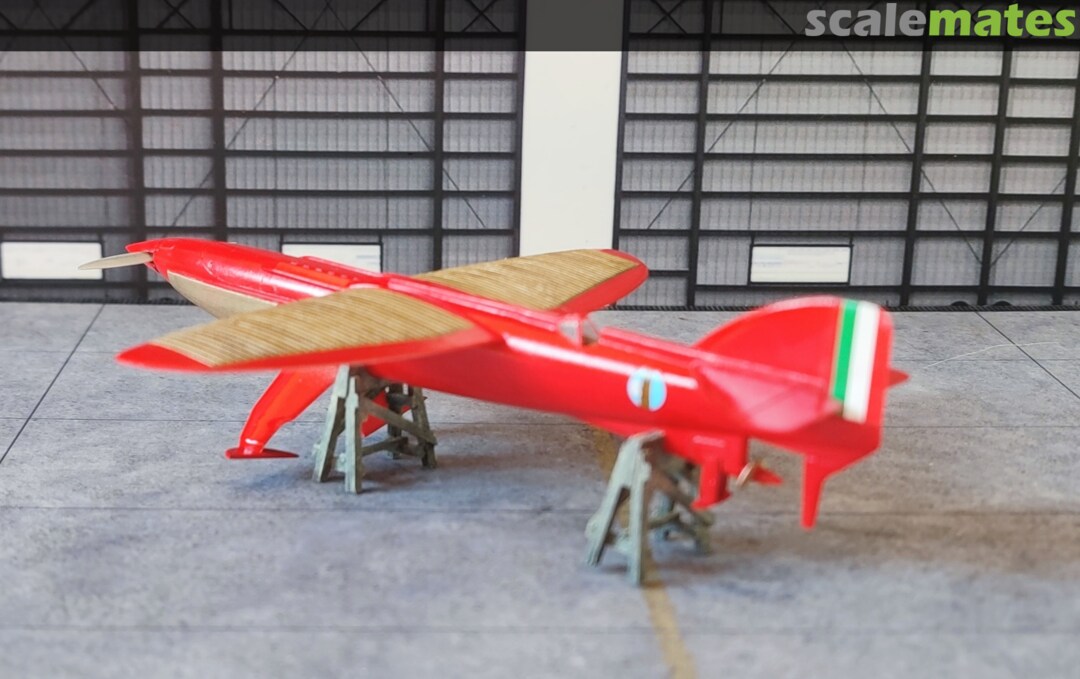
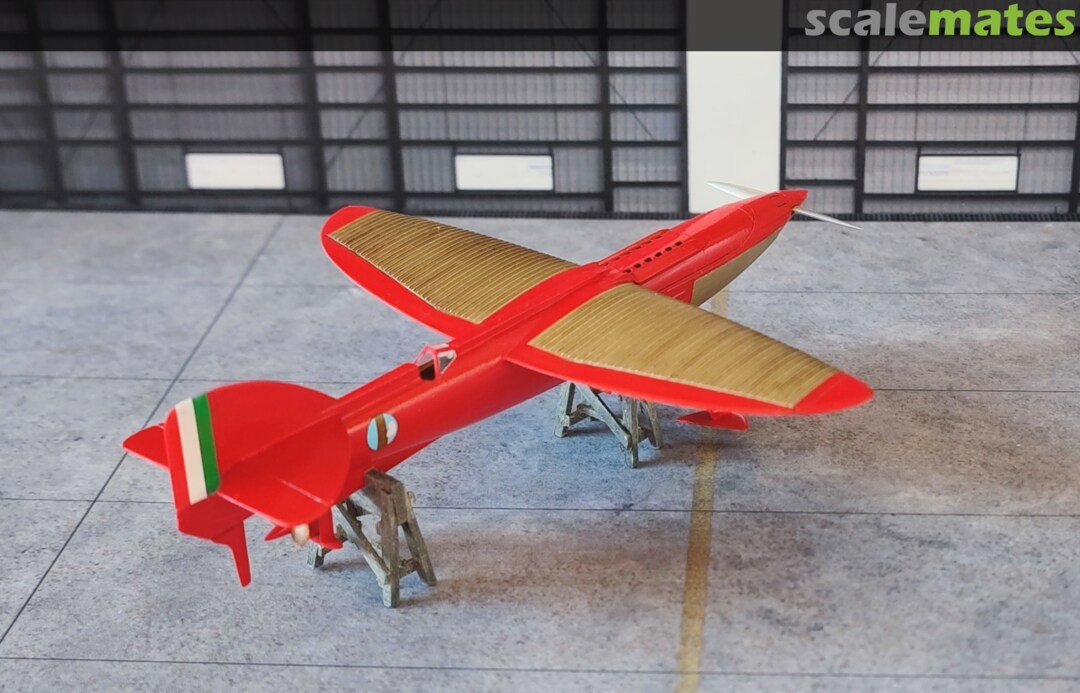
Piaggio Pegna P.7


Comments
23 20 July, 22:06
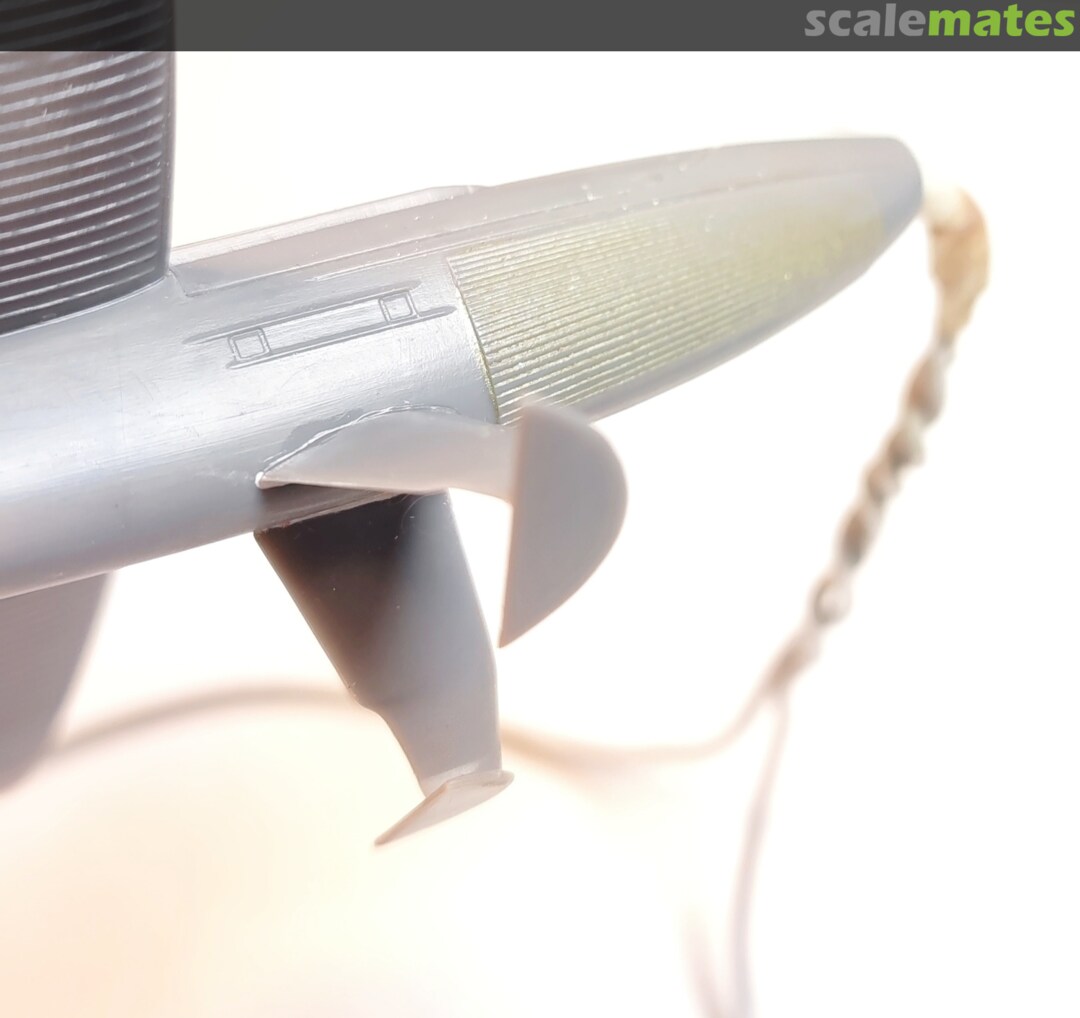
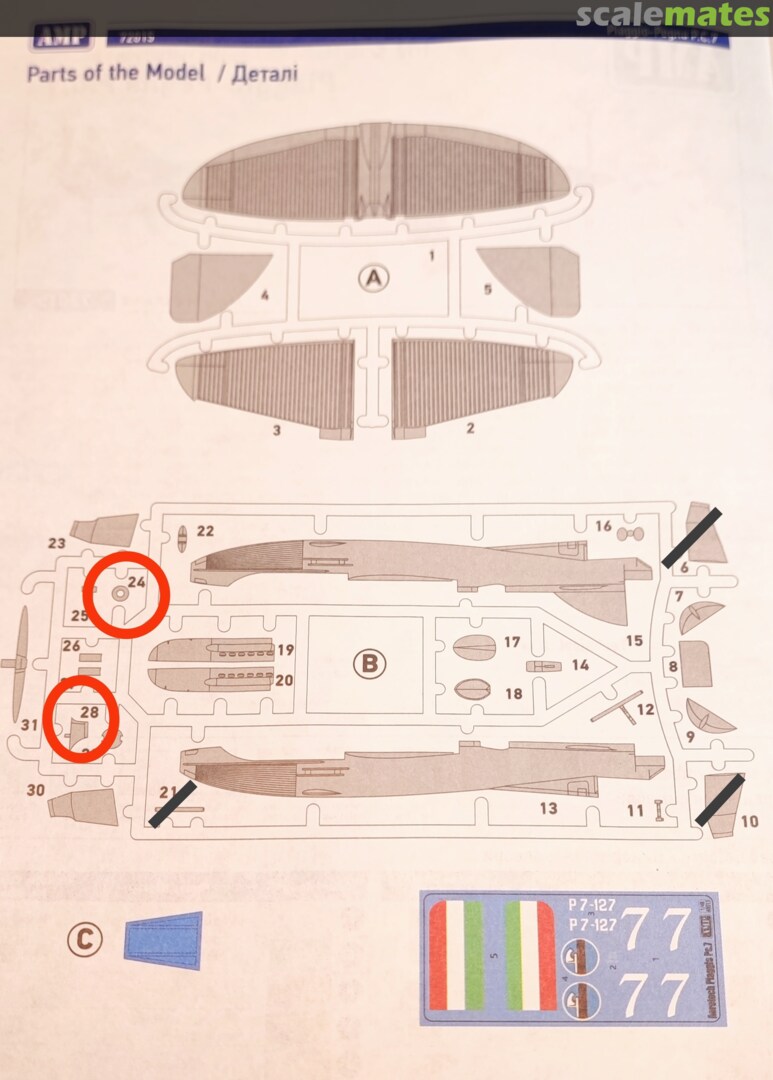
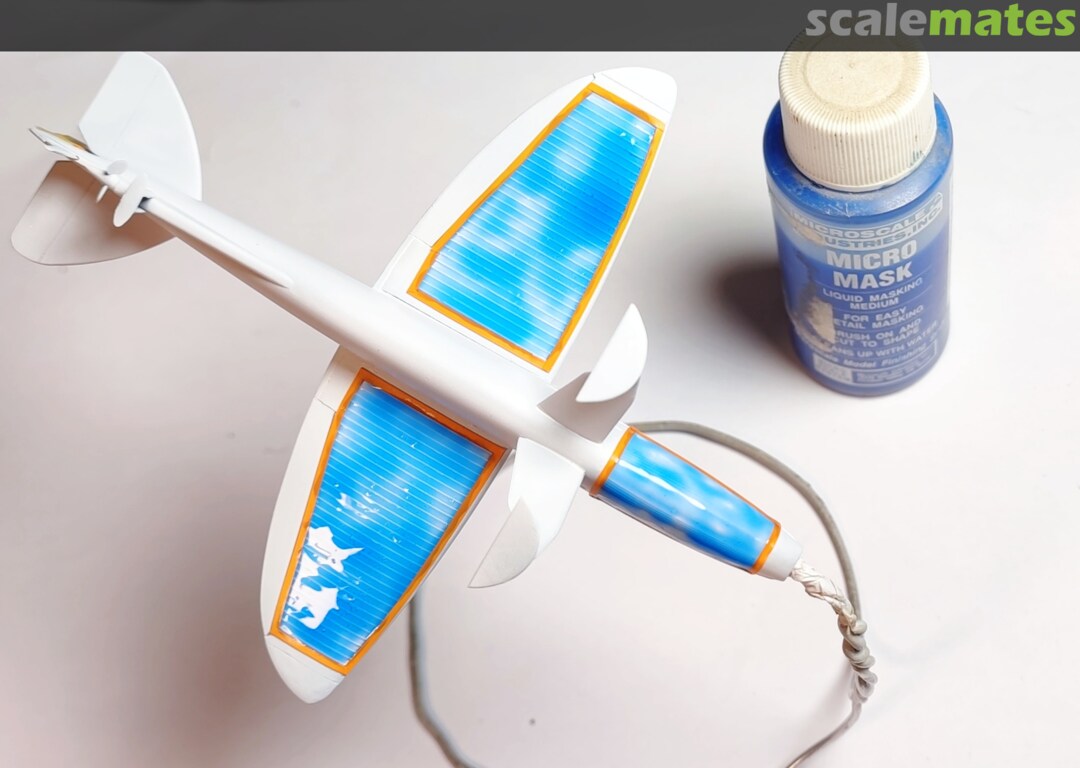
Looking very good so far. Some captions to the pics would be appreciated.
1 31 July, 18:32
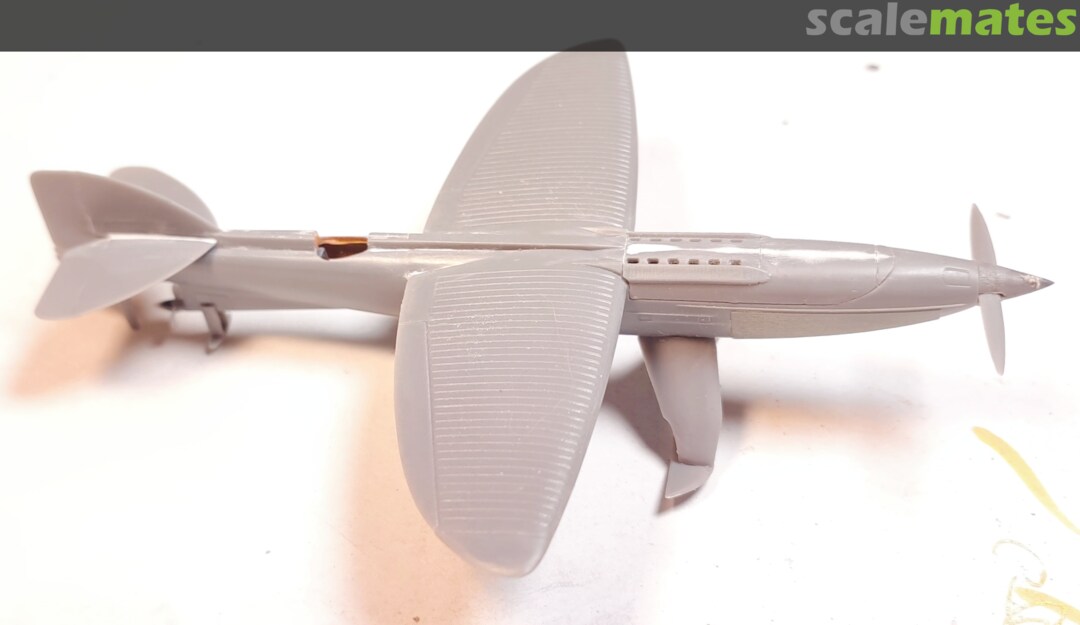
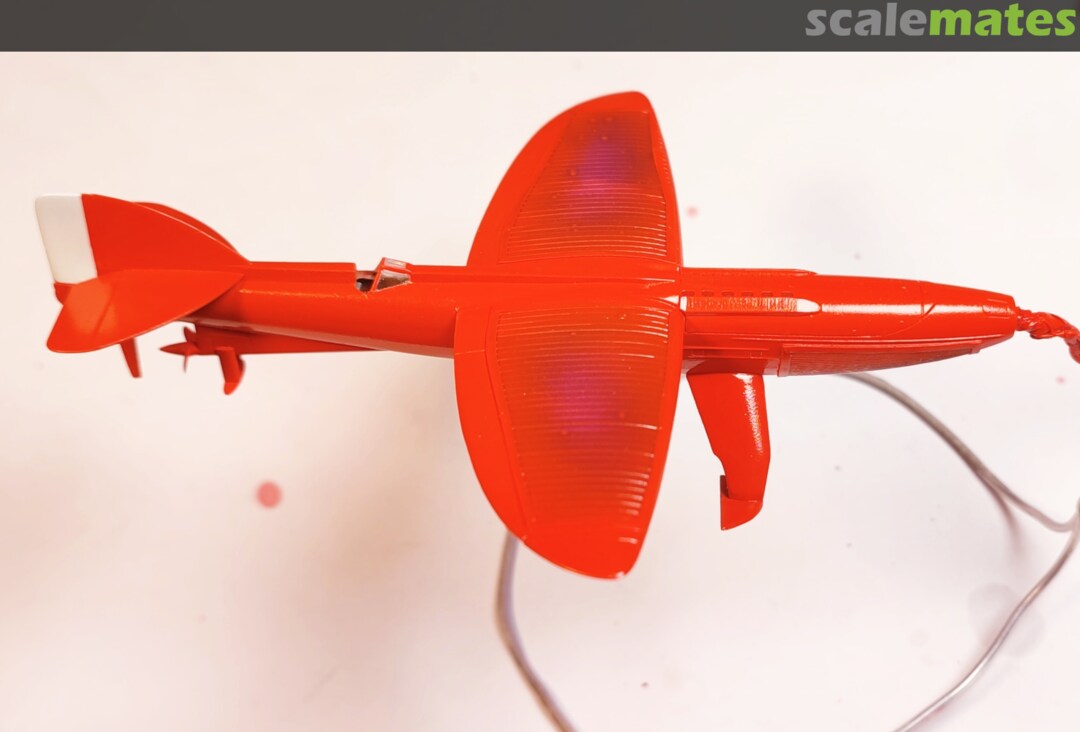
Quite an unusual subject, indeed! And a pretty one.
(Is it a bird? Is it a fish? ...)
13 August, 19:19
 plastic modeling database | stash manager


