

H-75 A2 U007


Comments
77 7 May, 20:24
Following! Somehow I knew it, that I will see this on your wall as soon as the kit arrive in shops 😄. Waiting for the P-36 and enjoing your build!
1 9 May, 03:56
Welcome everyone!
Patryk you were definitely missed here as the biggest P-36 fan I know here on scm 🙂 👍
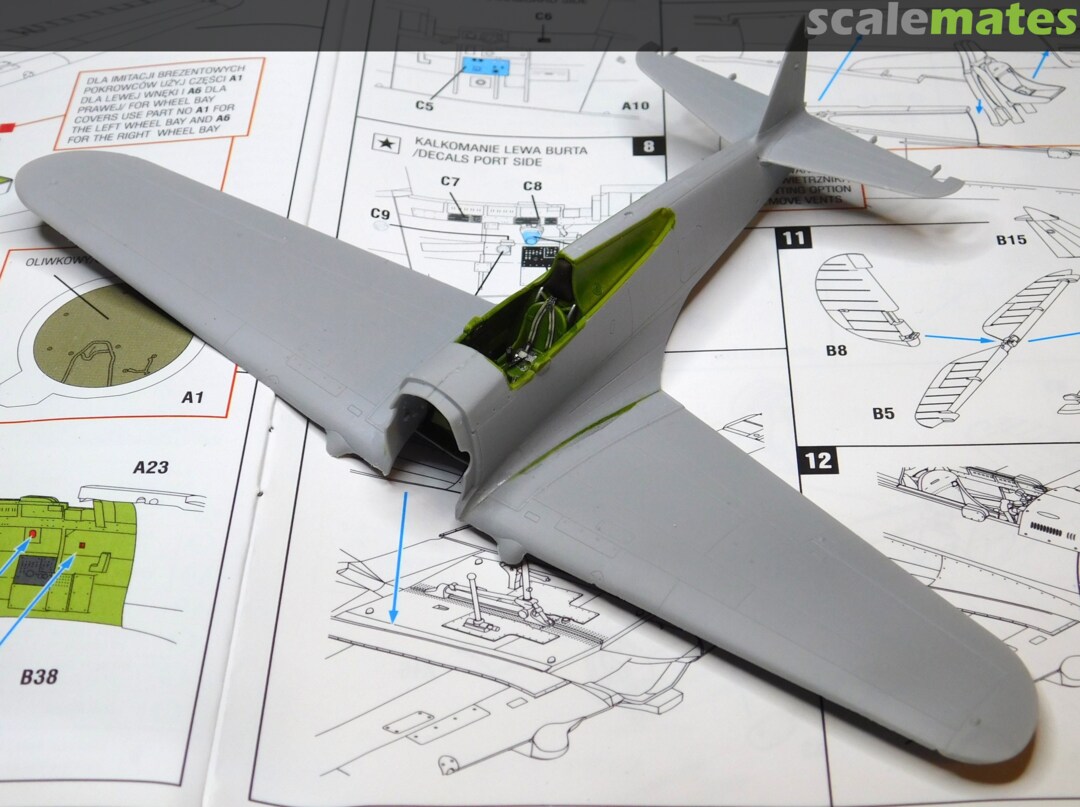
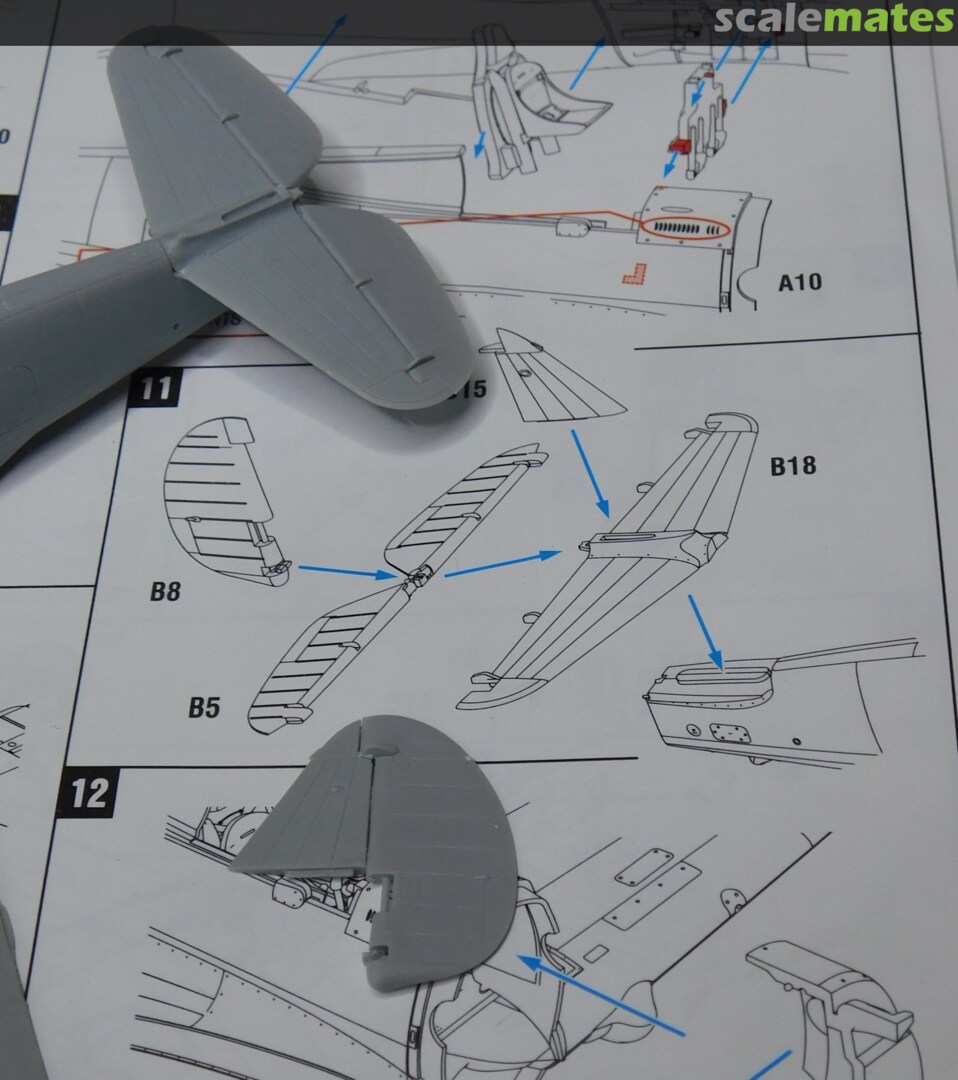
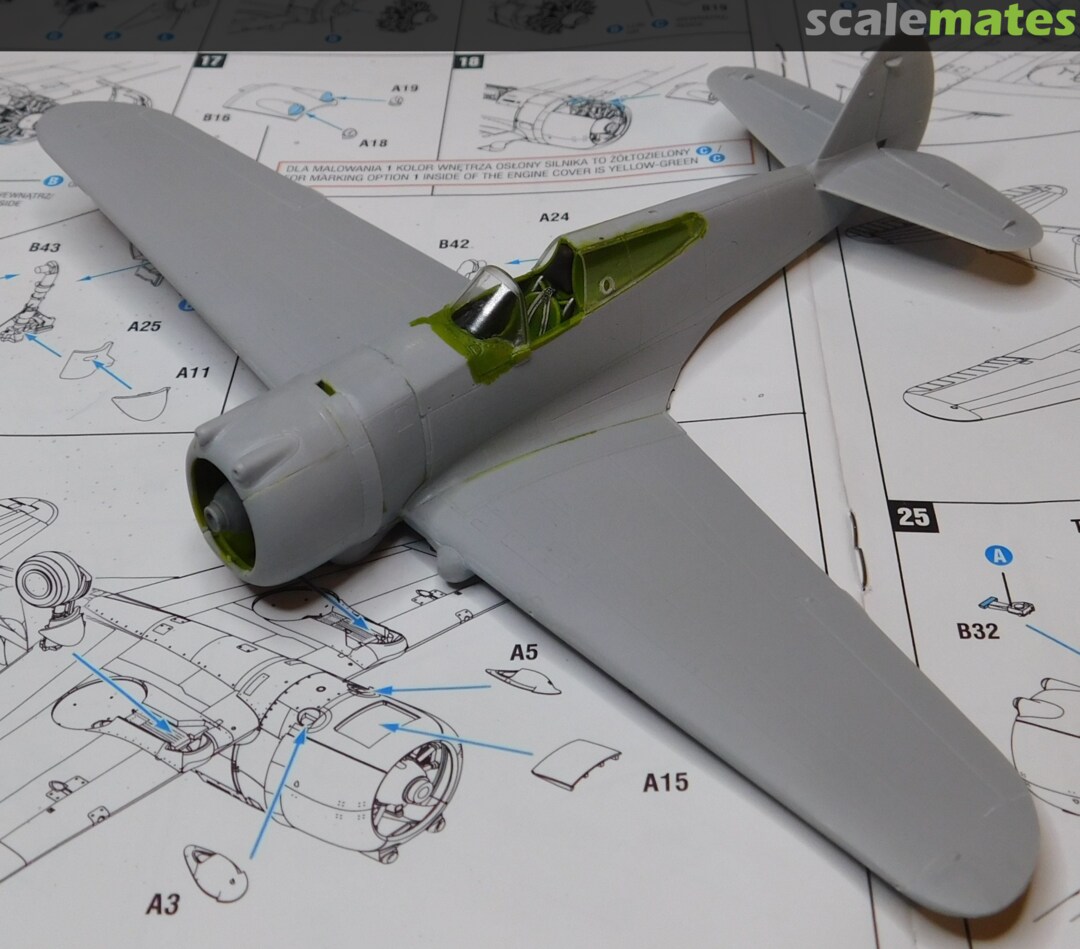
The kit goes together relatively fast, but it has some nasty surprises, like the top side of the wing roots, leading edge close to the fuselage (I know it's a tricky part in this plane) and the wing-fuselage join at the very rear of the lower wing.
I shall see what they look like after priming.
2 9 May, 20:03
Due to work commitments I unfortunaltely am not often here but luckily I only missed one day of you WIP 😀
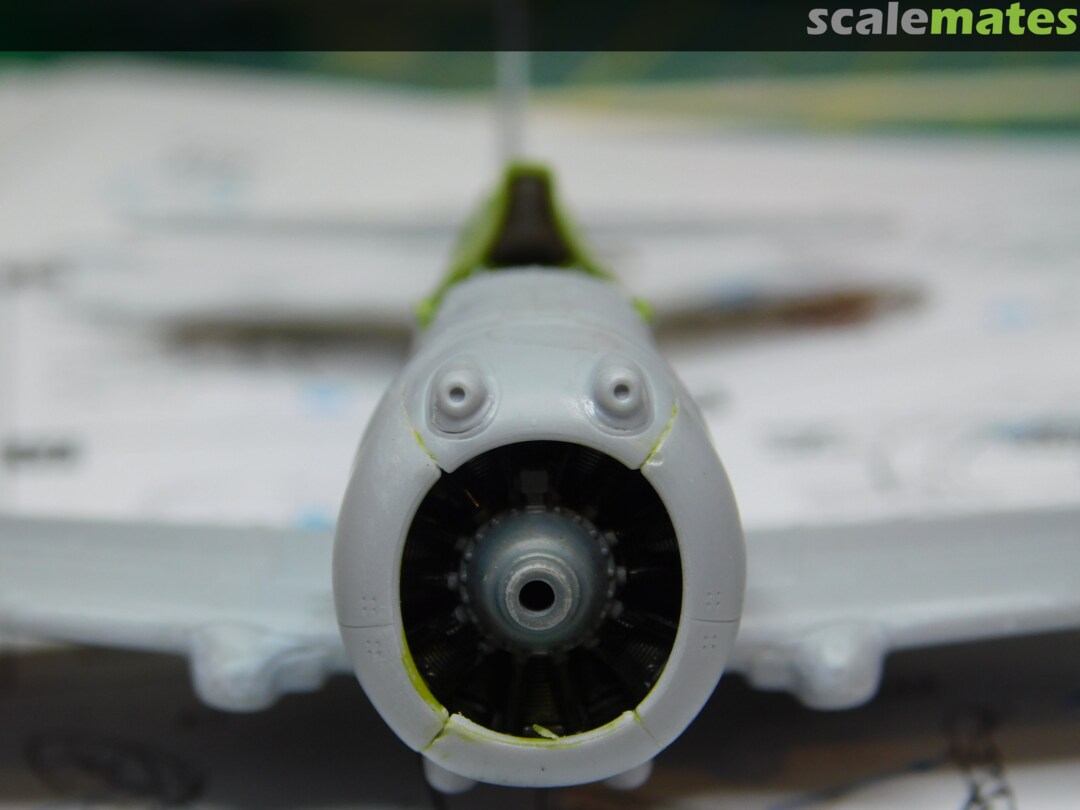
Good that you are paving the way with your build - as last time I will use it as reference for my future P-36 build - sorry to hear about you problems with this kit as detail wise it looks very good. Hope this will be the last negative thing you will encounter - hope the cowling won't give you problems as it is made of 3 parts. Fingers crossed!
1 9 May, 21:09
Łukasz, it's disappointing to see that the fit doesn't match the fine detailing of this new mold. But luckily you're used to building old, problematic kits. Experience counts in this regard, but I hope it doesn't give you any more problems. Many of us have our eyes on this kit 😉
Well done so far!
1 10 May, 20:49
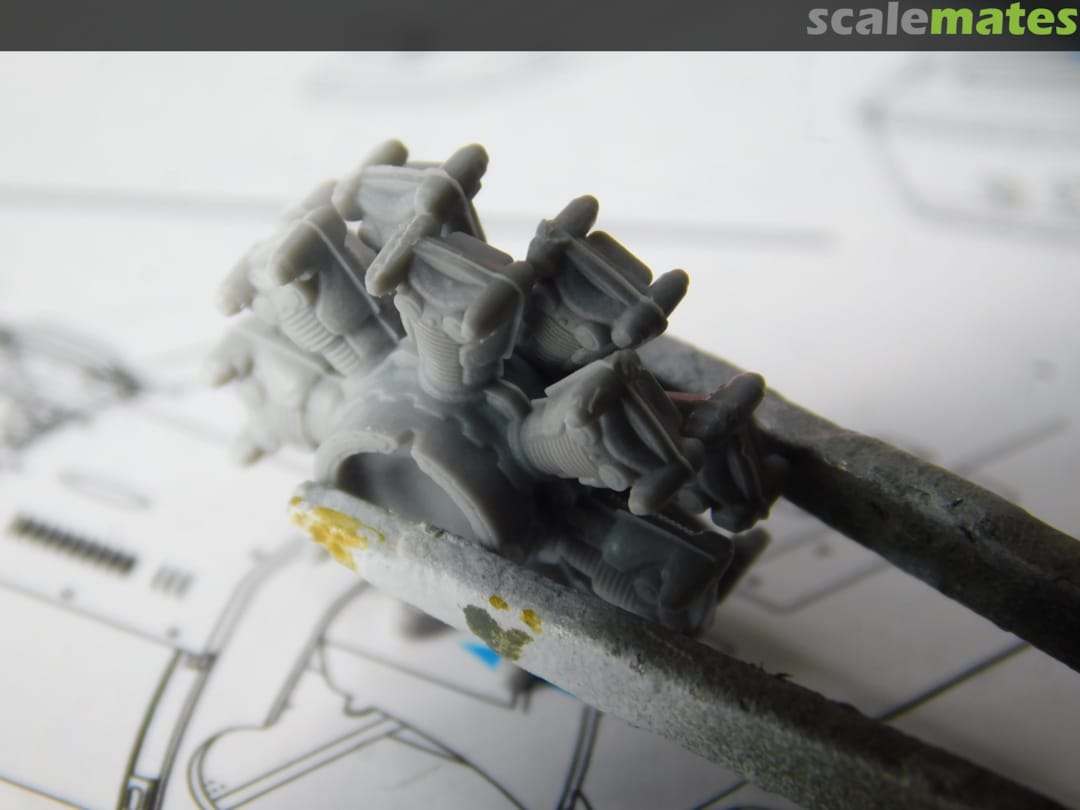
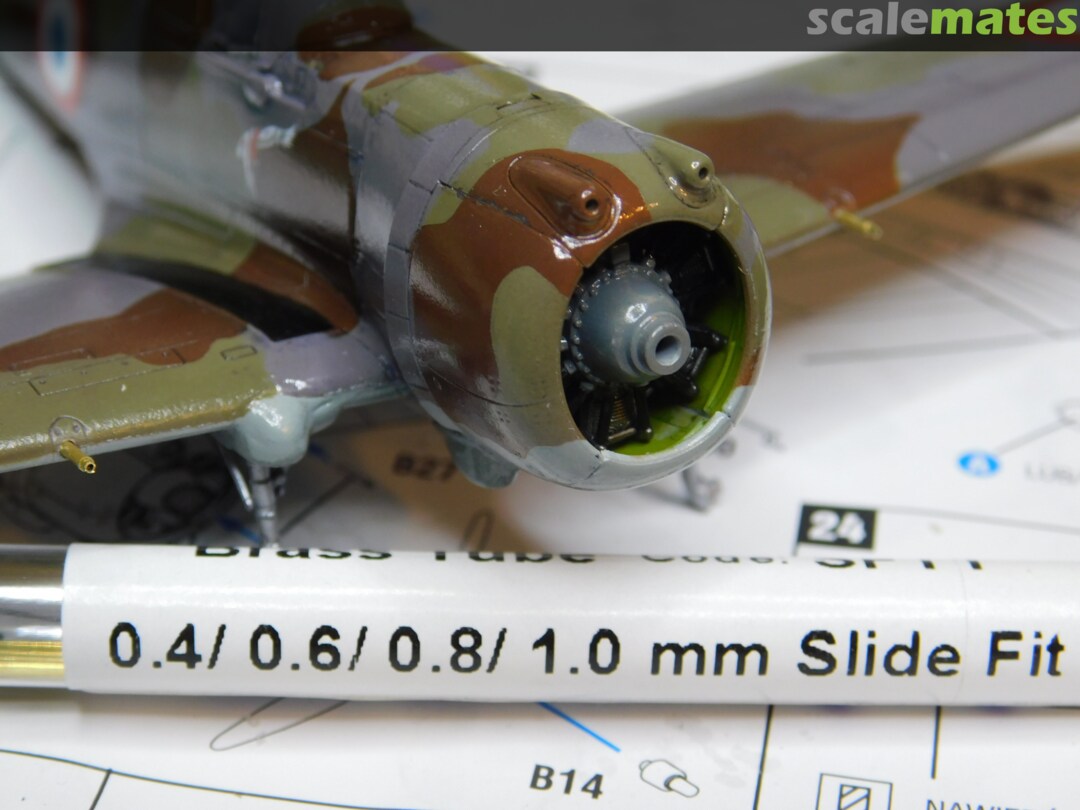
Very good progress Łukasz. Unfortunately it seems that the kit is a bit of a dissapointment from what can be seen untill now with the exhausts beeing really far below Arma Hobby standards. So now the only hope lies in Clear Prop if they ever do update their kit.
1 17 May, 21:44
Hi y'all!
I don't mind anyone being late for sure 😄
Yes, the kit is simple compared to the latest AH products and disappointing indeed.
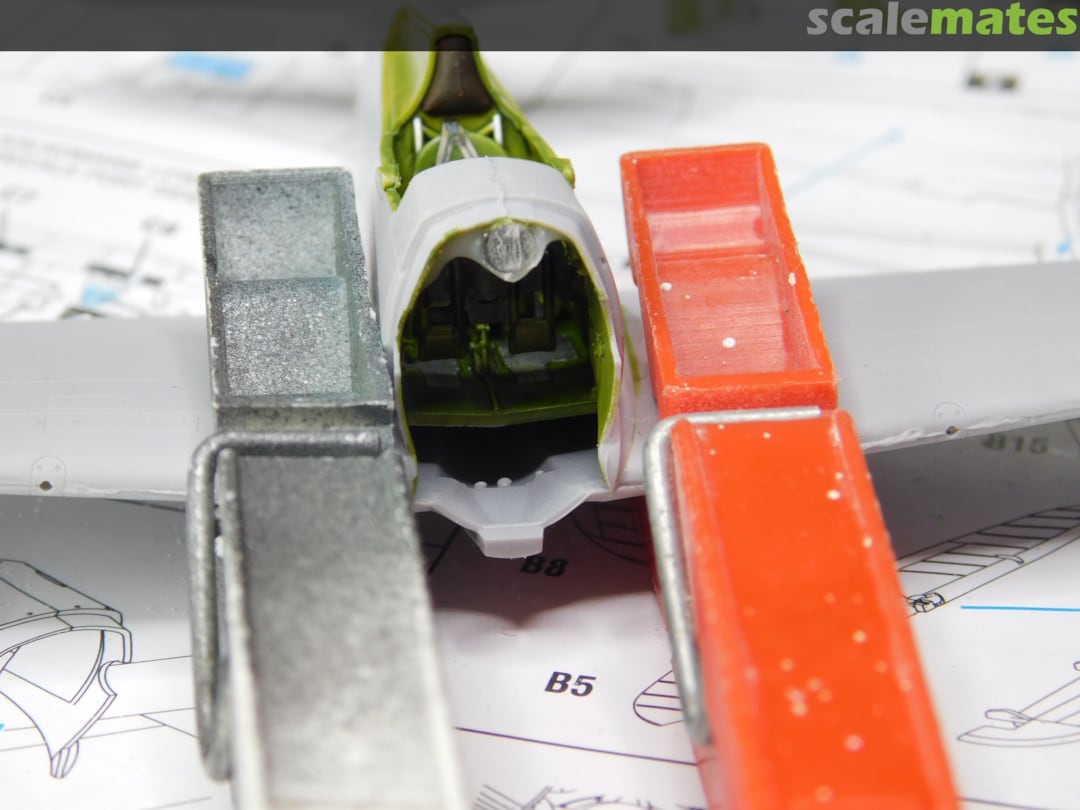
The next item on the black list is the mid part of the canopy - it's just too big, both in terms of width and height.
I'll leave it open I think, but the only way to have it closed in my opinion is to sand it smooth, sand to shape, polish (nomen omen! 😛) and resize the masks afterwards.
2 21 May, 19:38
Could be, but not in this project 🙂
Or - and this is probably question to Patryk - maybe it should be deeper onto the fuselage than I'm trying?
1 21 May, 19:50
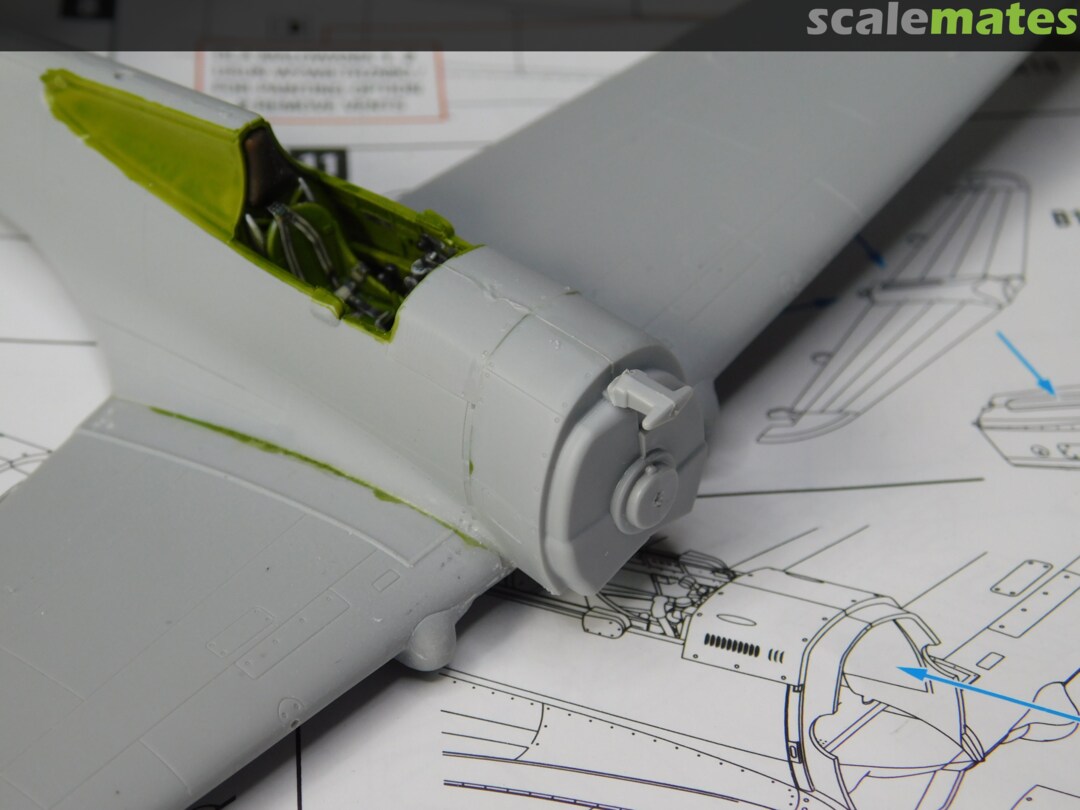
Hello Łukasz. The lower edge of the canopy should be almost alligned with the fairing that sits under the front end of the windshield at the beginning of the canopy rail - its sits just a tad above 1-2 cm in 1:1 scale. The kits one is too big, clearly made only to be fitted in the open posistion. One solution would be to detach the front canopy as on the pictures it is visible that it is also to short in the vertical and the fairings and add some plastic under it to allign the front windshield with the fuselage and to sand down the lover edges of the canopy a bit but this does not solve the problem of it beeing to wide. I would leave it and make it in the opened position as the cockpit is pretty good. Damn, I just bought this kit not knowing all of this yesterday...😵💫 I have also a vacu canopy from Squadron underway that I wanted to test on the AZ kit. I will check if it would be an alternative for this kit and will let you know. Thanks Arma Hobby, now everyone will again try to beg Clear Prop on Facebook to do the P-36. I think around 2 years ago they stated that it will be soon out 😂
3 21 May, 21:03
Thanks Patryk for your post, much aprecciated. 👍
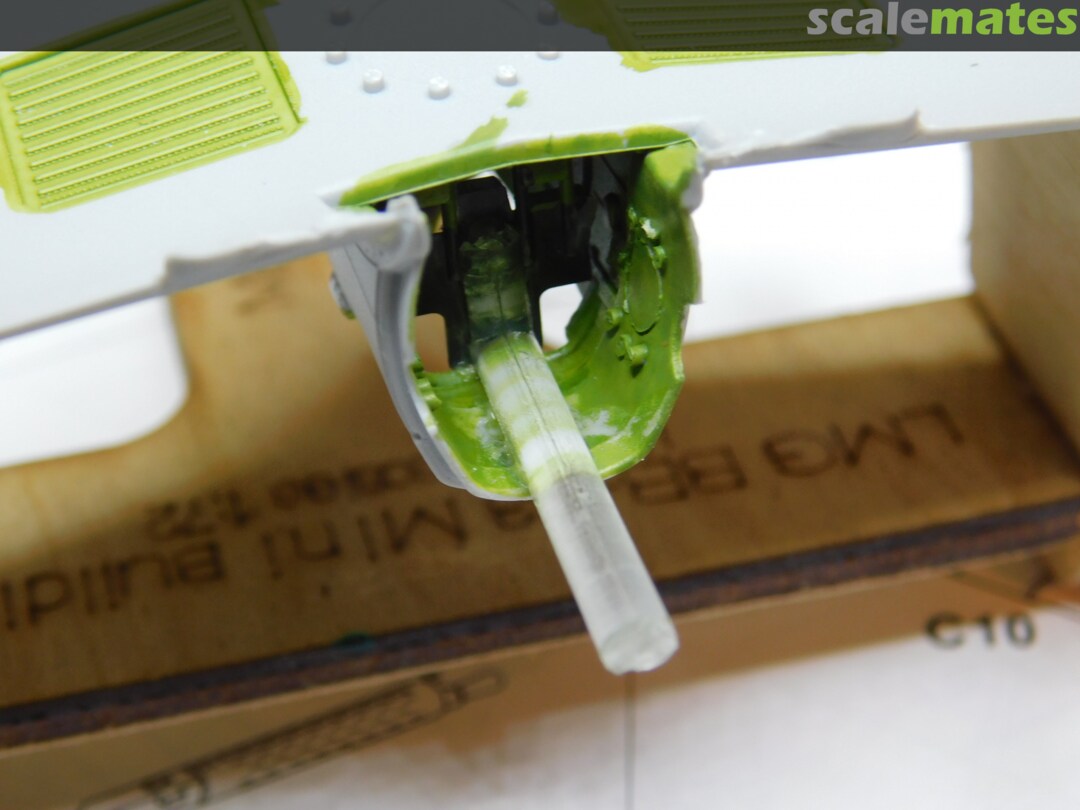
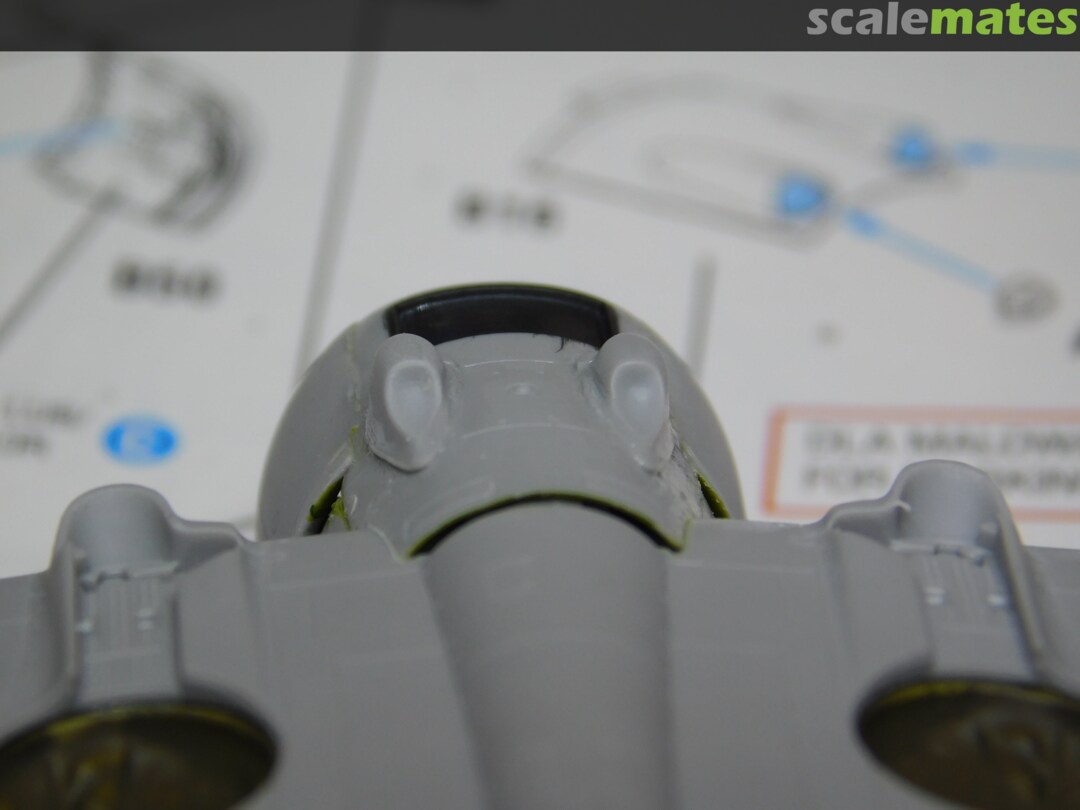
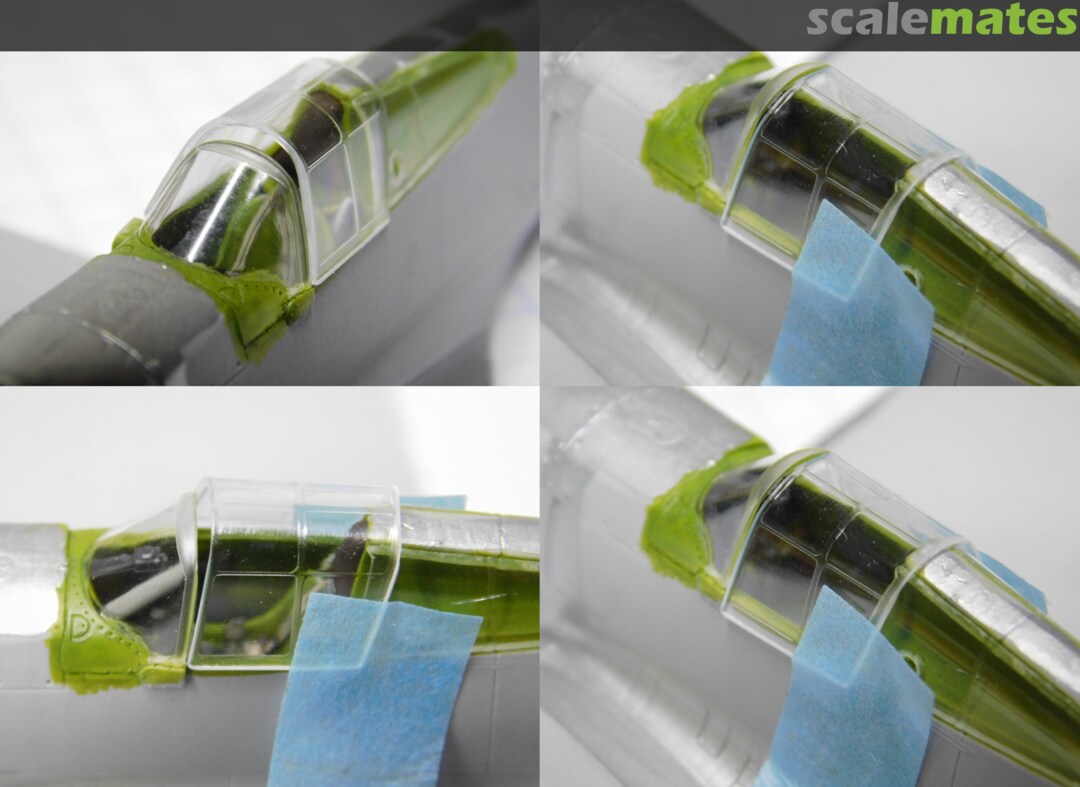
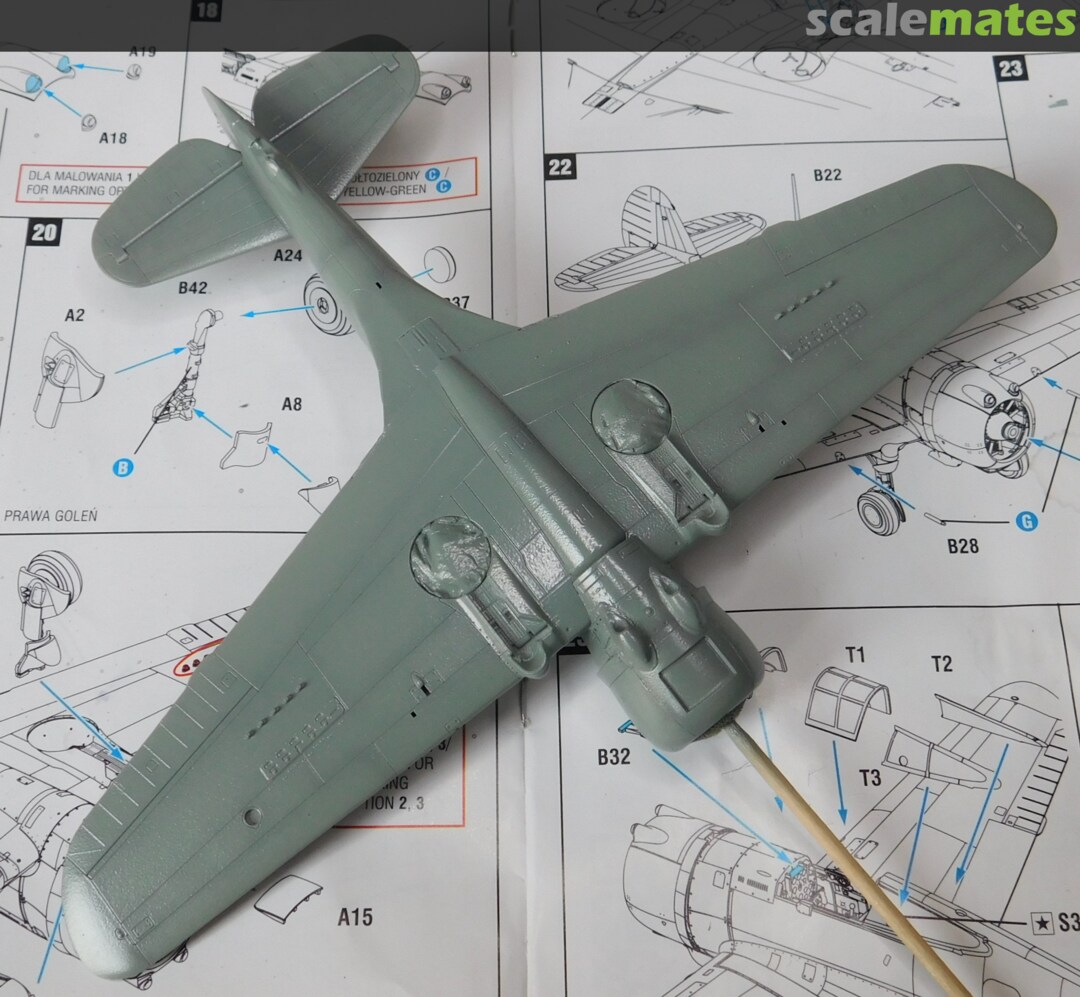
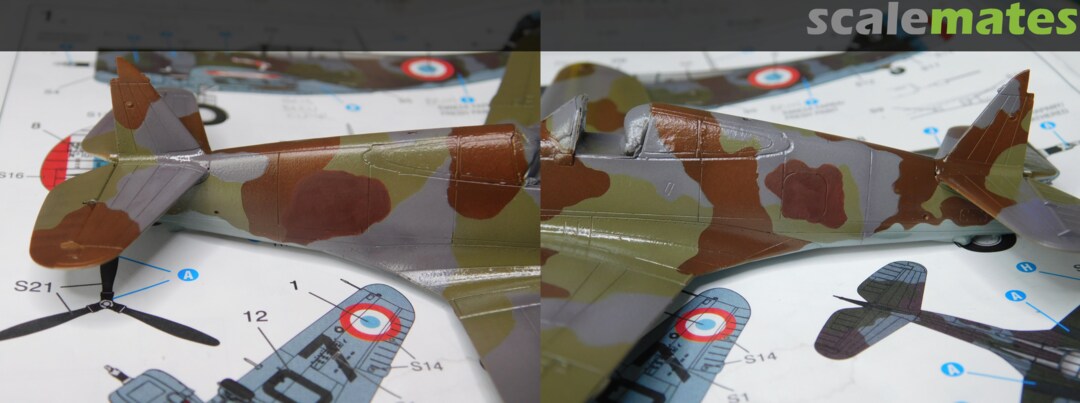
I did some more test fitting after reading - you can see the last pics.
I think it fits the windshield once it's in the middle of these little pimples on the external cockpit sides (or at least I was able to force it so, hope I won't find any cracks after masks removal).
I have the feeling that the difference is in the plastic thickness, thinned it might do the job exactly as you described.
But, I'm not going to thin it, definitely.
PS. I think vacu might not be needed after all - I managed to produce a thin replacement by warming and bending the flat transparent plastic (taken from some packaging).
[img1]

2 22 May, 10:17
Fingers crossed that this will solve the problem. I forgot to mention it in the last post - the rear upper portion of the canopy sits tight on the fuselage spine once closed so this is a factor also to take into consideration. I had a similar problem with the airfix P-40 but trimming down the fuselage portion where the canopy was meant to be glued helped. Got mine Hawk today but still didn' t examine it yet. It will be high on the list just to see if I will be able to tackle the kits problem. Your replacement canopy looks good!
2 22 May, 17:59
Wait, folks, hold your horses! It's the canopy from the Thai Hawk project 😄 I haven't procured the second one yet, I'm not that quick 😄
2 22 May, 18:16
I can't believe Arma Hobby is making these mistakes at this point. We'll have to speak out so Clear Prop can hear our prayers 🙏
Good luck, Łukasz!
2 22 May, 19:06
Muchas gracias mi amigo!
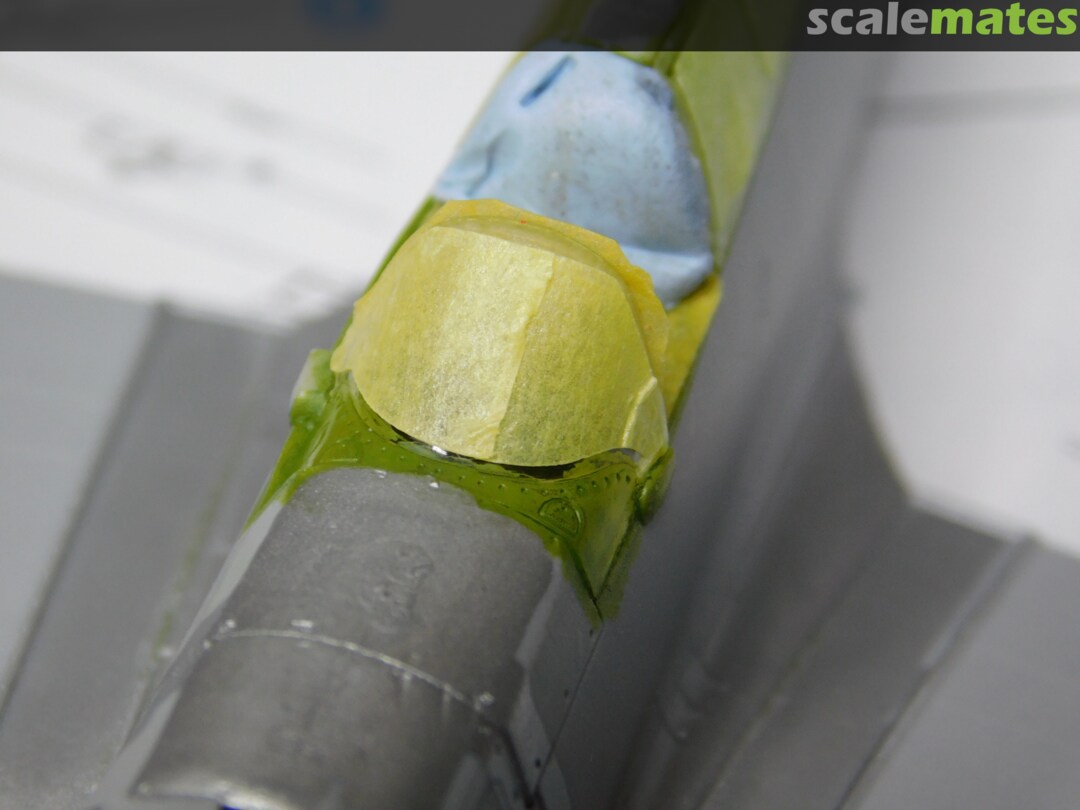
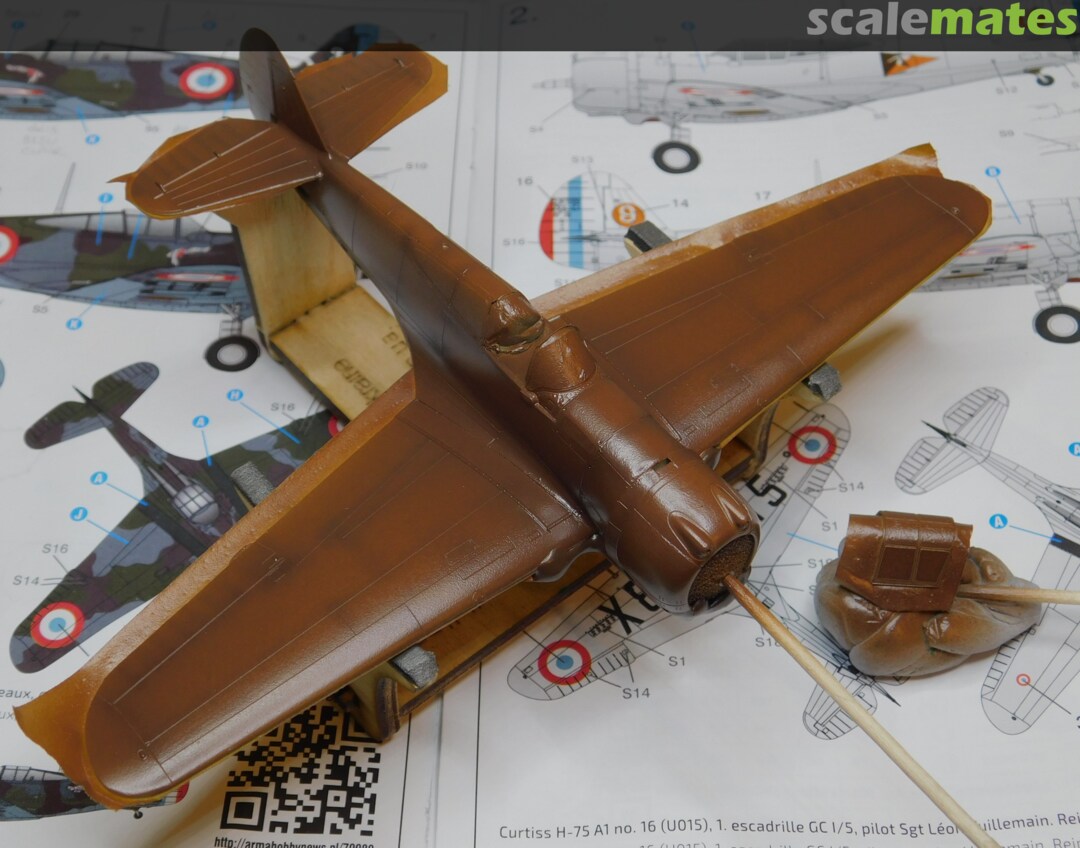
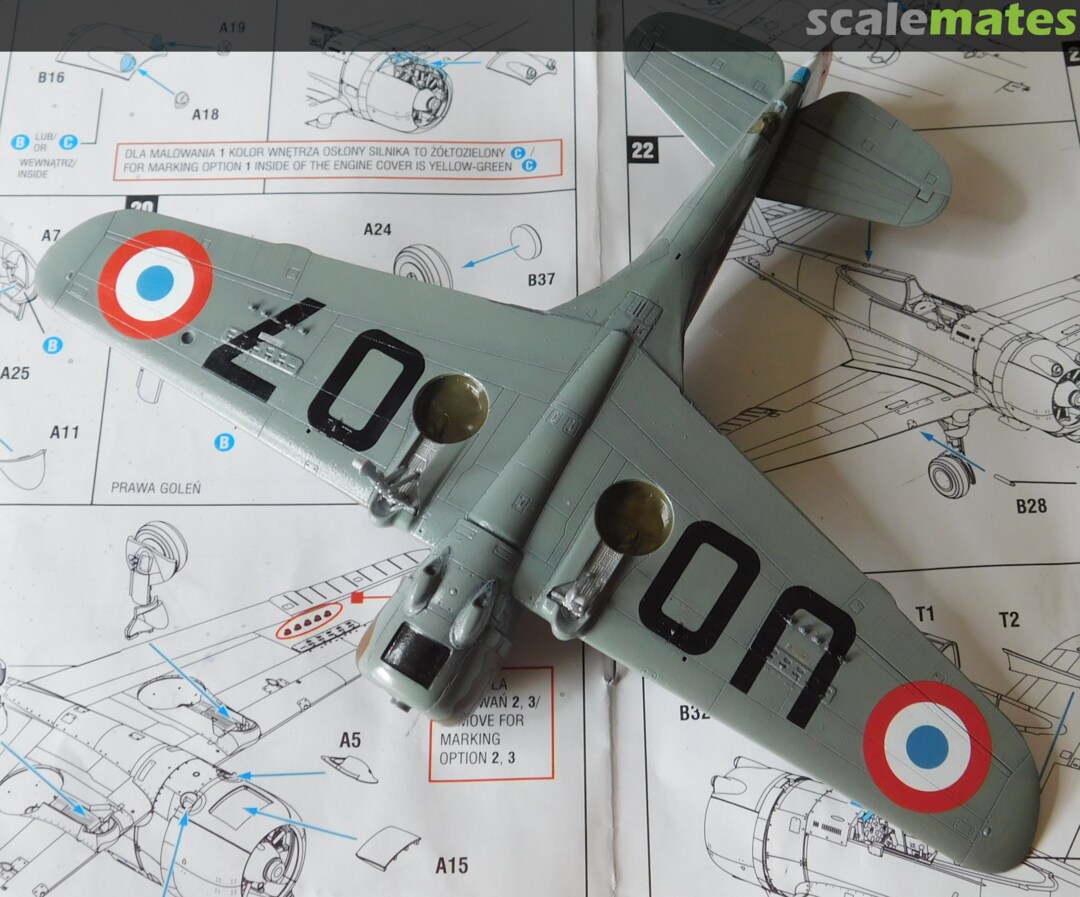
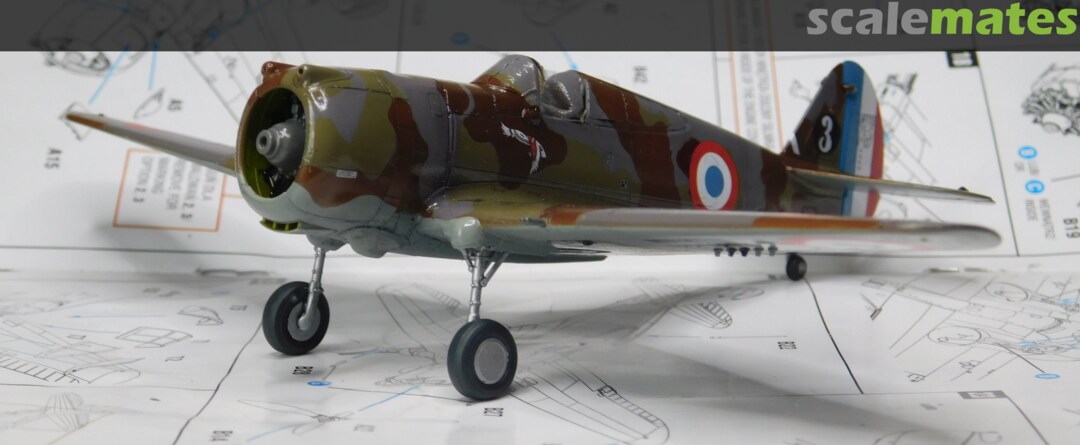
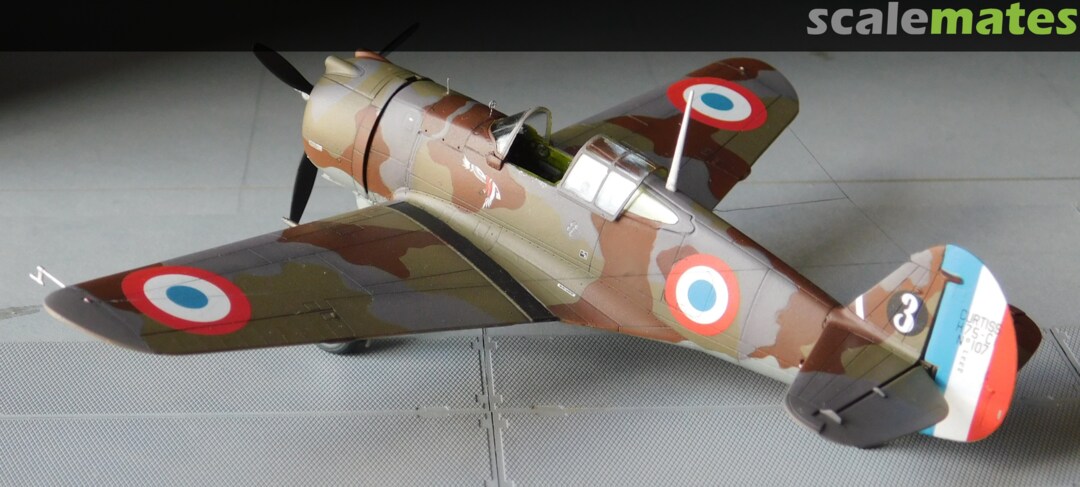
The time has come to start painting - managed to add Gris Bleu Clair & Brun Fonce today.
Now it's time for the camo masking, might take some time.
2 3 June, 20:29
Hi Elias
It's from the Hataka French lacquer set (linked in the project page)
1 4 June, 11:02
PS. I added a bit of the Terre de Sienne to get a slightly faded look as some patches will get the darker shade to pretend they were added later.
4 June, 11:28
Kripes! Looks like my AZ rendition may not be sailing for the bin quite just yet.
1 5 June, 02:04
I haven't started the undercarriage yet, but so far this kit is somewhere between ClearProp and AZ kit in my opinion, bit closer to the former.
5 June, 07:26
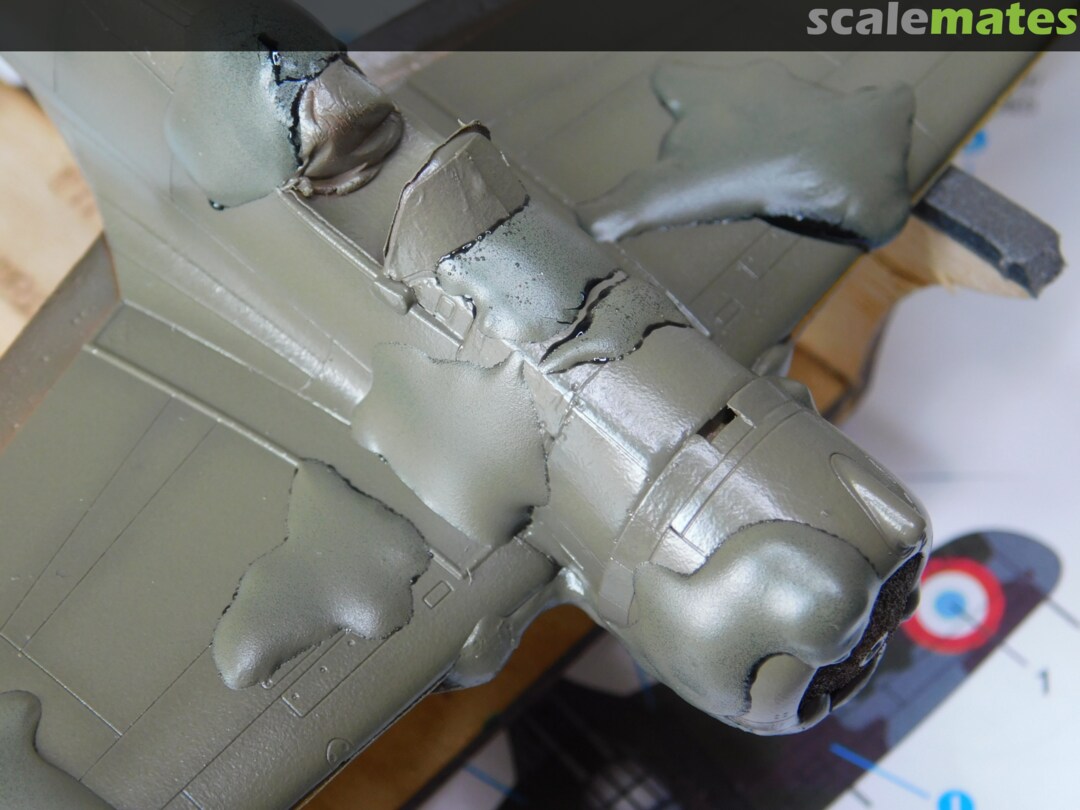
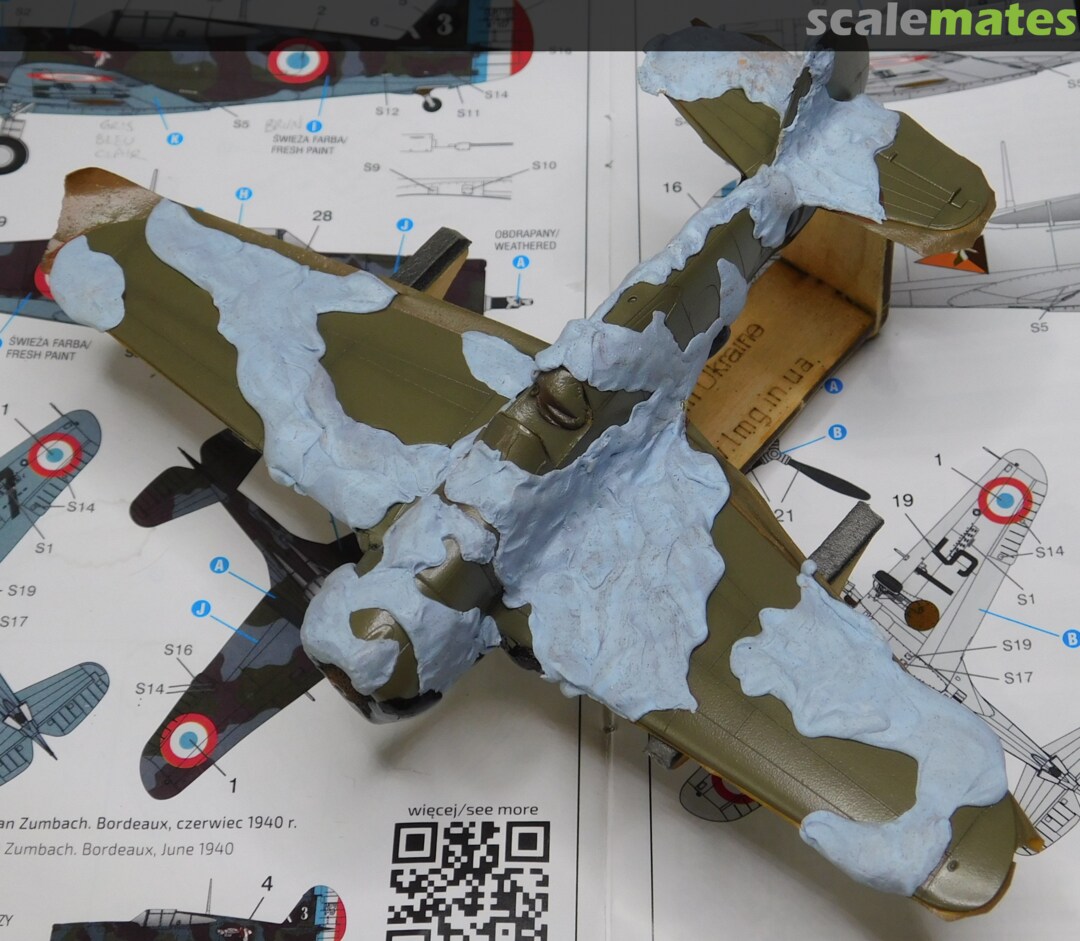
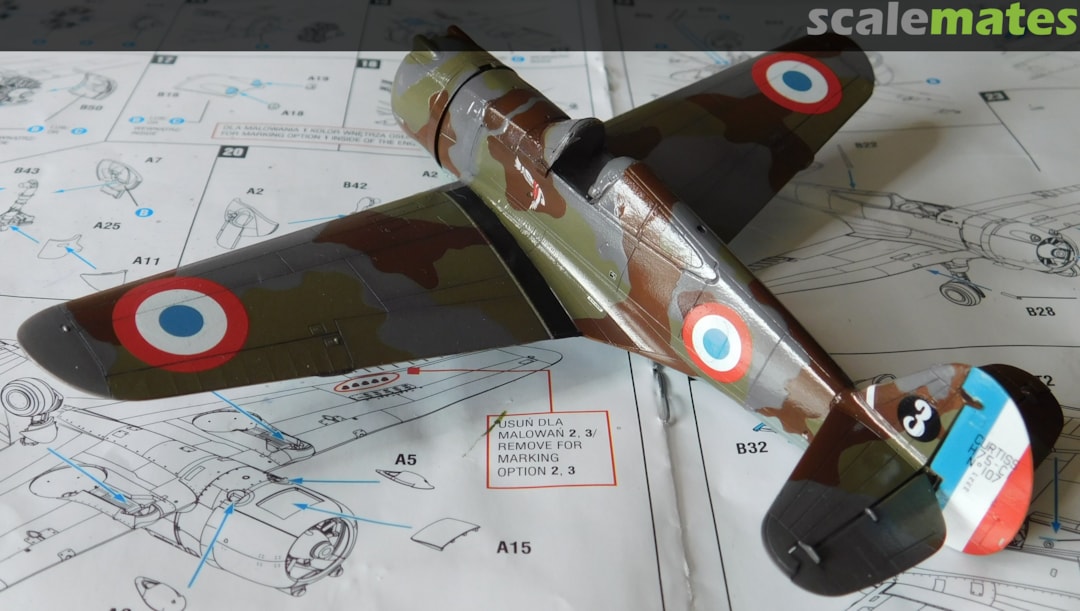
Camo finished - now it is time for the corrections, fresh paint patches on the fuselage and varnish.
I also managed to remove the rudder, which actually is not bad, I can spray some brighter shade on it and decal it separately
3 5 June, 20:26
Thank you mates.
I added the fresh paint blothes today using hand-brushed Vallejo paint. It imitates the quick overpainting well enough for me.
Decals next.
2 11 June, 20:04
Decals and main wash completed. Some panel line corrections next, where the lines were too shallow (or I sprayed too much paint).
1 19 June, 16:40
Hello Łukasz!
I did some research on Polish sites to see if others had the same problems with the front windshield - it turns out that due to a technological problem AH screwed up the fuselage sprues with the fuselage halves beeing bloated out of proportion in the cockpit section - thats why the front widshield doesn't fit at all. AH already identified and remedied the problem and are sending replacement sprues if reported. Here the link: landingi.armahobby.pl/formularz-reklamacji-pl
I know it won't help you now but others might consider to do it. I need to check my kit as I am not home if it also has this problem.
Good work on the painting scheme by the way!
6 25 June, 05:33
Thanks a lot Patryk for your research, I was too busy with 'washing' the Hawk to check it out 😉
Hope the next boxings will have corrections included.
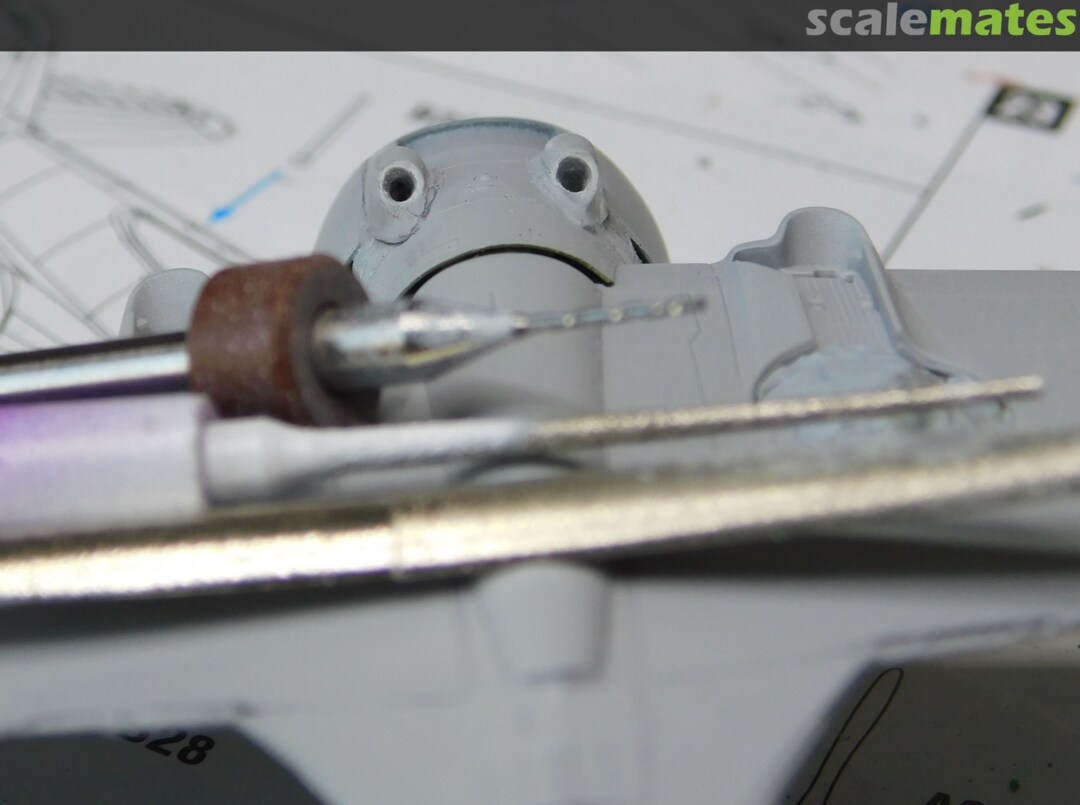
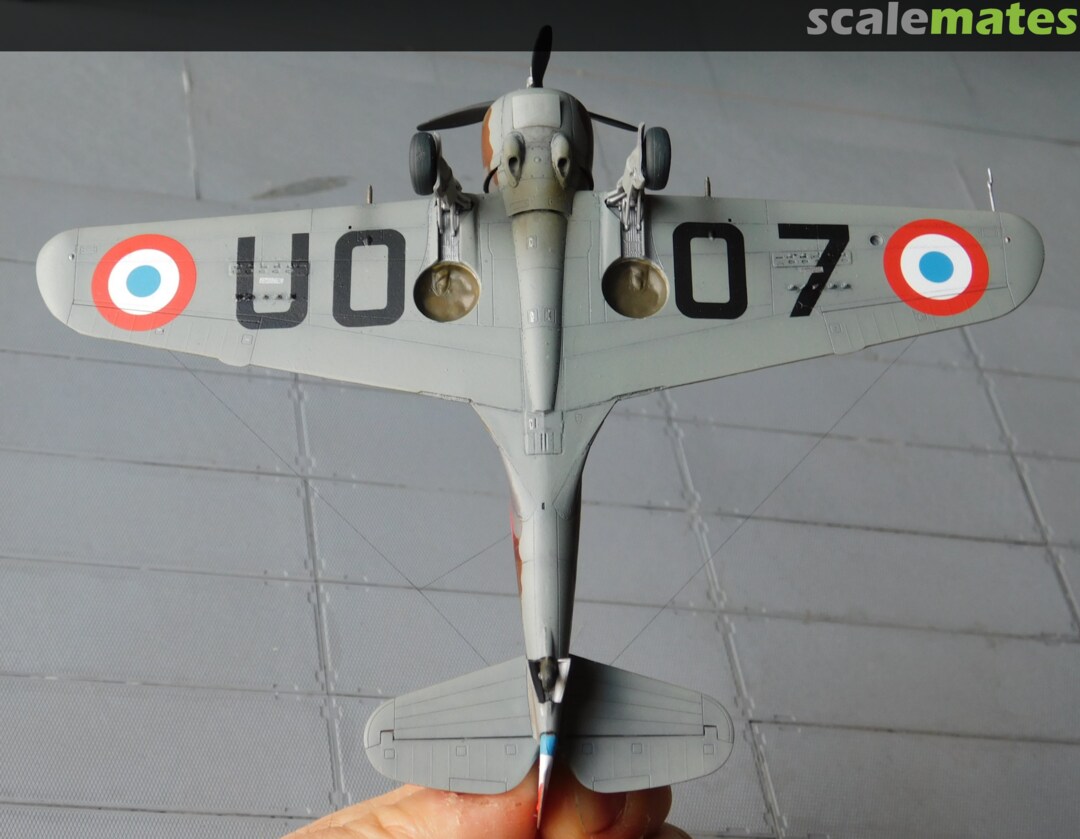
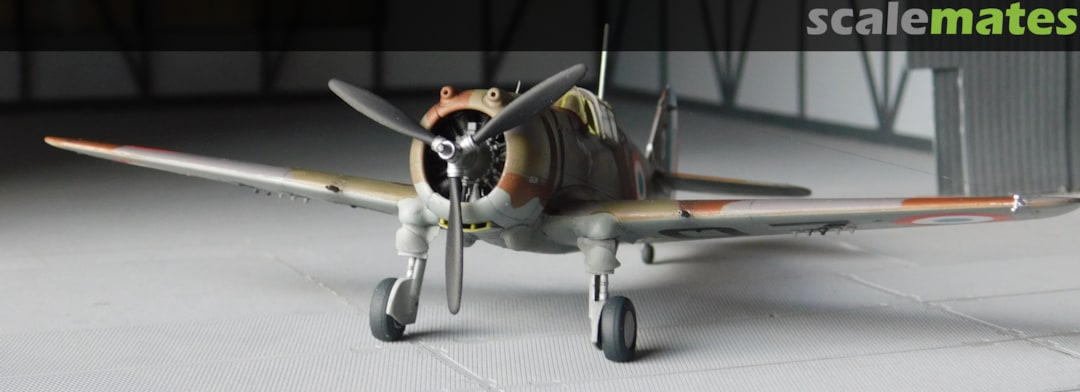
Meanwhile I mounted the wheels.
Prop is drying after painting, undercarriage covers and rigging should be next.
1 25 June, 19:41
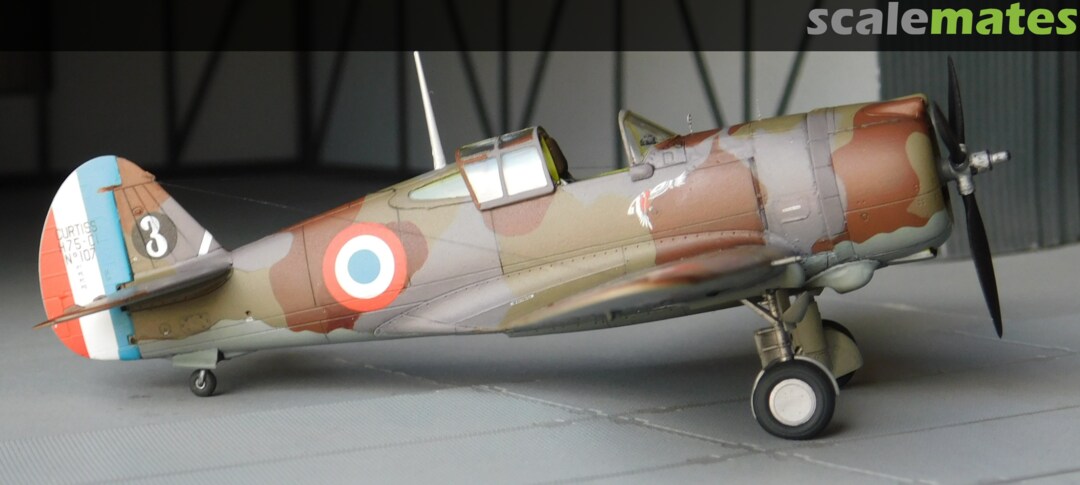
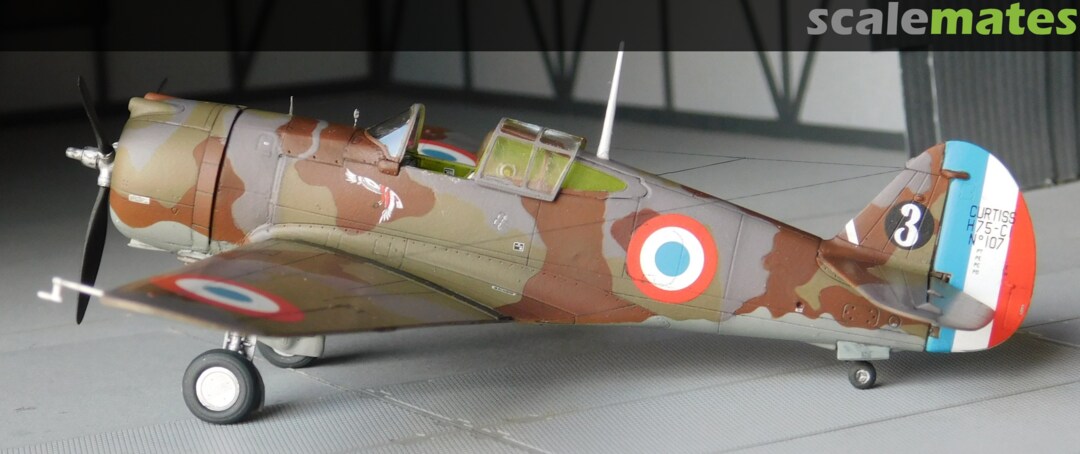
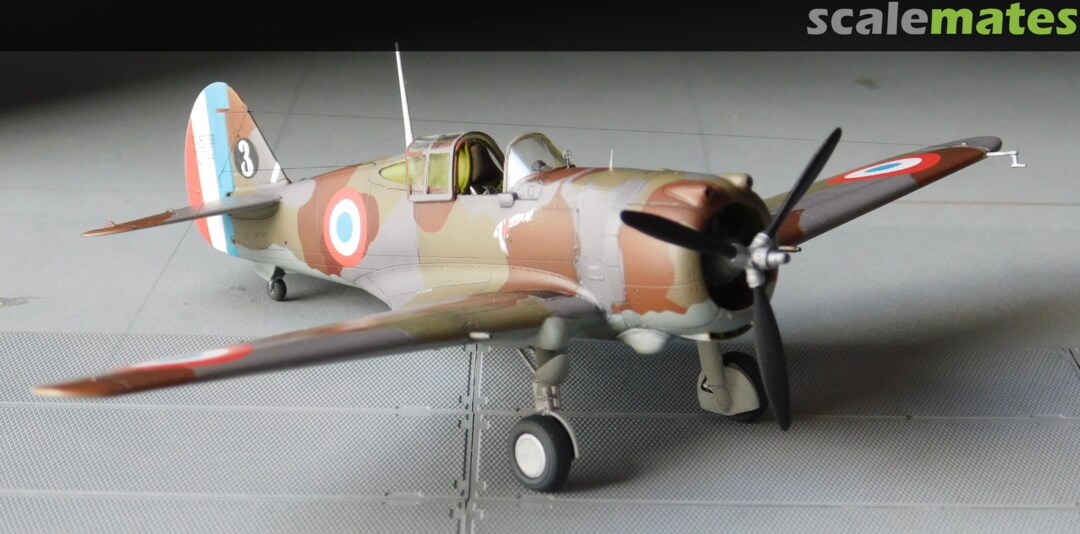
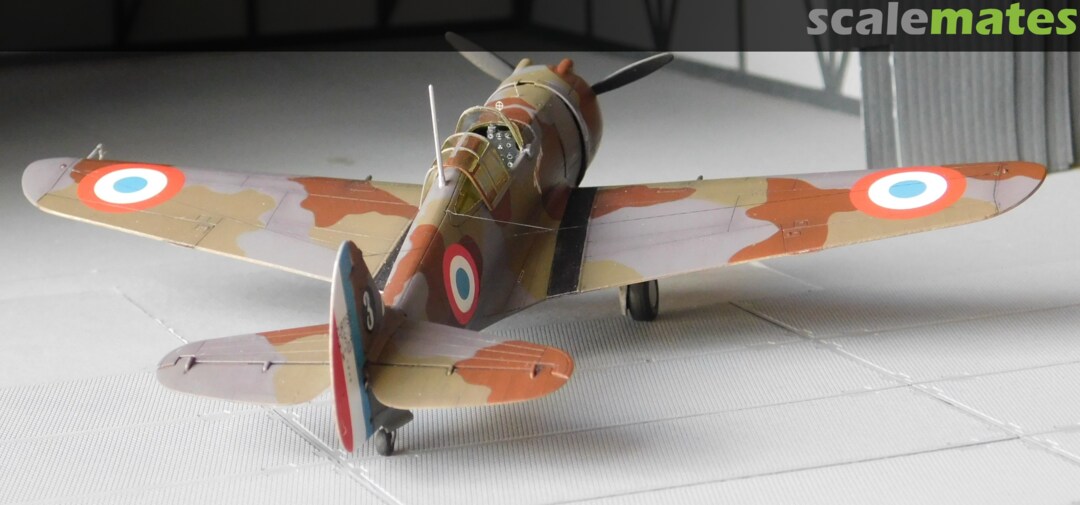
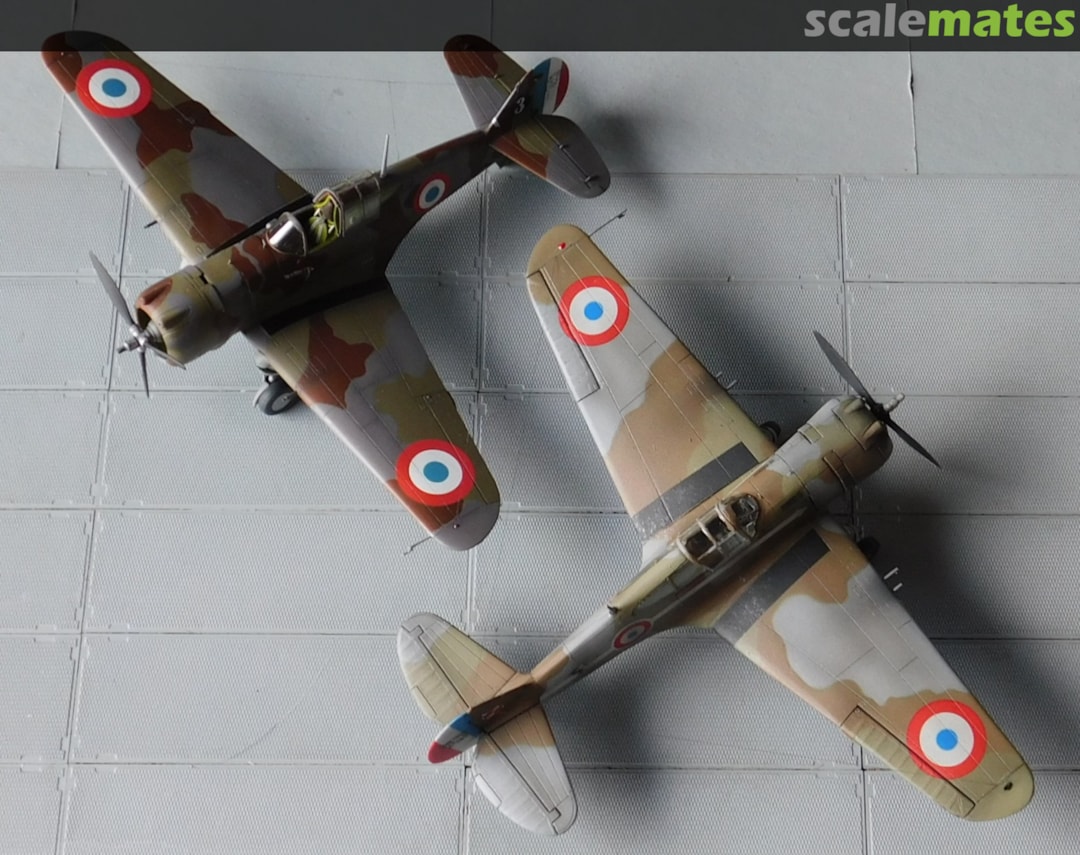
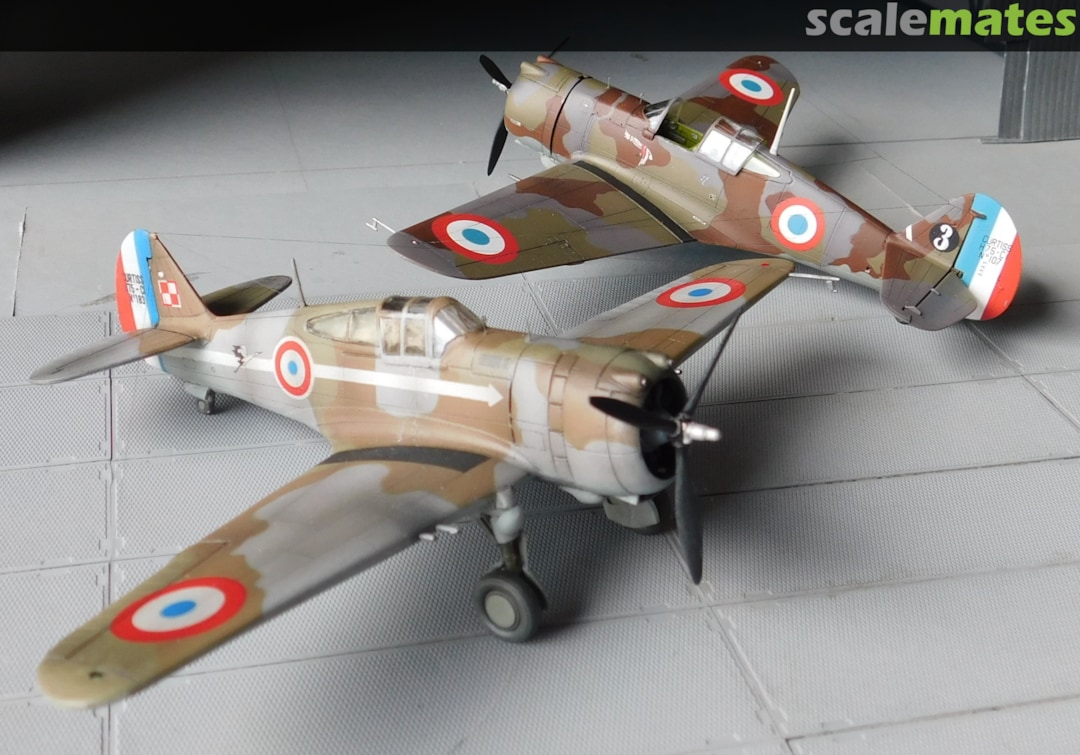
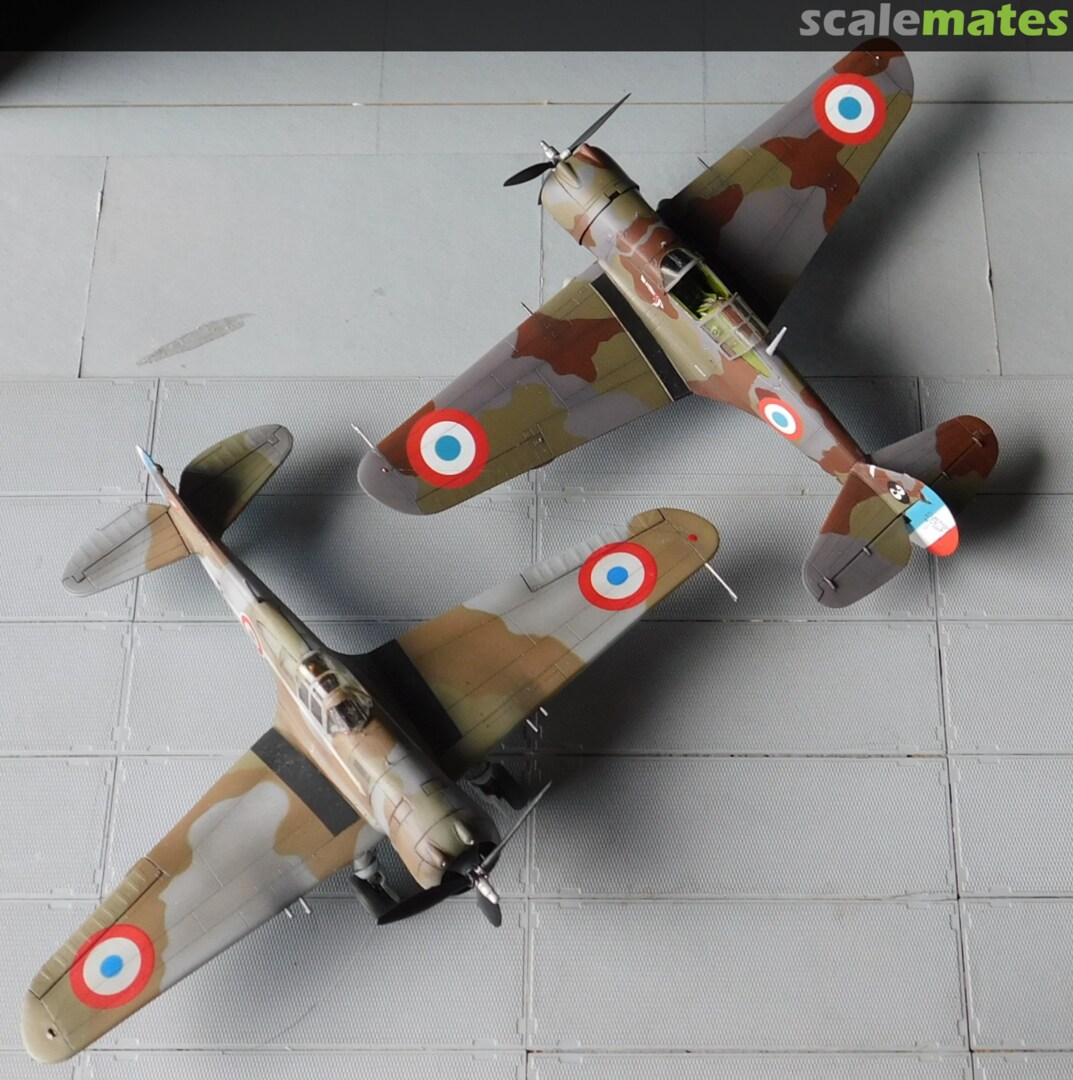
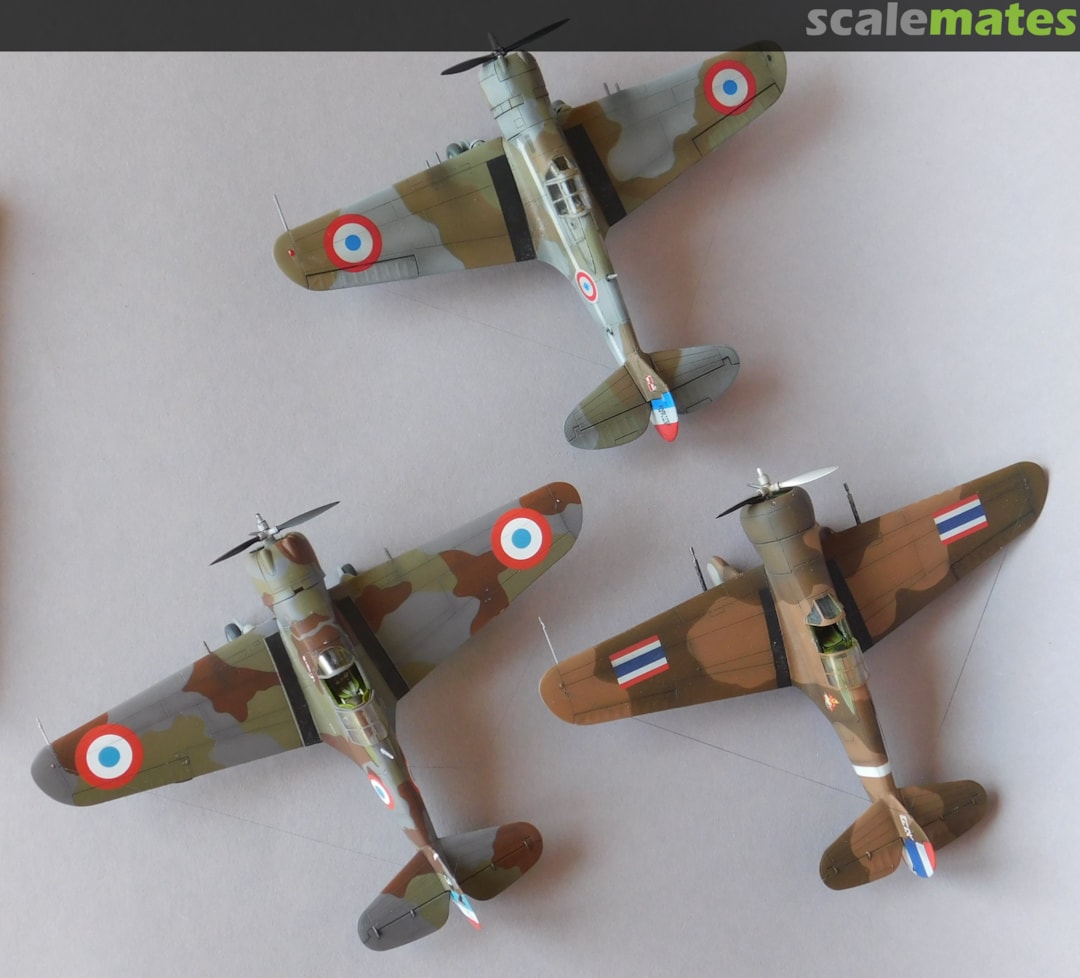
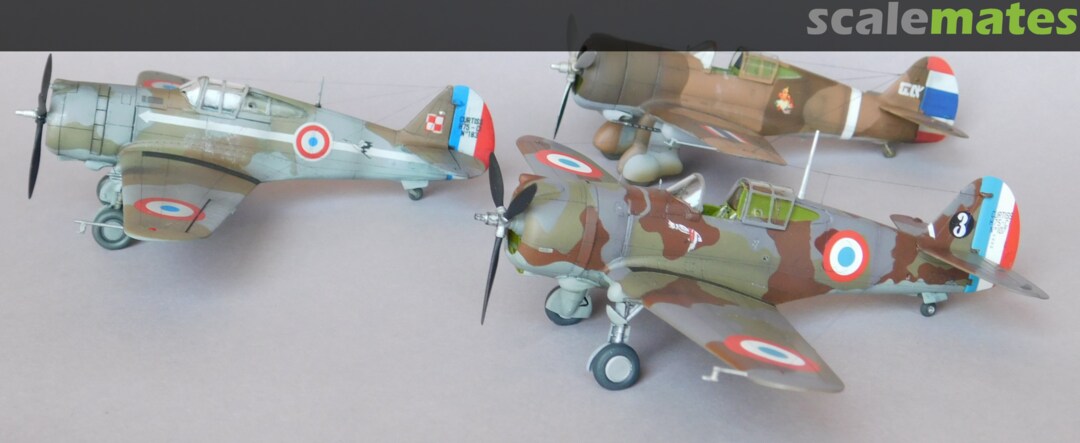
Hereby I report it completed my mates.
Enjoy the pics, skip the painting errors and let me know if you want all my 3 Hawks in one photo 🙂 (AH, AZ & CP)
1 28 June, 09:23
Great great finish and yes, please, add a picture with the three Hawcks! 👍🏻
1 28 June, 11:05
Outstanding result Łukasz! I checked my kit and it has the same problems with the fuselage as yours - did write to AH - we will se if they replace the sprue. Congatulation on beating the kits problems and getting a great final result! Have a Clearprop! China Hawk incoming so those two will be done in the near future - thanks for giving me a good impression of both kits and their problems.
1 29 June, 12:27
I was really looking forward to this kit, but now I'm not so sure. At this point in my life, I'm not fond of models that fight me every step of the way. Thank you, Lukasz, for your honest appraisal.
1 29 June, 12:39
Helo Łukasz,
just to let you know AH got in contact with me today and they already are sending a replacement sprue to me. Arma Hobby should be commended for their customer service, hope they will avoid this problem with their P-36C.
1 30 June, 11:51
Very nice result.
Great job, Łukasz and thanks for the comparison 👍
Congrats!
1 30 June, 18:45
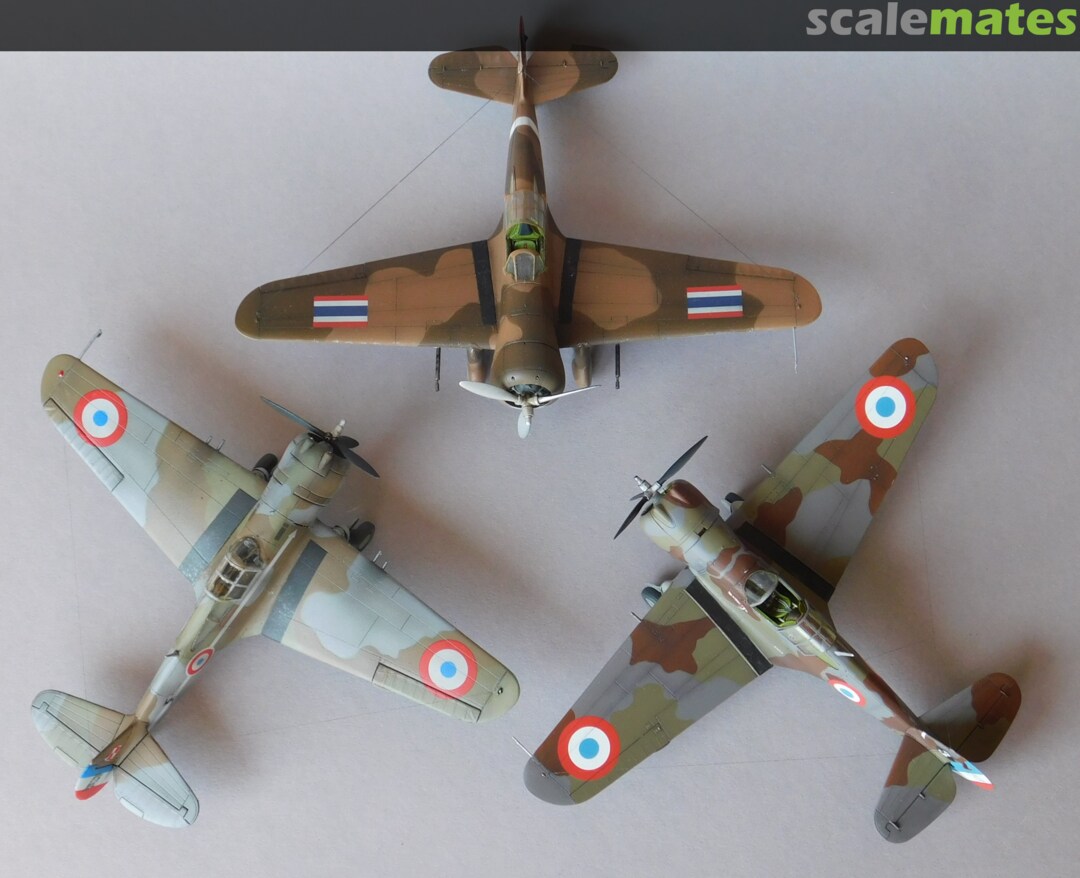
Thanks everyone for your comments and likes, much aprecciated.
I have added the 'family' photos - afterwards I broke off the Thai Hawk pitot resin end, need to add the spare one soon.
5 5 July, 20:10


