

AFV Club AAV7A1 amphibious assault vehicle
- Scale:
- 1:35
- Status:
- In progress
- Started:
- June 1, 2025
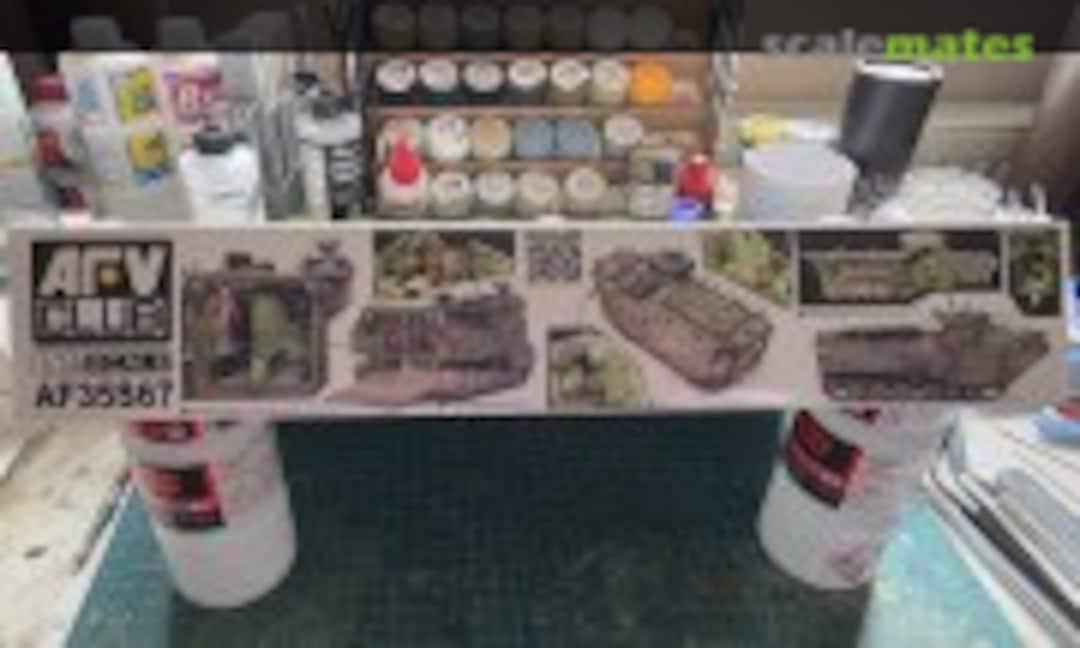
This is a build of the AFV Club AAV7A1 amphibious assault vehicle. I think the main plastic was originally from Hobbyboss moulds. This kit has a full fighting compartment interior.
Project inventory
Static model kits
")
/search.php?q=*&fkMATEID[]=95096&showast=no&fkWORKBENCH[]=WB95096&page=projects&project=213622
Photoalbums


Comments
2 7 July, 14:09
Update 01. 07.07.25. High folks. Welcome to a new build of mine. I started this kit about a month ago. Been on it off and on. Had a break to get the right paints. I have been working on the lower hull, suspension, wheels and tracks. Because this kit has an interior, I have had to fill in a load of large ejection pin holes on the inside of the lower hull. Hopefully most of them will be hidden by interior components. Will just have to see how it looks under some paint. There were no poly caps for the wheels or drive sprockets etc. So, I have had to glue them in place. The lower hull and wheels were painted in the Nato Green colour before gluing the wheels on. The rubber wheel tyres were done with a Black Poska Paint Pen. The tracks are of the rubber vinyl type. Not deal because they easily flex out of shape. I painted these tracks up before fitting over the wheels. They were painted all over with Dark Iron. Then the track pads were painted with Rubber Black. Tracks were then dry brushed with Polished Metal, and the pads were dry brushed with a Dark Grey colour. Then the tracks were stretched over the wheels. I decided to glue the tracks down to the top of the middle and rear return rollers. This gives a more realistic sag. The front part of the tracks and wheels will be hidden by side skirts. Now that the wheels and tracks have been done, I can start on the interior. Most of this will be in a Cockpit Light Green colour. That's all for now. Enjoy.
7 July, 14:28
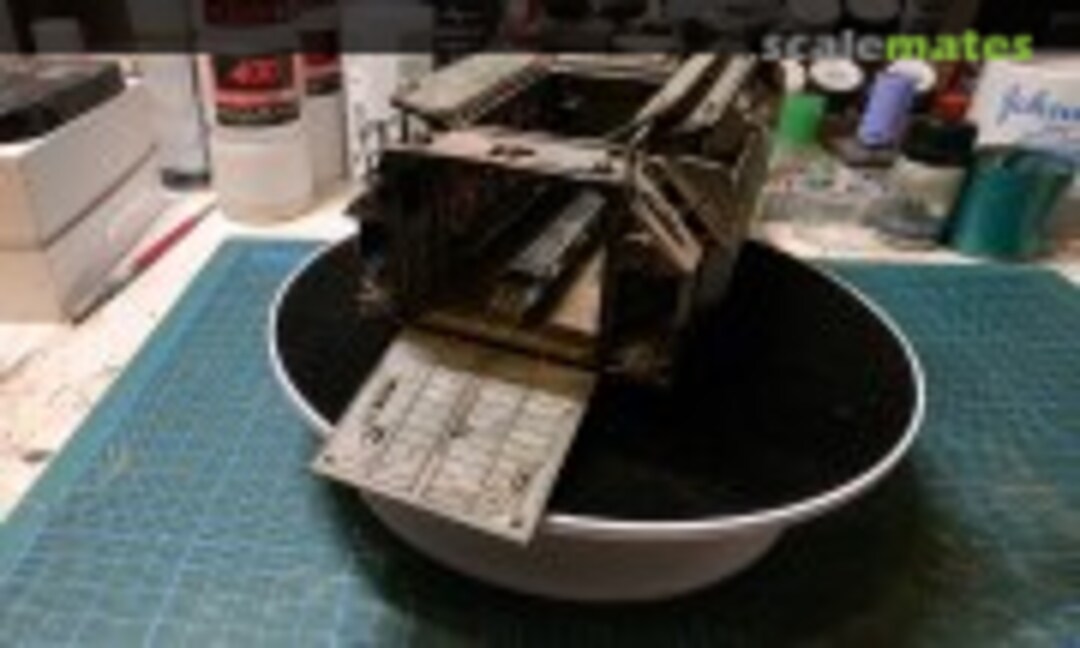
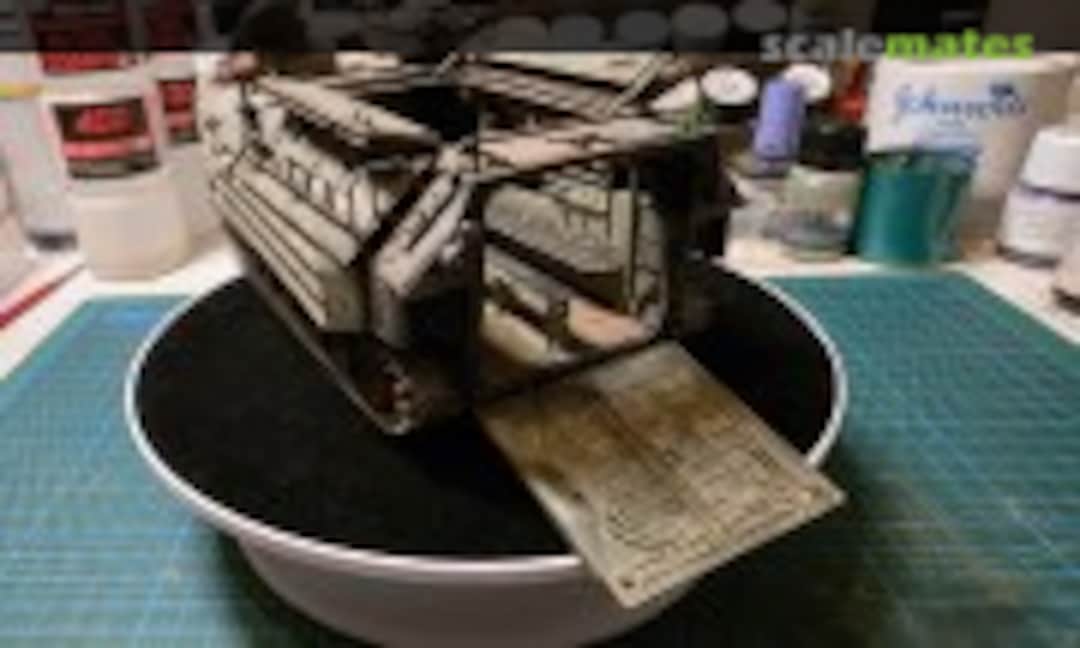
Update 02. 29.08.25. I have been slowly working on the interior. There are a lot of large ejector pin marks on the inside. I can tell that the moulds originally come from Hobbyboss. I have done my best to fill and sand them. But some can still be seen. I just hope that most will be hidden by various bits of equipment etc. I am painting the interior with the new Ammo Mig Atom paint "Sky Green 20140". Because there is lots of detail painting of some parts, I am painting as I go. I am having to use the photos on the box and instructions as a guide. Because there are no detail colour call outs in the instructions. I painted the cushions of the bench seats in Semi Gloss Black. But because I hand painted these, the surface was quite rough. So, I have rubbed in some dirt and sand pigment, to tone them down a bit. I will be weathering the interior once I have completed painting and building it all up. There are extra resin parts that don't come in the base Hobbyboss kit. Life rings, ropes, radio parts etc. Included are 2 pics with the upper hull placed in place, to test fit. Its slowly coming along. Enjoy.
29 August, 08:51
Update 03. 02.09.25. OK, I have done the right side of the interior. Assembled and painted the front 2 bulkheads. With the drivers compartment completed etc. The back door panel has been fitted. Plus the front side bulges and rear side panels fitted. Seams filled and painted in the overall Nato Green colour. These parts will be covered in extra armour pieces later. So the seams didn't need to be a neat job. The next job is to work on the inside parts of the roof piece. That's it for now. Enjoy.
2 September, 16:34
Update 04. 09.09.25. Hi again. I have now moved onto doing the inside of the upper hull. You can see in some of the photos that this part was full of large ejector pin marks. Luckily most wont be seen. But some near the rear would be seen if you look up to the roof section. I have done a filling job on these marks, with limited success. I could have made a better job of it. But twice, my filling attempts just ended up being ripped out of the holes when I tried to sand them. So, in the end I filled them with VMS Black Super Glue. It could be better, but once weathered you shouldn't see much. I have added a pic from the instructions that shows the parts fitted to the upper hull sides. This shows all the colours the parts need to be painted. This is what I am working on now. Lifebouys and ropes need to be painted etc. My painting of all the moulded on cables, could be better. But that will be better with some weathering applied. That's it for now, enjoy.
9 September, 12:41
Update 05. 27.09.25. Another update. Its been awhile since the last update. It has took me ages to build up and paint the internal stuff, such as life rings etc. I have finished all the inside for now. I added a coiled rope around 2 mounting brackets that do not have anything fixed to according to the instructions. Weathering has been done inside by applying a Dark Dirt Florymodels Wash all over the inside. Then some dirt and rust pigments were fixed in place all over the floor. Then the upper hull was held down and glued to the lower hull. Unfortunately, I had to use super glue to fix the rear plate against the back of the upper hull. This has resulted in my back door opening being slightly warped out of shape. It was too late to alter it, as the super glue had dried. Hopefully it won't be too noticeable once the rear door is in place. I can tell that the base plastic is Hobbyboss. This is the 3rd Hobbyboss kit that I have had issues with. The seam between upper and lower hulls has been filled with Mr Surfacer 500. Now I can start to fit all the bits and bobs to the upper hull etc. That's all for now. Enjoy.
27 September, 16:05
Update 06. 01.10.25. Here's another update. Well, things did not go well. Been working on the upper hull parts. Plus the extra armour sides etc. I got the roof doors built up great. They opened and closed properly. But then the instructions told me to glue 2 sleeves over the top of the roof door hinge rods. I knew that I should have just left these off. But I followed the instructions and fitted them. Unfortunately, my extra thin cement seeped behind these sleeves and stuck onto the door hinge rods. So, I had to rip off these 2 sleeves and chuck them out. Or my roof doors would have been stuck in the closed position. I ended up with ugly glue marks and my door hinge rods got bent out of shape. Anyway, to hide some of this disaster, I glued on some thin strips of plastic card next to the door hinge rods. Hopefully, this will all be hidden once it all gets painted later. I now just have the turret and the rear door to do. Then its onto painting the main body etc. That's all for now. Enjoy.
1 October, 13:23
Update 07. 17.11.25. Hi again. Its been awhile since my last update. I lost my mojo a bit. Anyway, I have now finished the majority of the main build, and will soon be ready for the main painting. I made up the rear door. But the location of it is not great. It just pushes onto 2 lugs at the bottom. No proper hinges. So it is awkward to get it to stay in place when in the open position. I have also finished the small turret. You will notice in the photos that there are no openings for the turret hatch vision ports. You do get clear parts to glue on the outside of these ports. I toyed with the idea of cutting out the apertures. But decided not to do that in the end. I just want to get this one finished. I have painted the vision ports in a dark blue, and glued on the clear parts on top. I am going to paint the backs of the other vision port clear parts in Tamiya Clear Blue. Once that is done, I will pain the outside vision ports with Maskol. Then it will be ready for painting. That's it for now. Enjoy.
17 November, 10:32
Update 08. 22.11.25. OK, I have now completed all the main painting. Touched up detail on the outside, such as the guns, rear lights etc. The scheme pictures showed that the camo was applied, but not over the extra armour pieces. I decided that I wasn't going to piss about doing it that way. I am reasoning that the crews would have re-painted the camo after the new extra armour pieces were installed. So, that is how I have done it. Colours used were all Tamiya, Nato Green, Nato Brown & Nato Black. I have toned down the camo by mixing a slightly lighter shade of each colour. Then lightly spraying in the middle of each bit of camo. I have also rusted up the end of the exhaust cylinder. I did this by first liberally painting on some Mr Surfacer 500. Let that dry for about an hour. Then stipple it with an old toothbrush. This creates pits and scores. Then once fully dry, I painted it with Ammo Mig Rust Colours. Starting with the darkest shade of rust. Then dry brushing each lighter shade on in turn. Next will be a Gloss Coat, before putting decals down. That's all for now. Enjoy.
22 November, 09:43
Update 09. 29.11.25. Hi again. I wasn't happy with doing all over camo. When I looked at reference photos, they all had the extra armour pieces as just plain green. So, I decided to re-paint those armour pieces in the Nato Green. A gloss coat was then applied, then decals done. There wasn't many decals. A Brown Florymodels Clay wash was applied. Left to dry, then the wash was rubbed off with cotton buds. After that a Sand Florymodels Clay wash was applied, then rubbed off once dry. The wash was also applied inside the hatches, top doors and rear hatch. Once that was done, a flat coat was applied all over the outside. I have yet to apply a flat coat to the inside of hatches and doors etc. That will be next. After that, I will start to rub some sand pigments on, then see what it looks like then. Maybe a light spray of a dust coat too. That's all for now. Enjoy.
29 November, 19:02
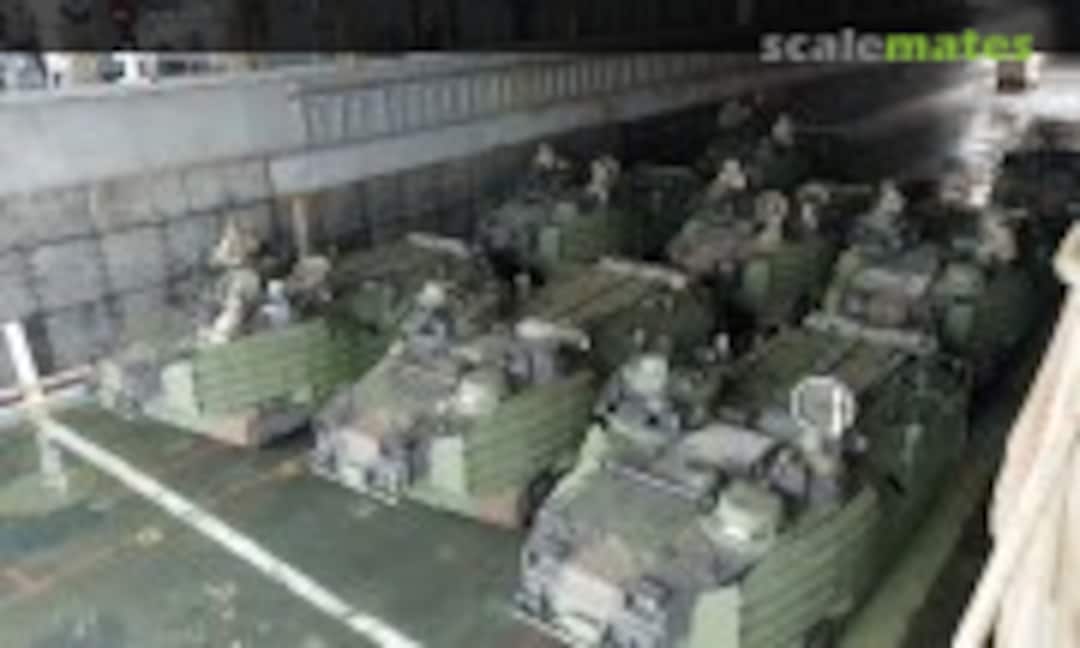
Update 10. 02.12.25. OK folks. I have now applied lots of sand pigments from a Tamiya Weathering Set. I am taking inspiration from pic 210 on my album. I took this from the Wikipedia page on this subject. They clearly went to Iraq and did not change the camo to a Desert Sand one. So, I have made it all mucky with sand. I have bought the Trumpeter US Army Armour Crew / Infantry set. I should be able to make some of these figures fit into the hatches. I also have some packs etc that I can add to the stowage racks on the sides. That will be my next task. Enjoy for now.
2 December, 19:44
