

Stage fright
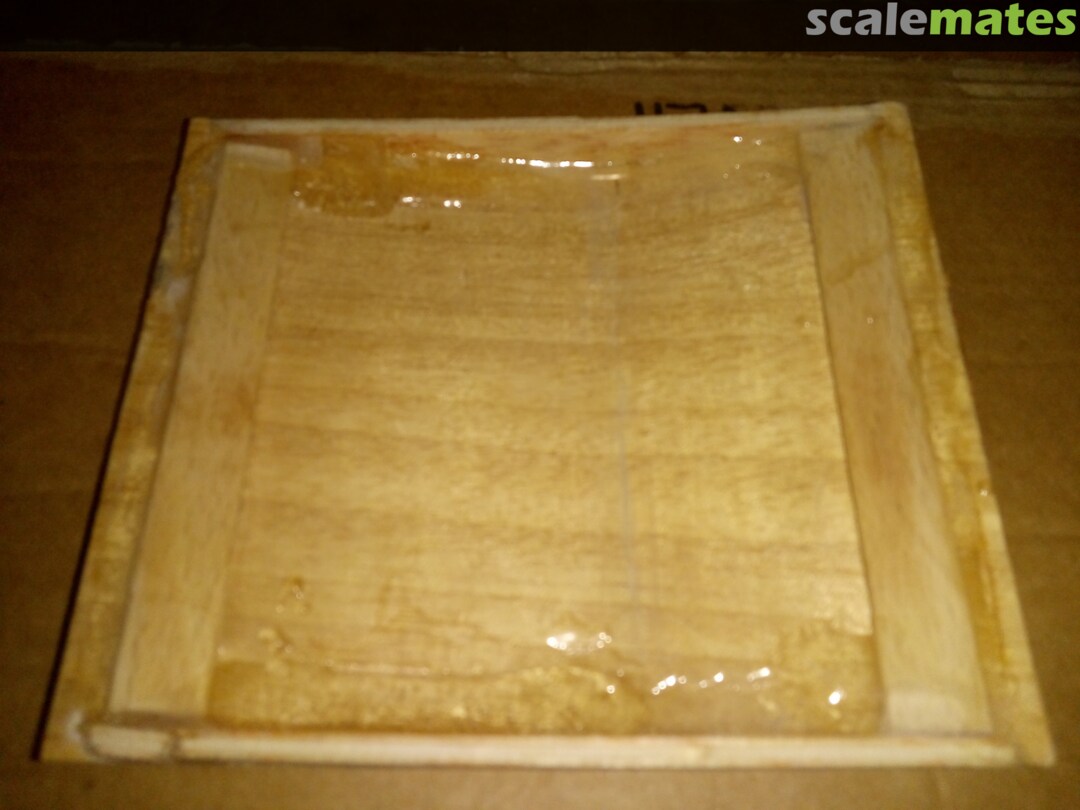
 1September 18, 2020Step 2. This step was also not required
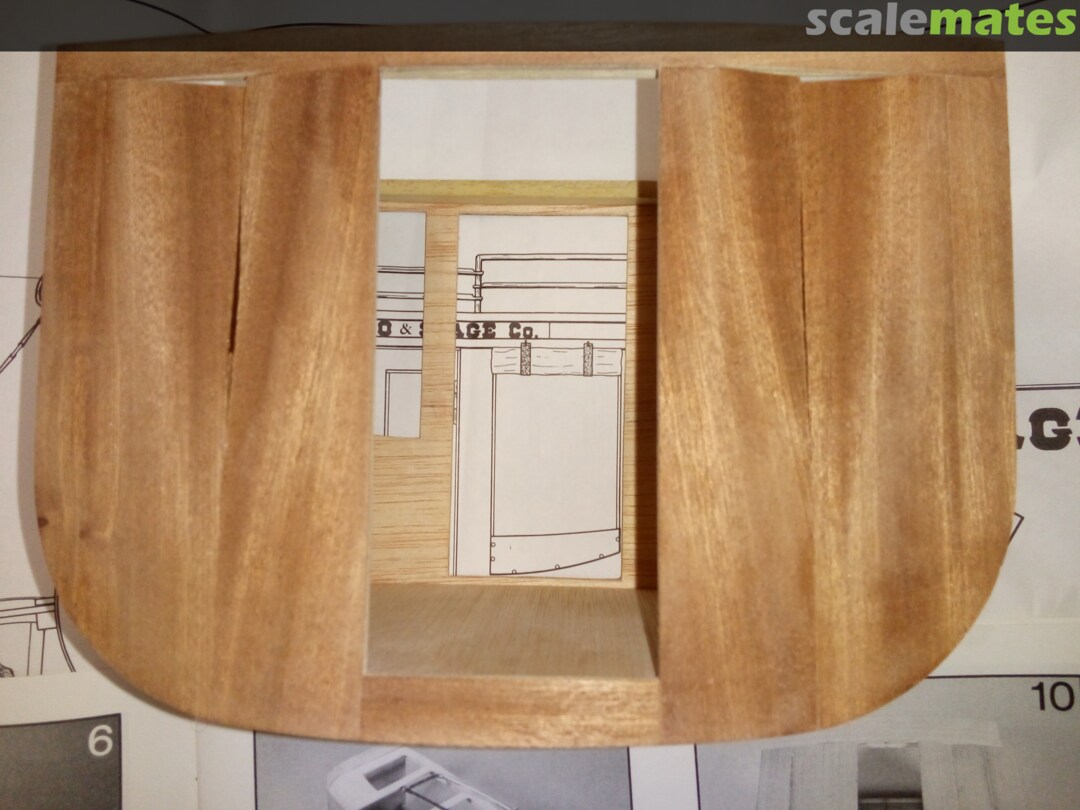
 2September 18, 2020Step 3. First step that I had to do to start construction and was easily accomplished
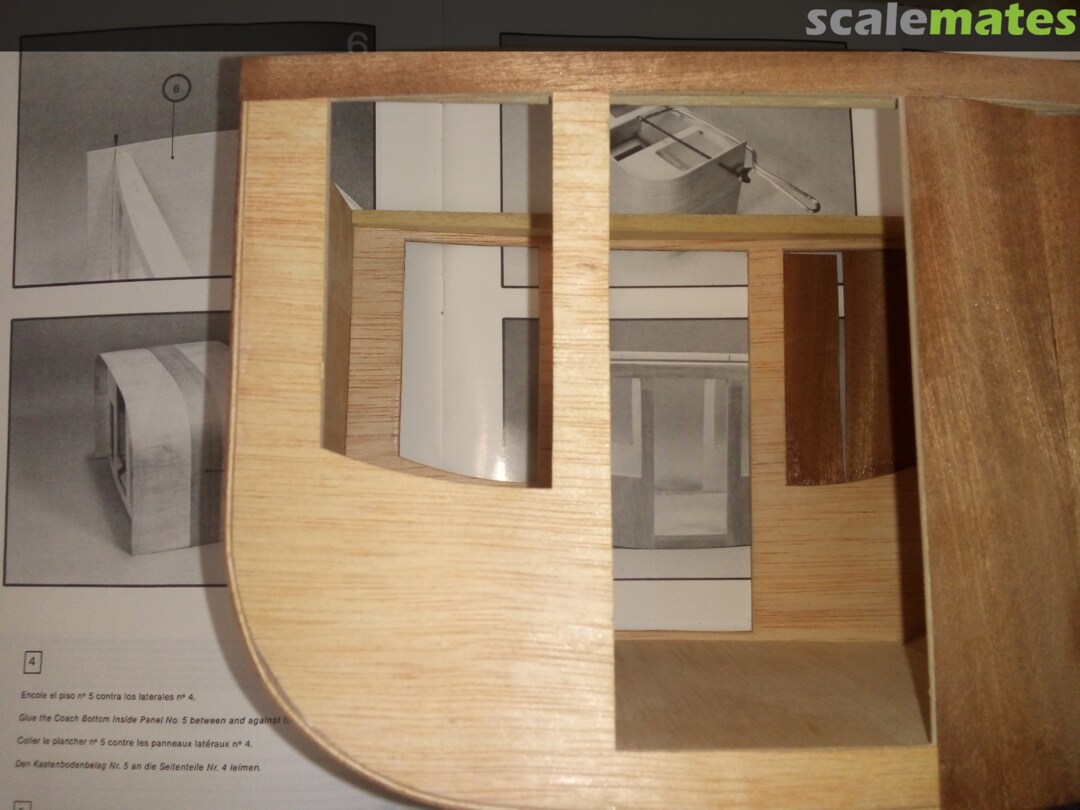
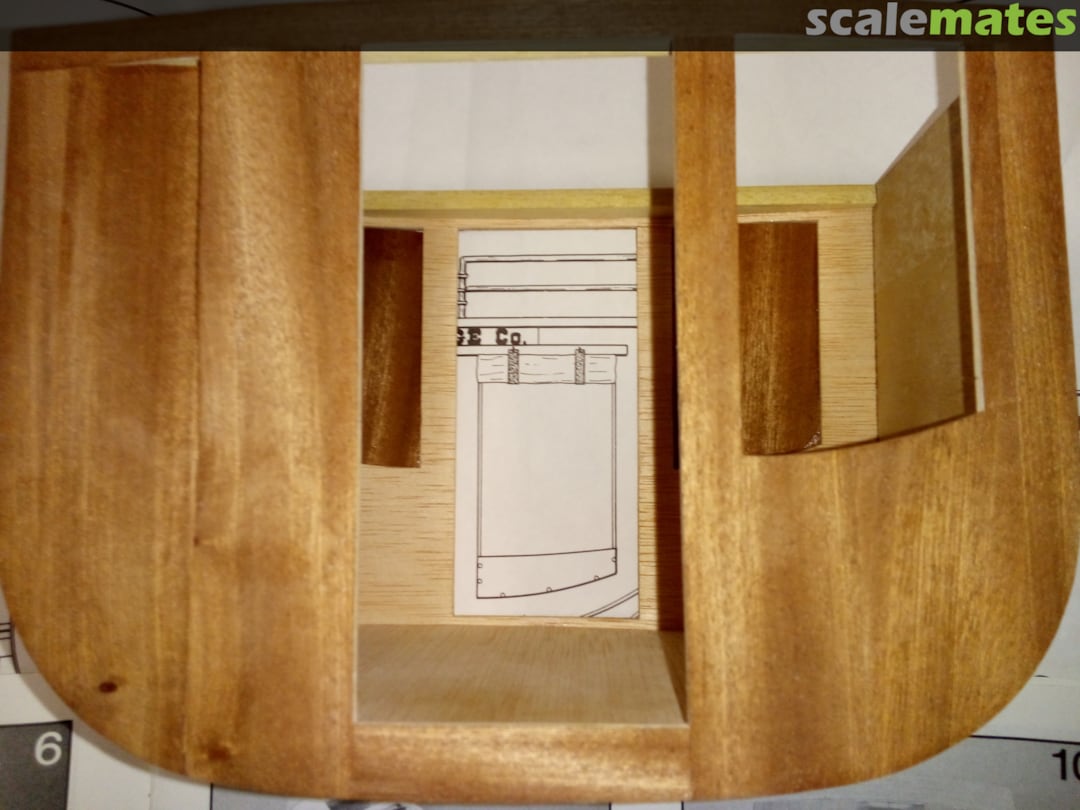
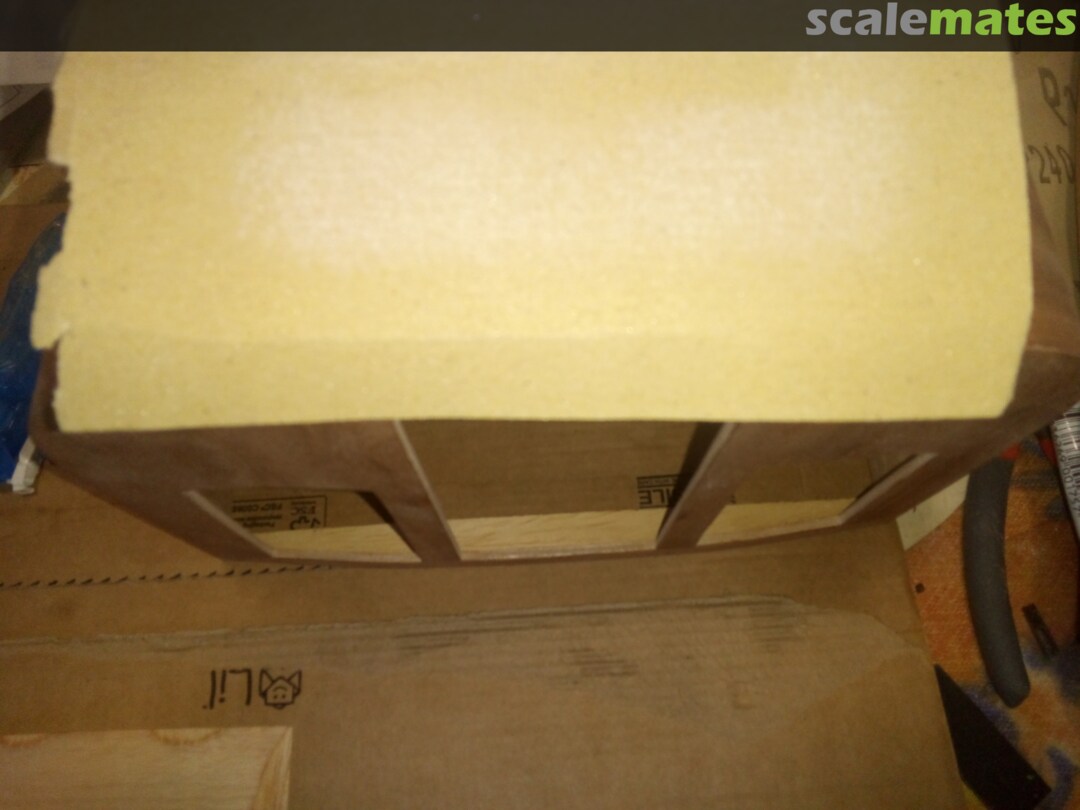
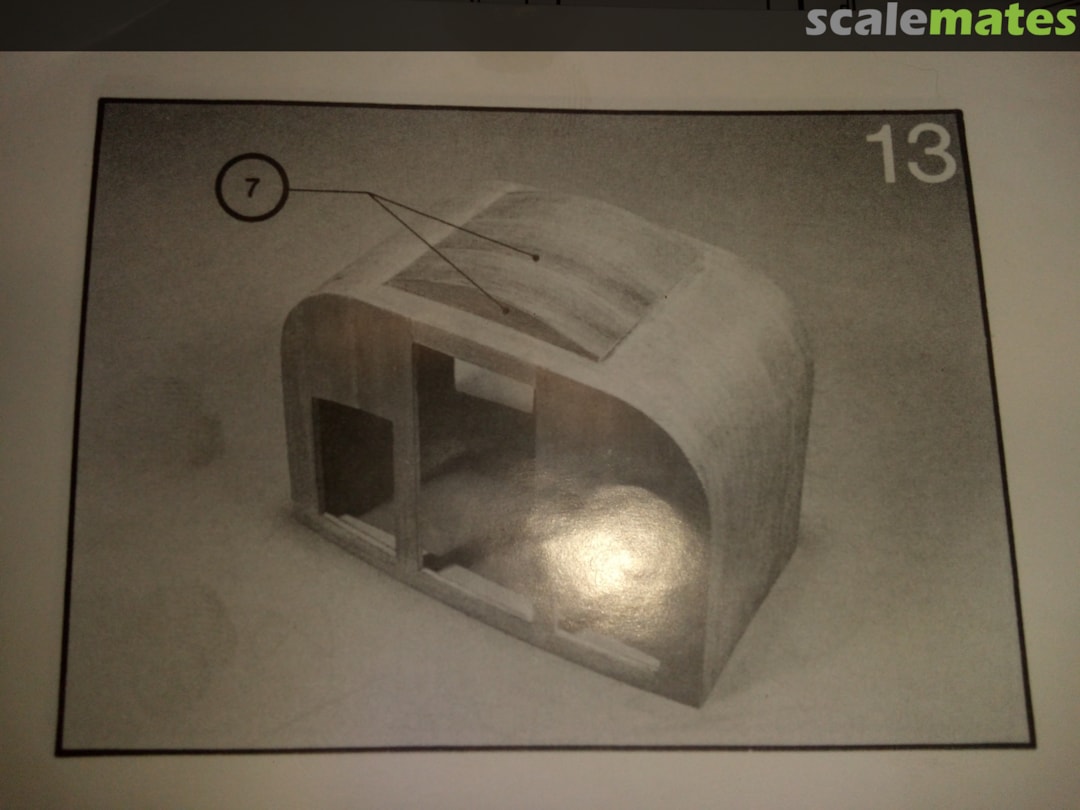
 3June 29, 2020Step 4. Joining the two sides with the internal bottom. To achieve this result is a lot more difficult than what is shown
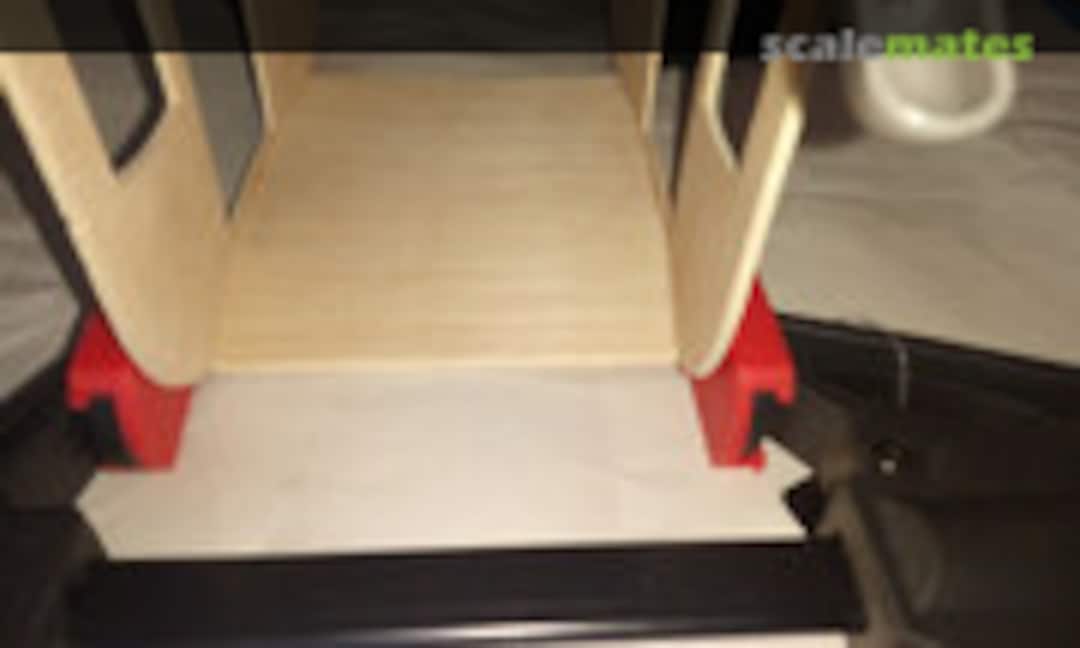 4June 29, 2020
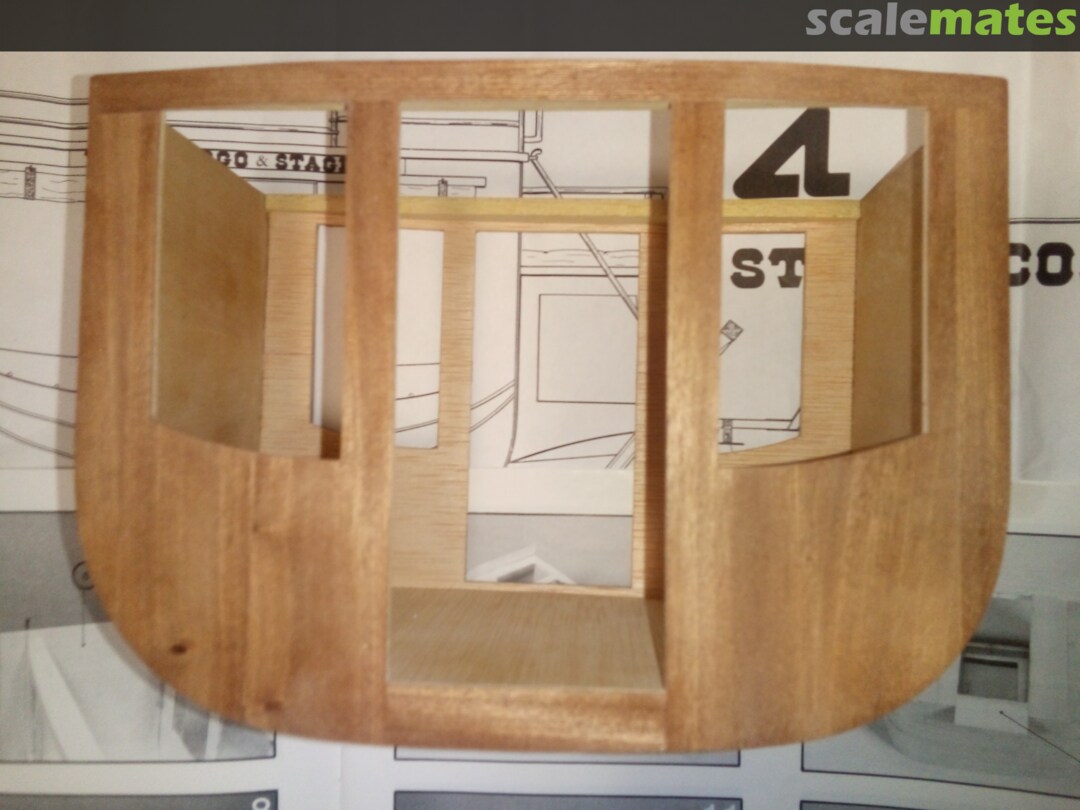
 5June 29, 2020
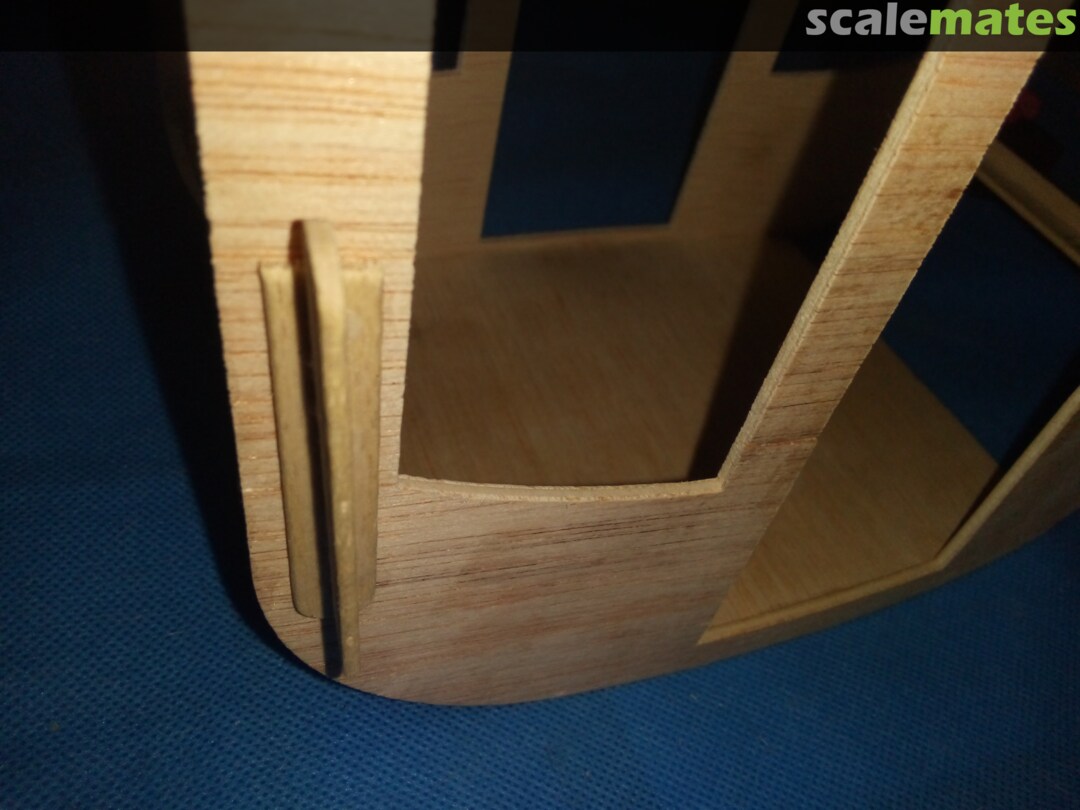
 6July 5, 2020Supporting the broken side
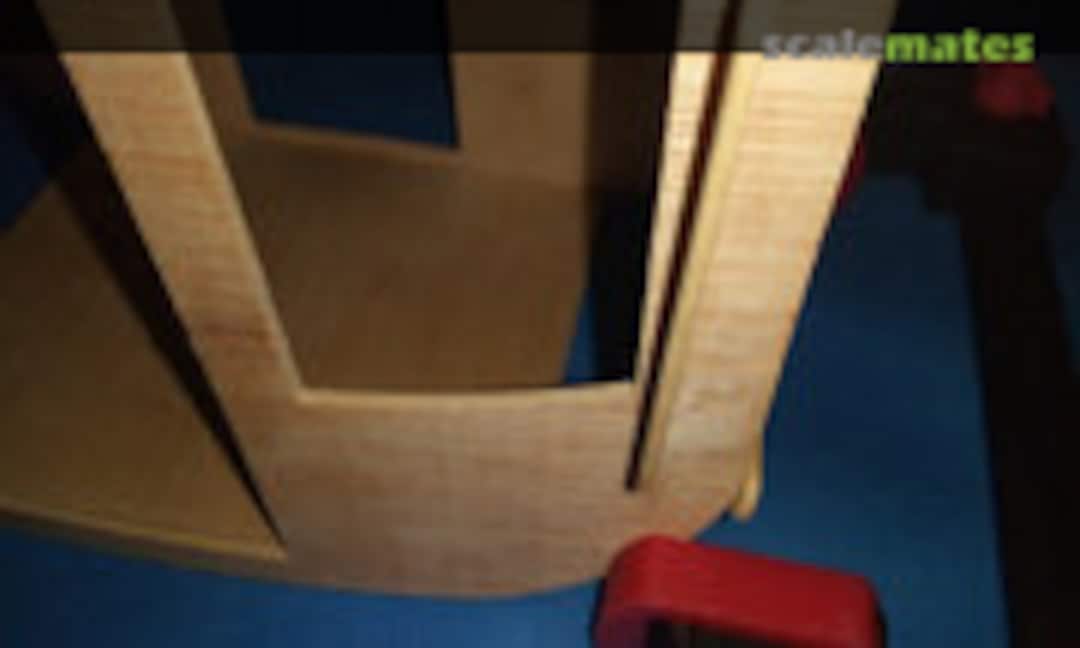 7July 5, 2020More support because of the break
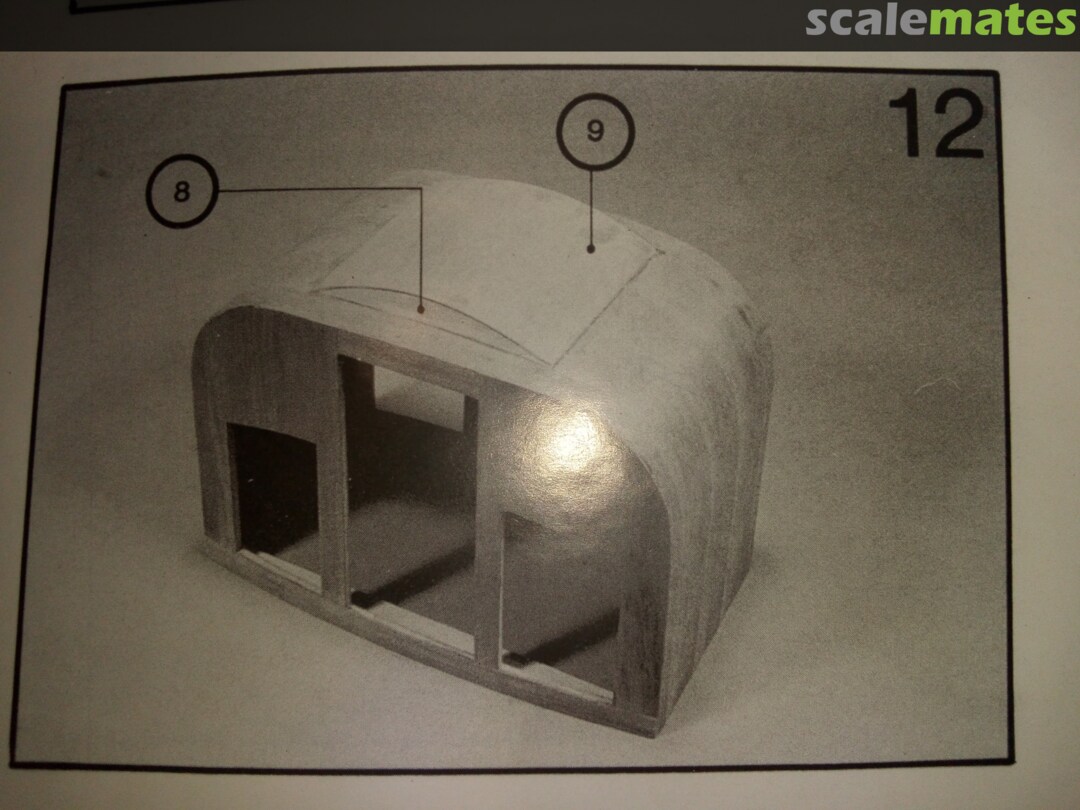
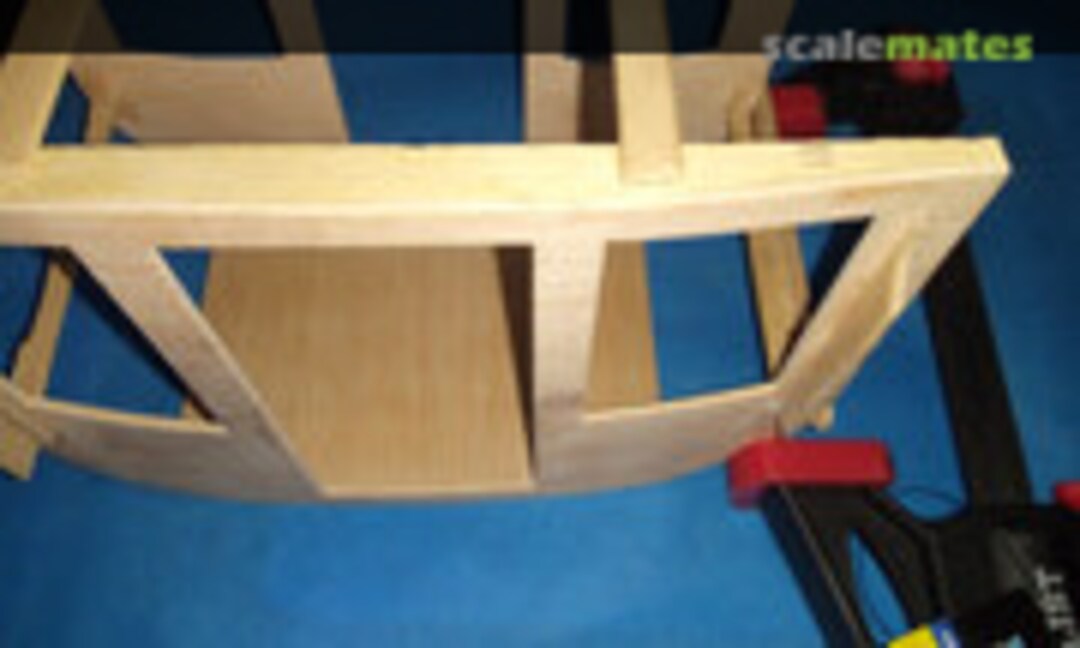 8July 5, 2020
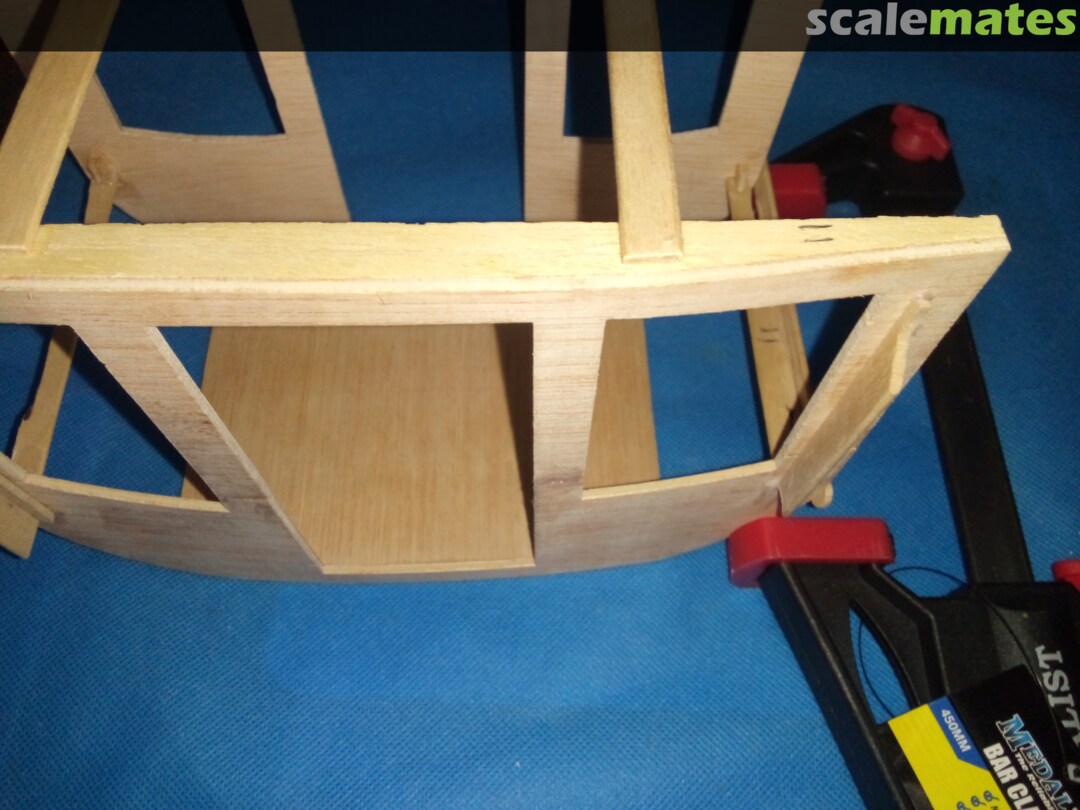
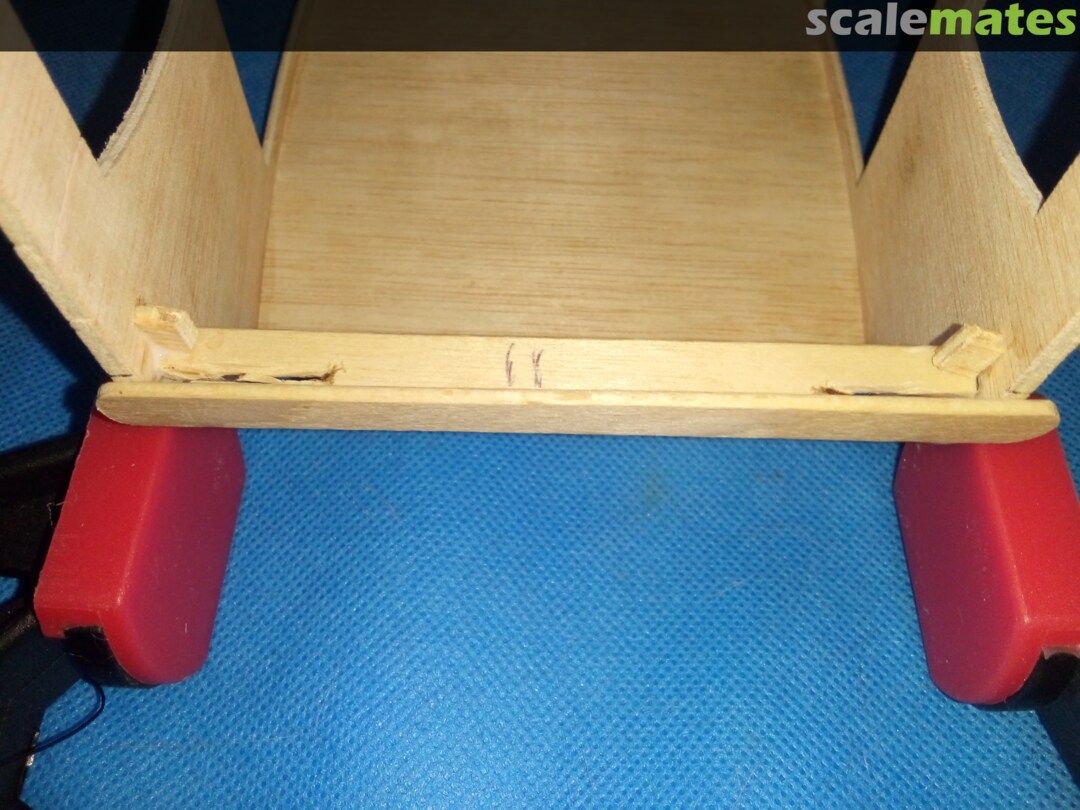
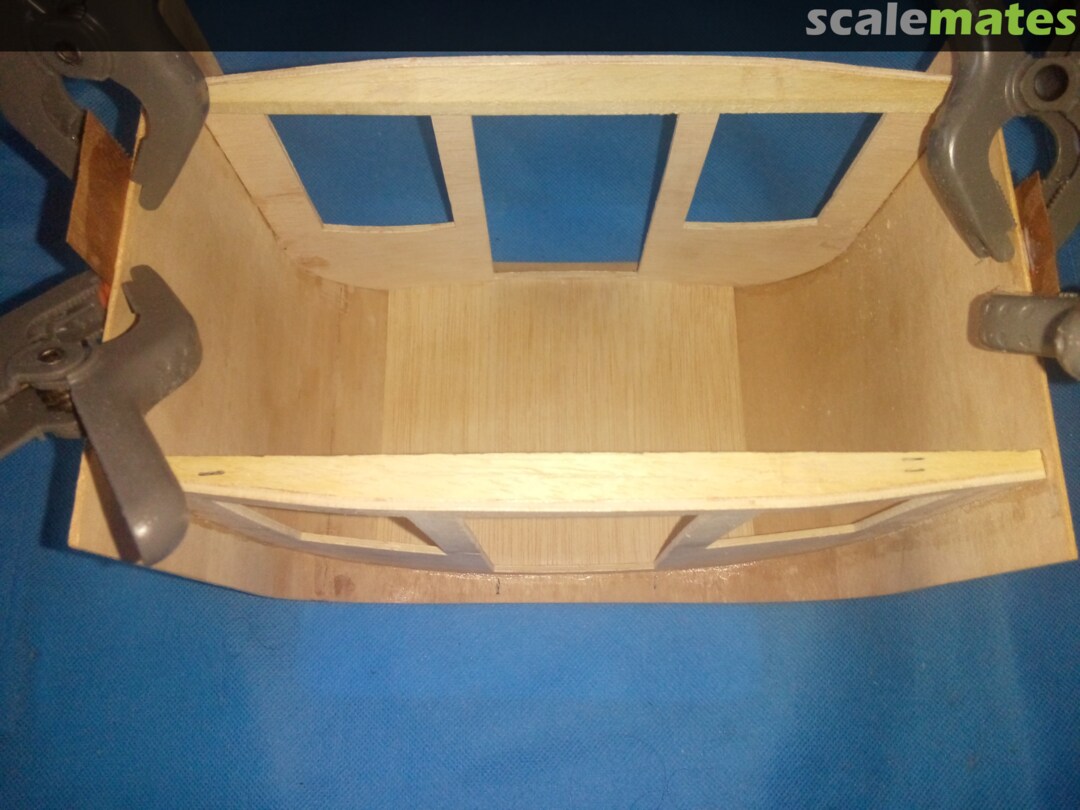
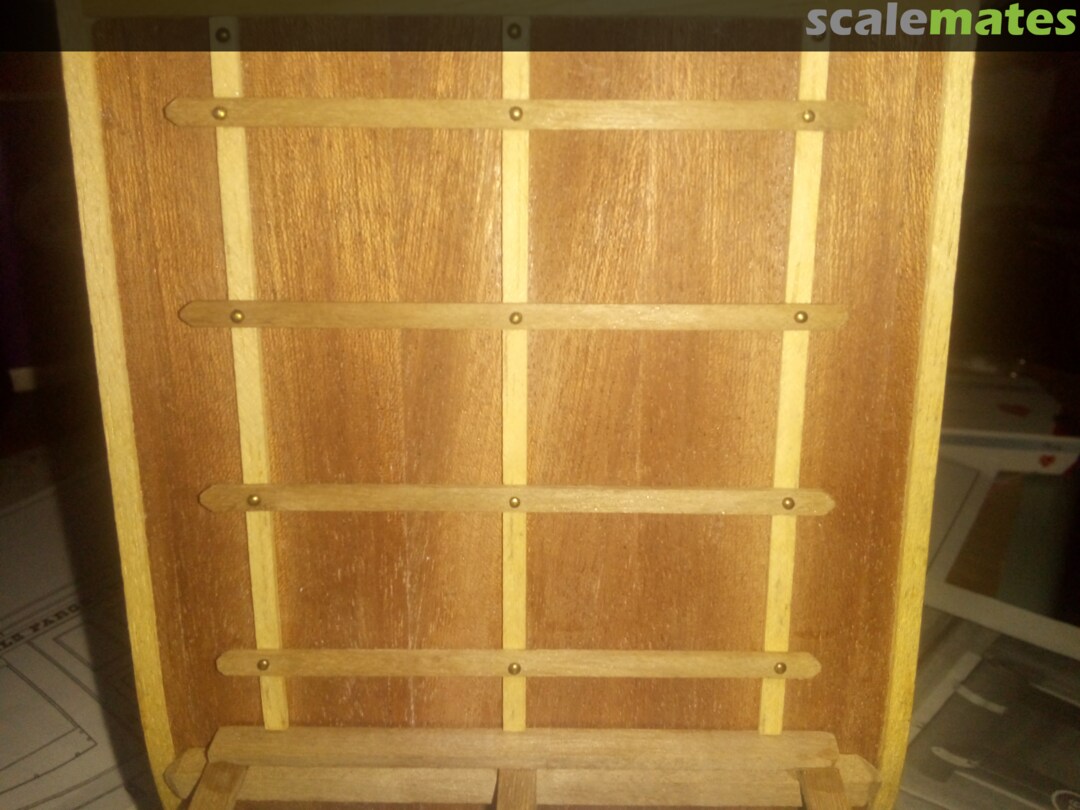
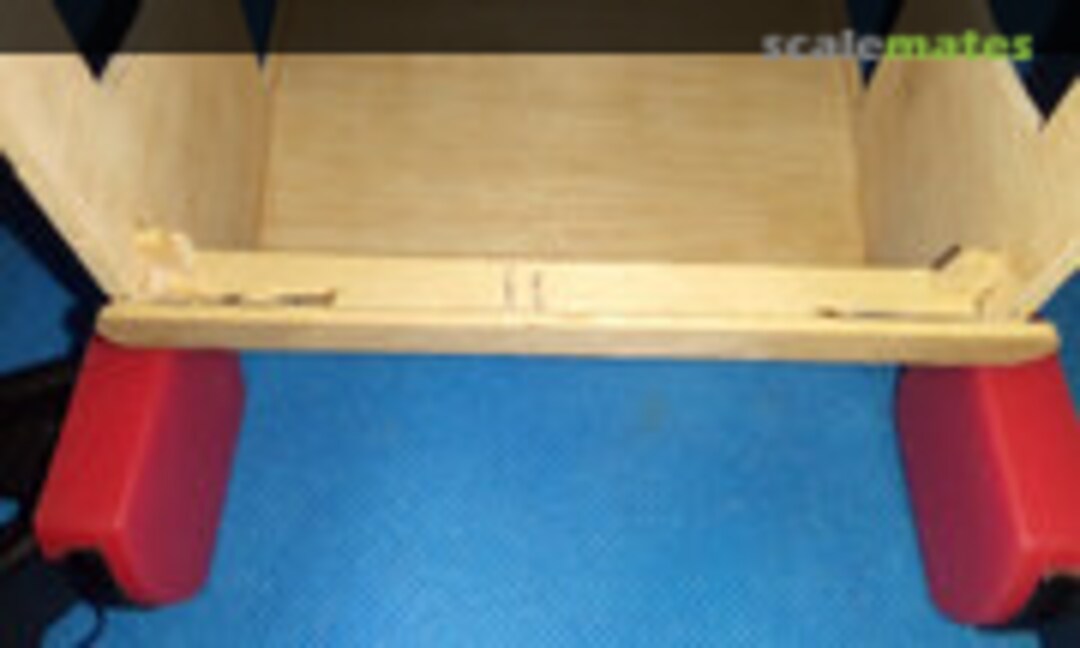 9July 5, 2020To be able to maintain a constant width of 104mm I have had to glue cross bracing in because the wood wanted to stay straight
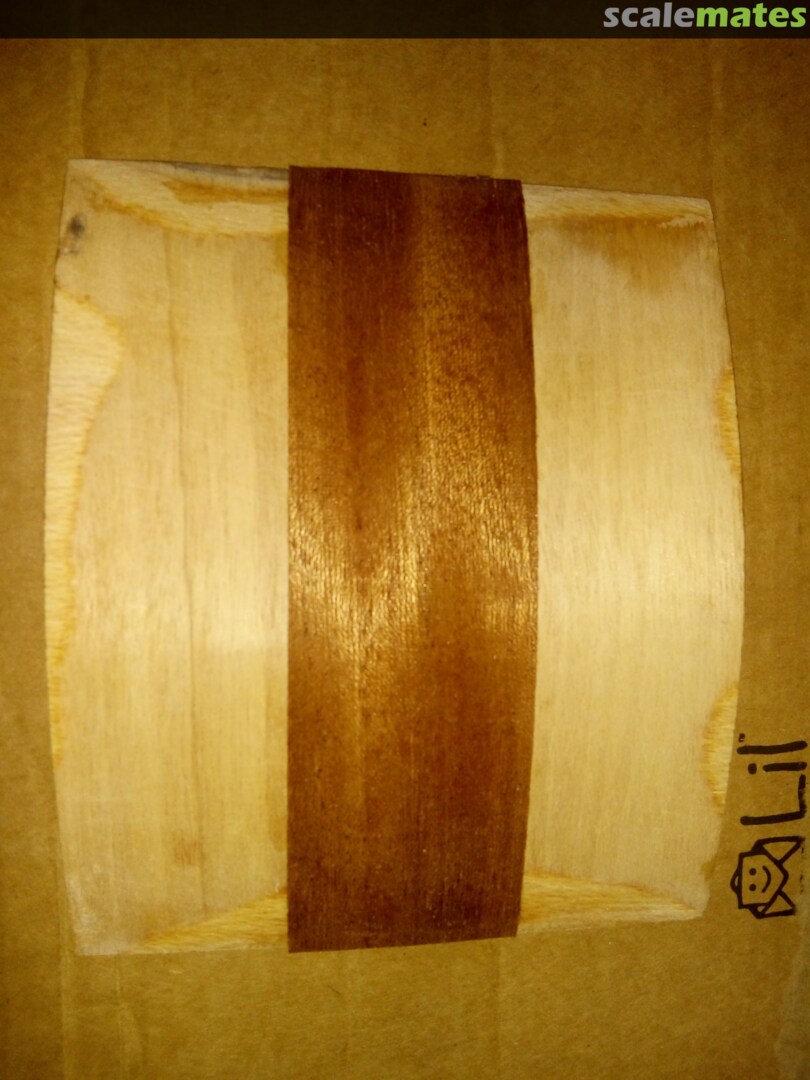
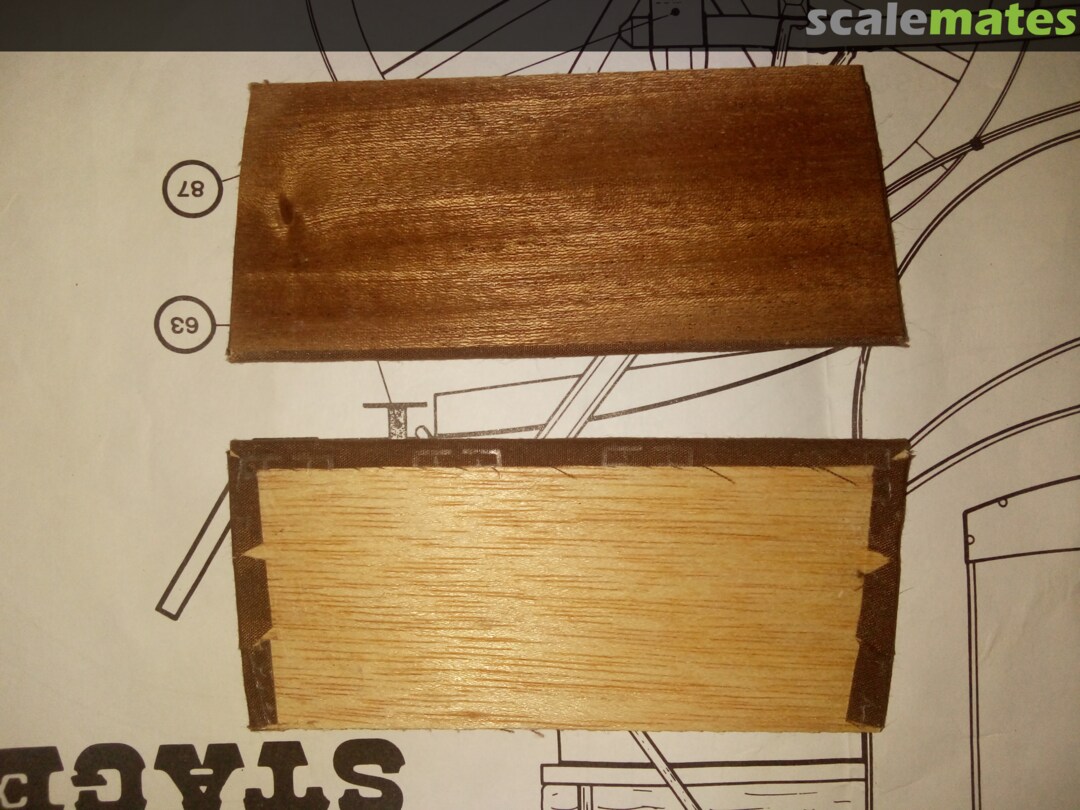
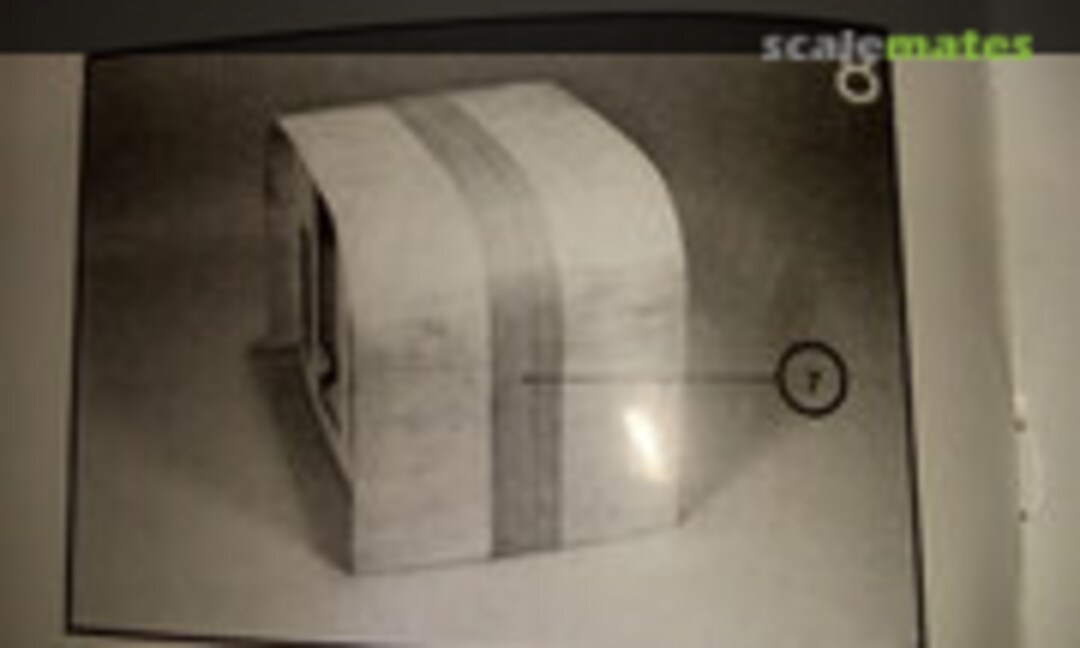 10August 3, 2020Step 8. Adding the Walnut veneer to the long panel
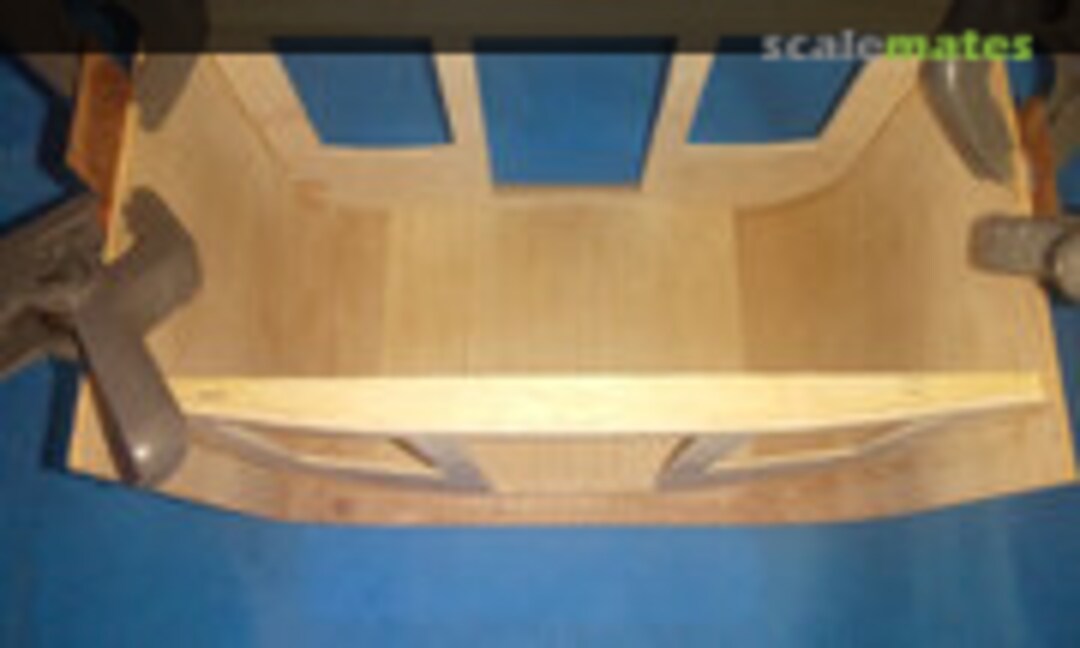 11July 9, 2020Step 8. Started
 12July 9, 2020
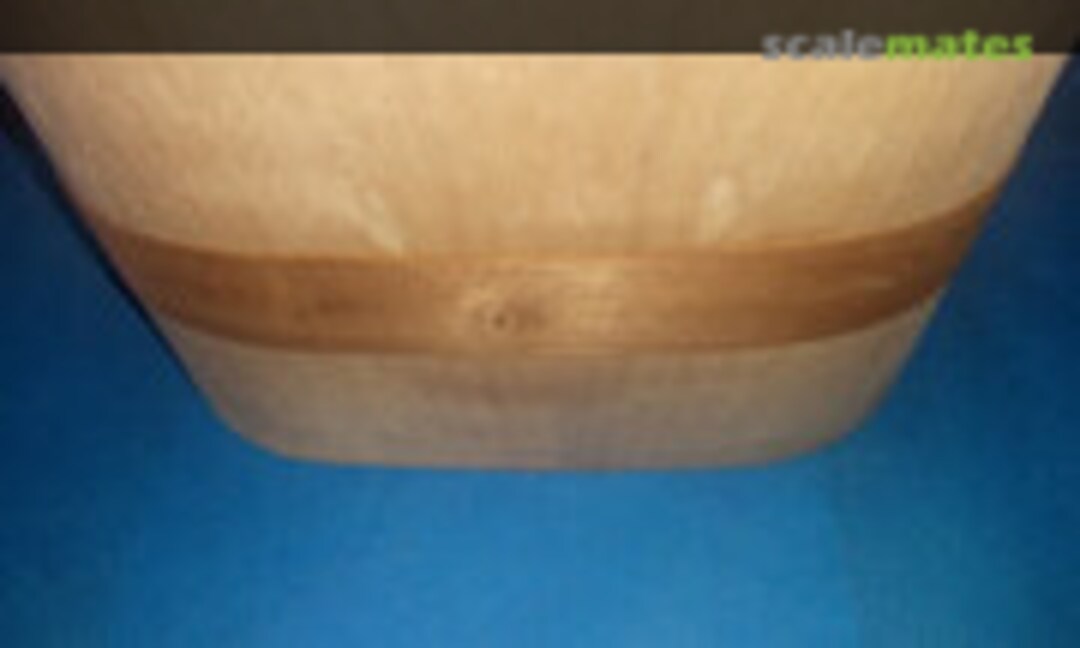 13July 9, 2020
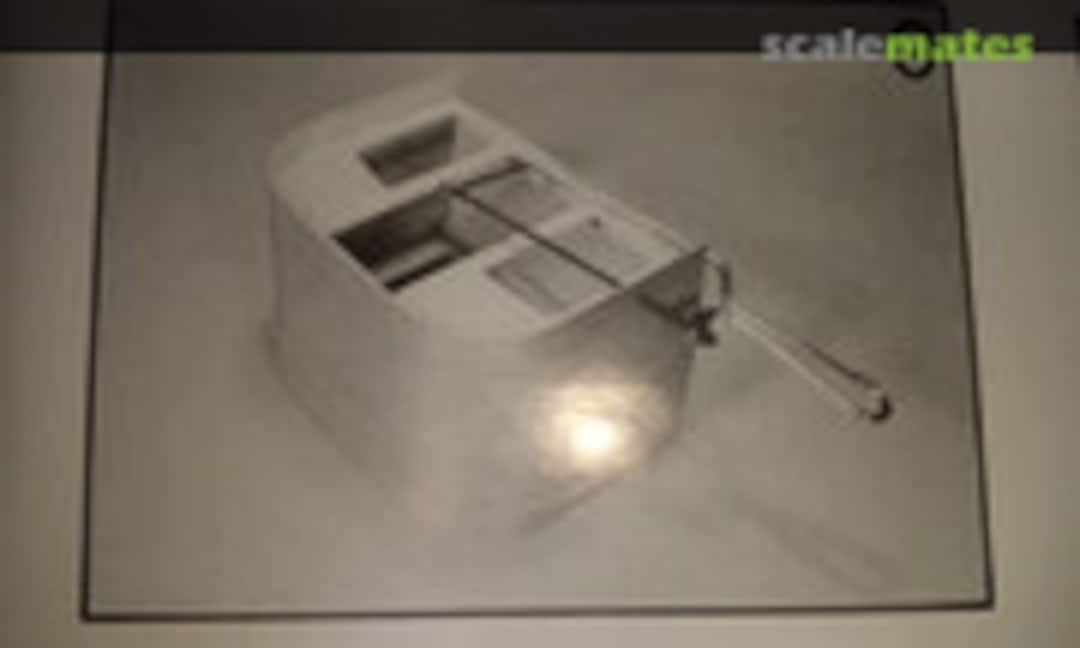 14August 3, 2020Step 9. Removing the excess from the long panel
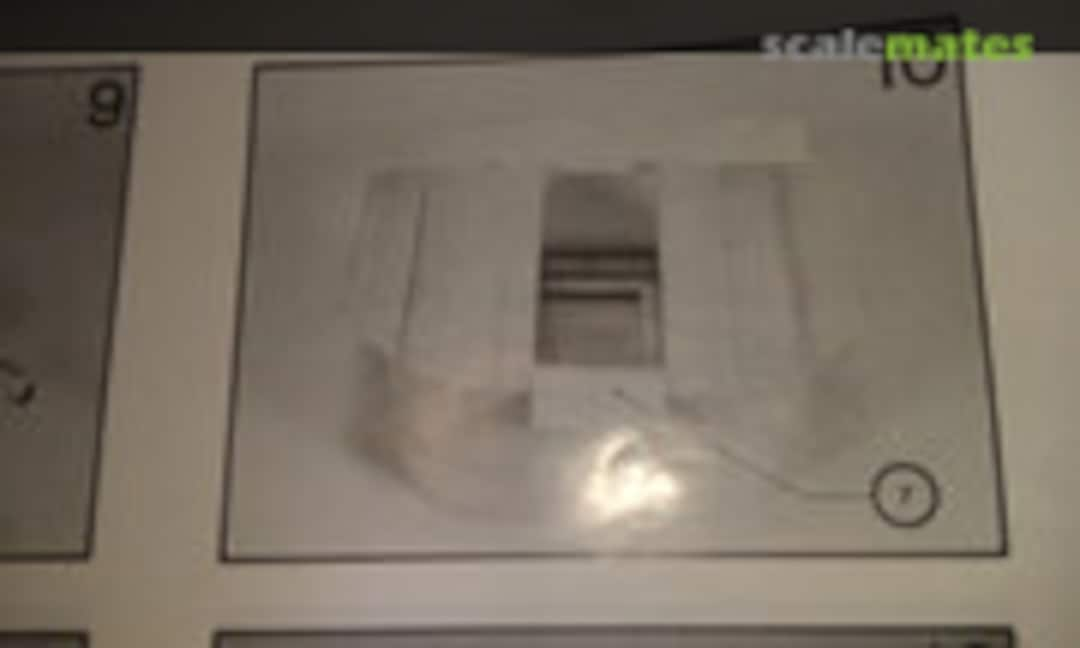 15August 21, 2020Step 10. Adding the Walnut veneer to the Coach sides
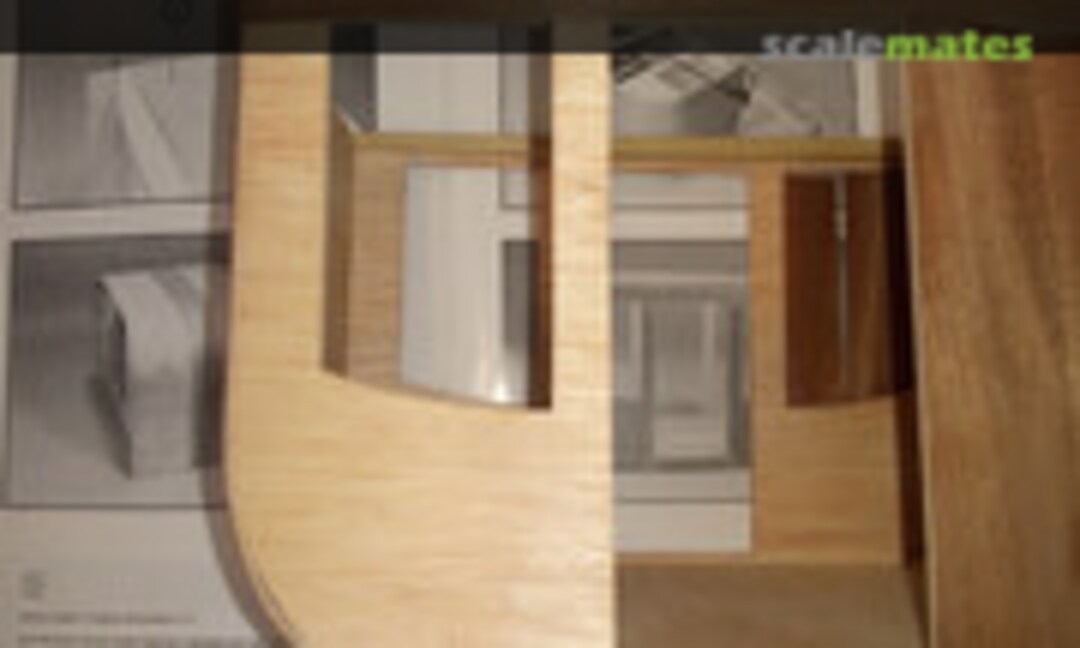 16August 3, 2020Step 10. Still in progress
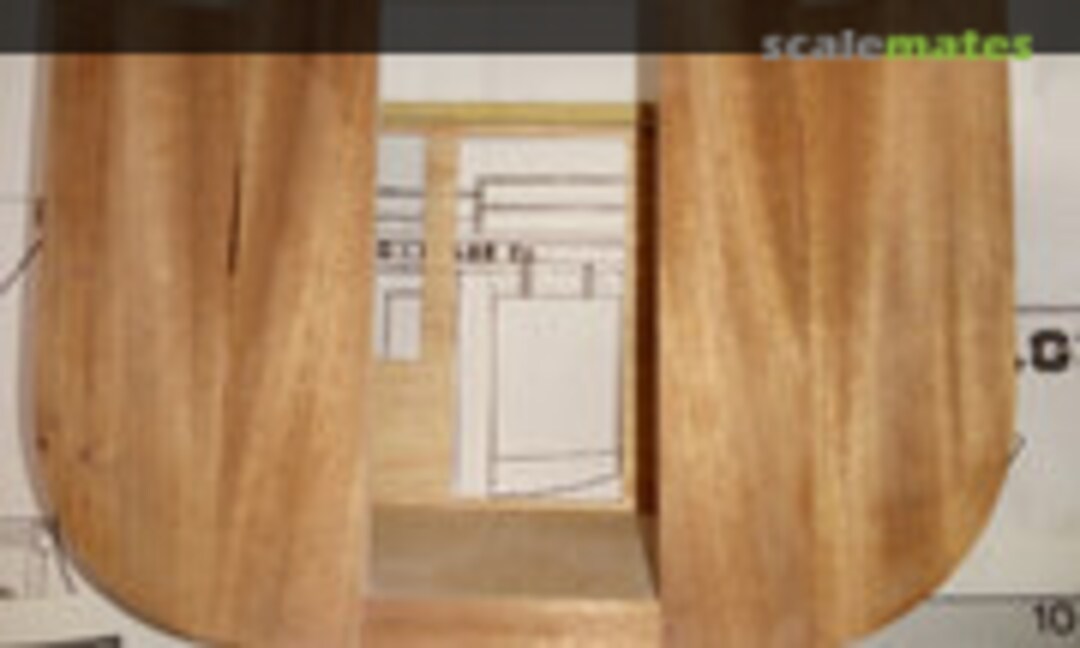 17August 21, 2020Step 10. Complete
 18August 21, 2020Step 11. Removing the excess Walnut veneer
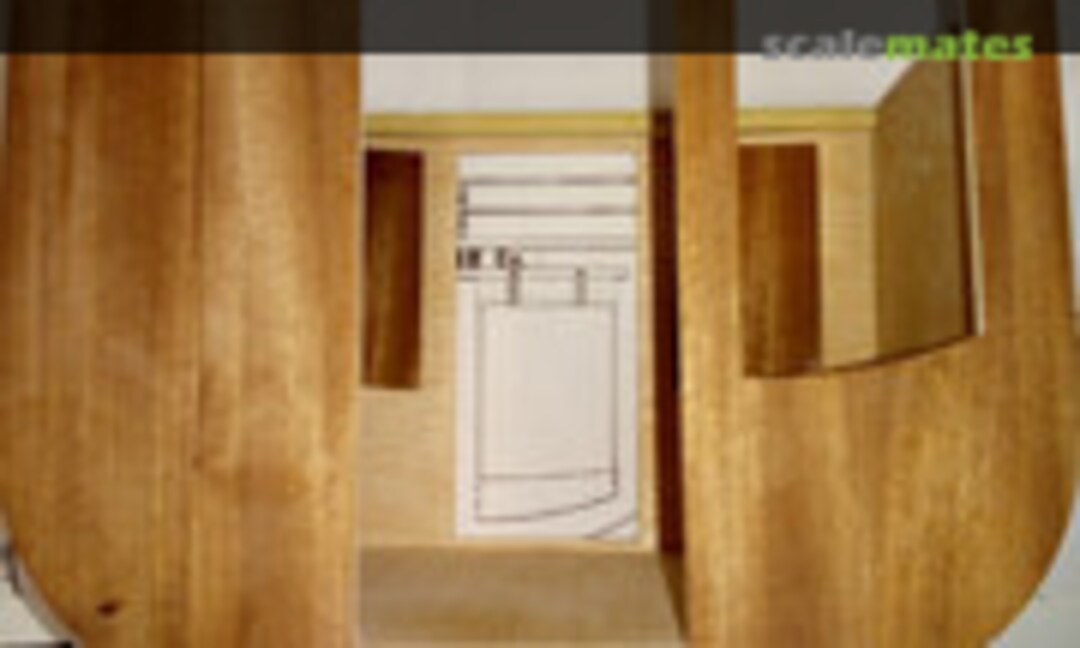 19August 21, 2020Step 11. Started
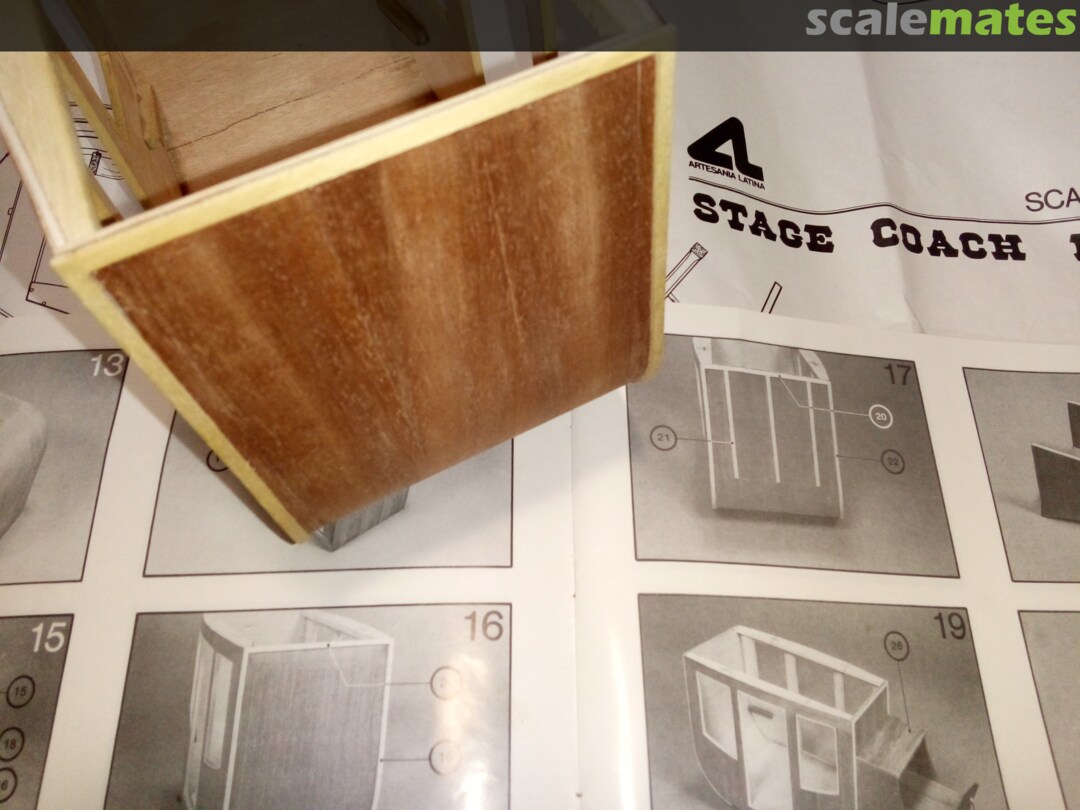
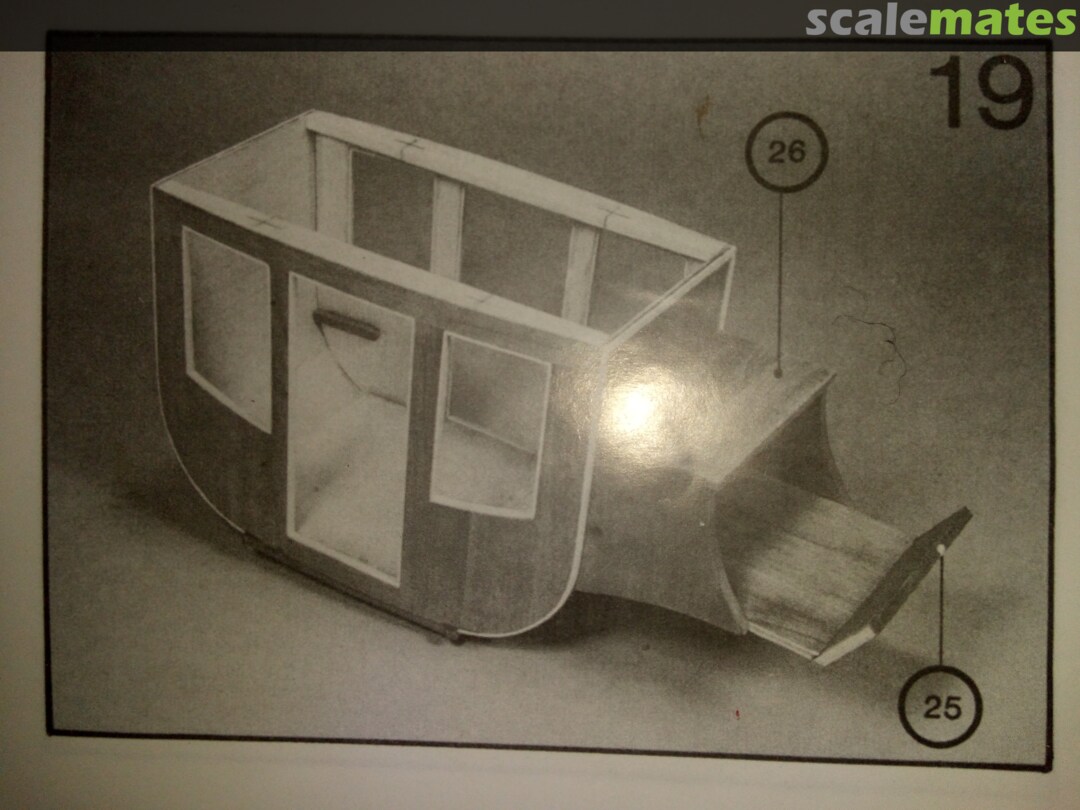
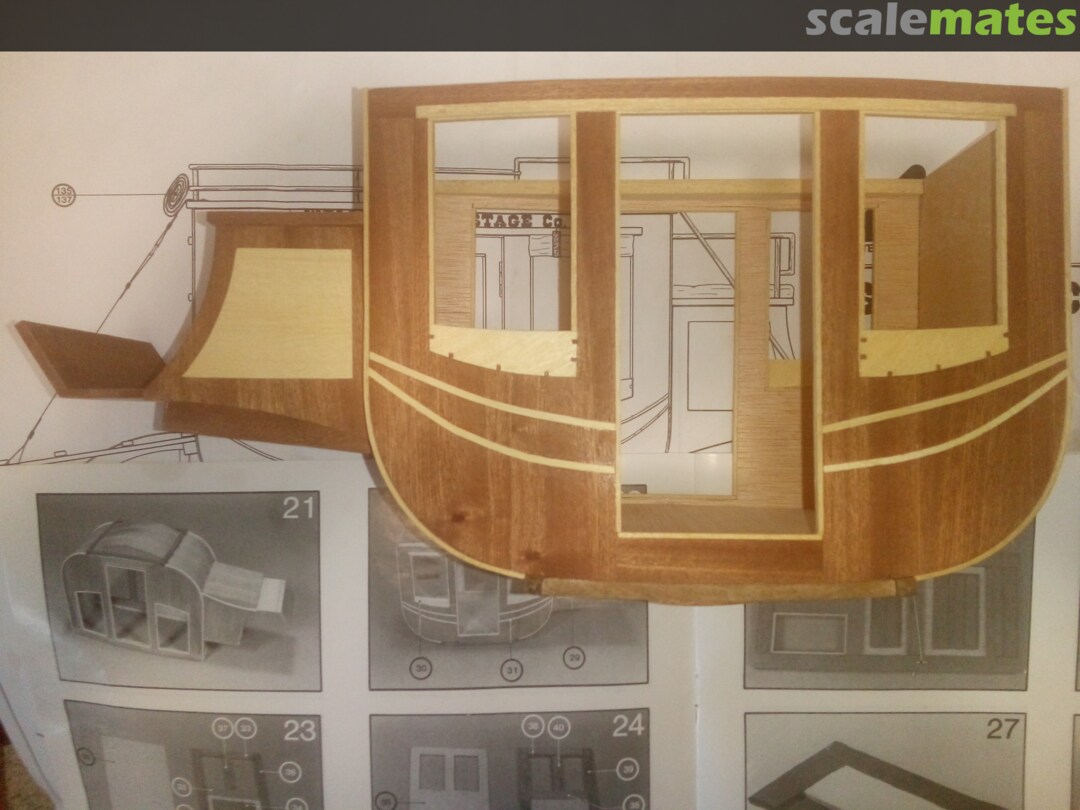
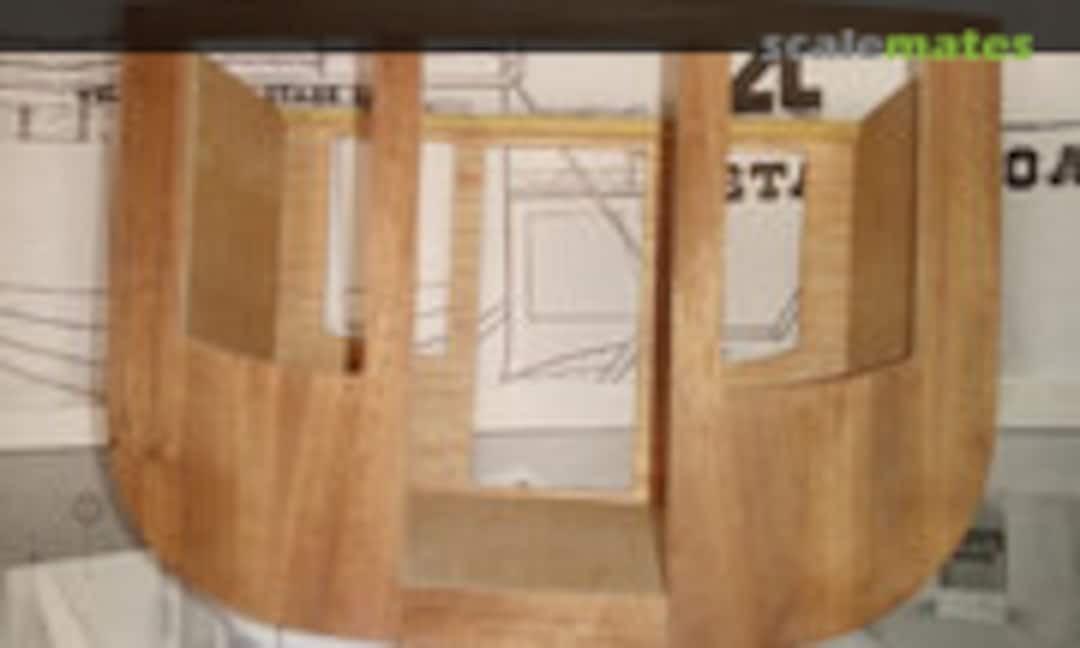 20September 18, 2020
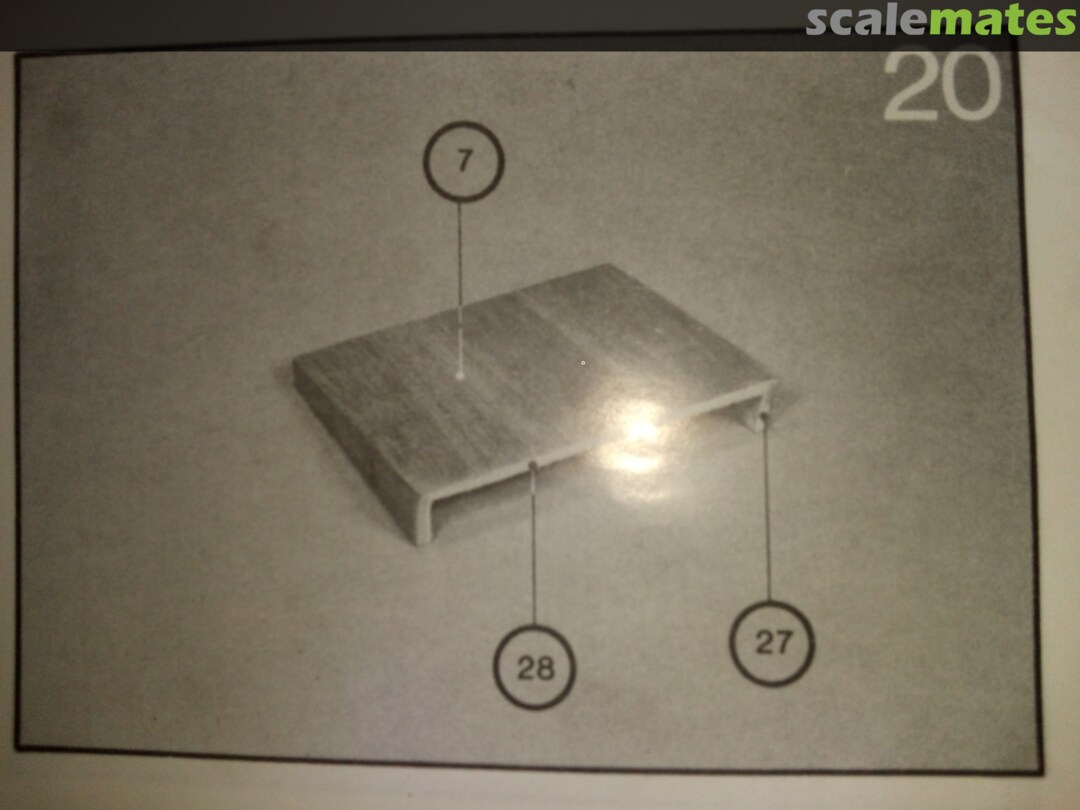
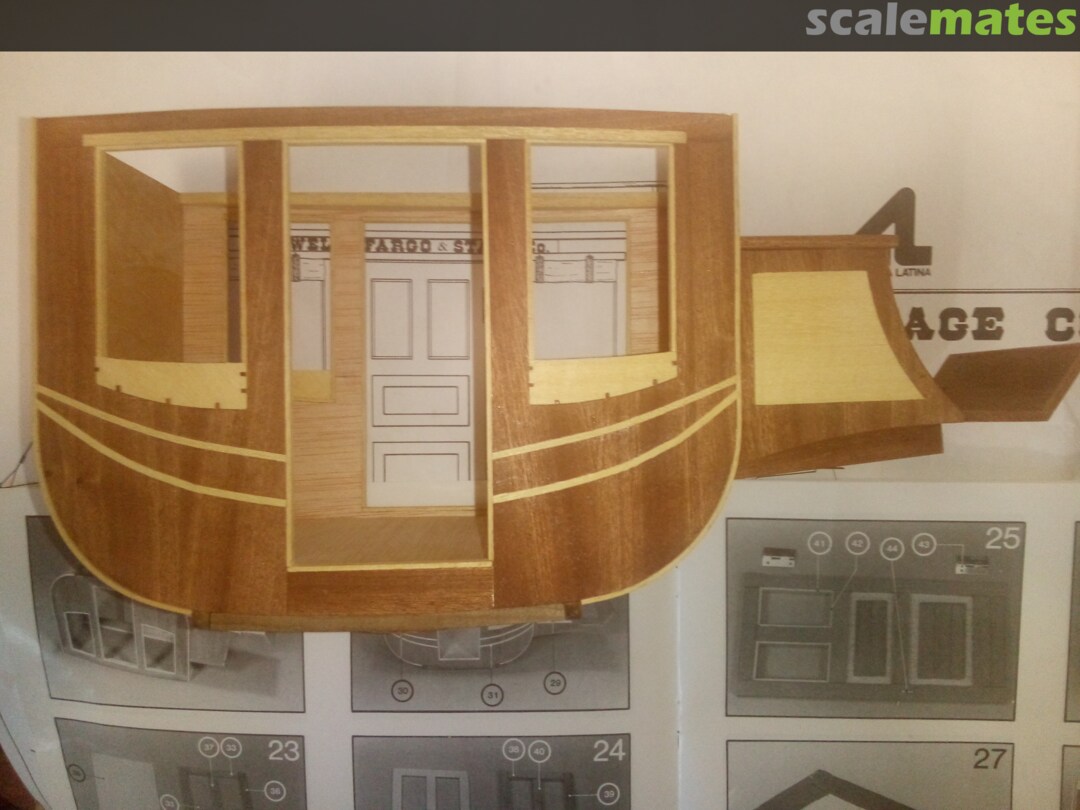
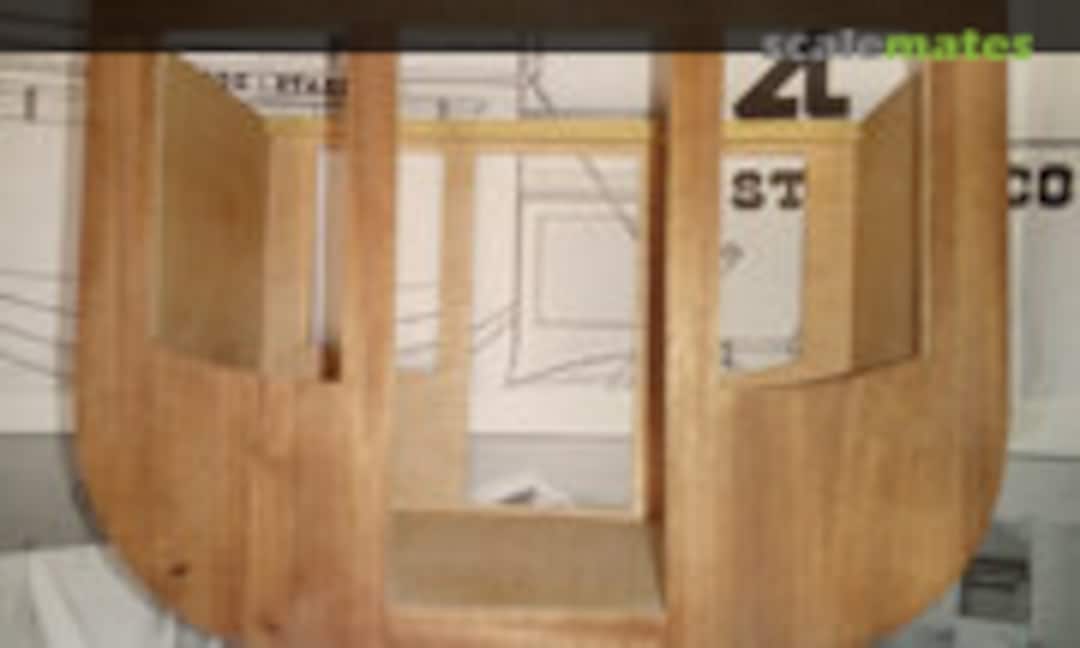 21September 18, 2020Step 11. Completed
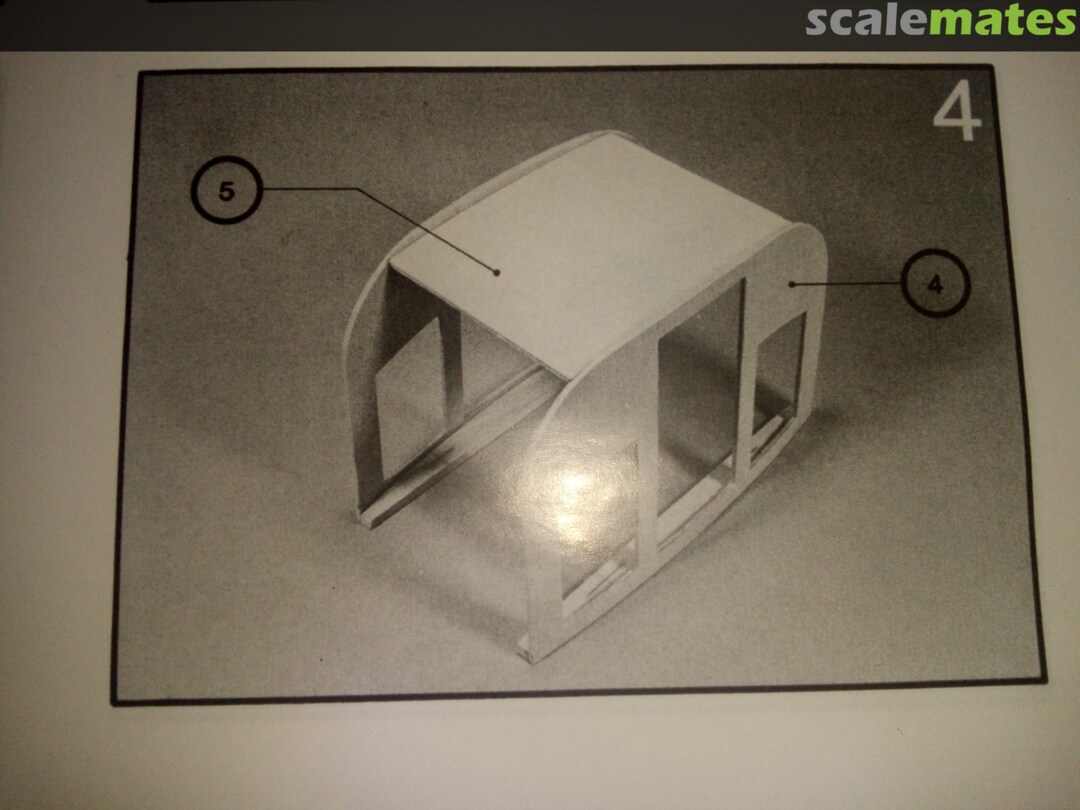
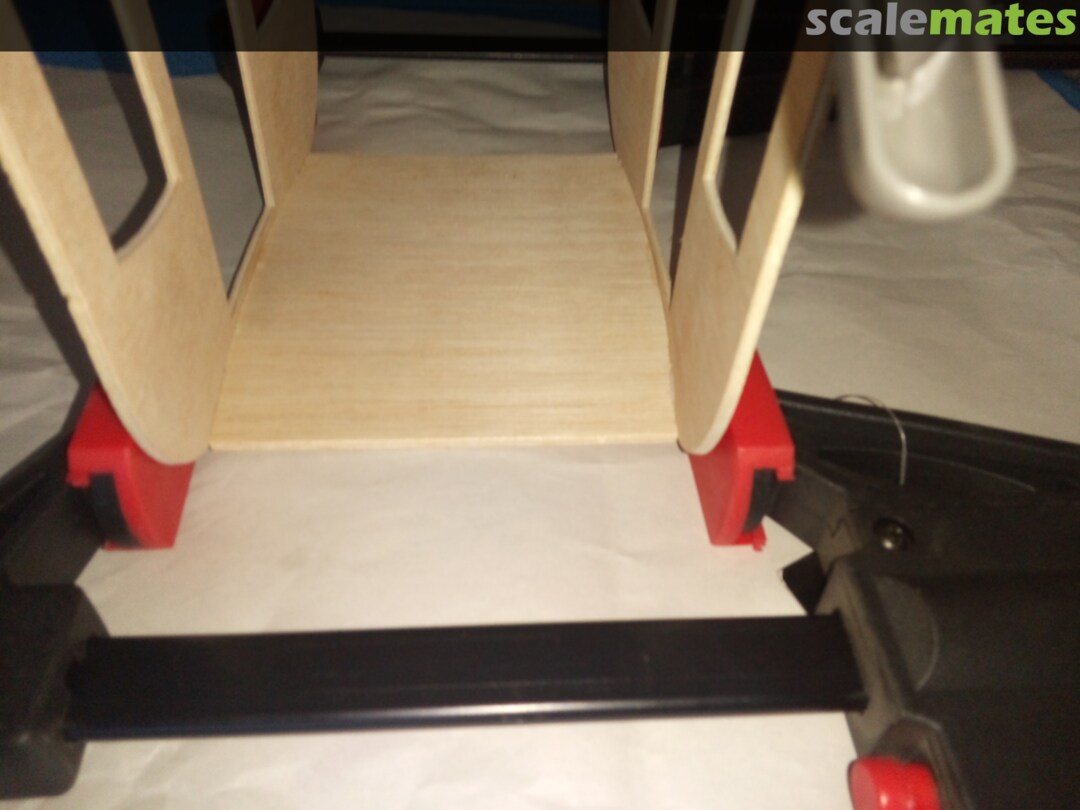
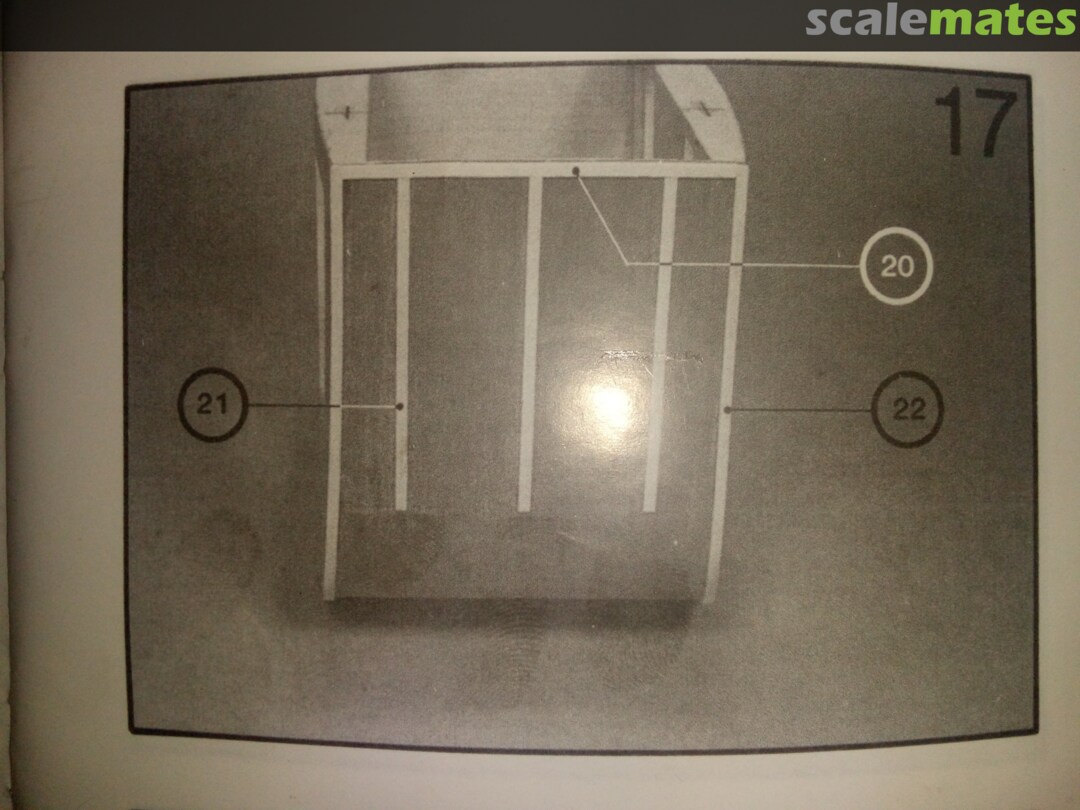
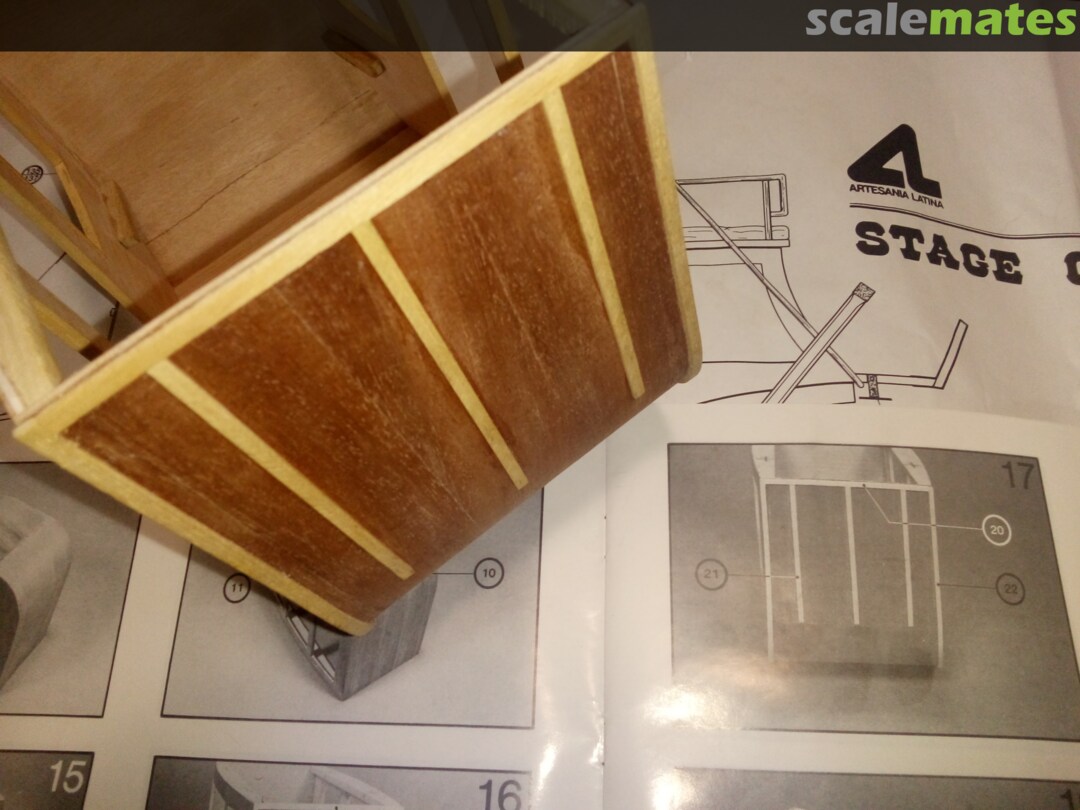
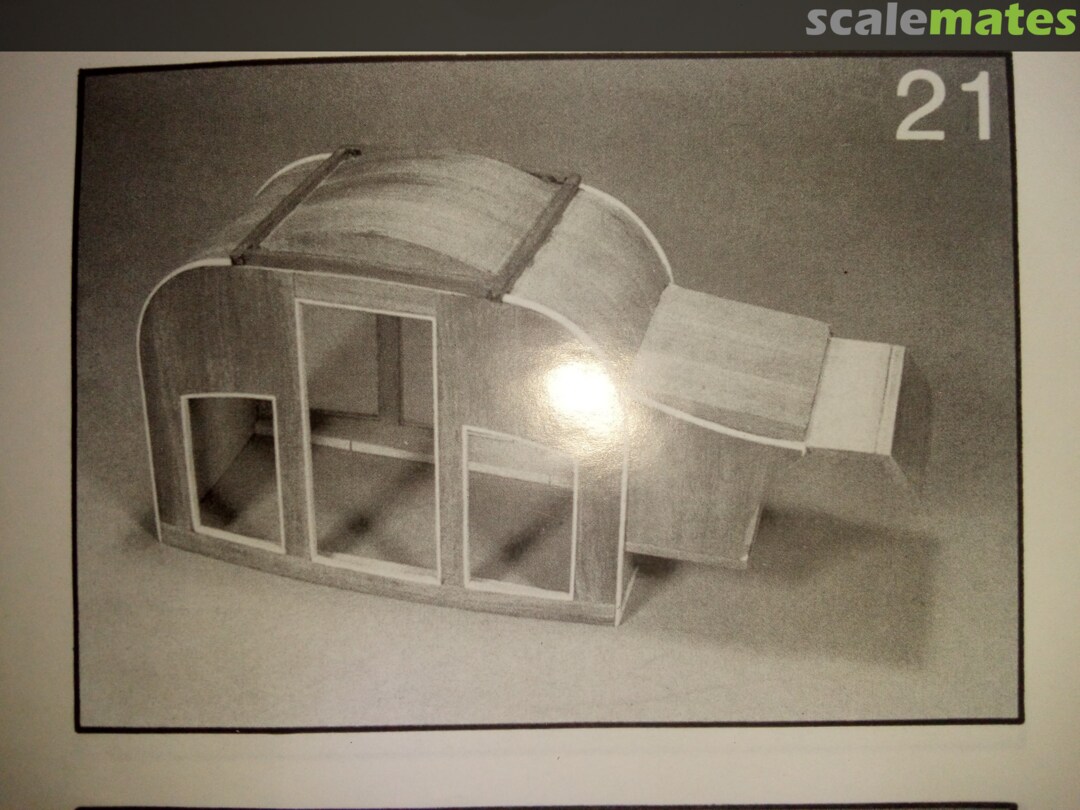
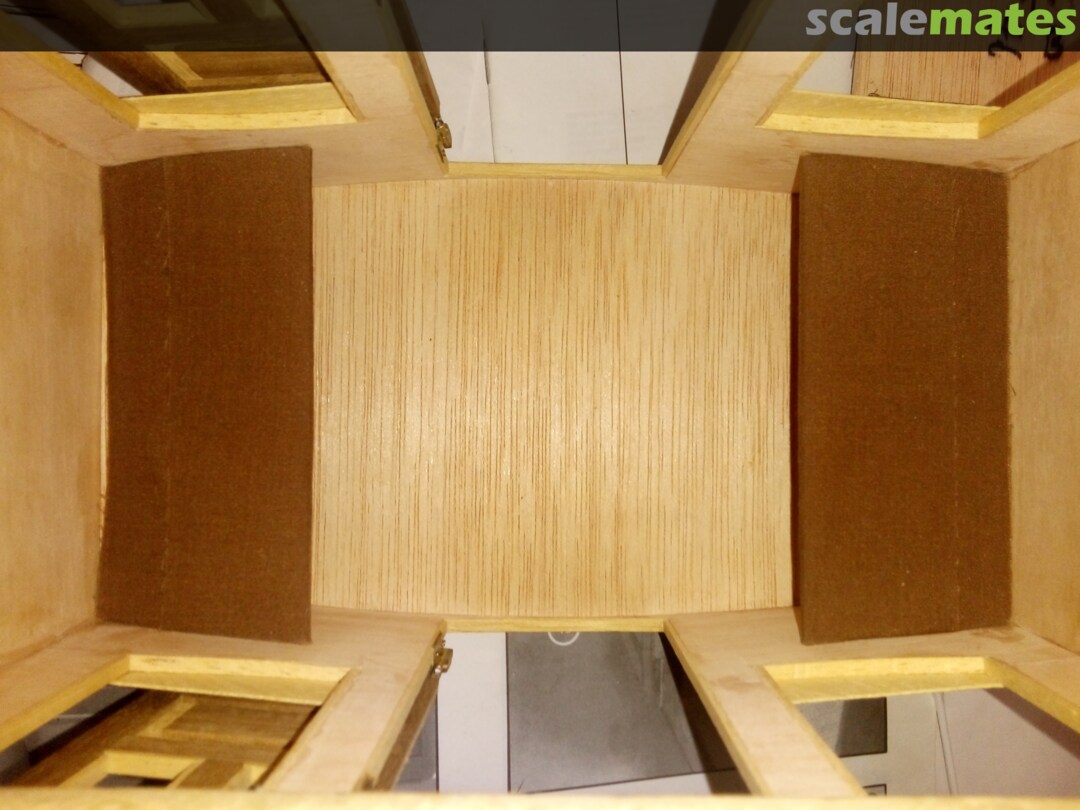
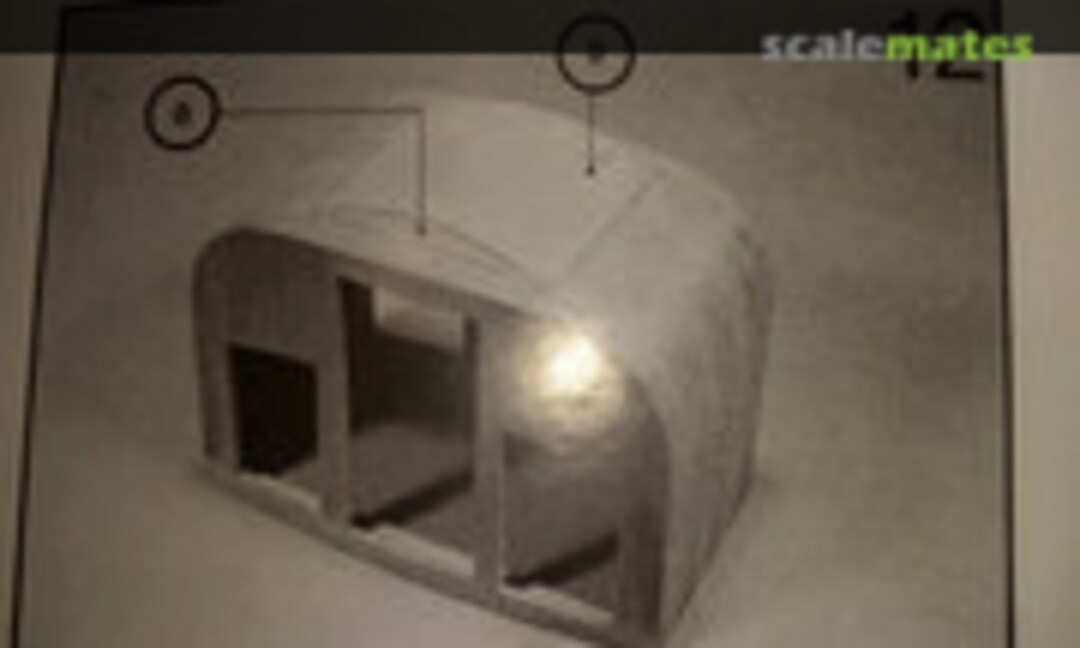 22September 18, 2020Step 12. Construction of the false bottom
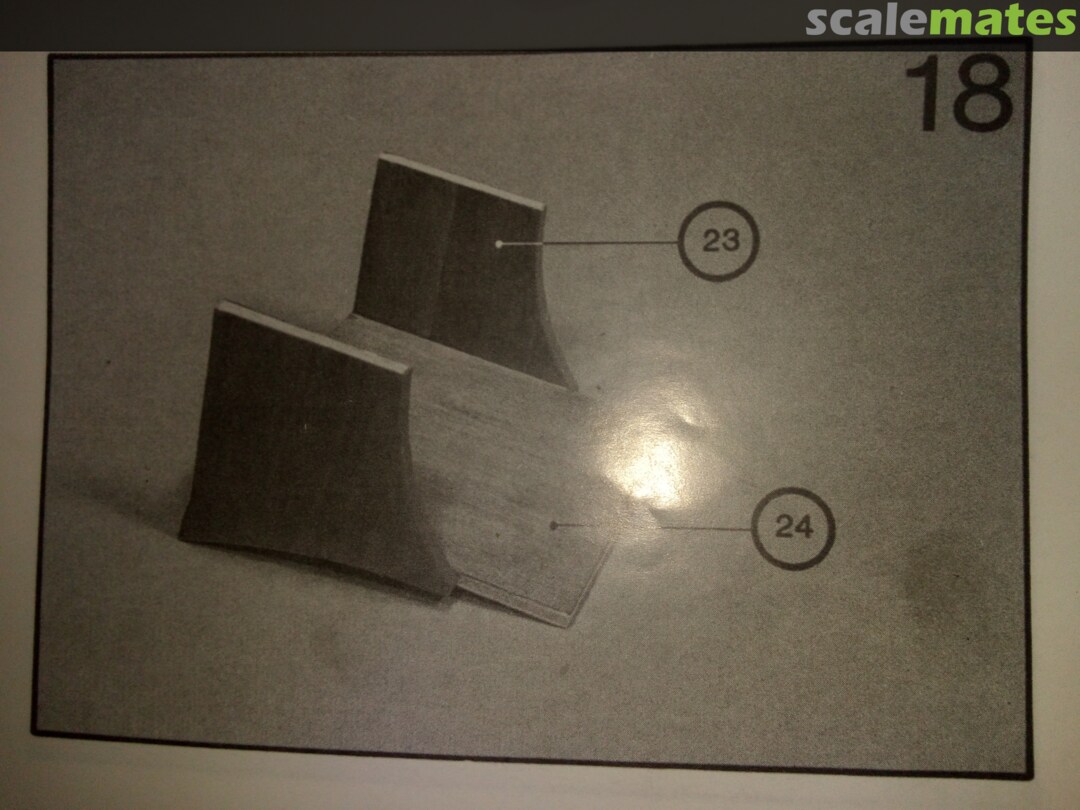
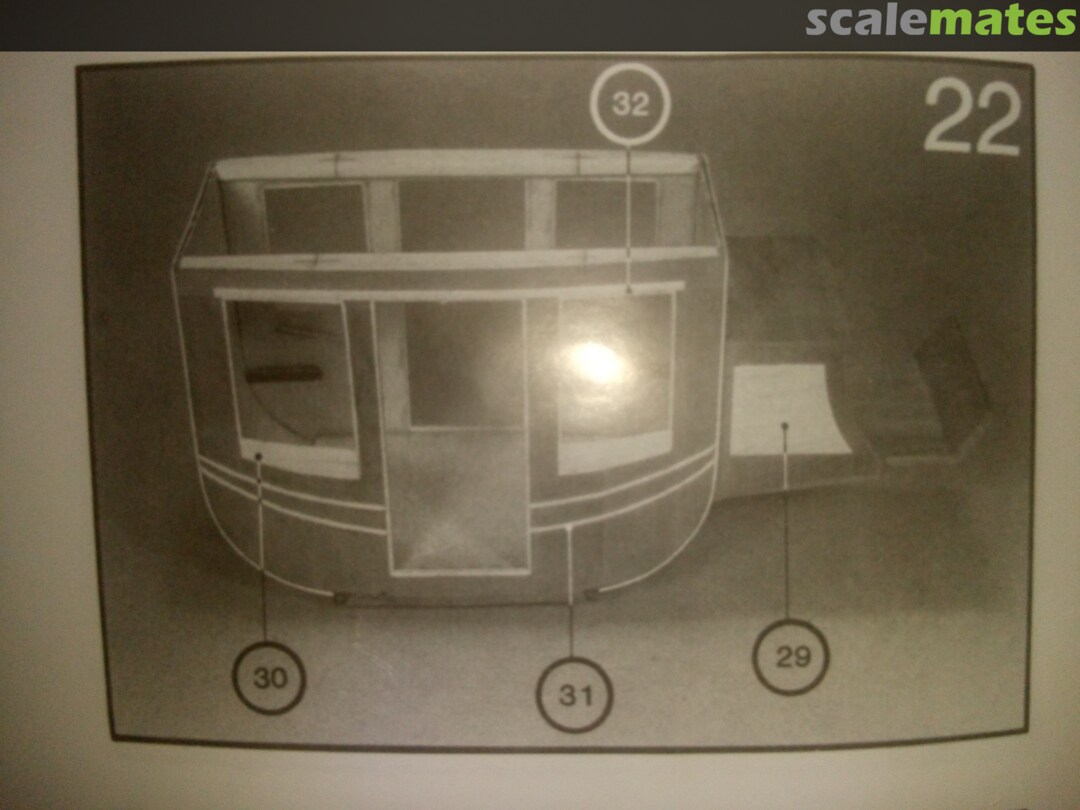
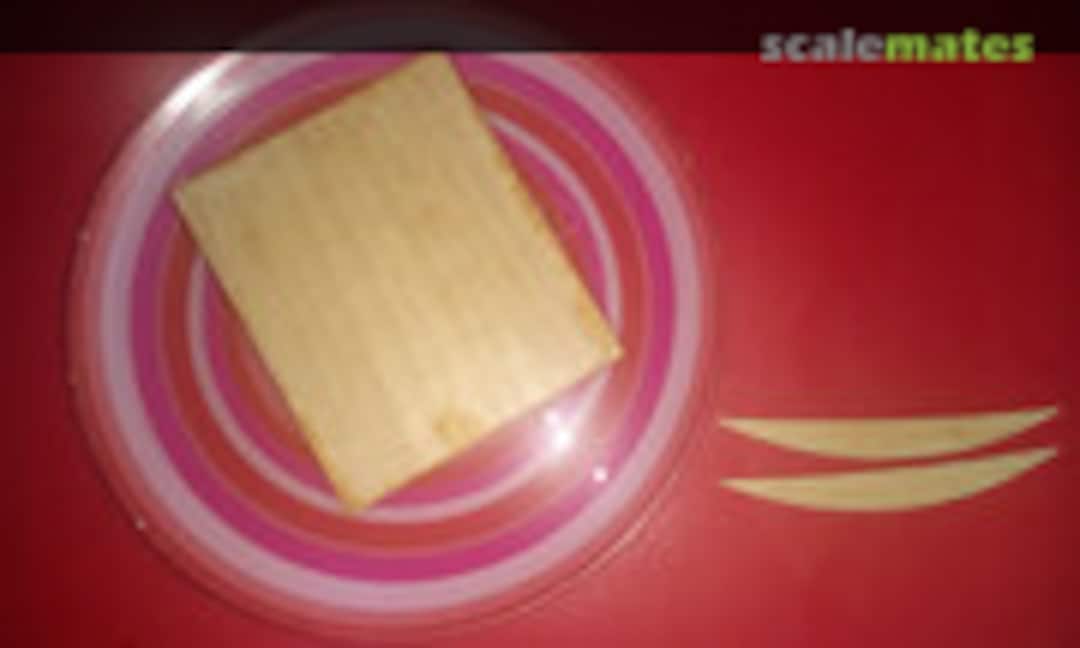 23September 18, 2020Soaking plywood in preparation for bending in step 12
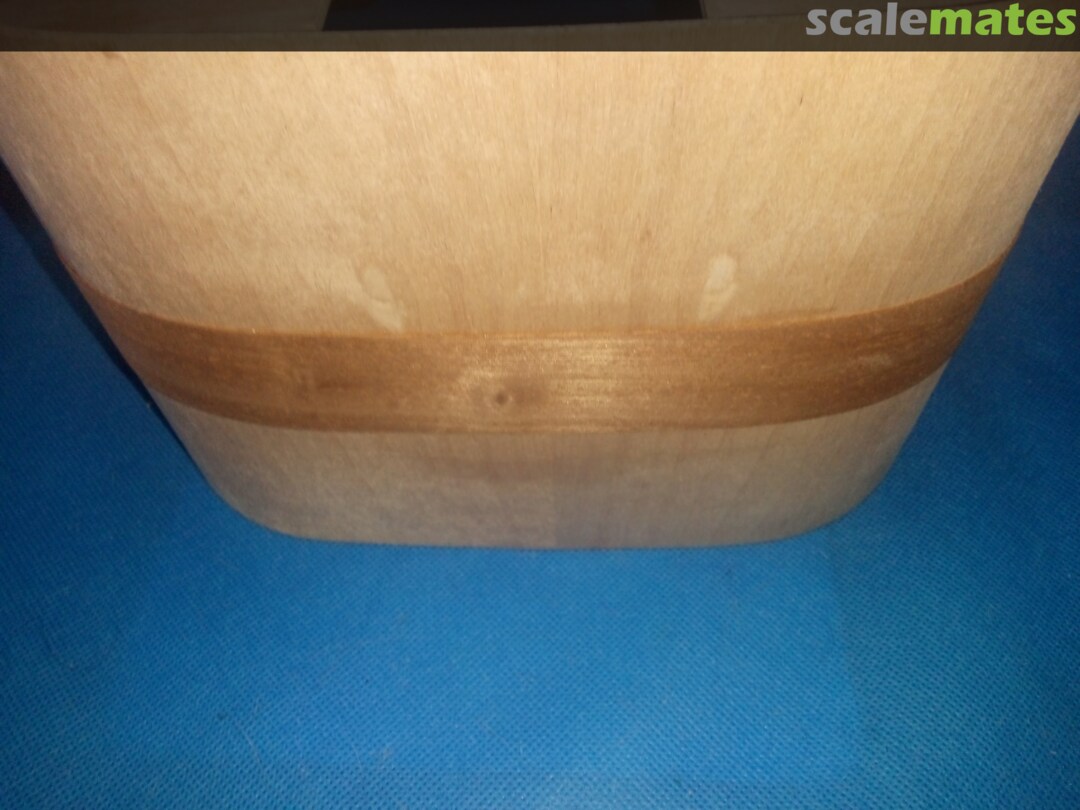
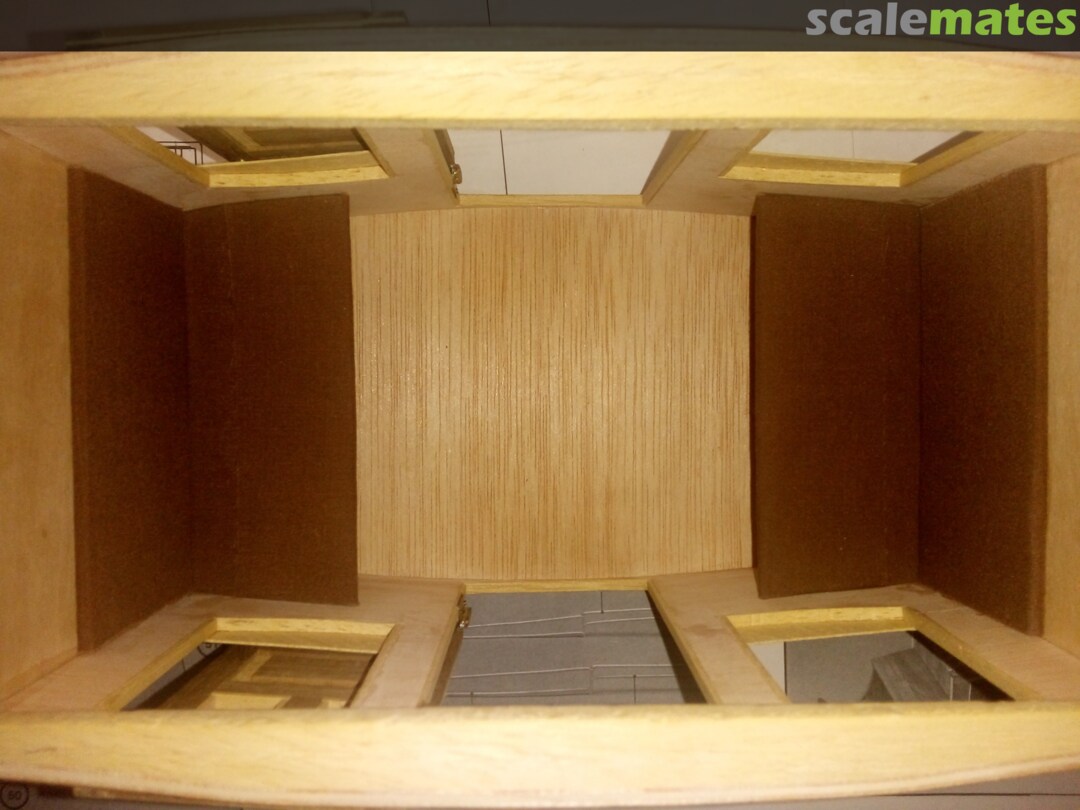
 24September 18, 2020Step 12. Has proven to be extremely difficult with the plywood resisting being bent even after soaking. It took days of clamping and still broke the bond of the wood glue so I had to use Superglue then reinfoce with Araldite. The cross bracing was to prevent the unwanted bending between the supports where the plywood was supposed to be bent over
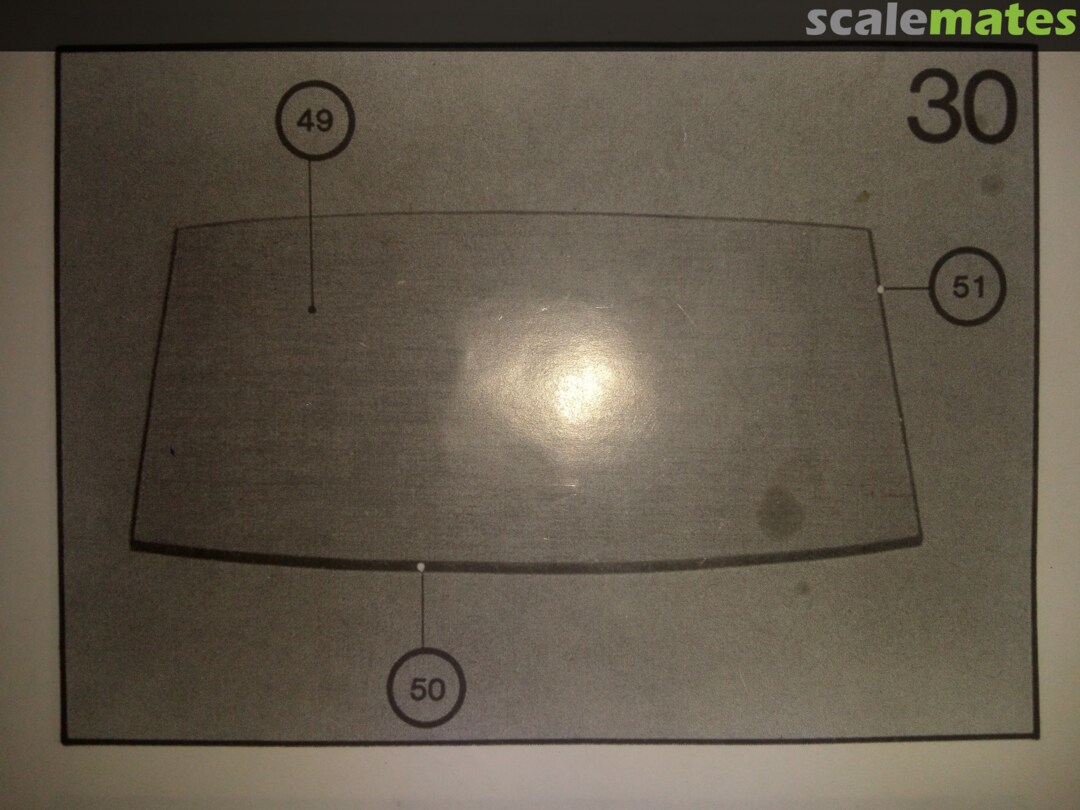
 25September 18, 2020Just when I thought step 12 was finished I noticed that the surface to be glued to the bottom of the Coach body was flat when it needed to have the same curve of the body. I used a piece of glasspaper on the bottom of the body and sanded the side of the false bottom until it better resembled the picture in the instructions
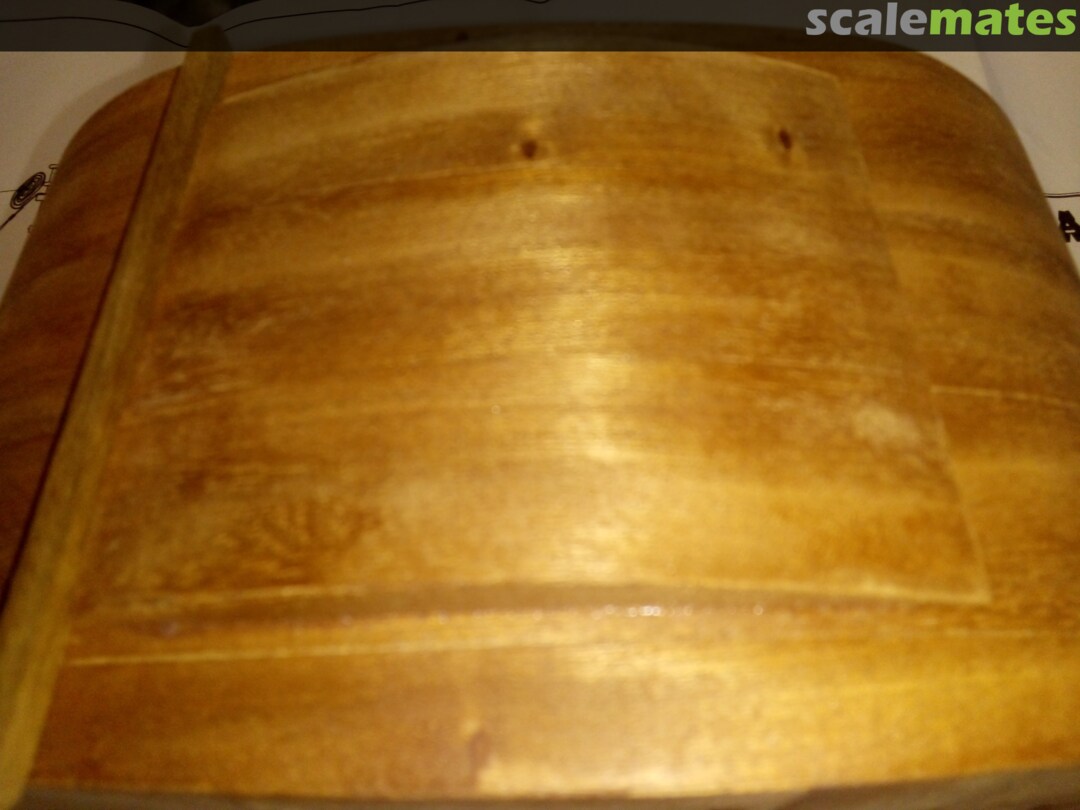
 26September 18, 2020Step 13. Adding the Walnut veneer to the false bottom
 27September 18, 2020Step 13. Started, thankfully the part is veneered with Walnut because it will hide the fact that a lot of the top layer and in some places the middle and bottom layers of the plywood had to be sanded away to try and get the part in the shape required
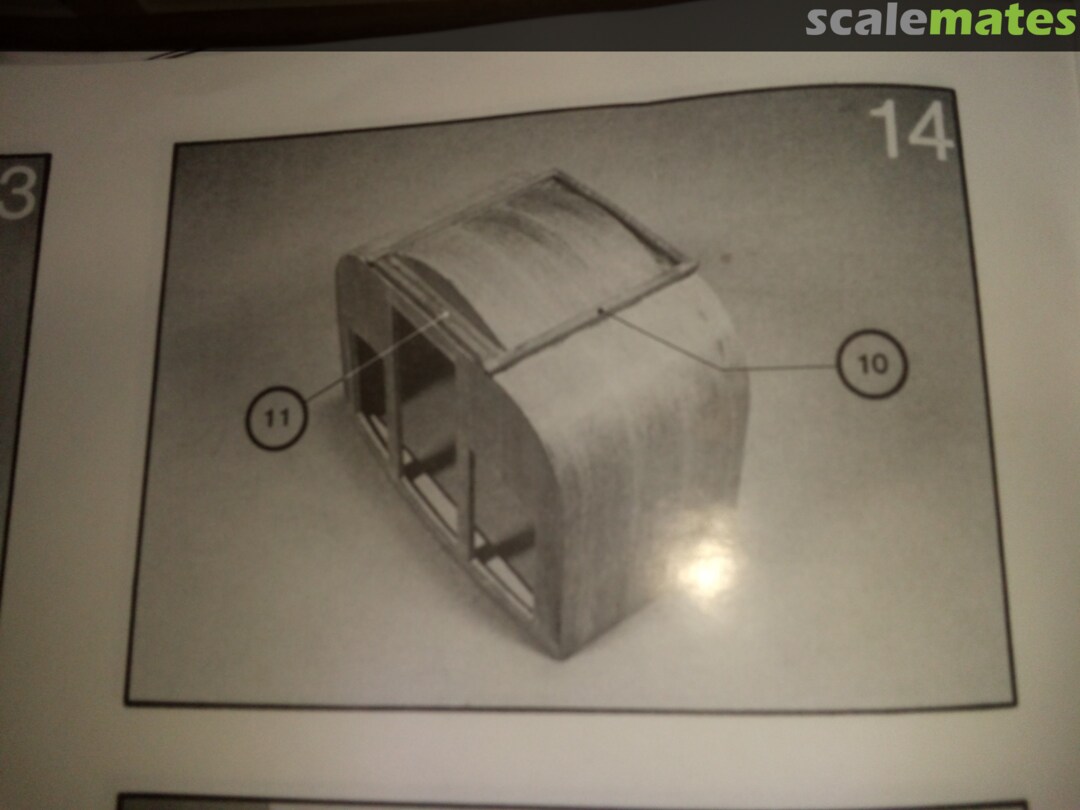
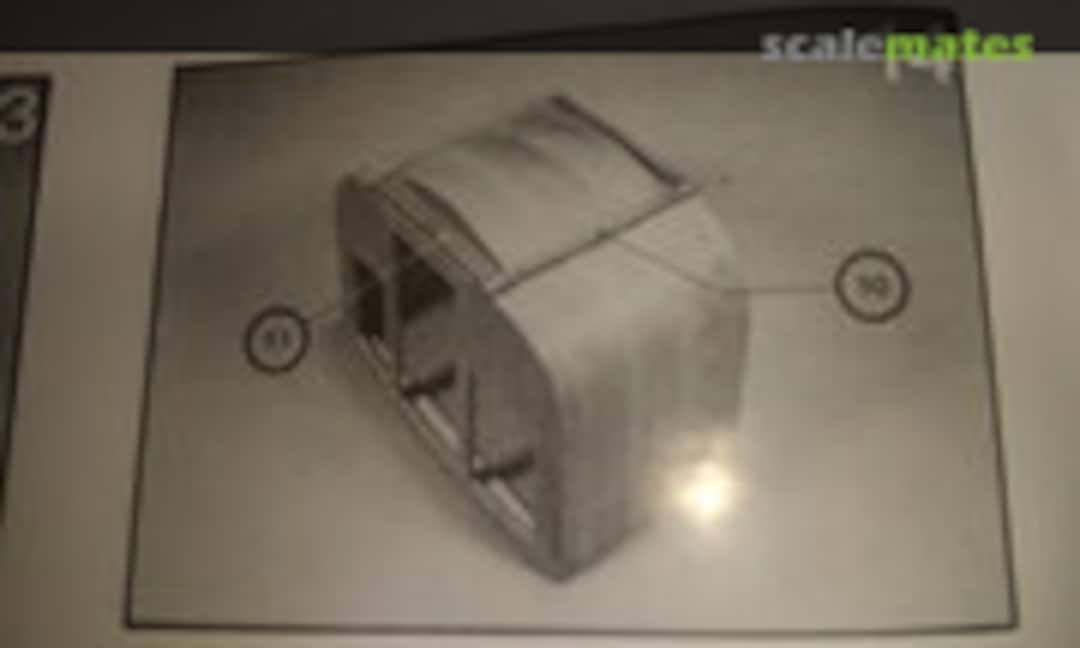 28September 18, 2020Step 14. Adding a Walnut frame around the false bottom
 29September 18, 2020Step 13. Completed and step 14 started
 30September 18, 2020Step 14. Completed. The instructions don't really provide much information as to how things should be done.
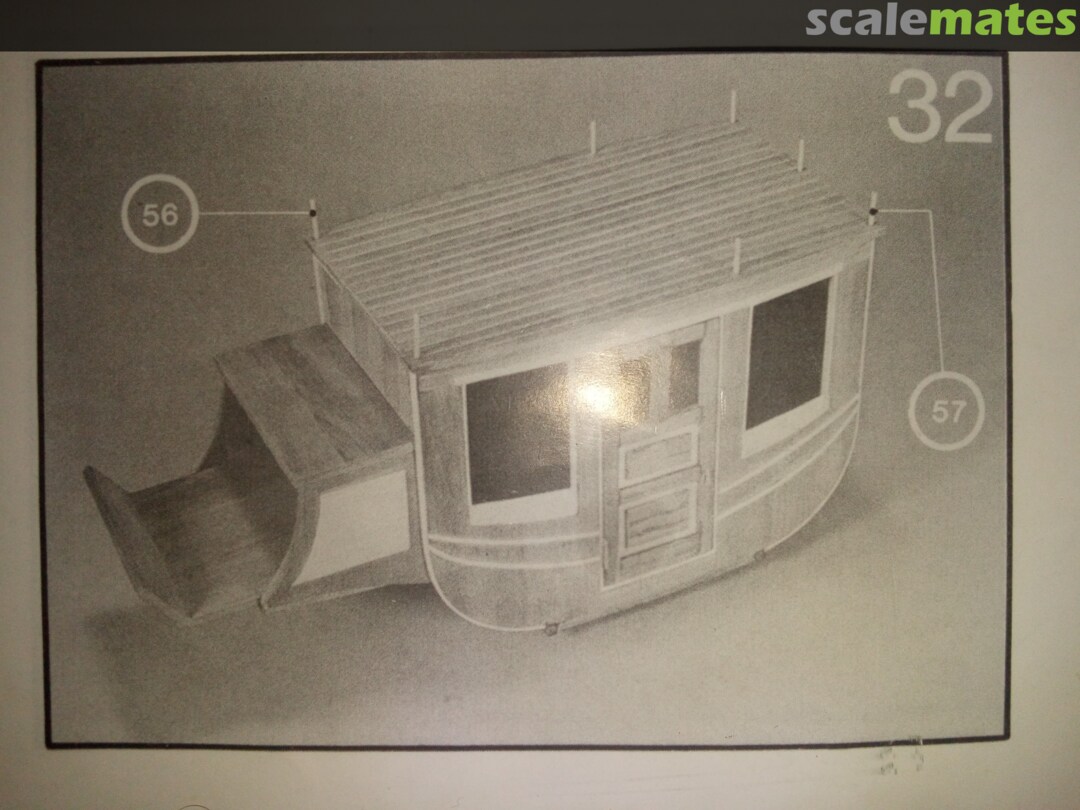
After looking at the pictures on the kit box I deduced that the shorter pieces of Walnut should be bent to follow the bend of the Coach body. This was extremely difficult. The Walnut doesn't want to bend at all. Using clamps and boiling water I was able to get a slight bend. With much trepidation I clamped and glued and after some time I released the clamps and the glue held, thankfully 31April 16, 2021Step 15. Dressing apertures
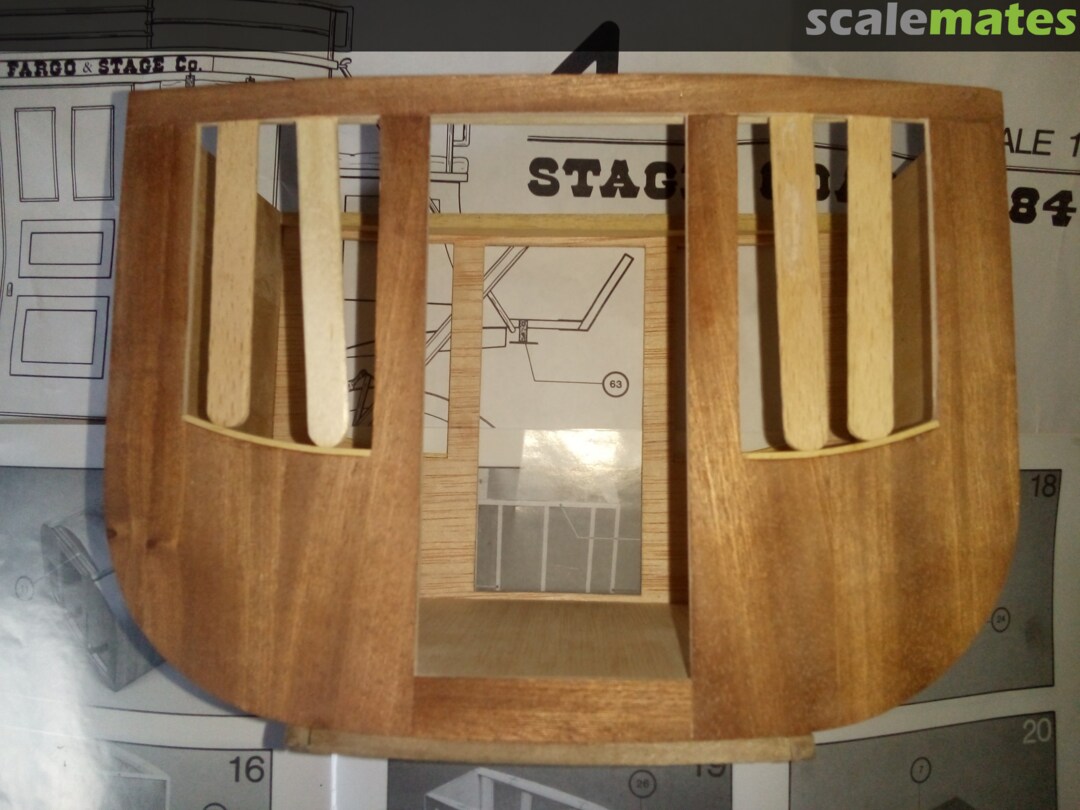
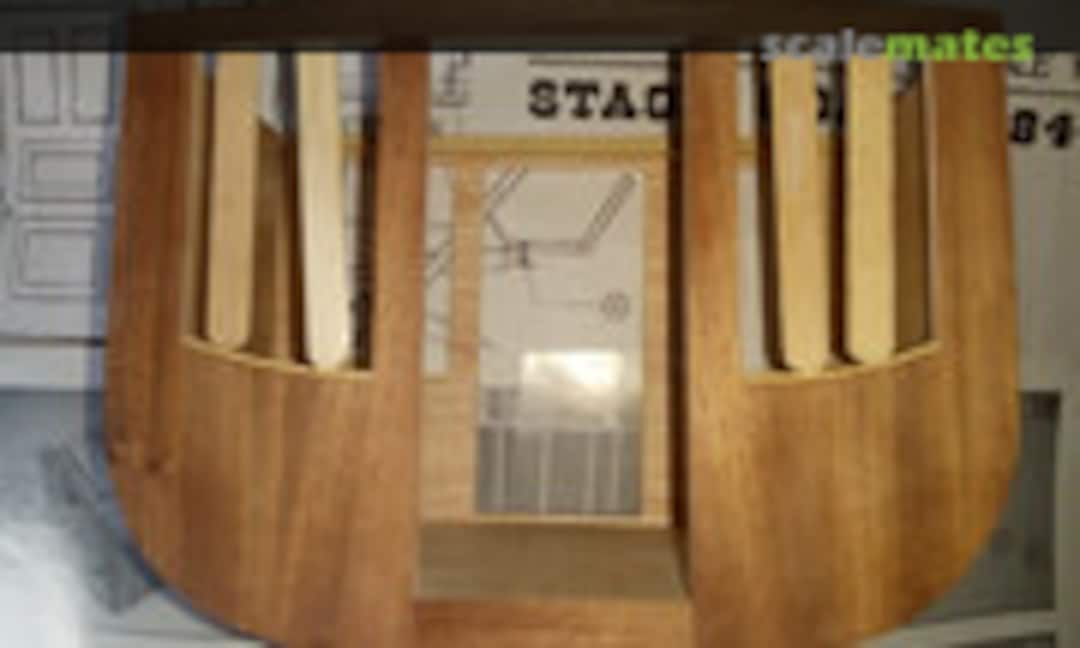 32April 16, 2021Using cut down ice cream sticks as clamps
 33April 16, 2021Step 16. Adding the Ramin trim
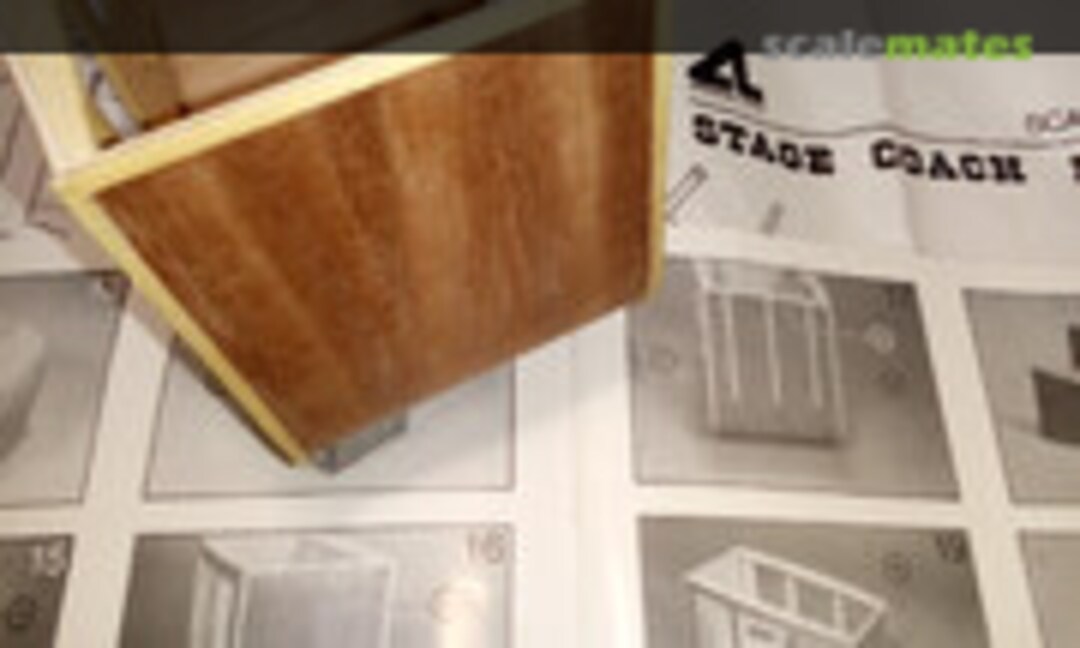 34April 16, 2021Step 16. Proved to be very difficult. The Ramin strip had to be curved in two directions. Which created a complex clamping situation that took a few days of pondering to sort out
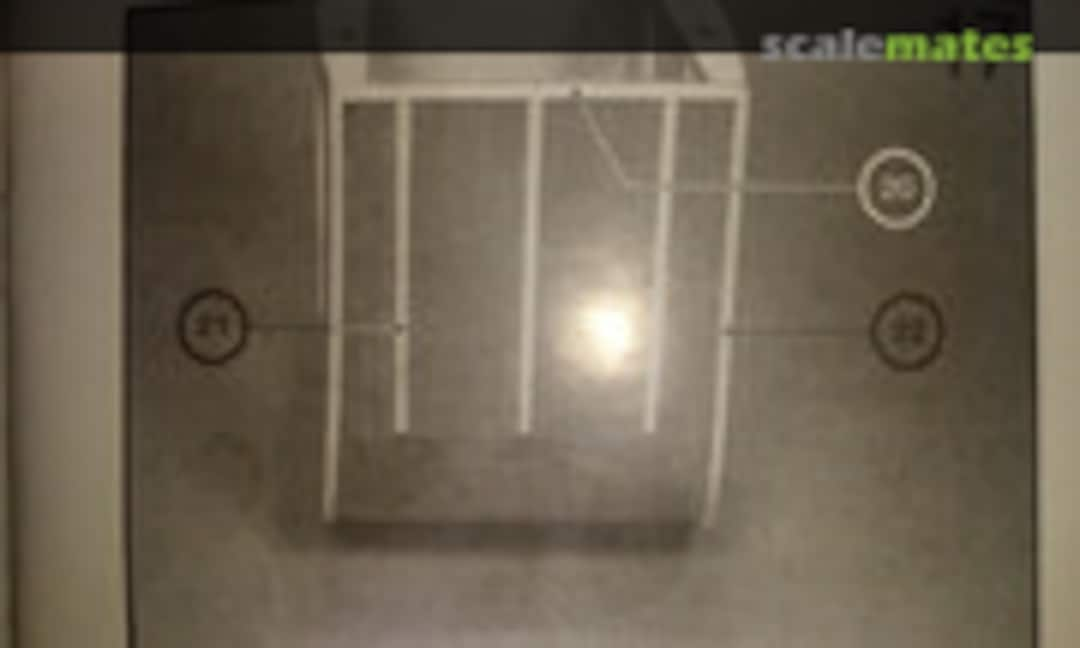 35April 16, 2021Step 17. More Ramin trim
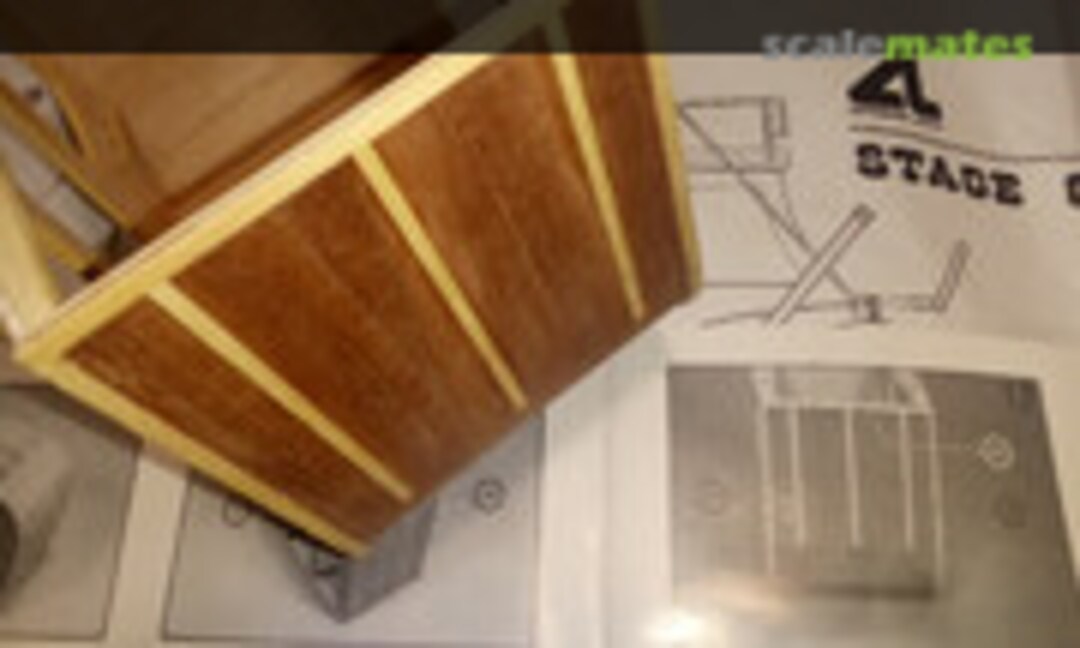 36April 16, 2021Made a mistake with the positioning of the two strips either side of the centre one and had to remove them and cut a new pair then put them in the correct positions. For some reason I looked at the picture in the instructions and then glued all pieces with equal spacing. Once the glue was dry and I was looking at the next step I noticed my mistake
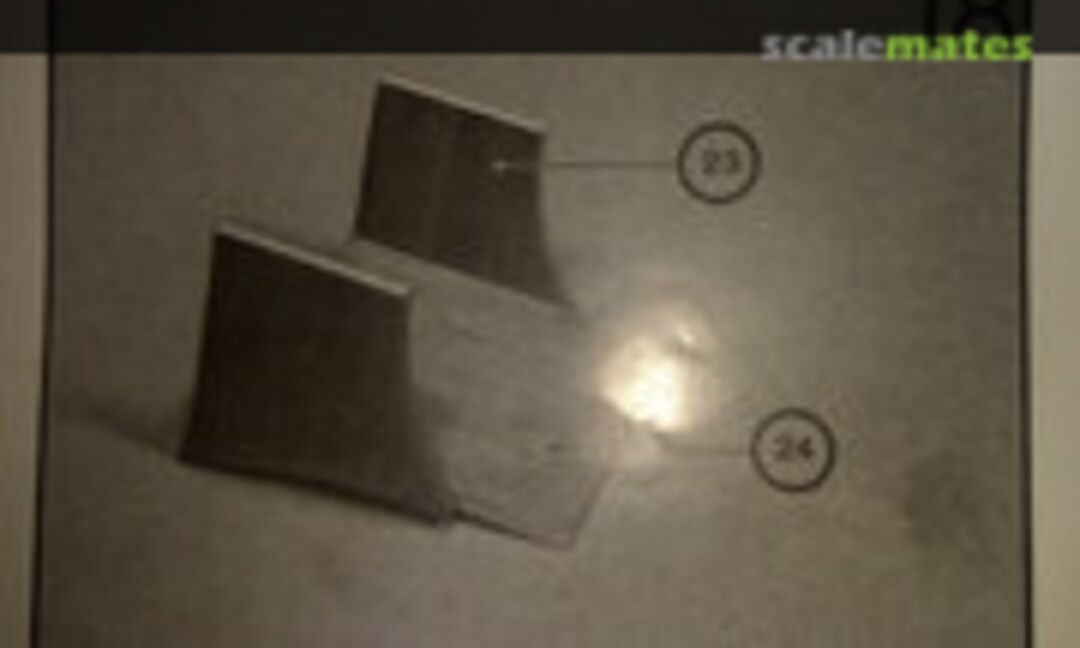 37April 16, 2021Step 18. I forgot to take a picture of the build at this stage
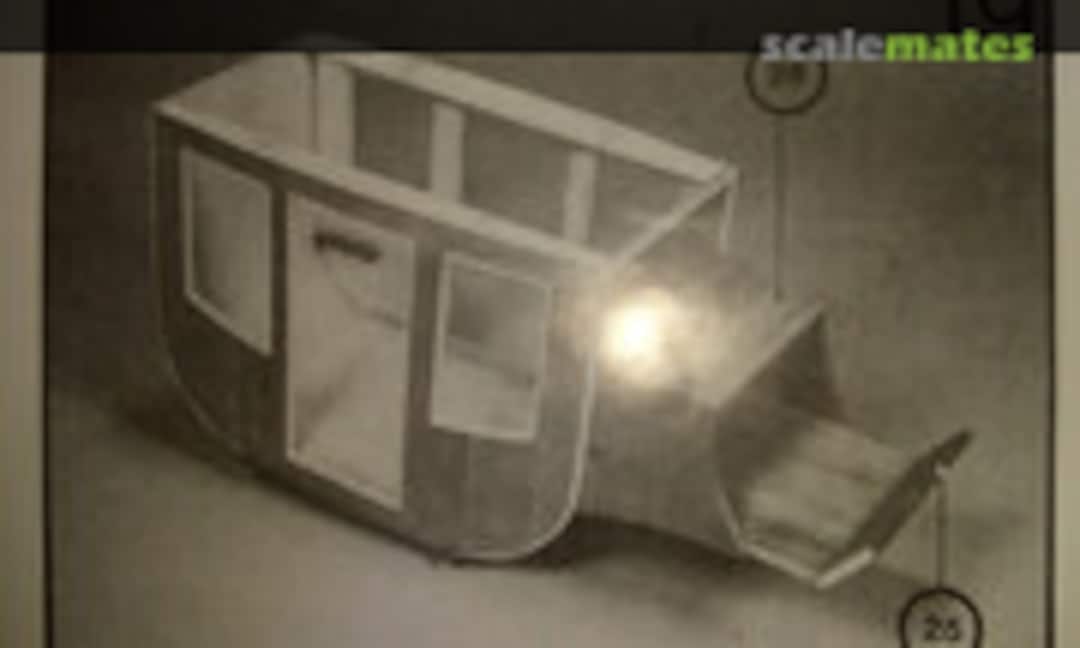 38April 16, 2021Step 19. Once again I forgot to take a picture of the build at this stage
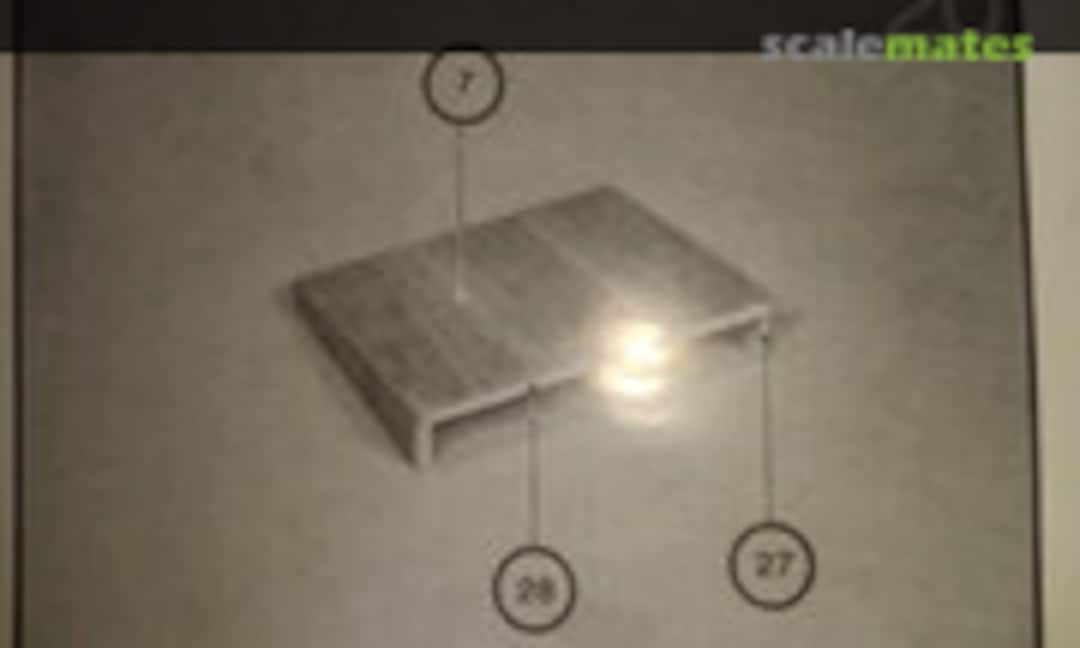 39April 16, 2021Step 20. Forgot to take a picture of the build at this stage too
 40April 16, 2021Step 21.
 41April 16, 2021
 42April 16, 2021I added a piece over the hole at the front of the piece constructed in step 20 because I didn't like the way it looked
 43April 16, 2021Step 22. Many Ramin trim pieces to add
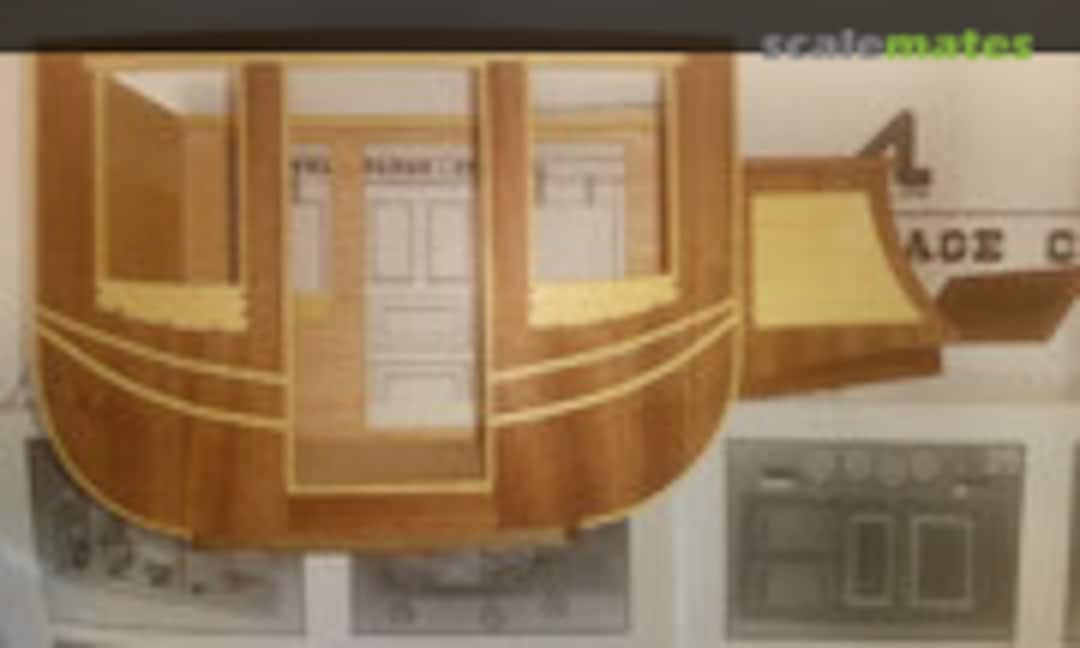 44April 16, 2021This is a massive step. The provided schematic is incorrect in that the curved Ramin pieces are shown as being 1mm thick when the strips provided are 2mm. So I had to guess exactly where they were meant to be positioned
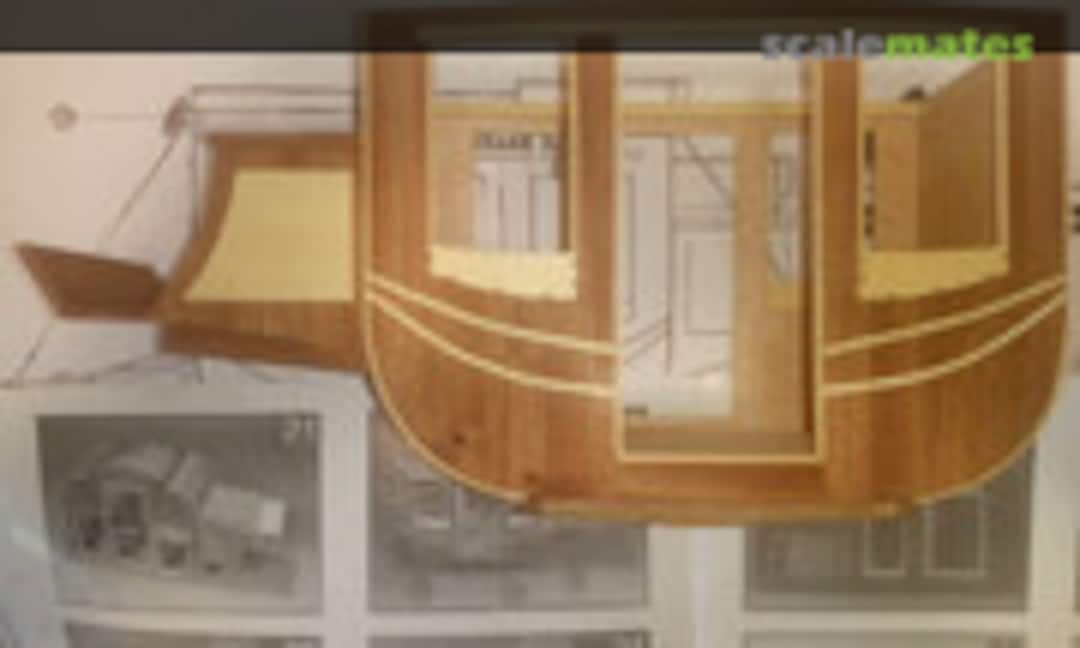 45April 16, 2021Also in the parts list pieces 29 and 30 are listed as pre fabricated but in my kit weren't. I first cut out the two pieces I would require in step 23 for the doors. Then I used the leftover frame of the die cut plywood as a template to produce parts 29 and 30. The instructions didn't show the application of the 1mm square Walnut pieces on part 30 but the schematic does and so does the pictures of the finished model on the box, so I added them
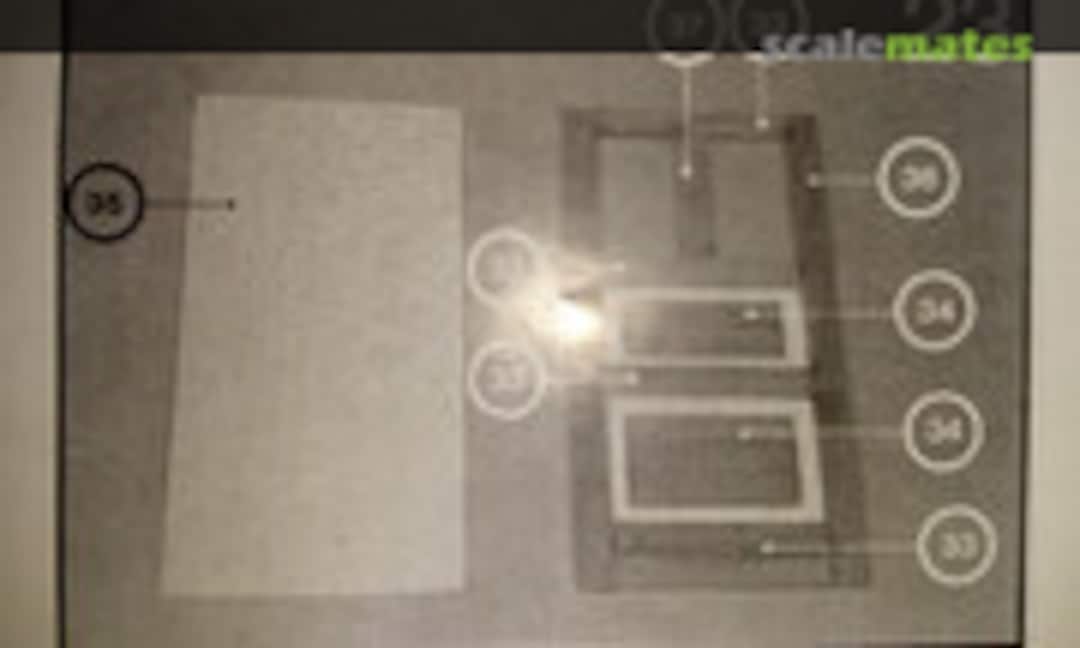 46April 16, 2021Step 23. Construction of the doors. I forgot to take a picture at this stage
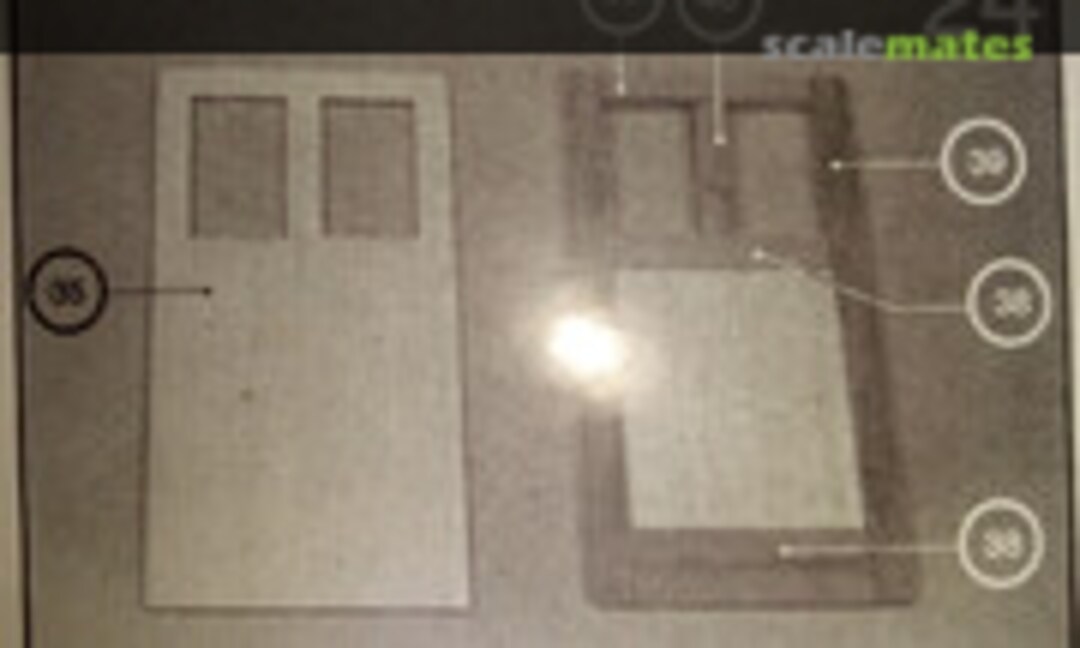 47April 16, 2021Step 24. Forgot to take a picture of this step too
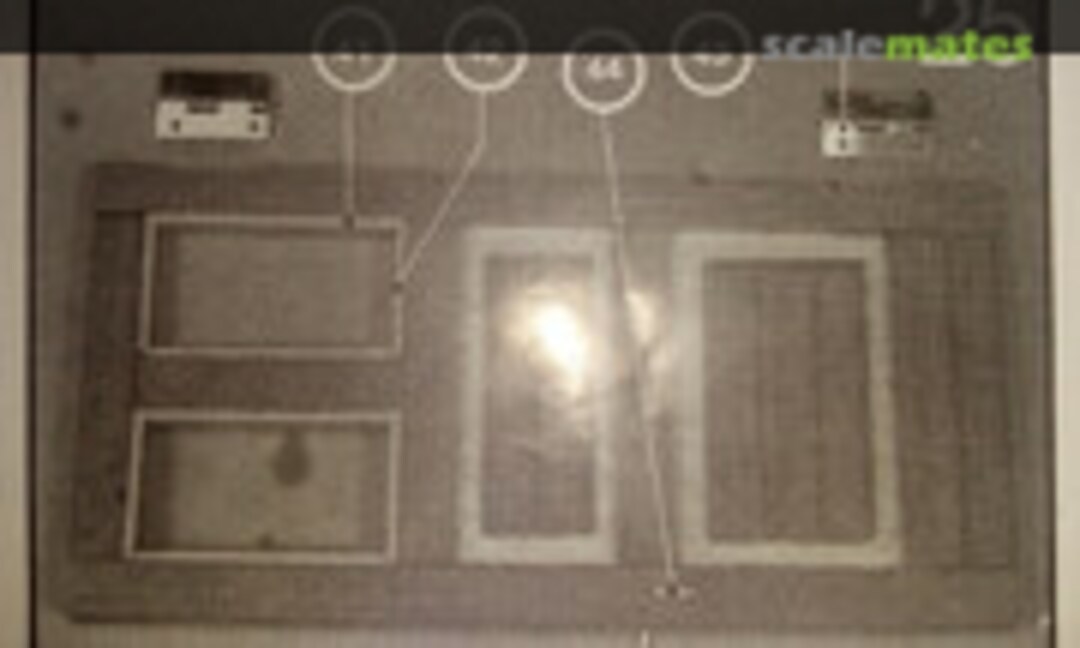 48April 16, 2021Step 25. Is dressing the apertures in the doors and adding the hinges. Much work is required with the application of the hinges. The nails for the top hinge need to be shortened but I shortened all so they wouldn't cause any issues with the bottom hinge. Due to the nail holes being opposite each other I also bent the hinges slightly and filed the heads of the nails flat to prevent them from allowing the door to operate fully
 49April 16, 2021
 50April 16, 2021As per the instructions I glued the door handles on at this point but I think it would be better to drill the holes and glue the handle on after the doors are attached to the Coach body
 51April 16, 2021Step 26. Sees the doors added to the Coach body
 52April 16, 2021Once again the nails had to be shortened.
This time it was due to the guide holes needing to be drilled at an angle due to the small door aperture. I also filed the heads flat and one side of the nail head off because of the bend applied to the hinges 53April 16, 2021
 54April 16, 2021Step 26. Completed
 55April 16, 2021Step 27. Covering the seats. The material provided wasn't big enough to do the job as in the instructions, so I had to do some dodgy stuff
 56April 16, 2021Due to the fabric not being big enough I had to be very frugal with the seat backs
 57April 16, 2021At least this side looks okay
 58April 16, 2021Before I attempted to cover the seats I first cut out the luggage cover and four window blinds. The driver's seat and then I had what was left for the interior seats. The seat bottoms had to be covered with the scraps and thus both have two pieces of fabric.
 59April 16, 2021Hopefully once inside the Coach body this two piece arrangement won't be very noticeable
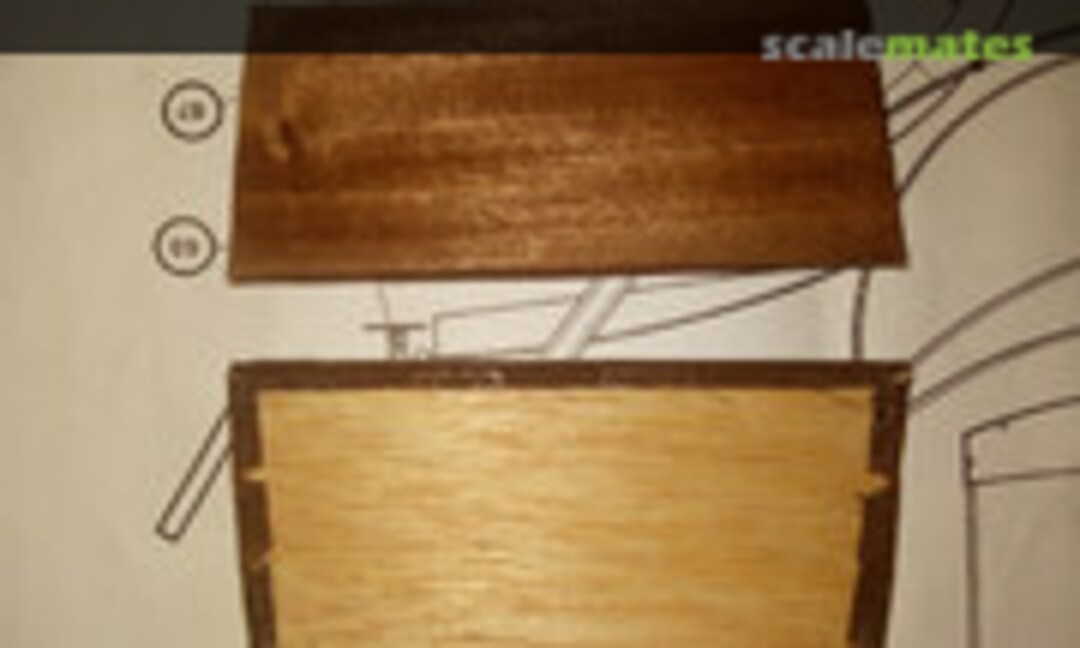 60April 16, 2021I veneered the underside of the seat bottoms to make them look better
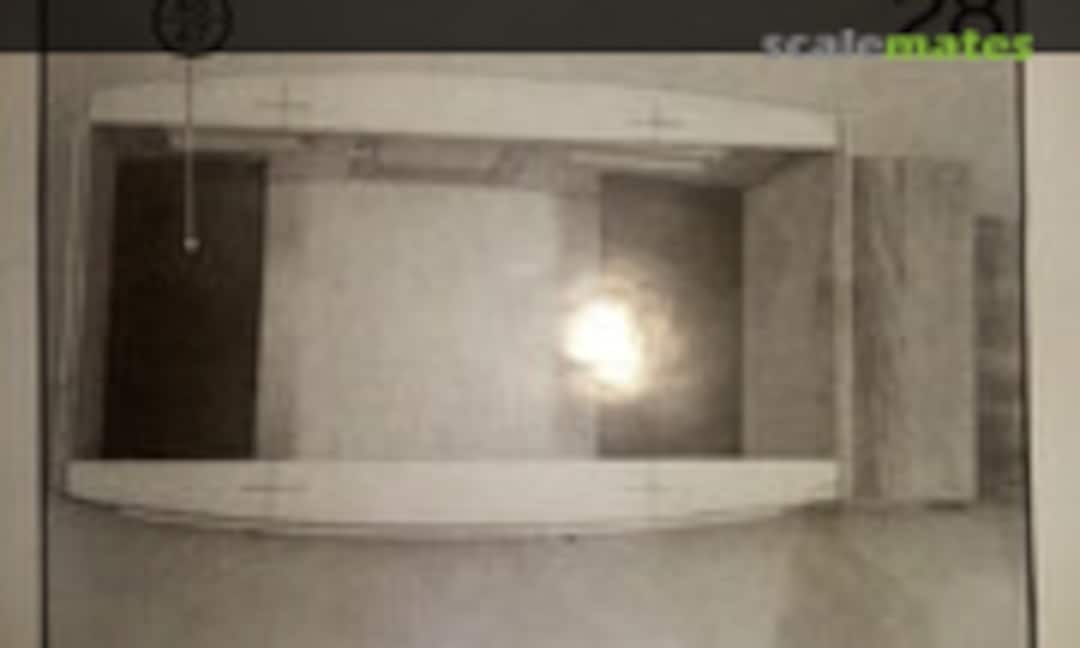 61April 17, 2021Step 28. Seat bottoms installation
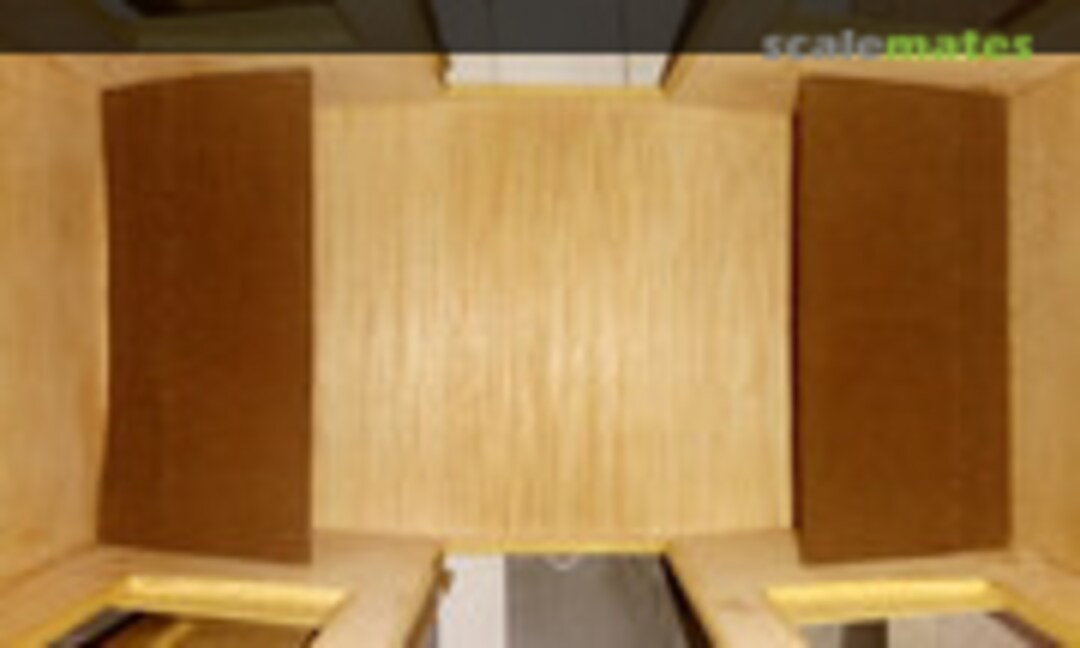 62April 17, 2021
 63April 17, 2021Step 29. Installation of the seat backs
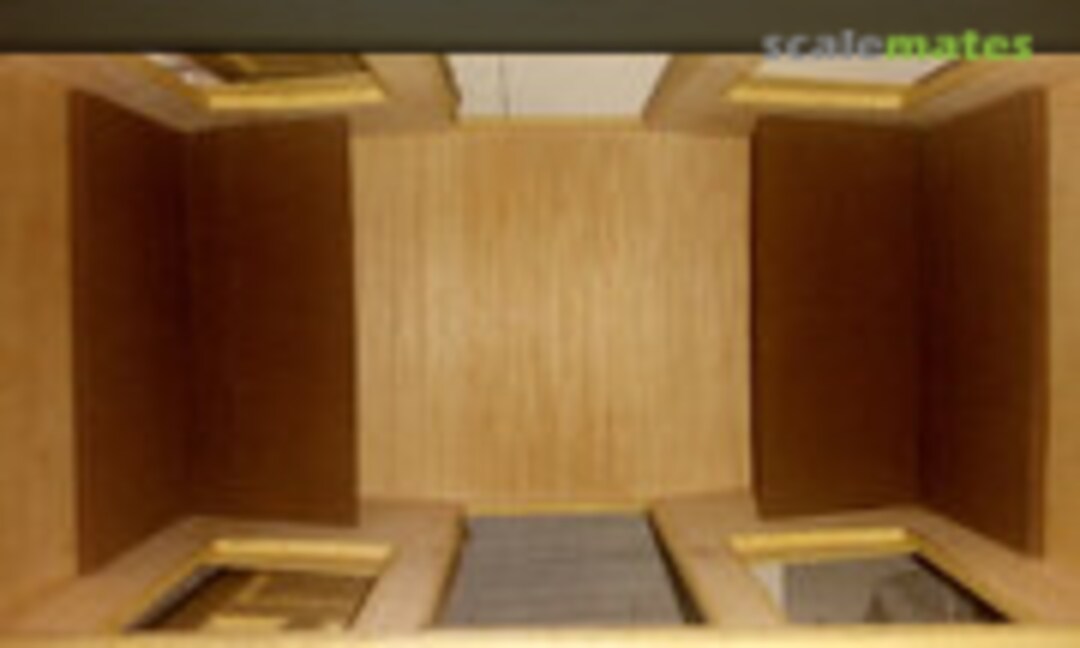 64April 17, 2021
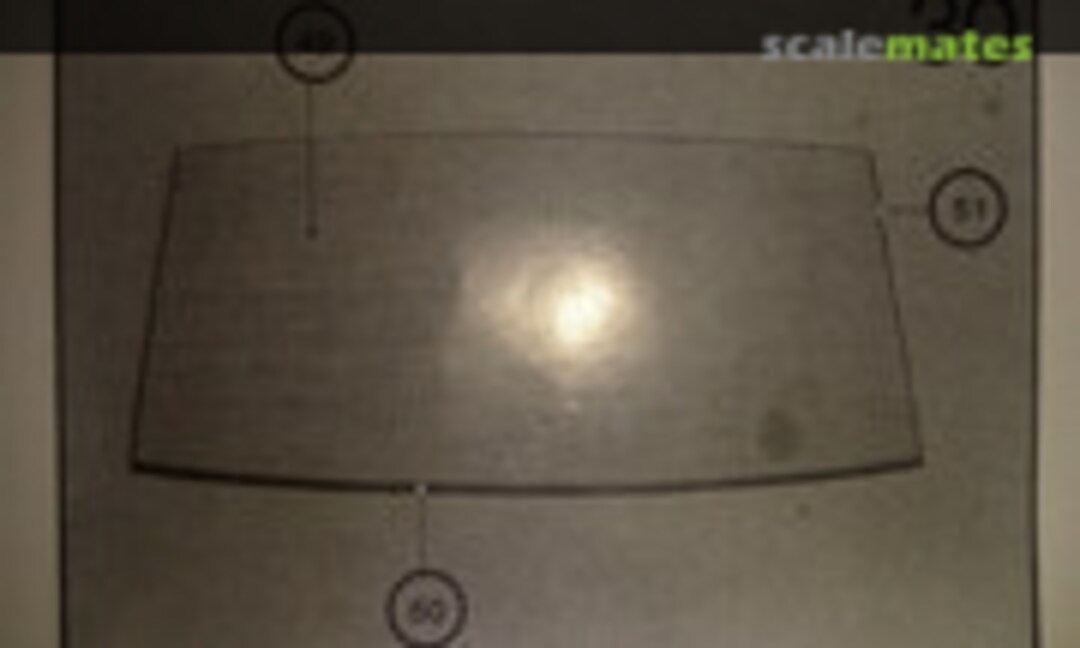 65April 20, 2021Step 30. Adding the Walnut edging
 66April 20, 2021
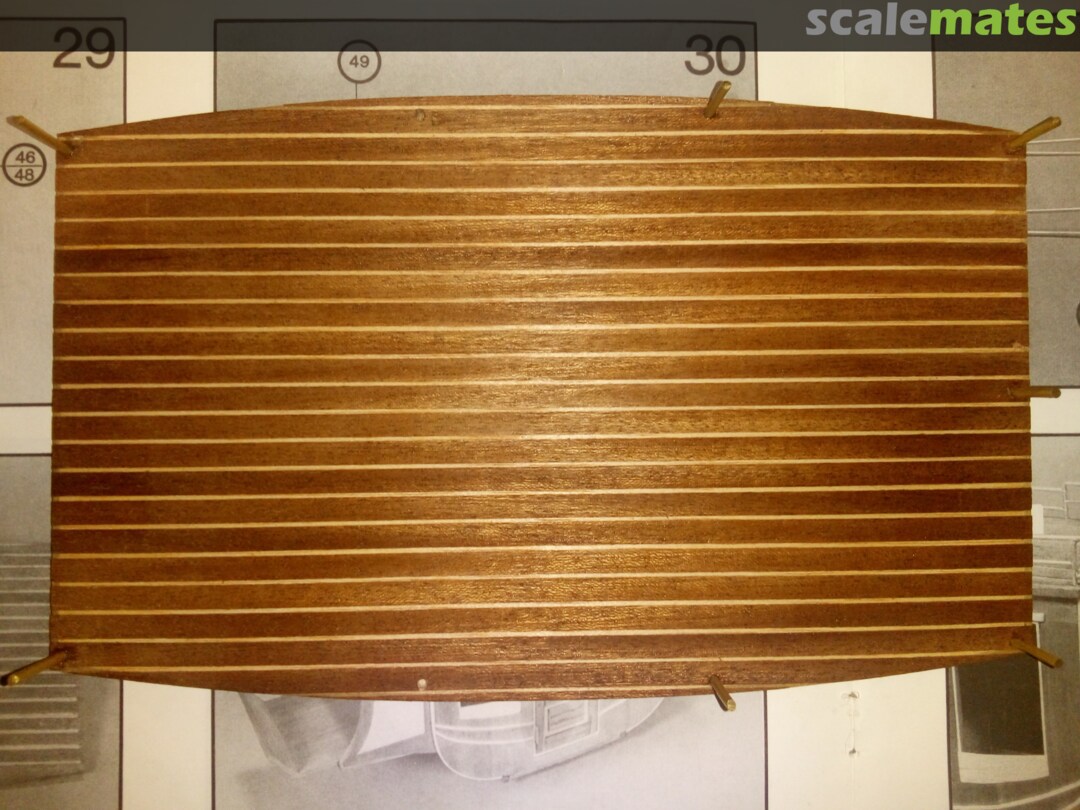
 67April 20, 2021Step 31. Adding the Duck-boards. Unfortunately I forgot to take a picture at this stage. I put more Duck-boards on the roof panel than the instructions suggest. The instructions show them with uneven gaps. After glueing the centre Duck-board I used the edge of my Steel rule to set the gap between each board
 68April 20, 2021Step 32. Luggage rack uprights. I decided to not follow the instructions here and didn't glue the roof panel to the body at this stage to make construction of the luggage rack easier
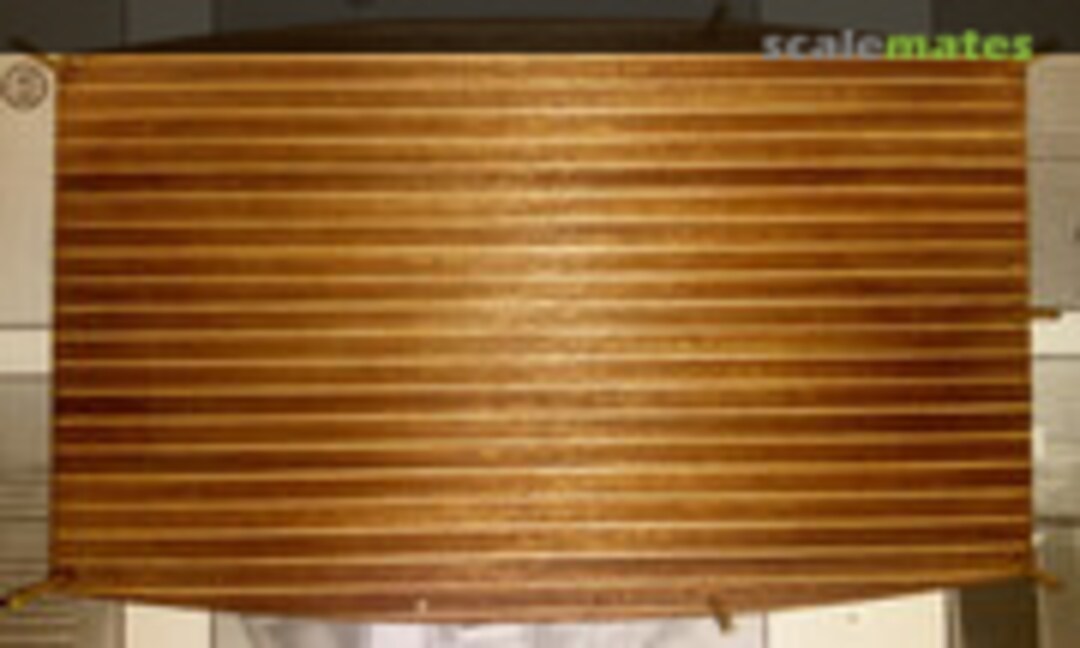 69April 20, 2021
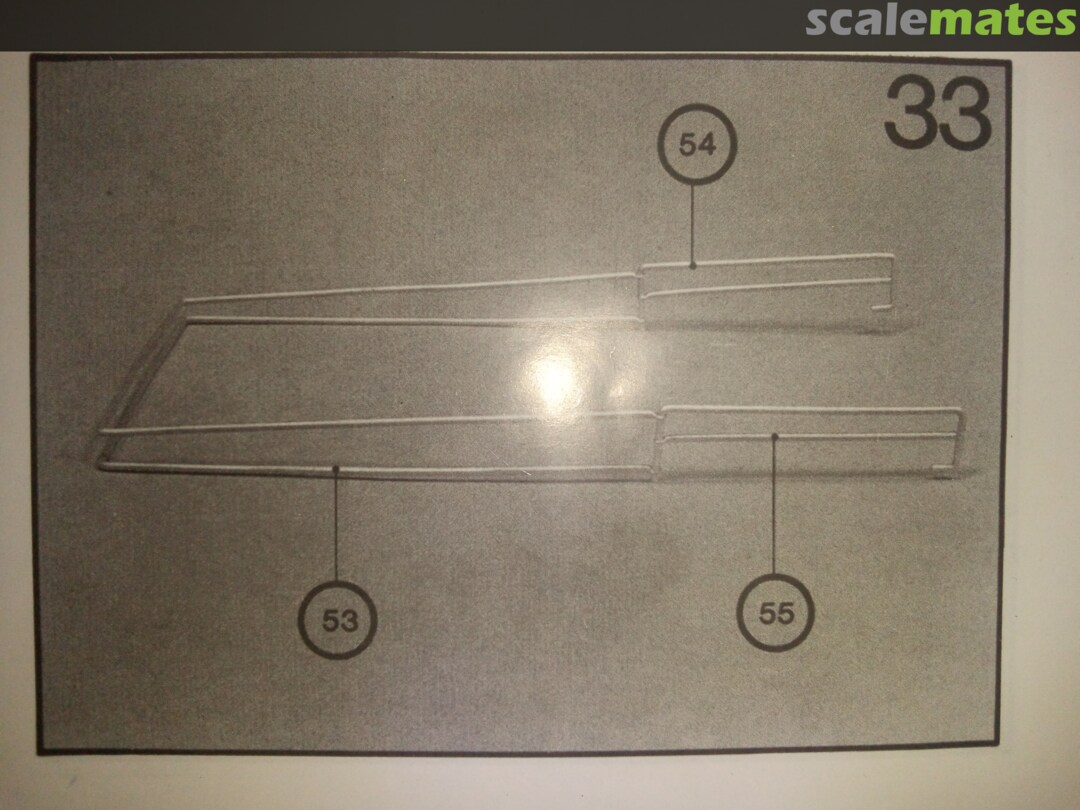
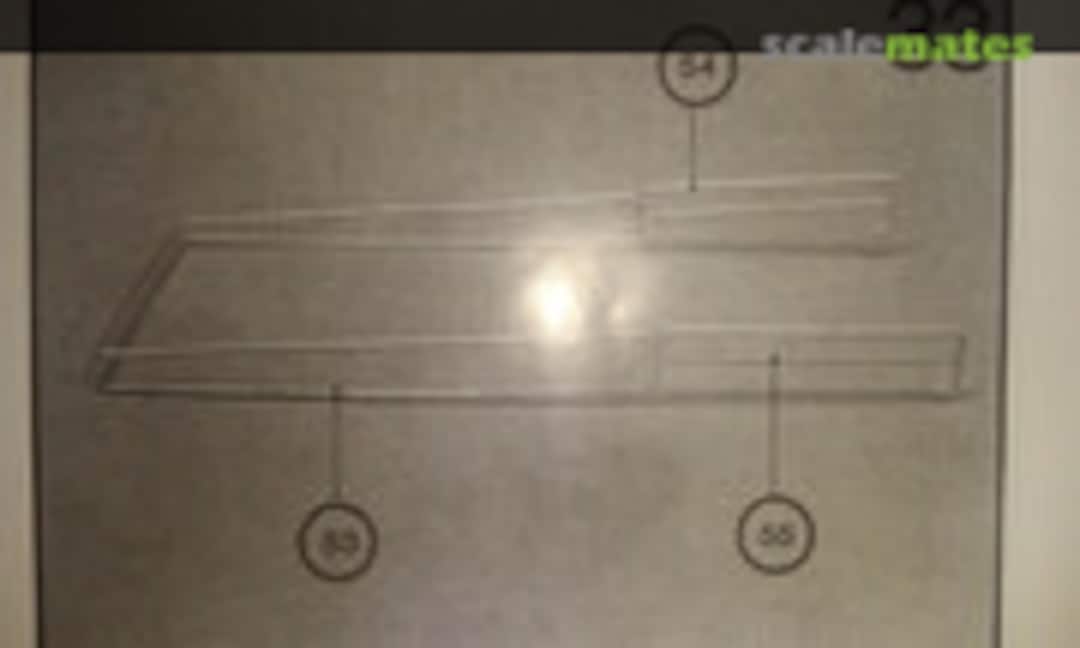 70April 20, 2021Step 33. This step is best not done as shown. I started doing it this way but because the plan isn't the correct size all my work had to be undone. The most notable inaccuracy shown in this picture is part 55 being attached to part 54 when it has to be attached to the front upright
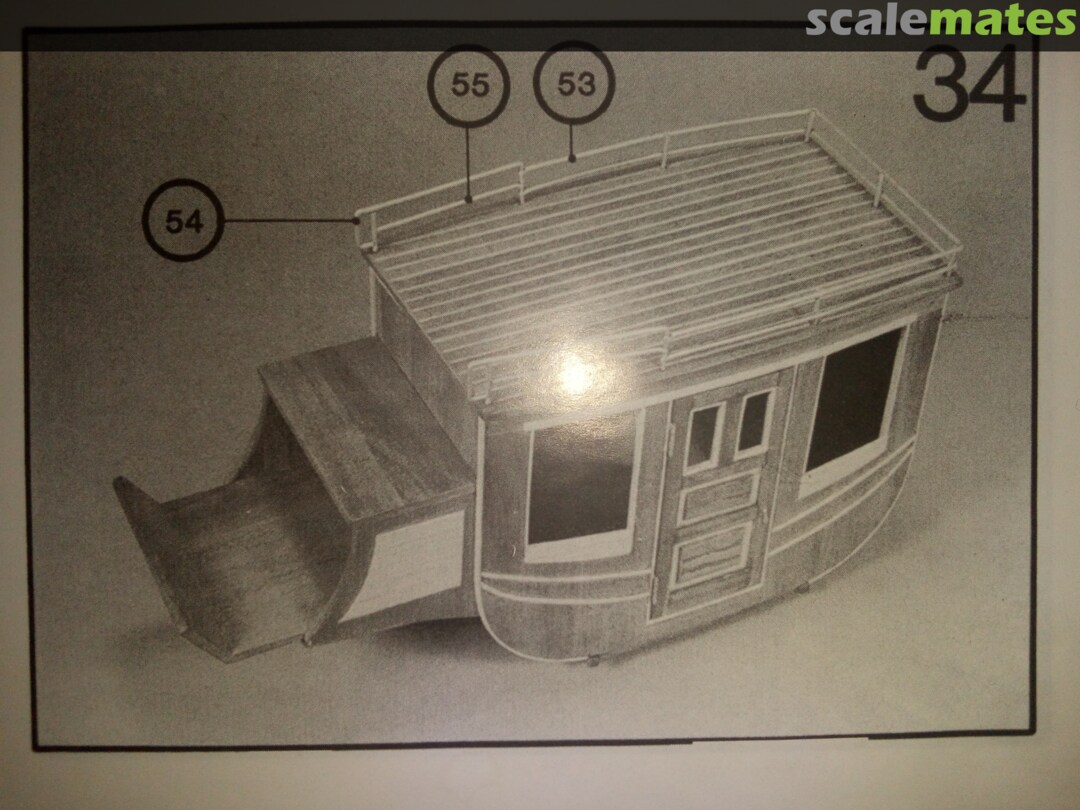
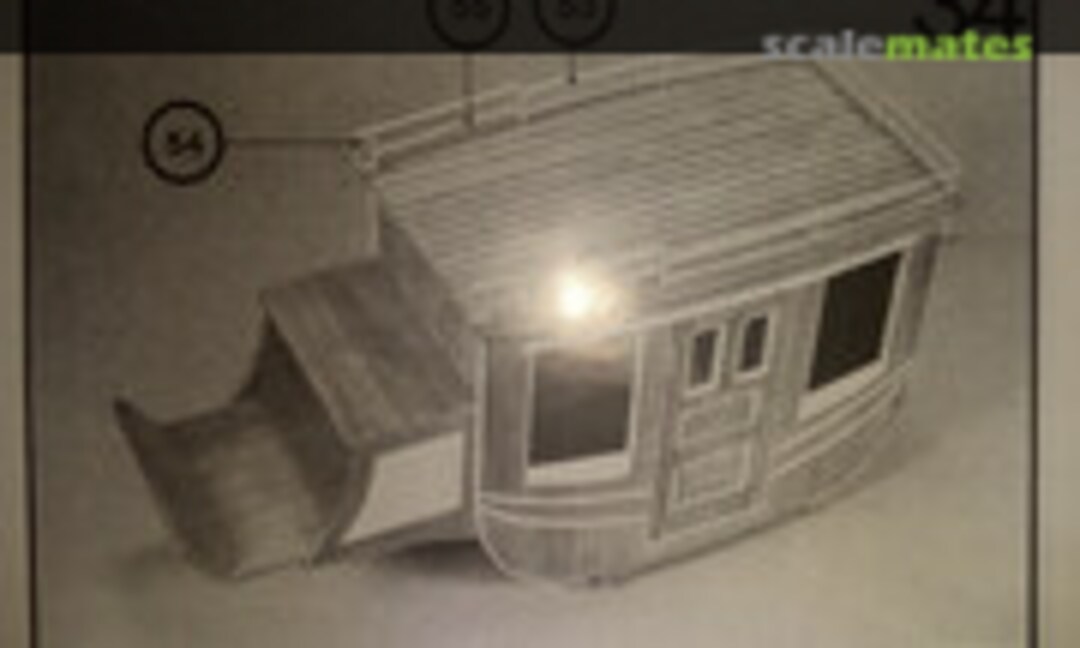 71April 20, 2021Step 34. Assembly of the horizontal sections of the luggage rack
 72April 20, 2021Boy am I glad to have this step finished. I broke my flat jawed pliers squashing the brass rod so I could drill holes in it. I spent about two months trying to work out how I was going to squash 2mm brass rod. It took about three weeks to accomplish this step. Unfortunately the brass does show the affects of having been bent and straightened because I attempted doing it as suggested in step 33
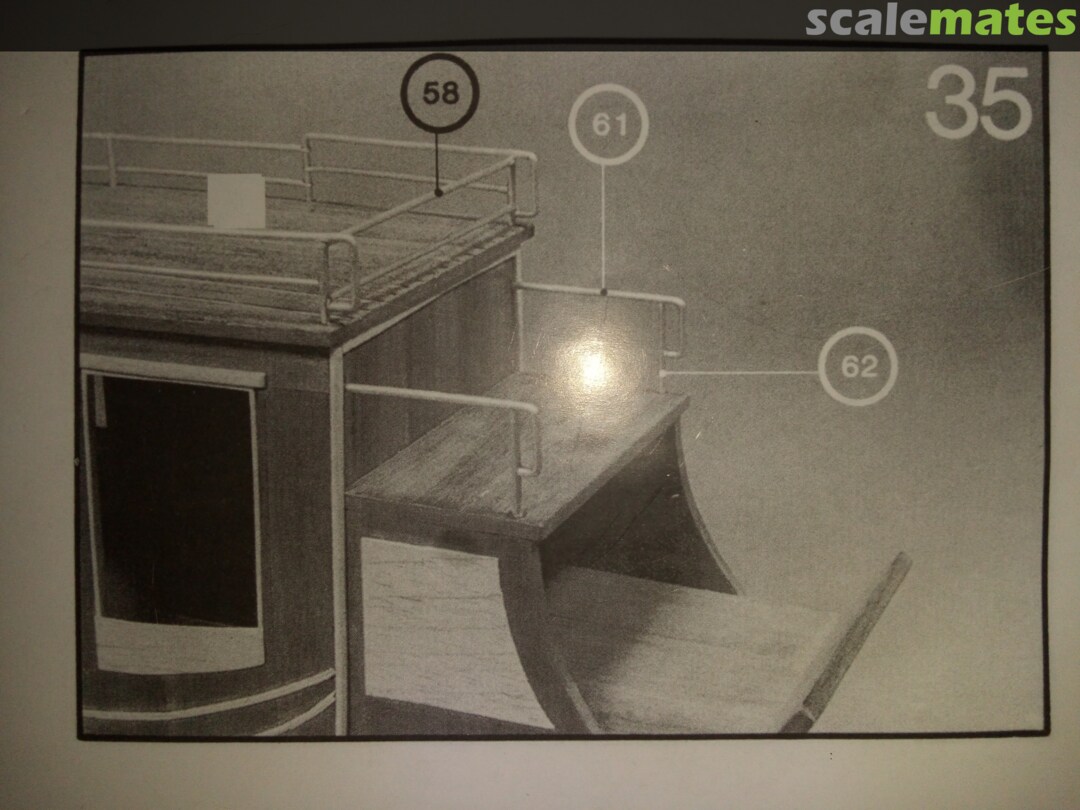
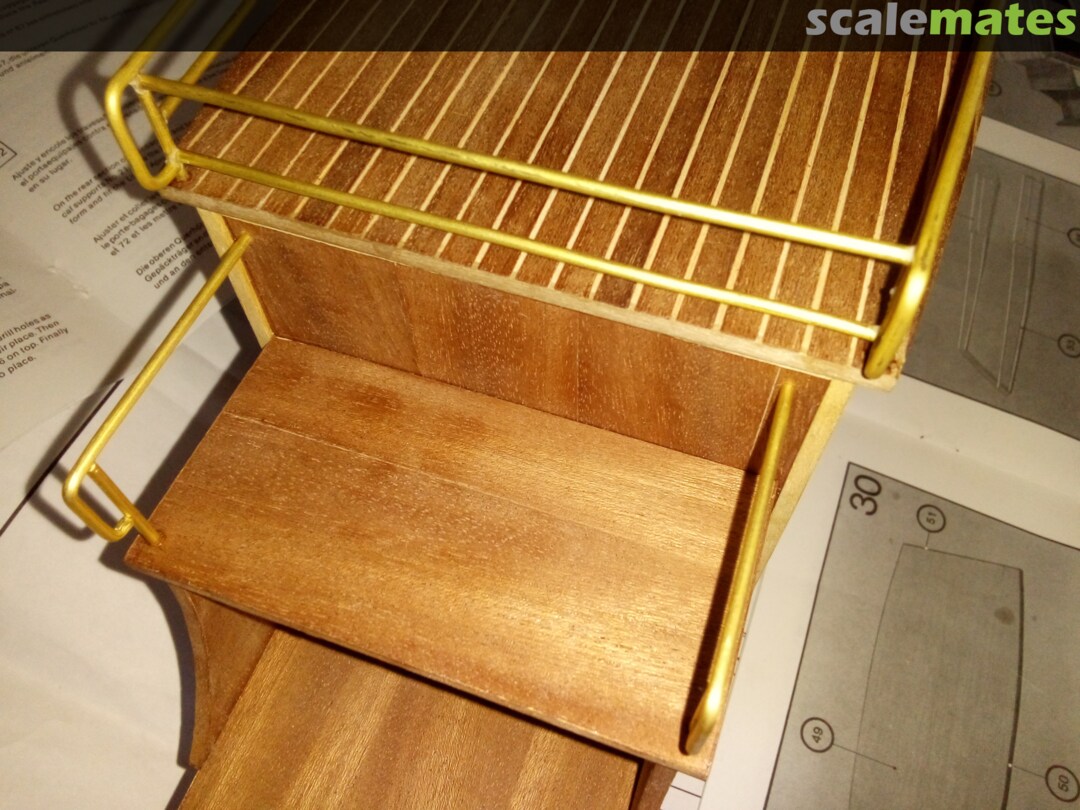
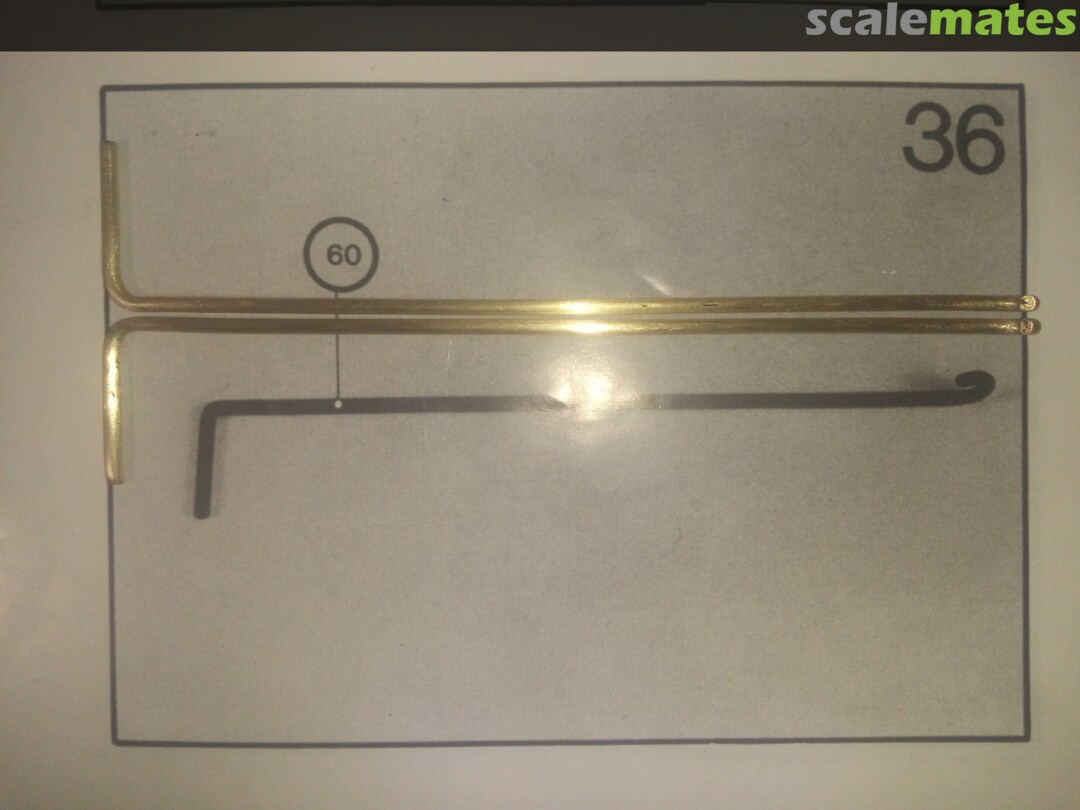
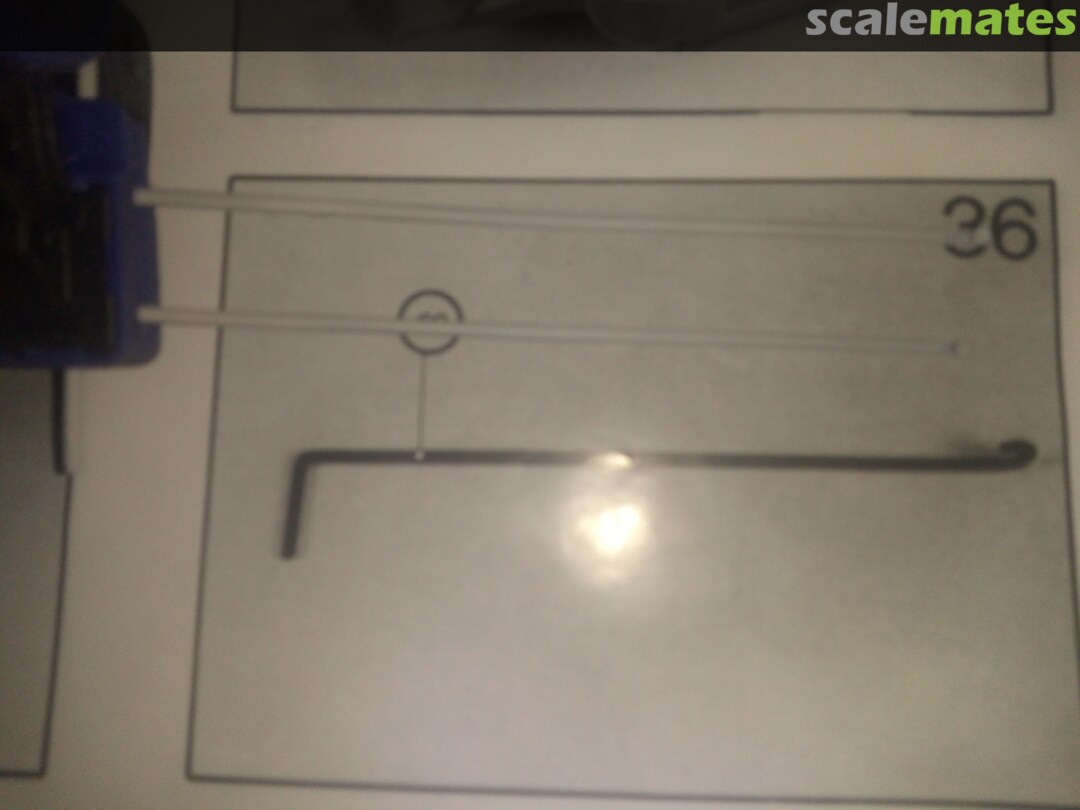
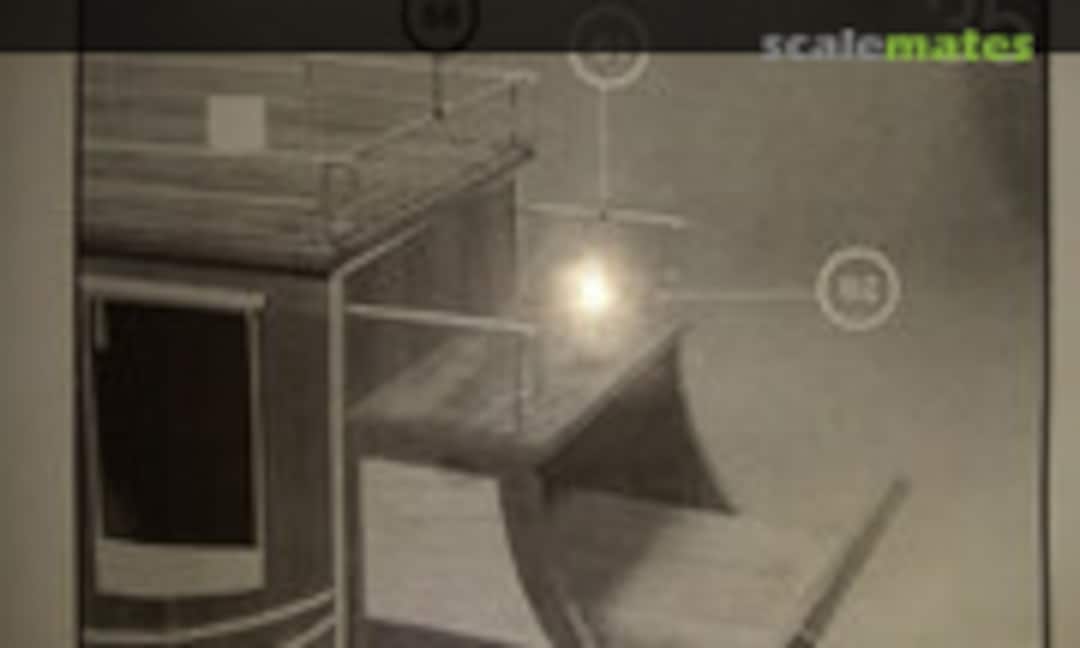 73May 15, 2021Step 35
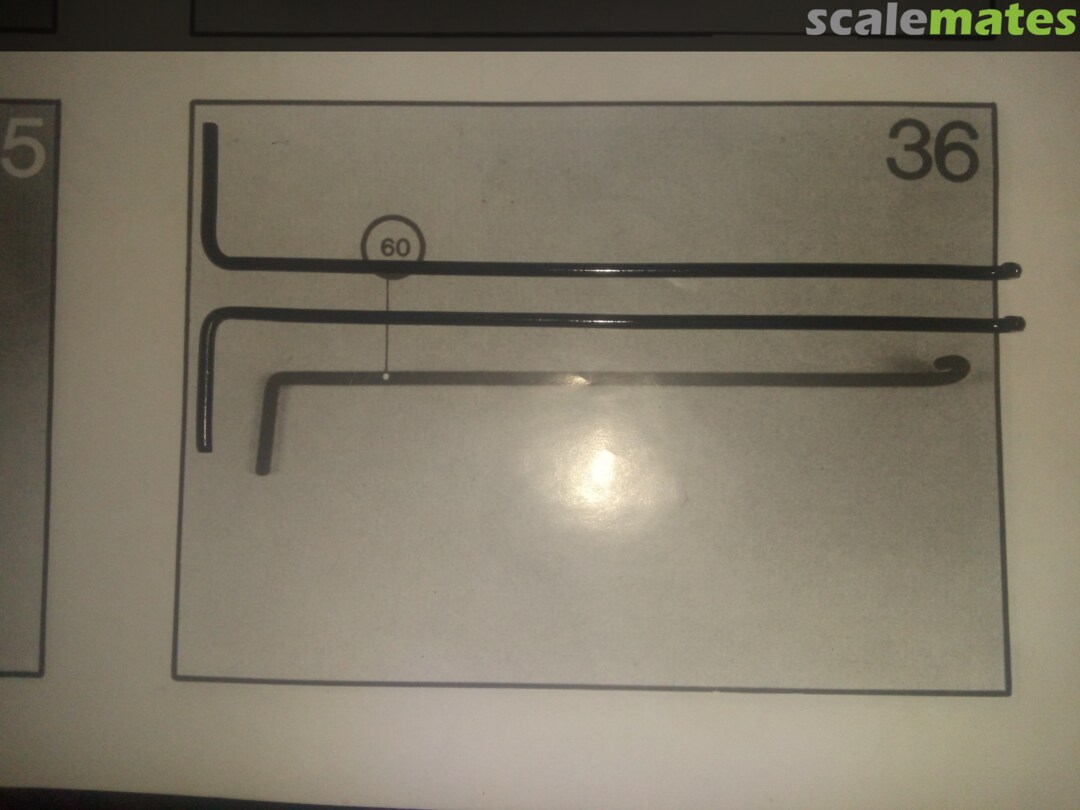
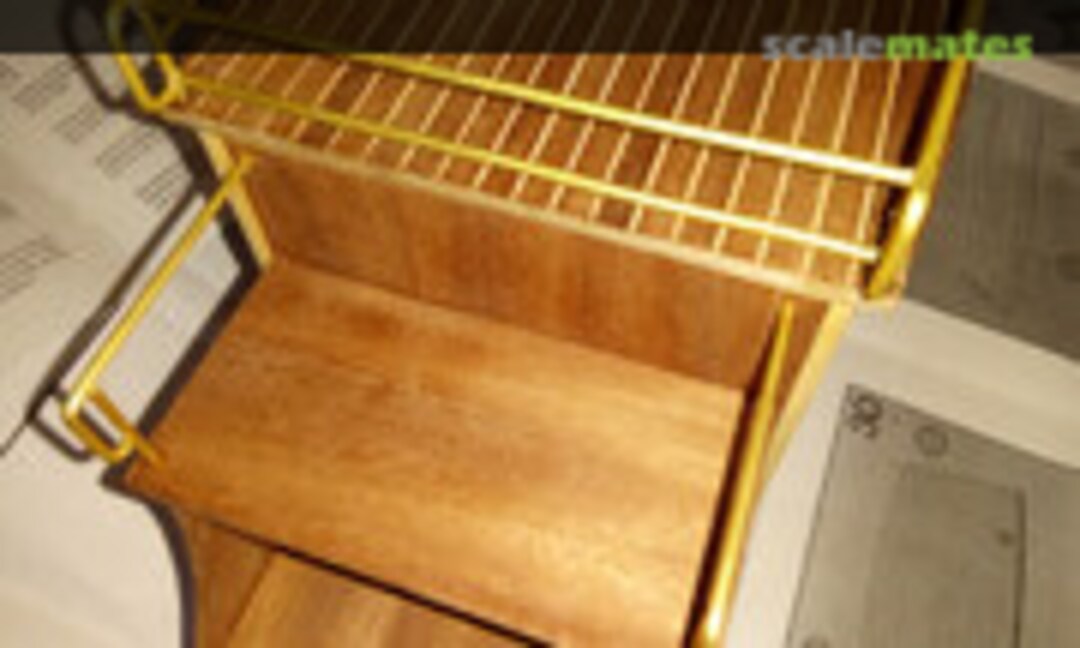 74May 15, 2021I didn't glue the roof onto the body until I'd completed the luggage rack and don't glue both seat handrails in place at this stage or you won't be able to get the seat in place
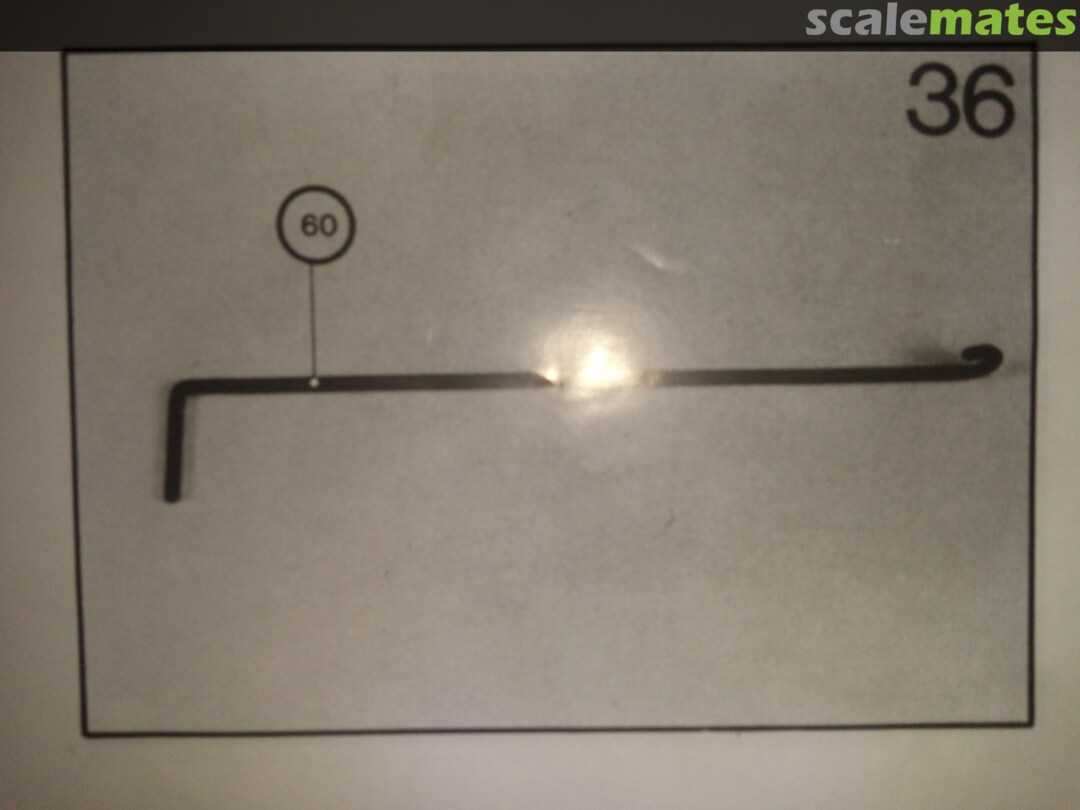
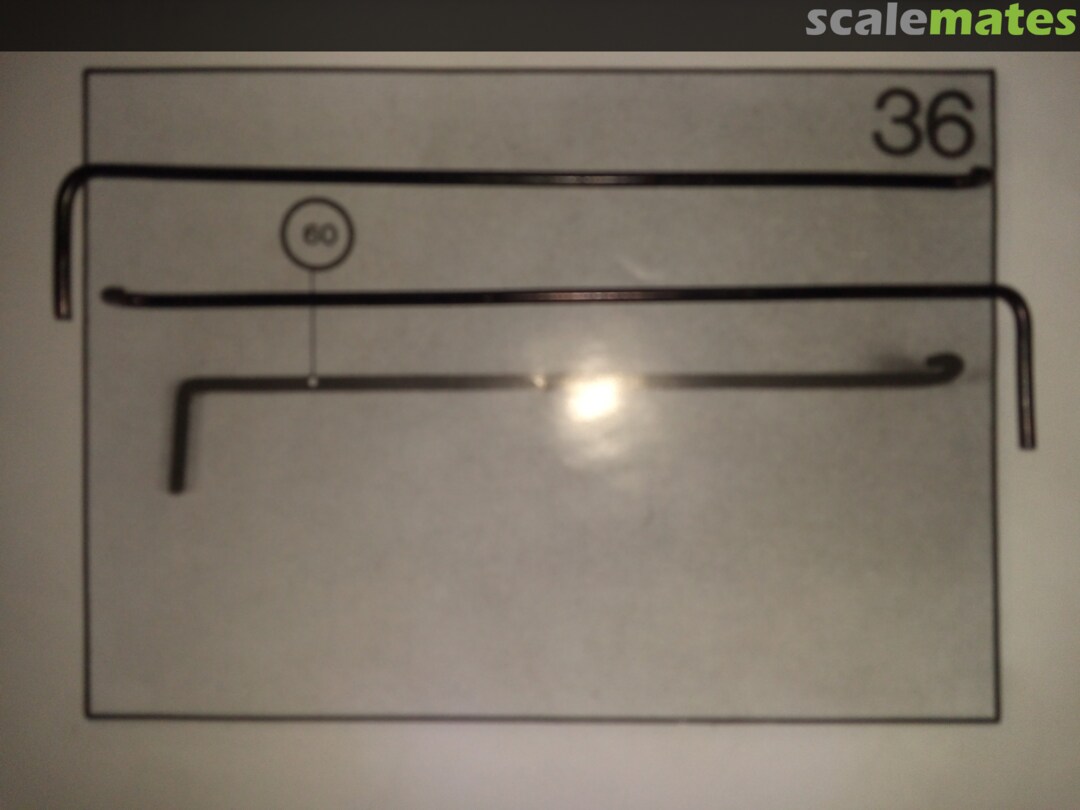
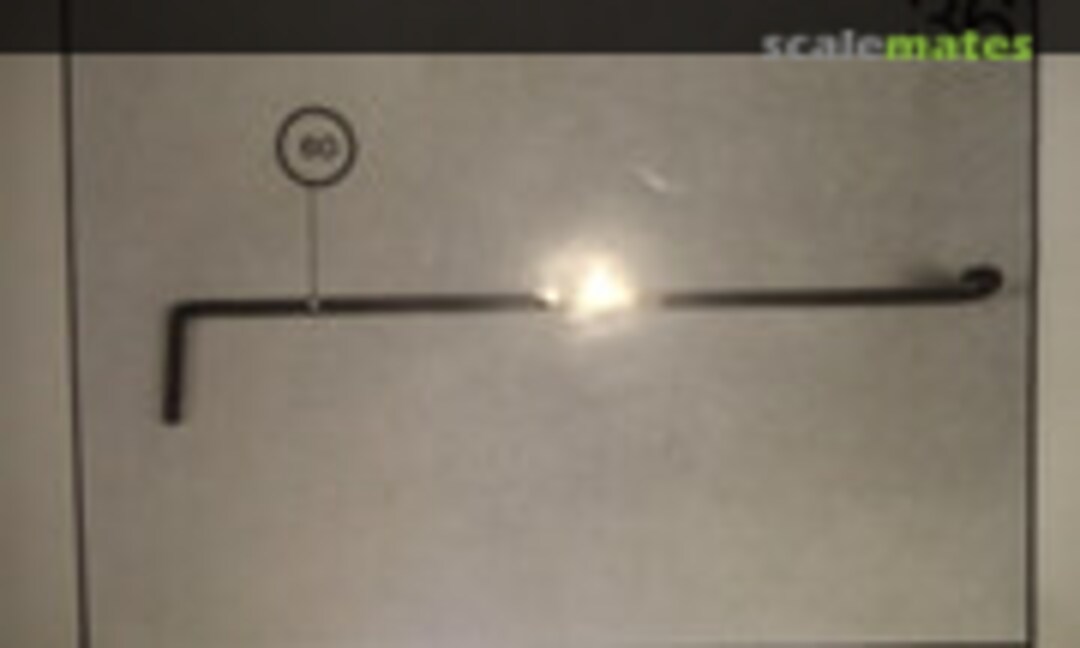 75May 26, 2021Step 36
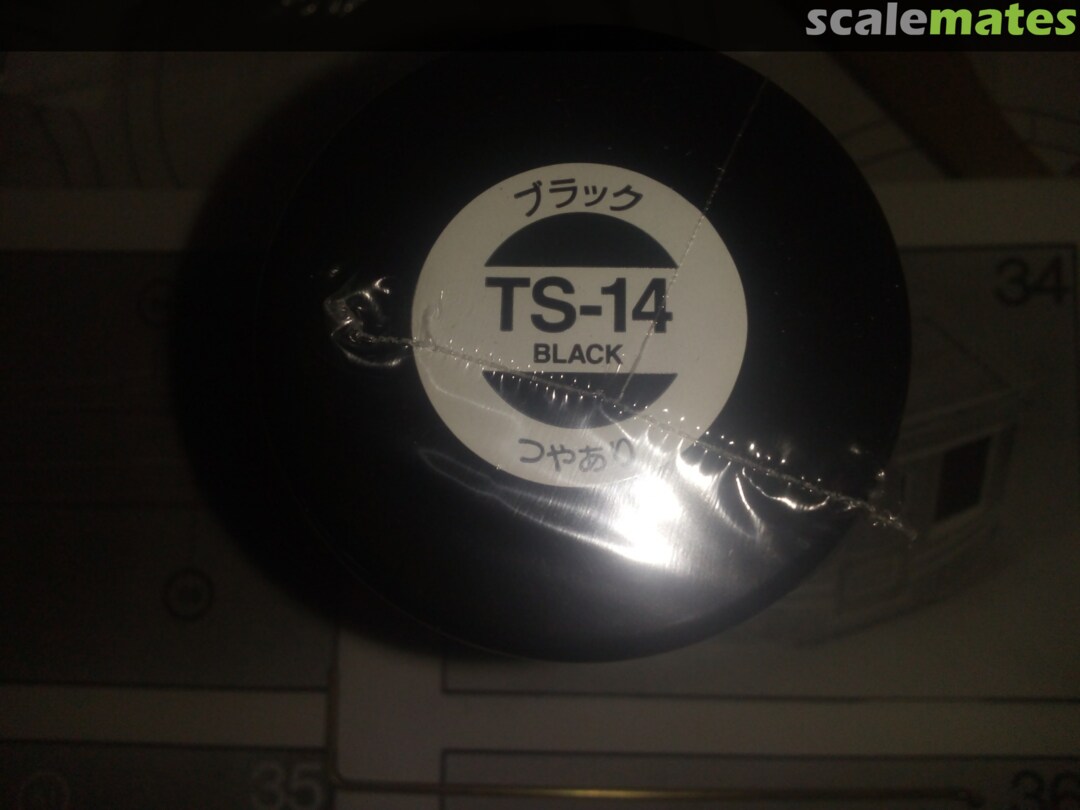
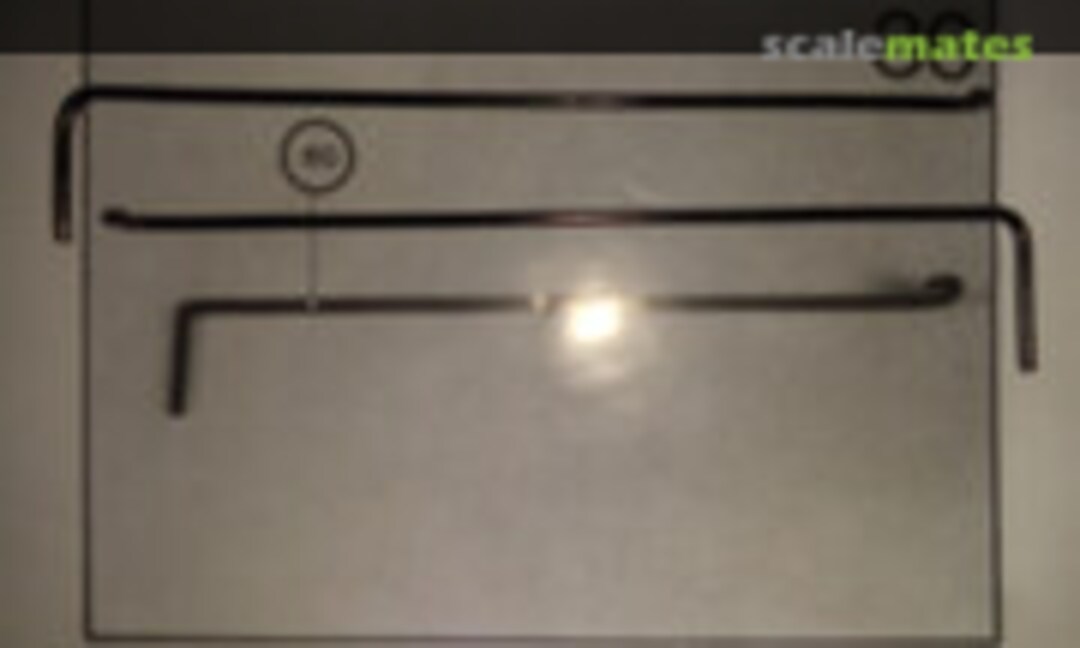 76May 26, 2021These are 2mm brass rod that I've used permanent marker to make Black because the weather here isn't suitable for painting and I wasn't confident that I could get consistent cover
 77May 31, 2021So the permanent marker wasn't up to task. Started wearing off in patches and most annoyingly onto the wood of the model. So I have had to remove it and I'll have to try painting the foot board supports
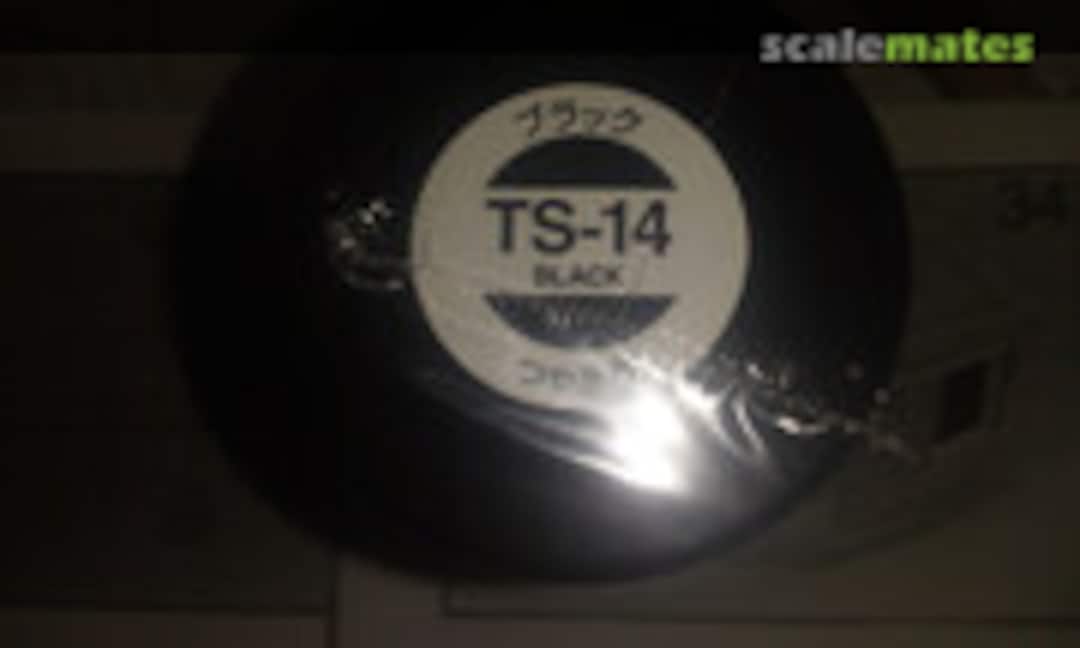 78May 31, 2021I'm hoping this Tamiya TS-14 will do the job. I couldn't even buy it here in Ballarat. I'm able to get these rattle cans in Hamilton at Toyworld but Ballarat Toyworld don't stock them. So I purchased it from BNA Model World in Melbourne Friday and it arrived this morning on Monday. So that's pretty good
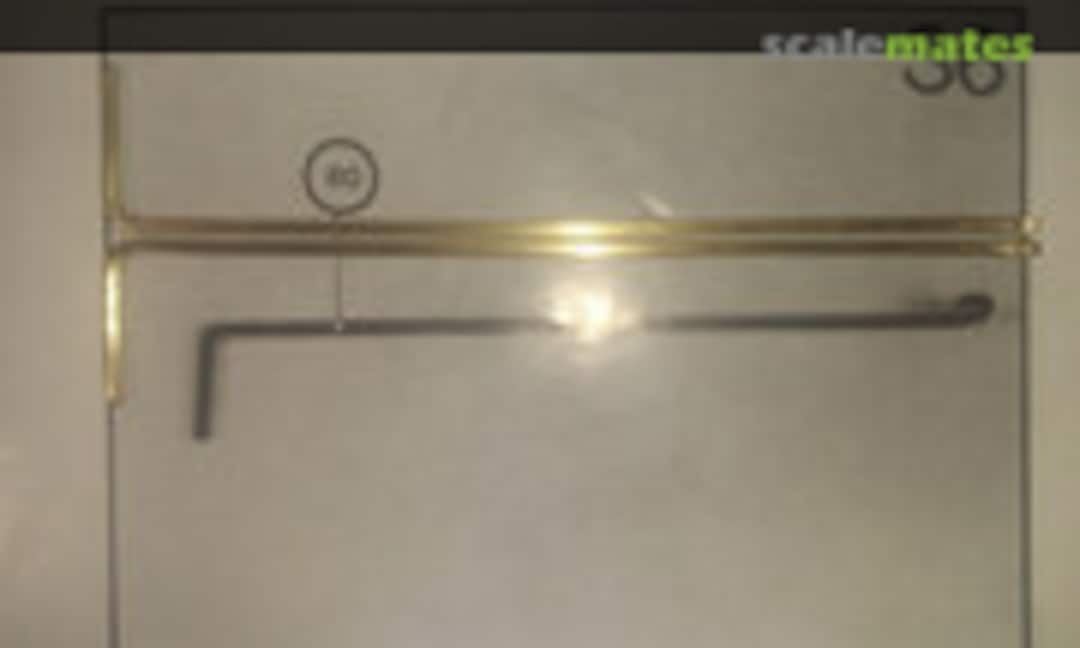 79June 8, 2021So I painted the foot board supports with the Tamiya TS-14 and I was really happy with the result but the paint also won't stick to the Brass. Not having worked with Brass before I eventually did a Google search for advice on getting paint to stick to Brass and I'm off to the hardware store today to get some Etch Primer and just like Bullwinkle said to Rocky "watch me pull a Rabbit out of my Hat". Hopefully unlike Rocky's reply "again? But that trick never works" I'll be able to correctly quote Bullwinkle "this time for sure"
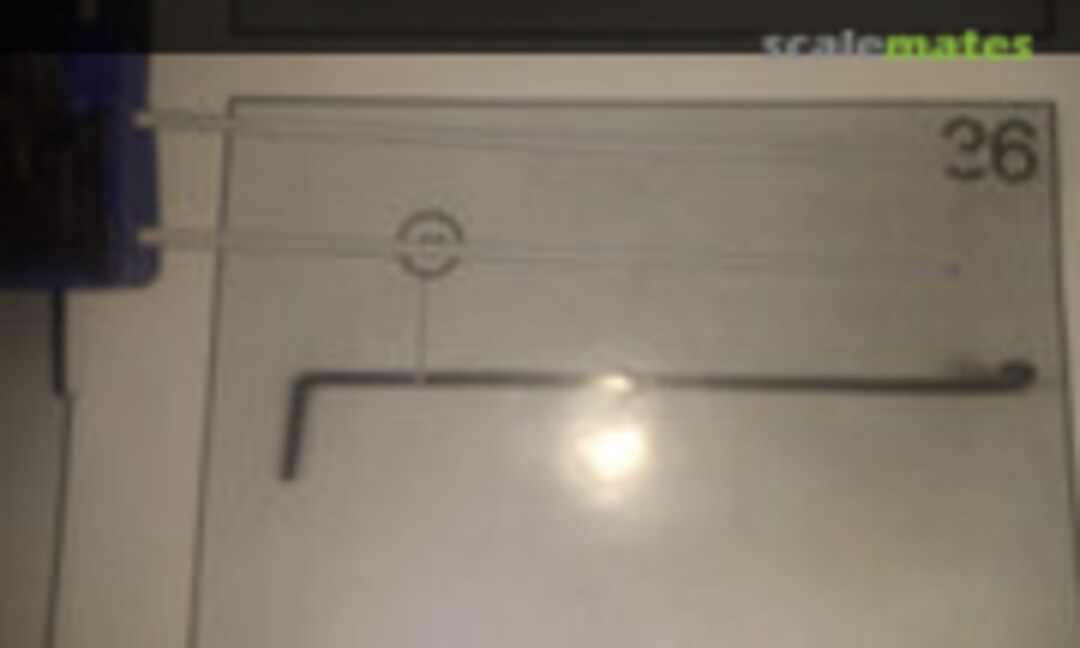 80June 10, 2021Foot board supports are fully Etch Primed now. Could only paint half of them at a time and decided to wait 24 hours between each application due to the very low temperature here in Victoria ATM
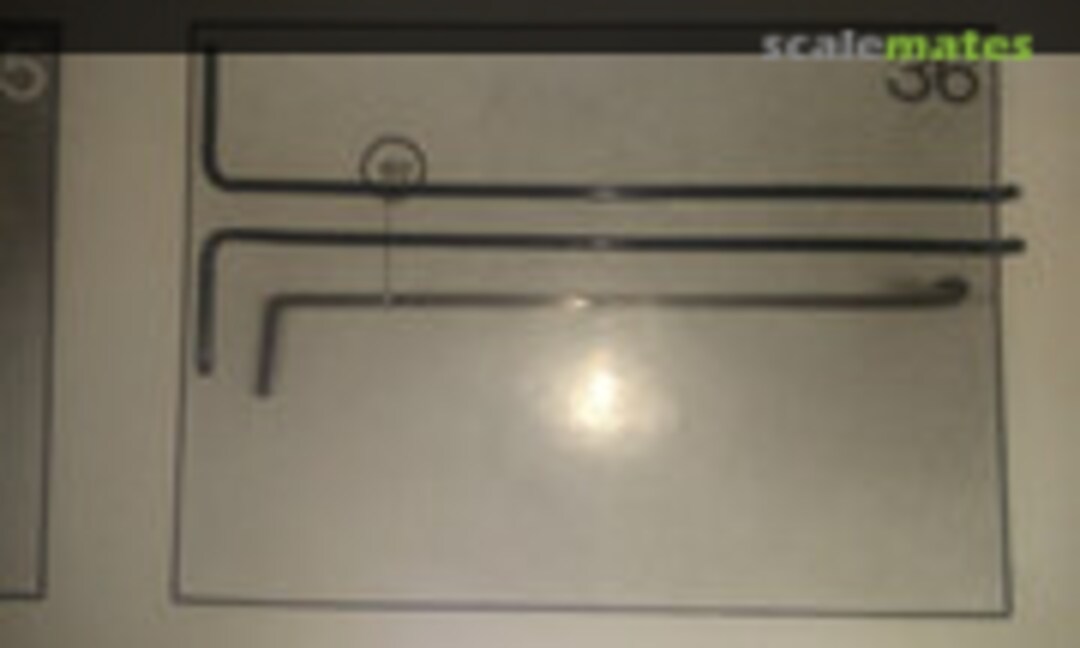 81June 13, 2021Finally, I think I've finished the foot board supports
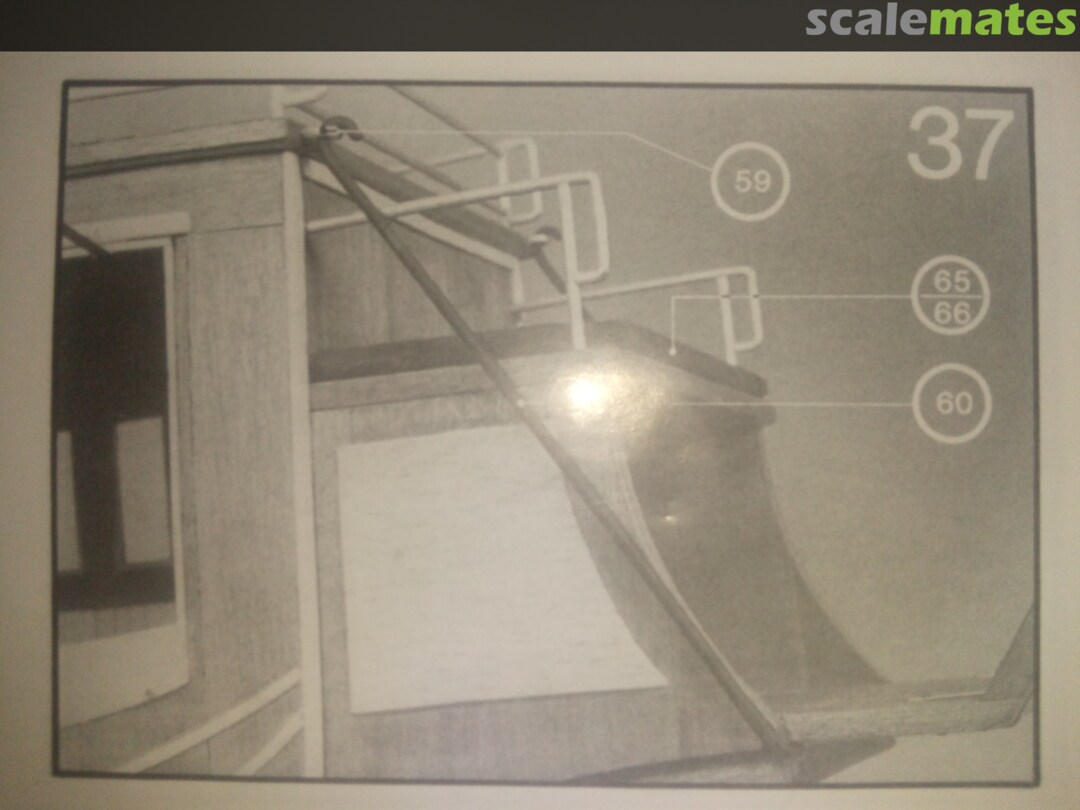
 82June 15, 2021Step 37
 83June 15, 2021
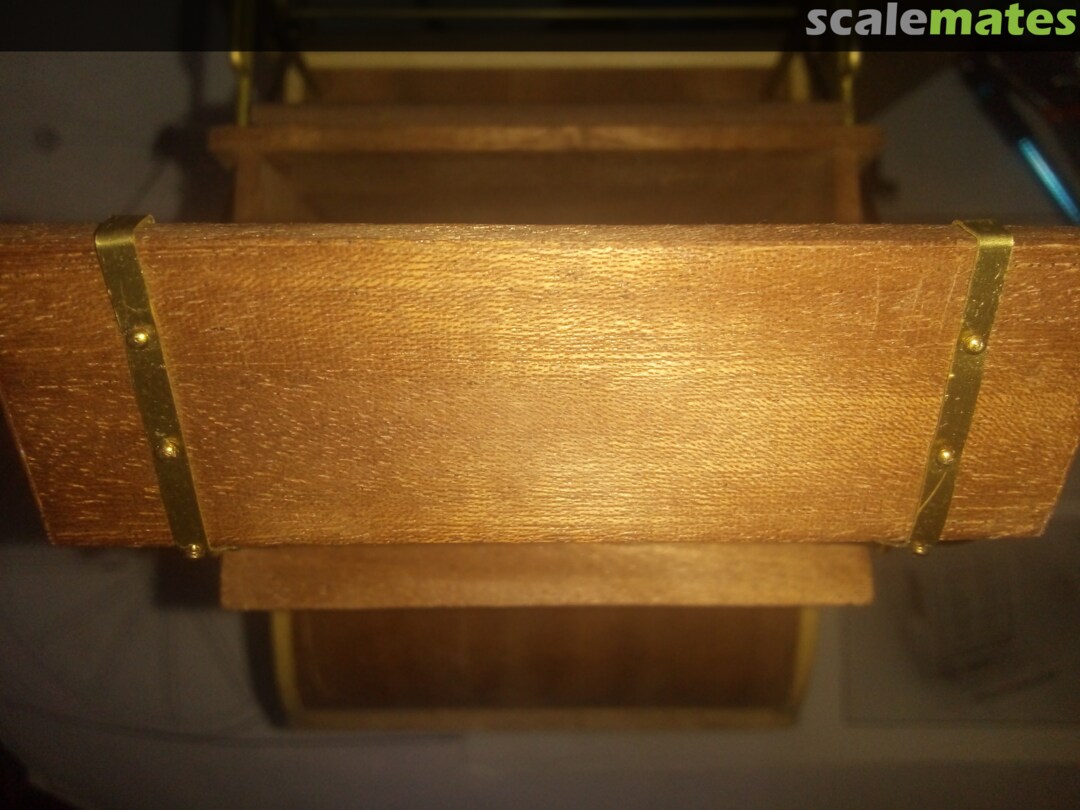
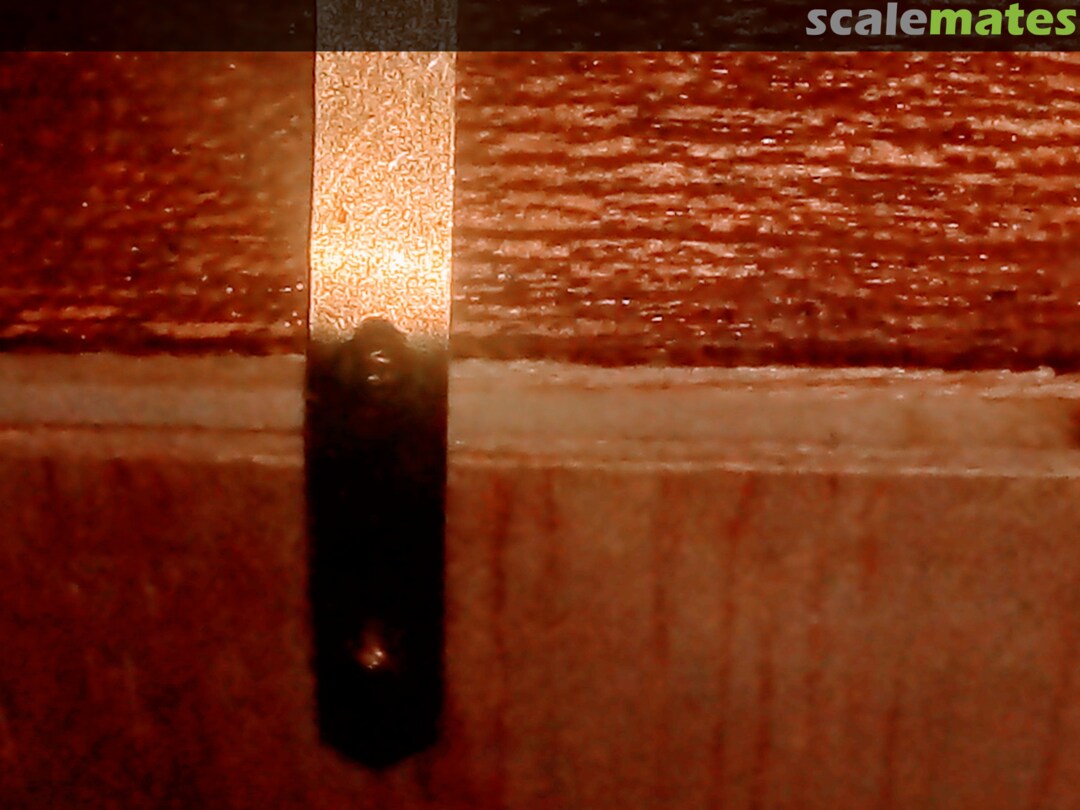
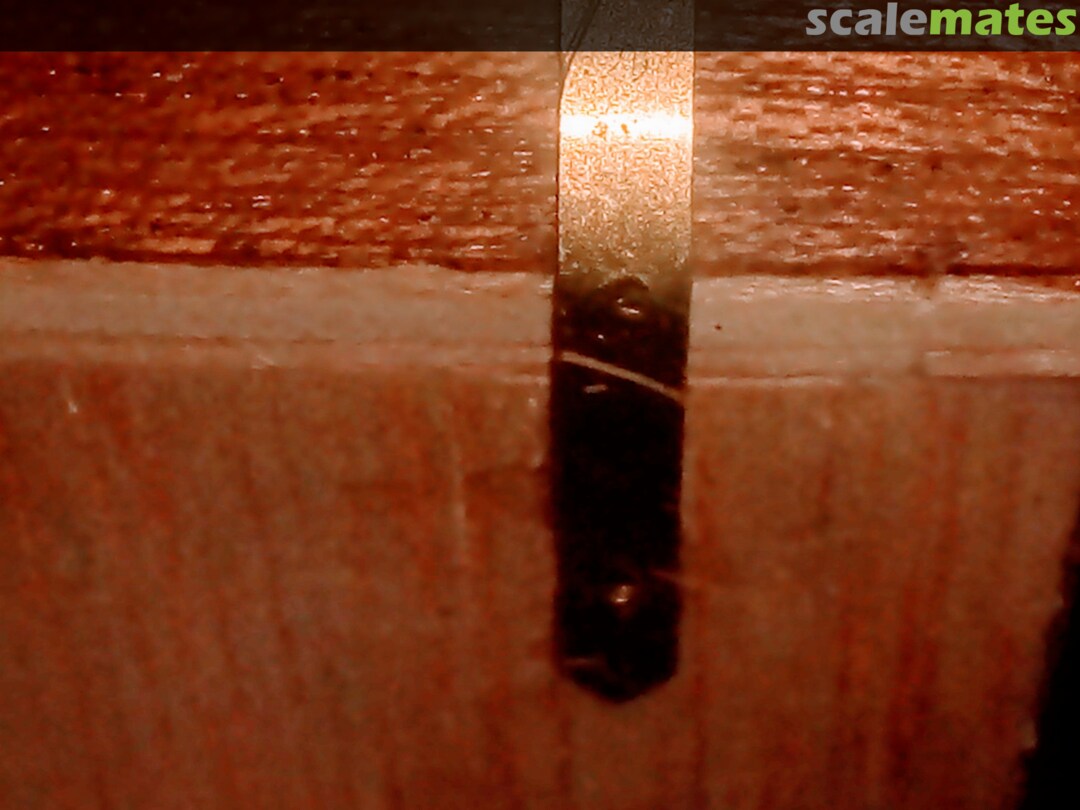
 84June 15, 2021So I added a couple of Brass pieces to secure the foot board supports to the bottom of the foot board because from what the instructions show you just glue them to the bottom of the foot board which as far as I'm concerned didn't look realistic and probably wouldn't have provided a secure enough attachment
 85June 15, 2021Step 38
 86June 15, 2021I made a big mistake here. I started bending at the wrong end which consequently put one of the nail holes in the wrong position.
With it ending up right on the corner of the foot boards 87June 15, 2021
 88June 15, 2021
 89June 15, 2021
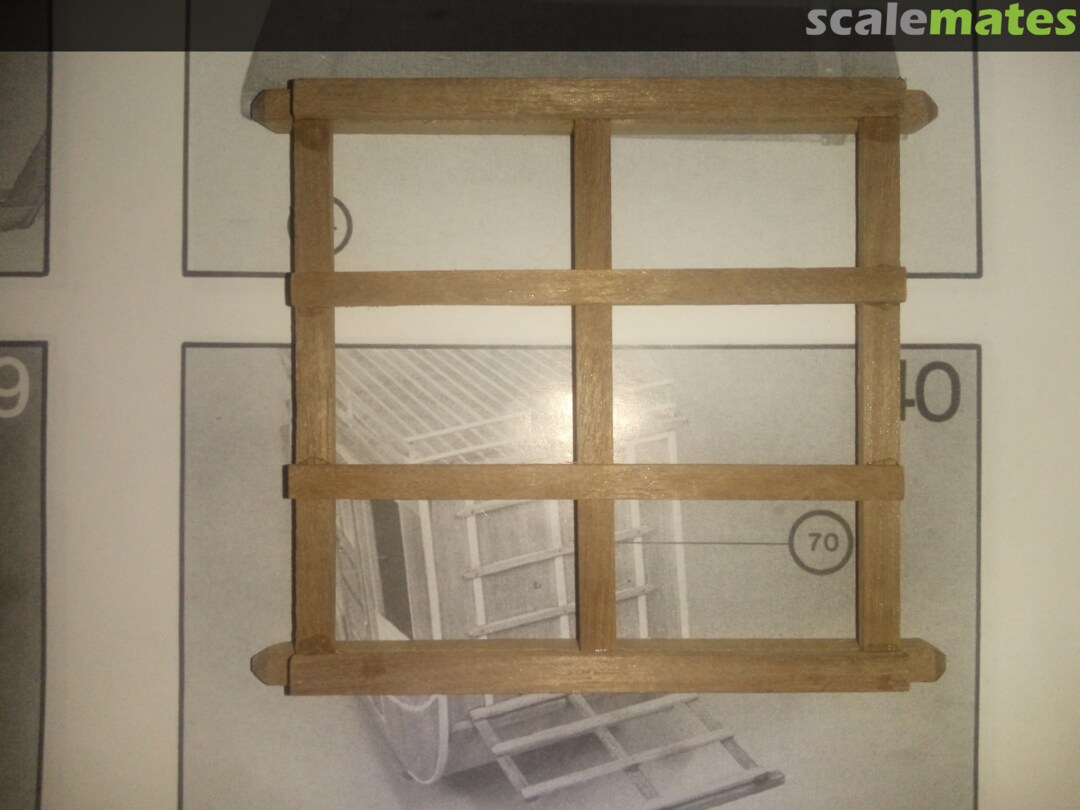
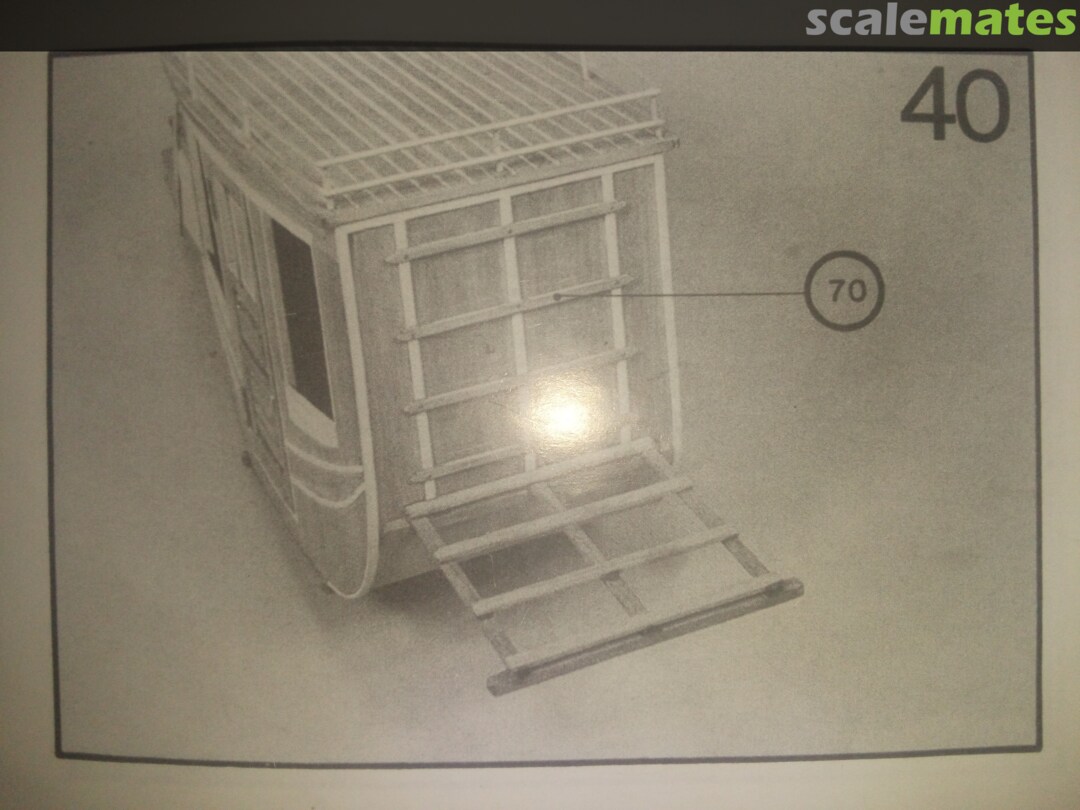
 90June 15, 2021
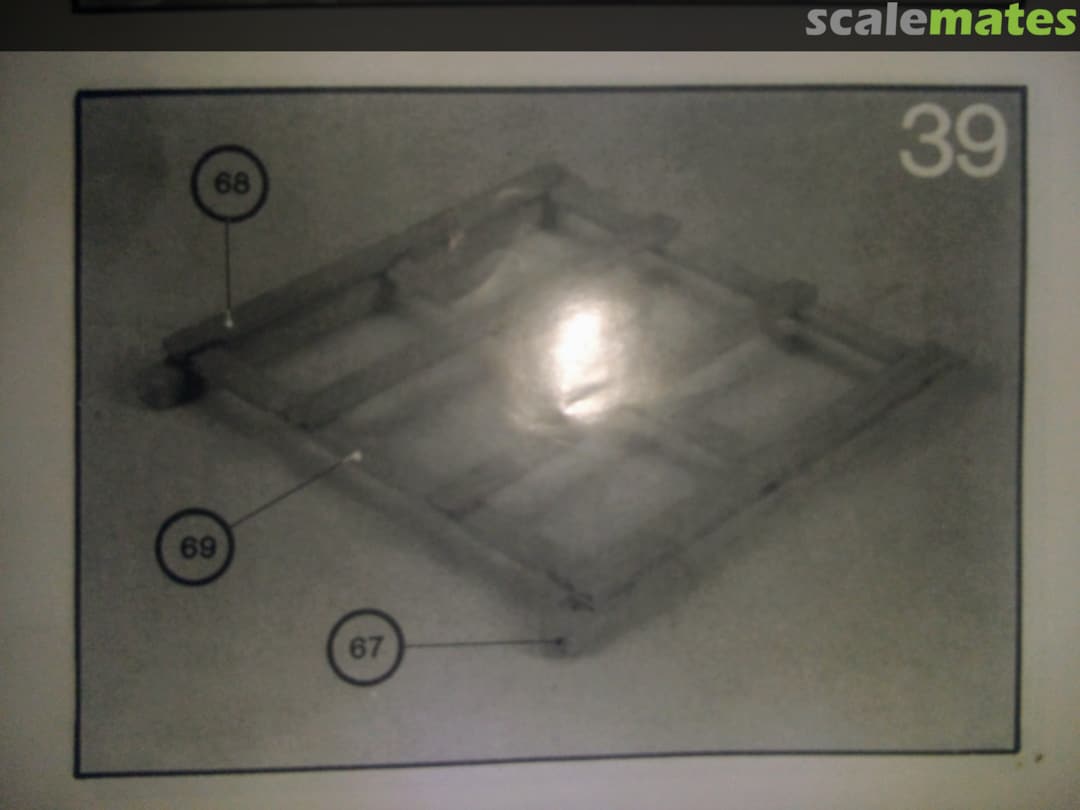
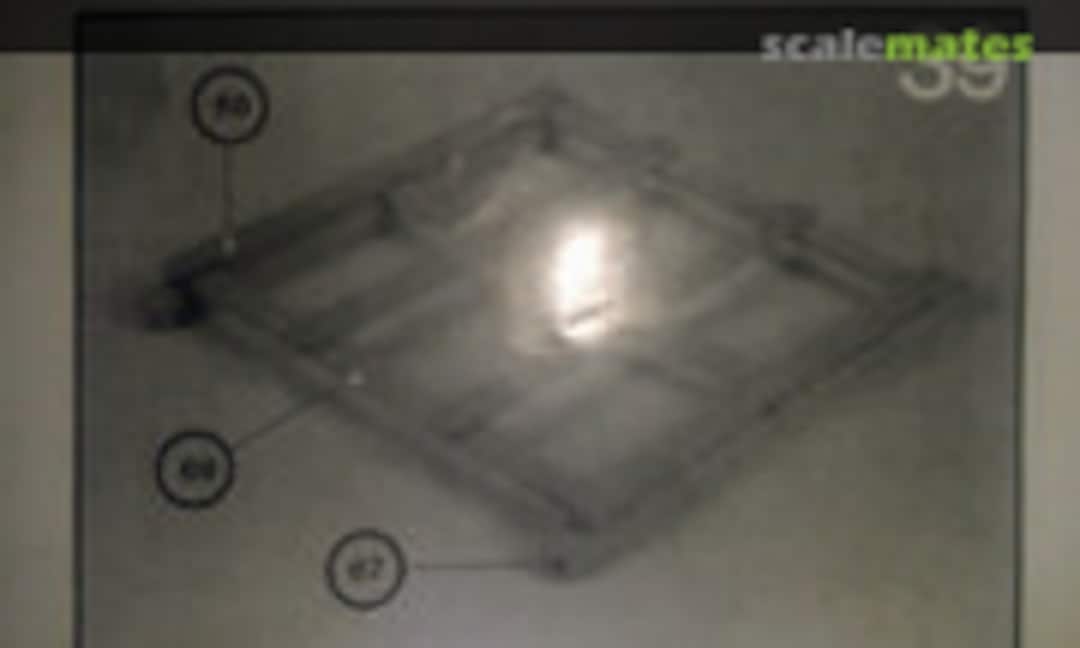 91June 28, 2021Step 39. Construction of the rear luggage tailboard
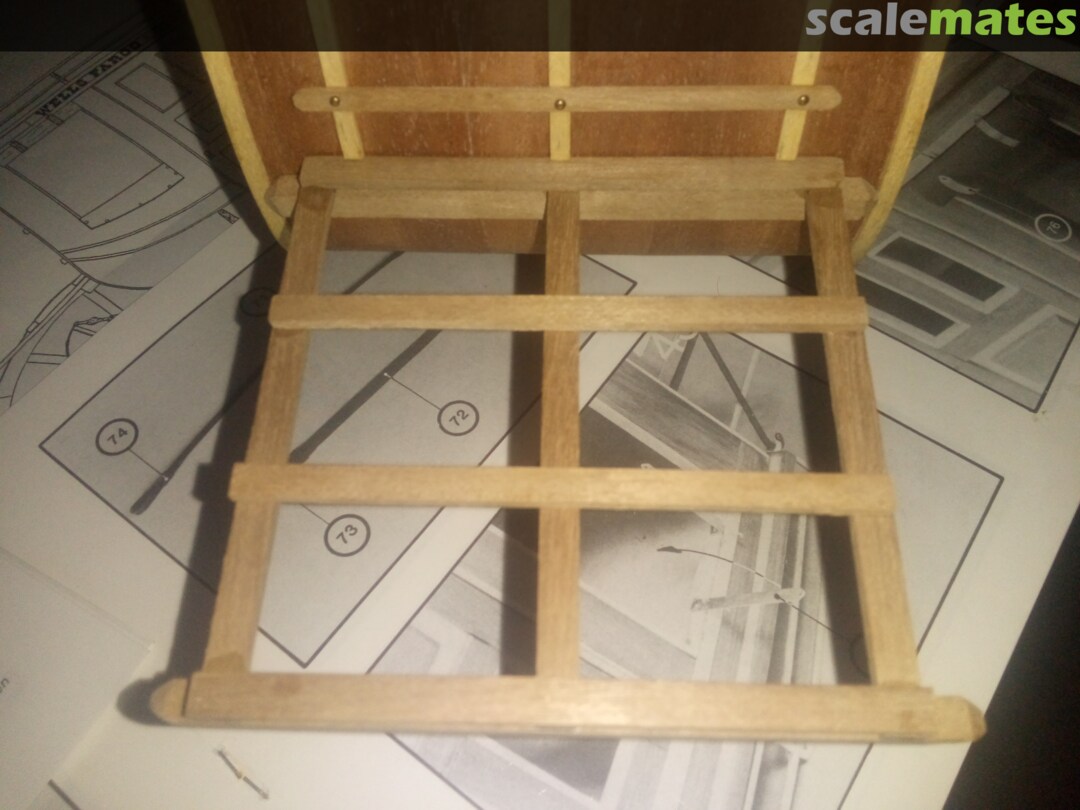
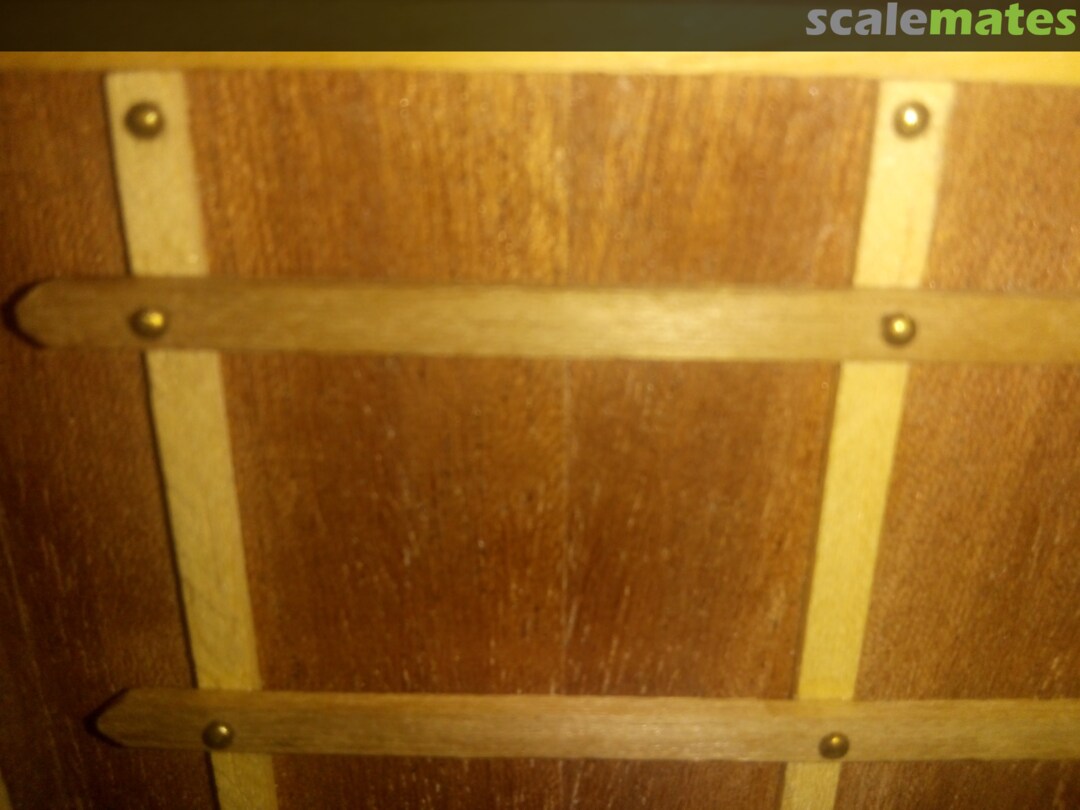
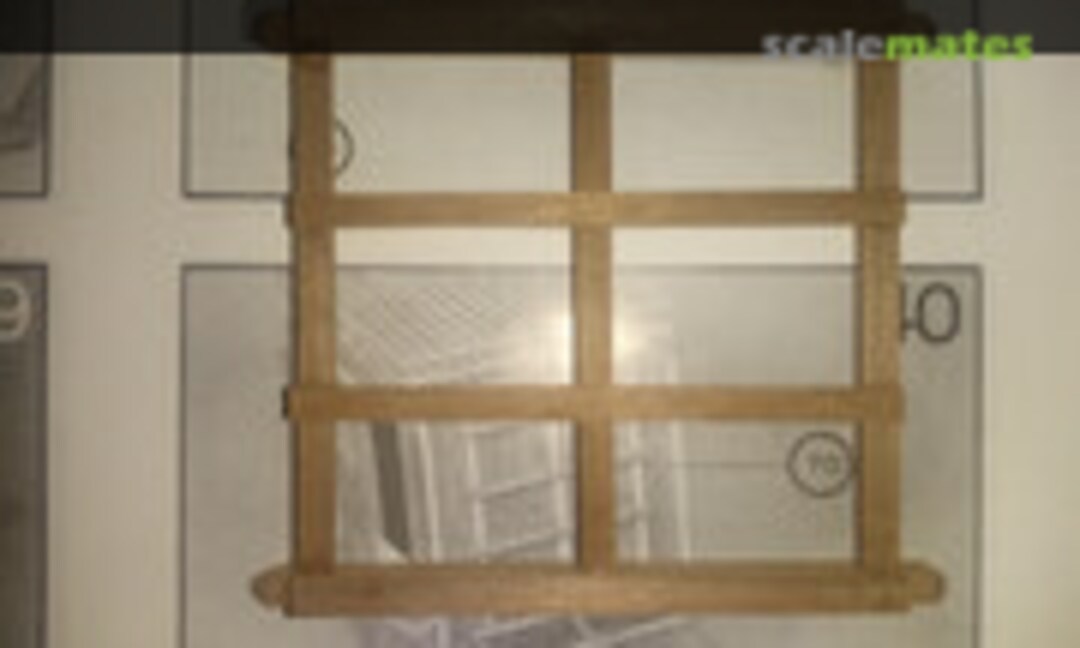 92June 28, 2021
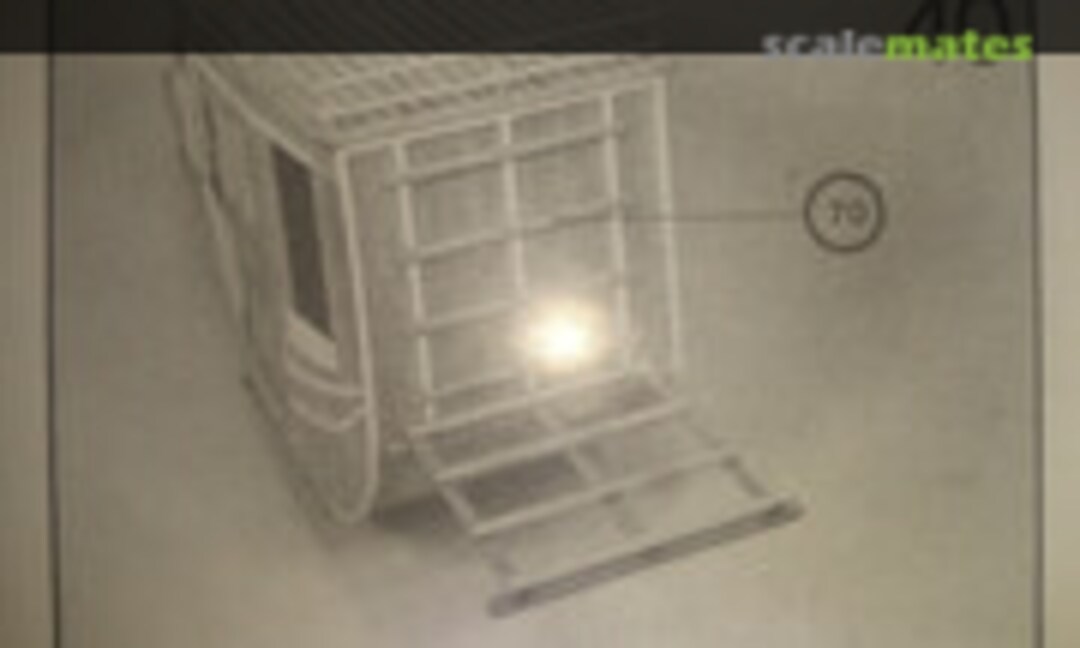 93June 28, 2021Step 40. Addition of the backing cross-bars against the vertical supports and rear luggage tailboard
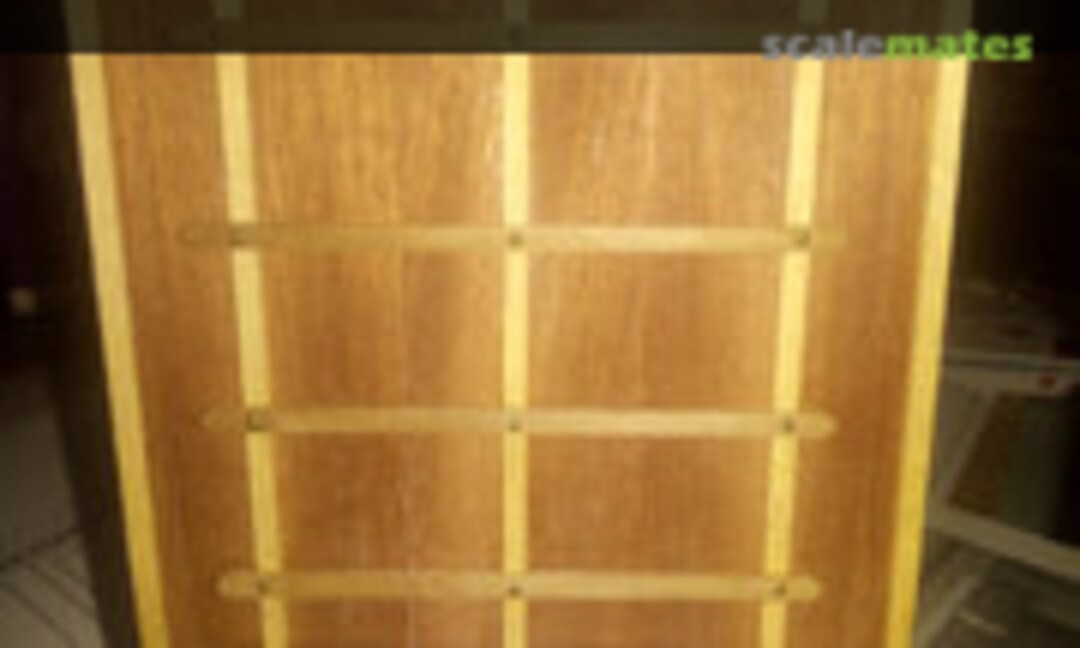 94June 28, 2021
 95June 28, 2021
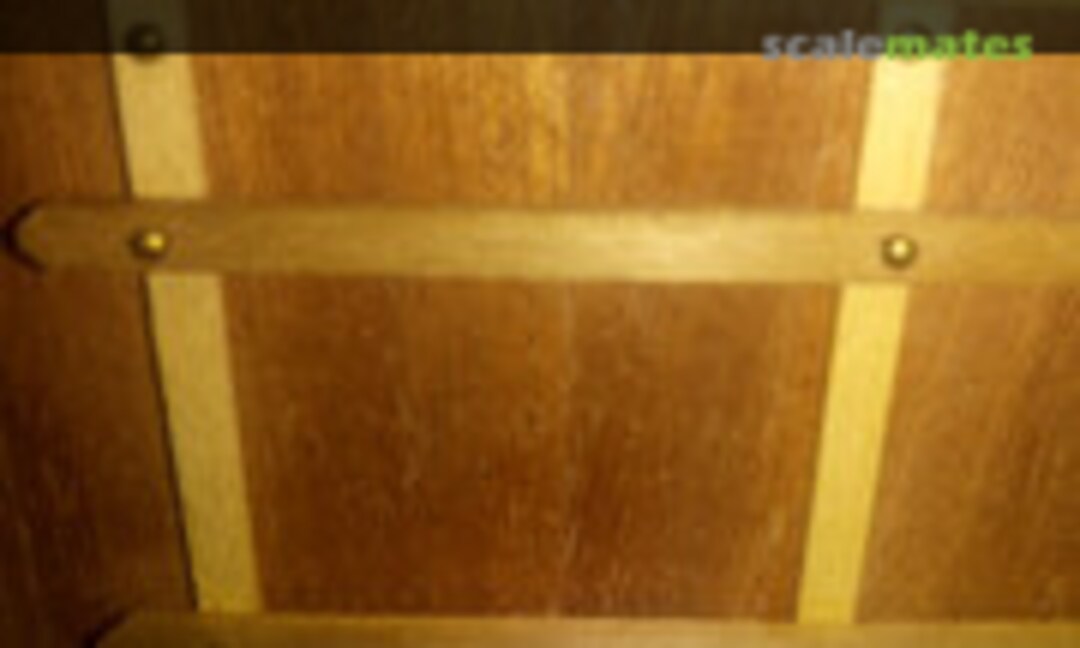 96June 28, 2021It's not stated in the written instructions or very noticeable in the photo provided but the large schematic sheet shows that nails should be in the tops of the vertical supports and at the junctions of the backing cross-bars to the vertical supports. The shafts of the nails will of course once again have to be shortened to facilitate this
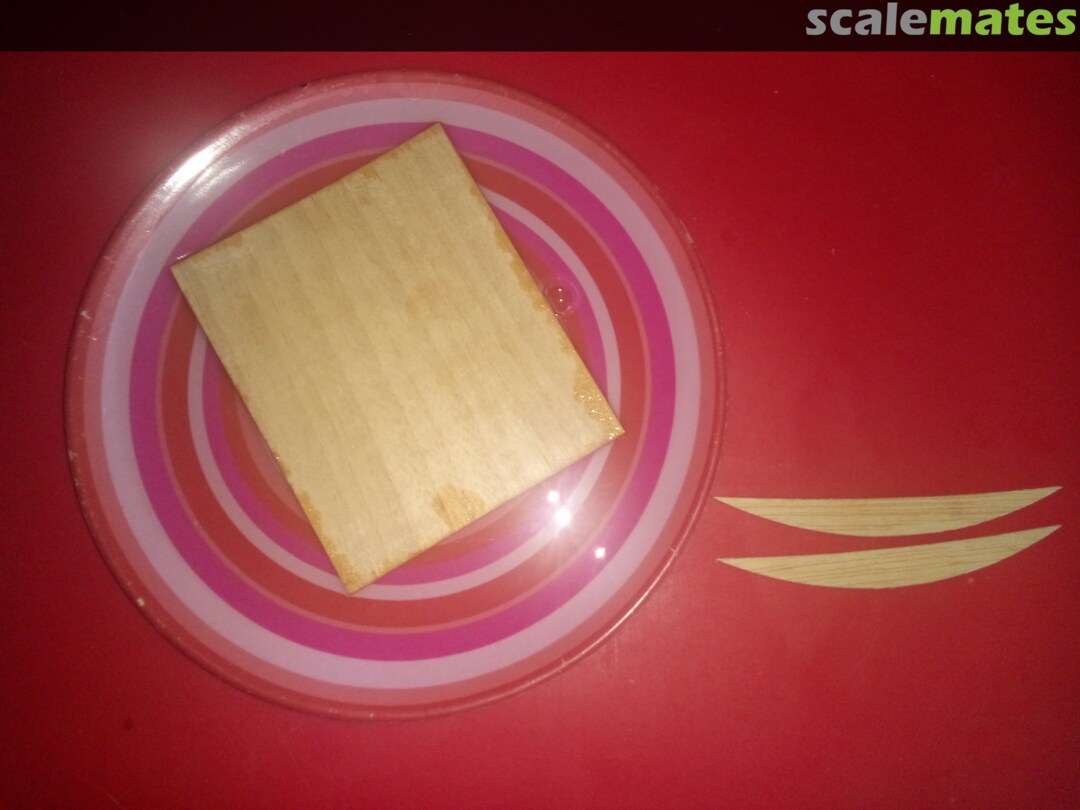
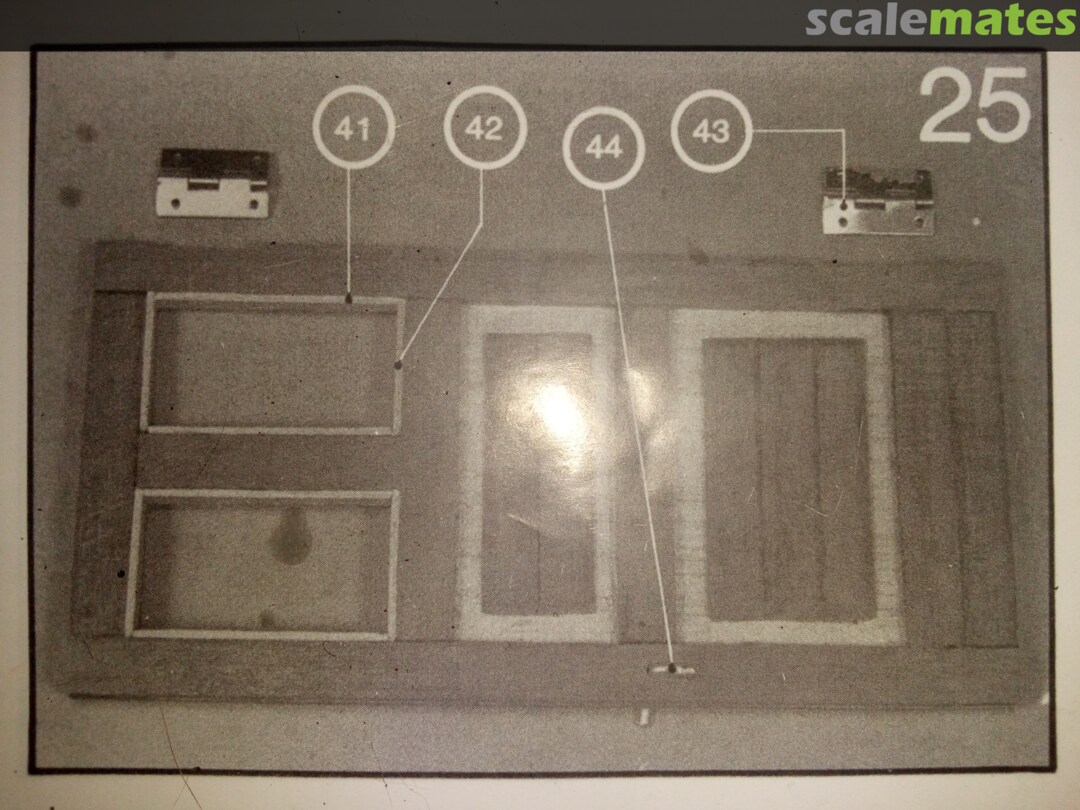
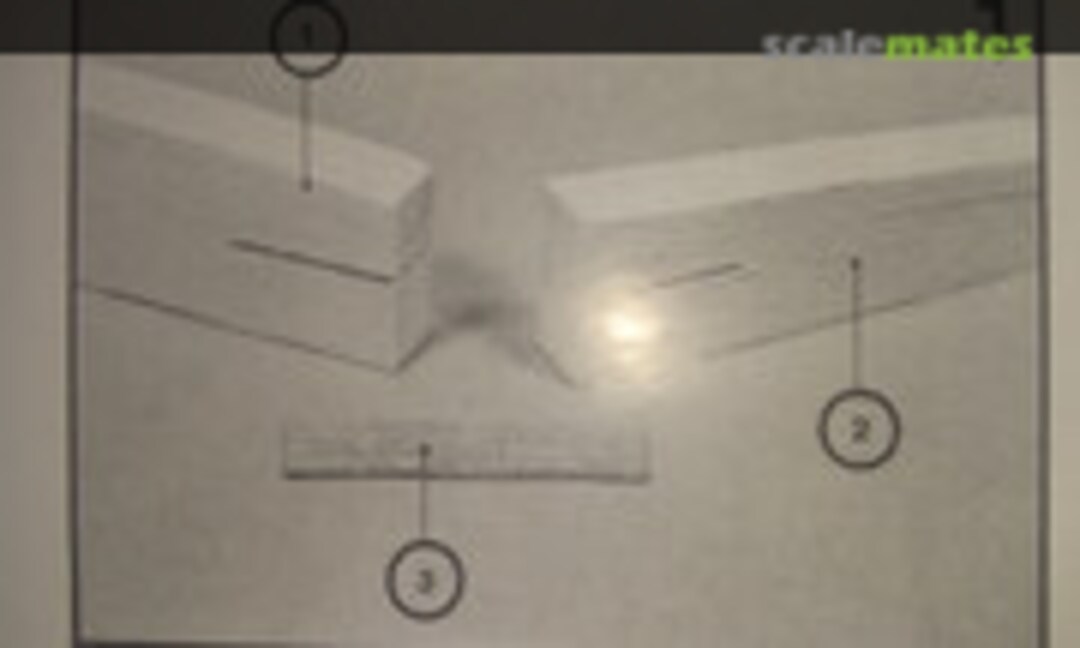 97September 18, 2020Step 1. This step is obsolete for this kit because this part is one piece


Comments
Disabled
Album info
So I've set myself the challenge of building this Artesania Latina 1/10 The Concord Stage Coach 1848 before June next year.
