

Optica


Comments
22 1 December, 09:03
photos of this masterpiece, Robert? ...i am looking for cockpit inspiration....not much else to do on this kit....
4 December, 09:56
I have uploaded only one photo (From my archive | Album by podkon (No), photo #45) since I wrote a short review for SAMI magazine, and there are more photos of the finished model. Just a few hints: the seats are a bit too wide, you can easily install the engine with supports after closing the "tunnel", and try to put as much weight into the cockpit (under the floor and behind the wall) as you can - forward of the main wheels.
4 December, 10:33
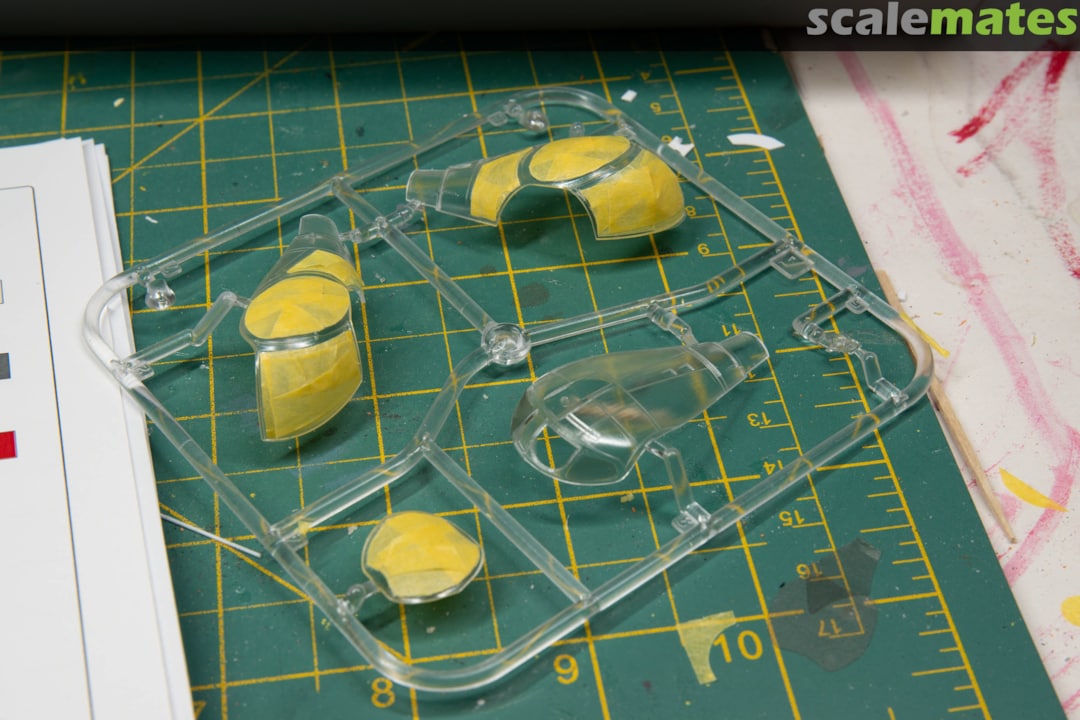
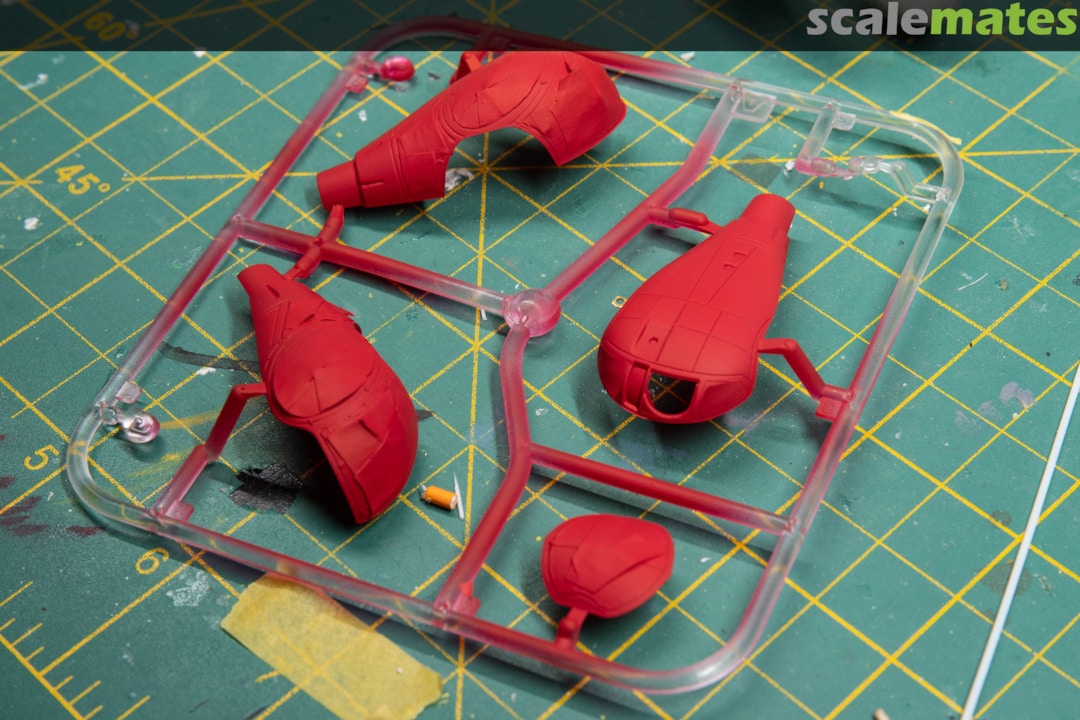
These masks usually don't hold well. especially on such difficult surfaces, as a result, the paint gets under them. I paste the borders of the transparent parts with very thinly sliced masking tape. And I fill the middle with a liquid mask. It turns out that the tape is glued on one side and the thinner the tape, the less risk that the paint will flow under it.
[img1]
[img2]


1 4 December, 10:42
....thanks for the tips gents....
....the tunnel can be assembled and finished before the engine goes in...it just makes sense, Robert...thanks for confirming...how did they do it at the factory...had to be that way...
....vinyl masks are not much good....never had luck with them....
5 December, 05:51
From my own experience: the fit of parts is (surprisingly) good here, especially the transparent ones, LR.
5 December, 08:43
Watching this build. I have loved this plane since reading about the craft when it first came out.
1 5 December, 09:16
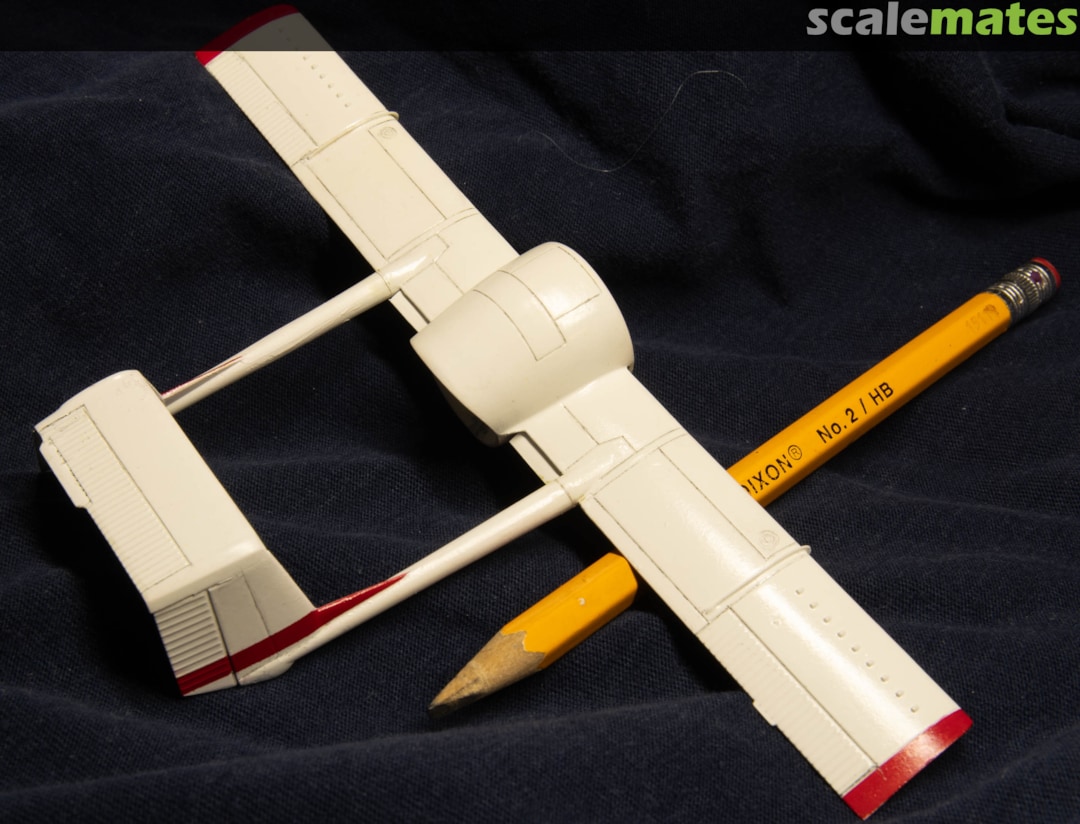
Nice colours. I used to use the pencil for "washing" sometimes too (and even more often for correcting it)
8 December, 22:20
...its very hard to get a good line in white paint....the pencil trick works well....Future will be used on this model from this point on for gloss overcoats because panel lines are done....Mission Models Gloss was used as a base for the panel lines....but it is getting hard to find and there is a ton of Future here...
1 9 December, 03:37

