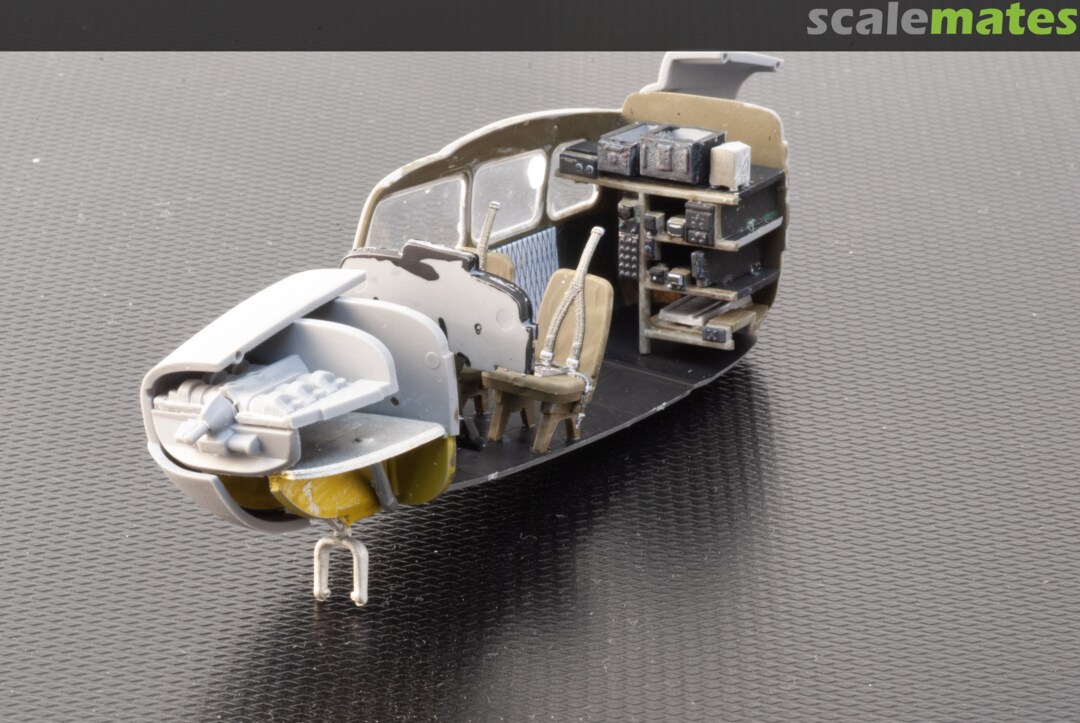
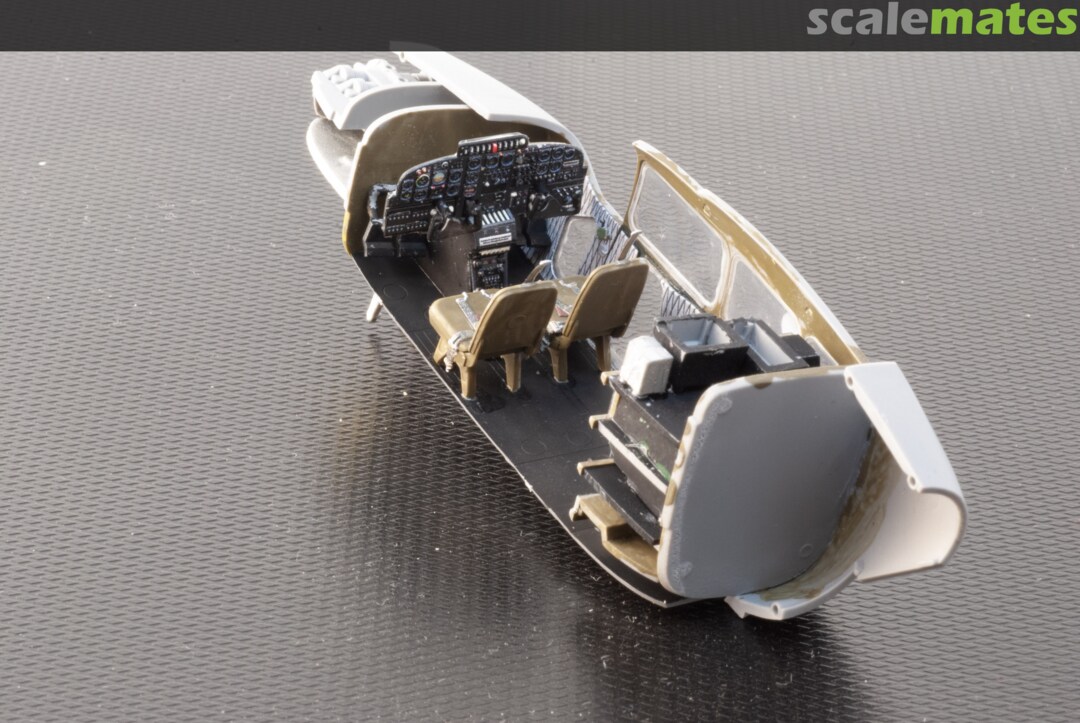
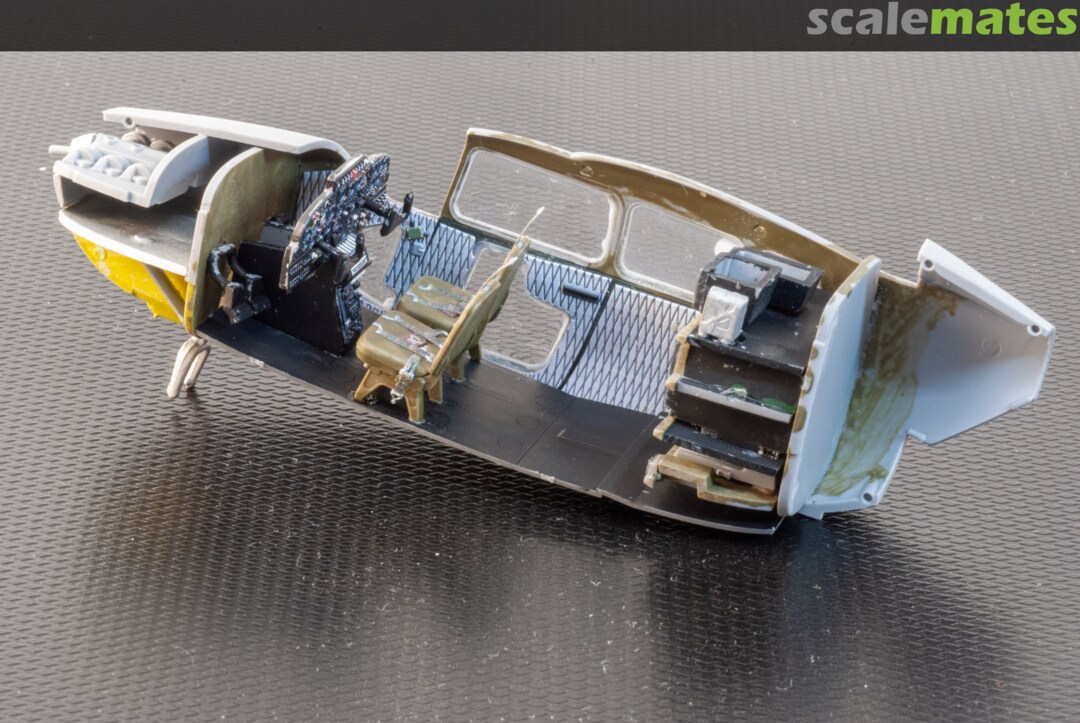
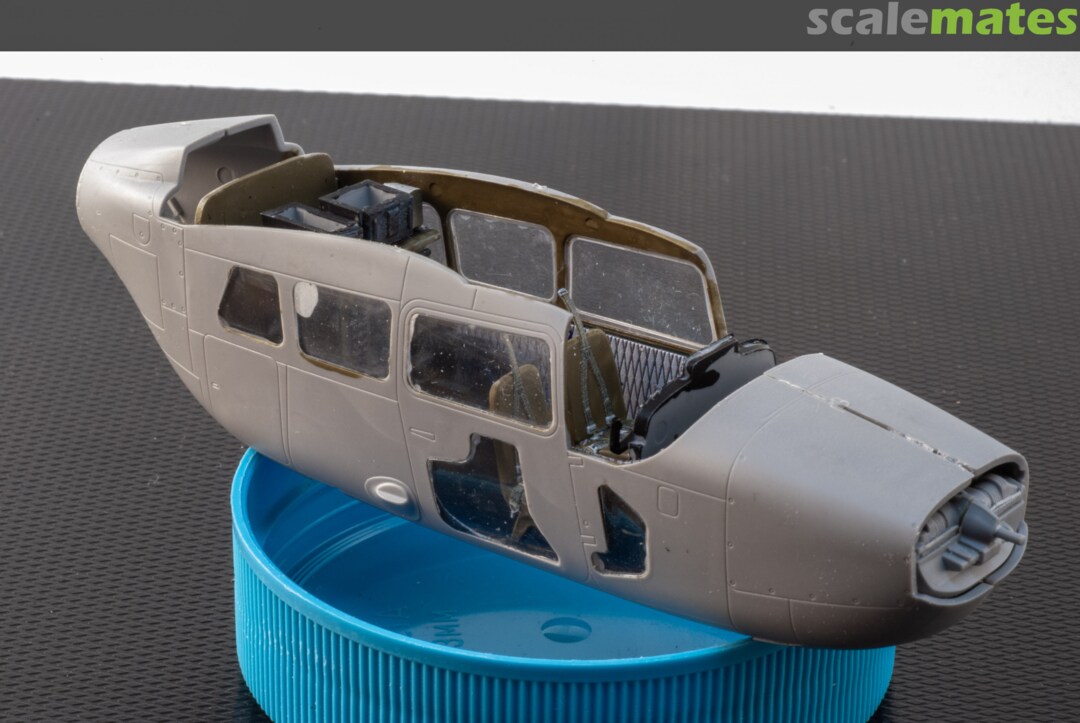
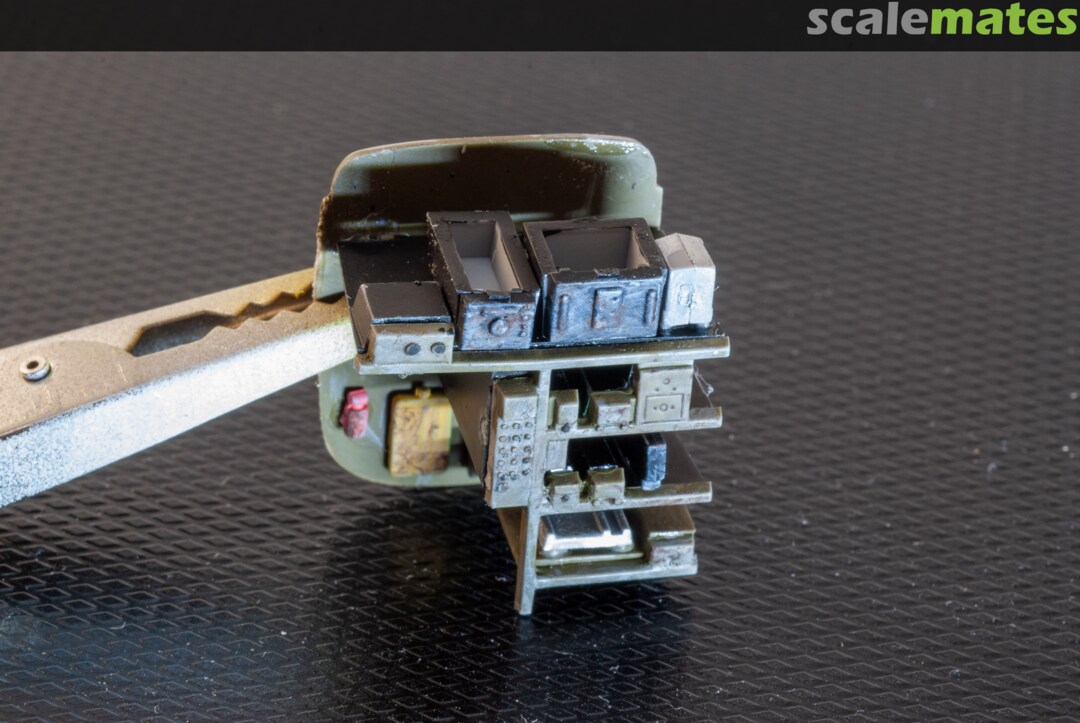
Starboard half with instrument panel, seats with Kelik seat belts and communication rack. As the engine is not visible I did not paint it. also note I used a metal front wheel assembly and wheel well.
ScaleStreetUK I'm building the same right now, watching with much interest.
23 November, 21:42
J RAuthor Thanks ScaleStreetUK It looks like u r going to do the 1/32 scale version, I look forward to your project as well
23 November, 21:47
Album info
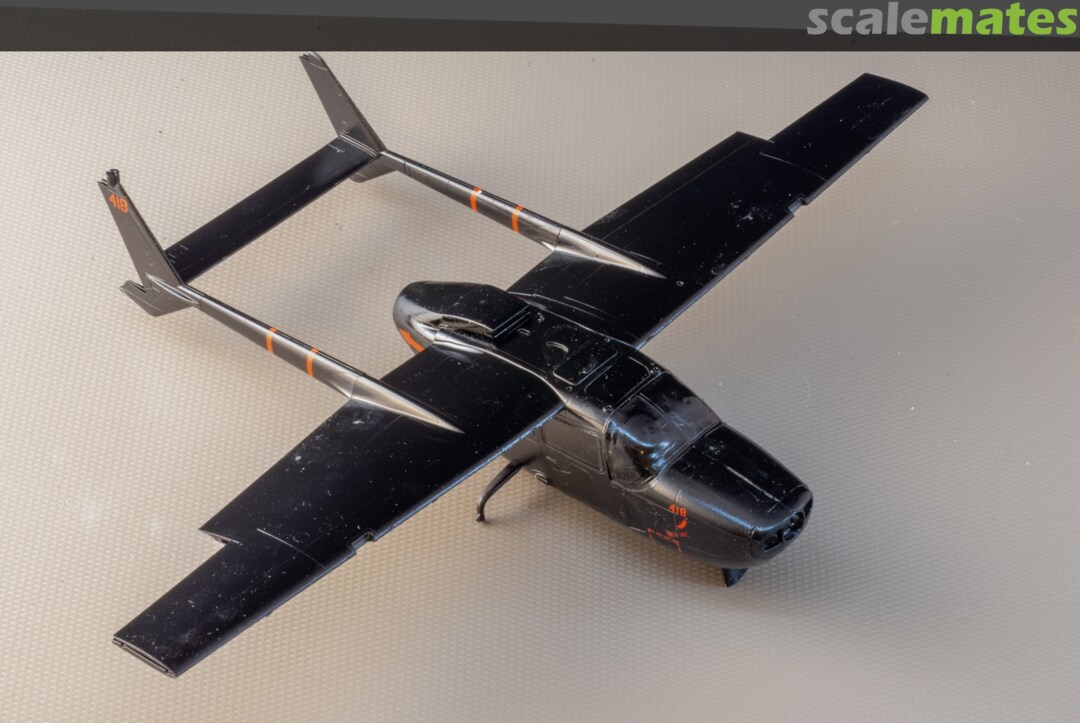
Post 10: AOA upper wing decal "THE FAC" applied, it may not have been used on this aircraft I just liked the idea and also breaking up the black finish, Testor Dullcoat also applied
Post 9 Tamiya Spray gloss black applied and kit decals
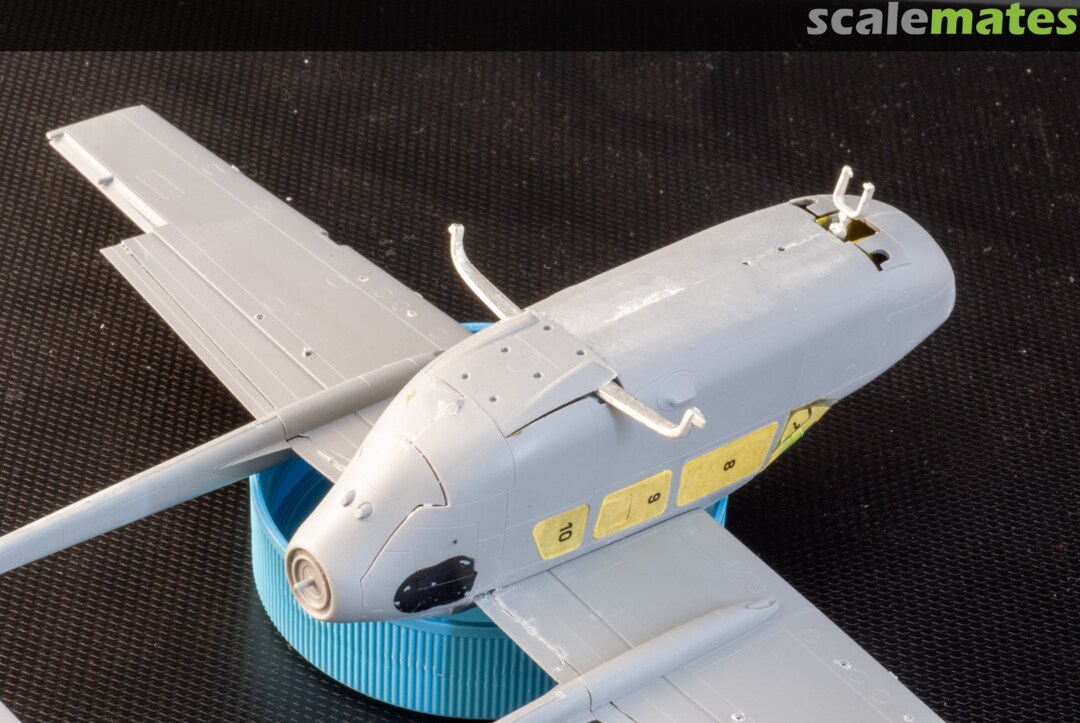
Post 8: Masking transparencies using ASK set and Vallejo Mask gel, Primed with Tamiya Surface Prep L
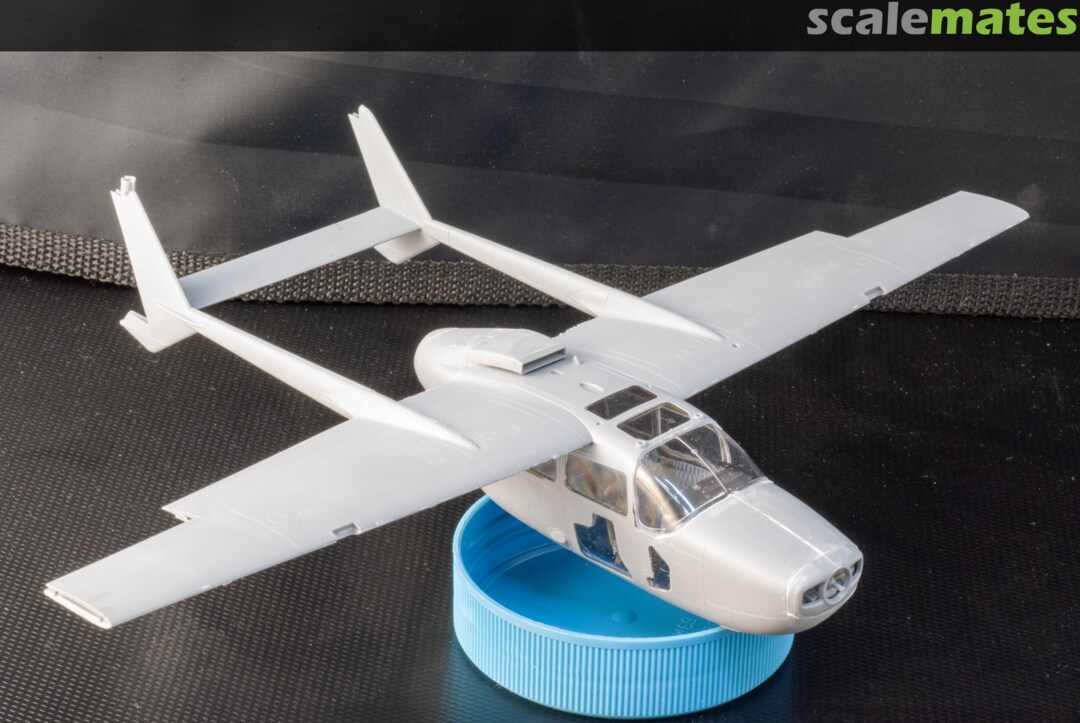
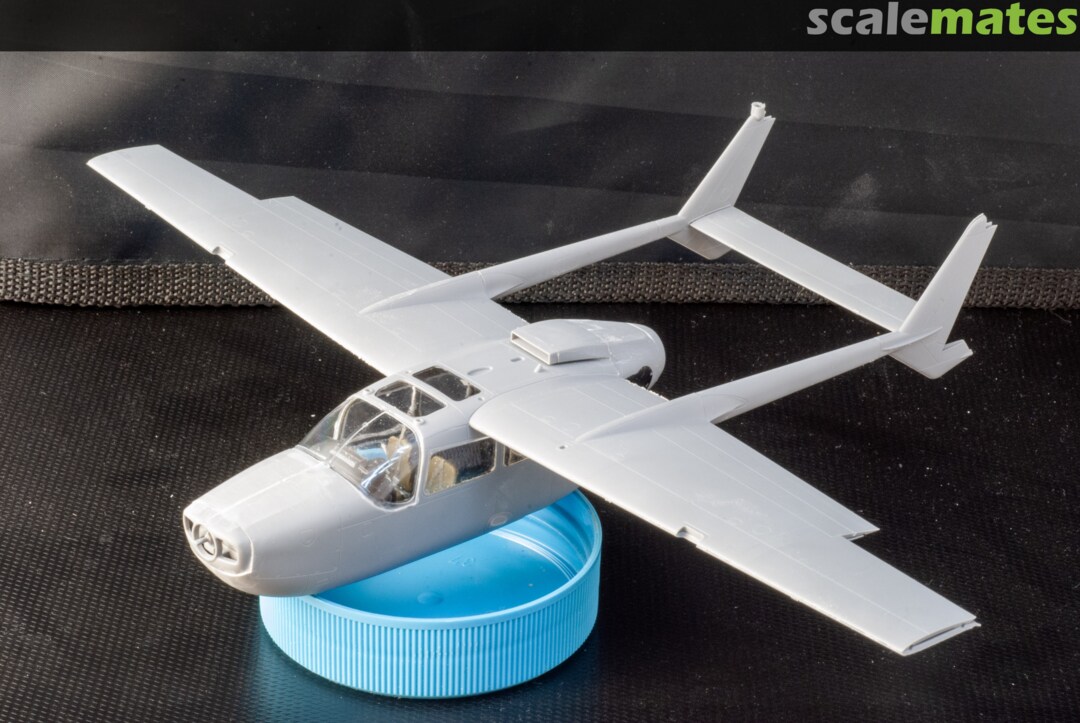
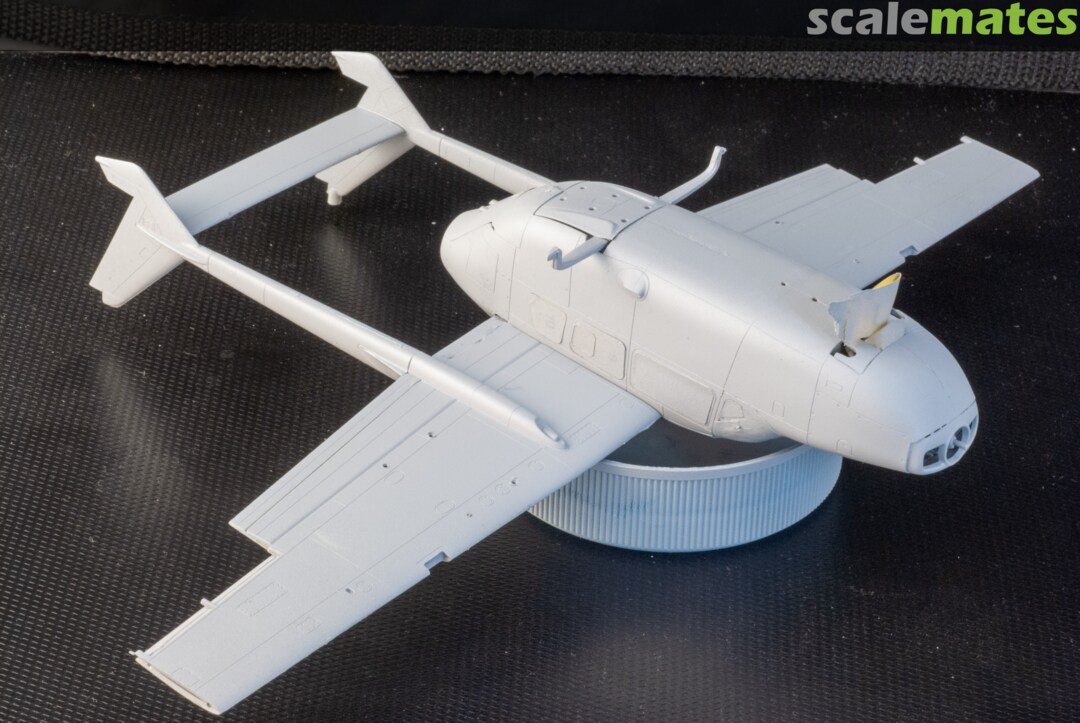
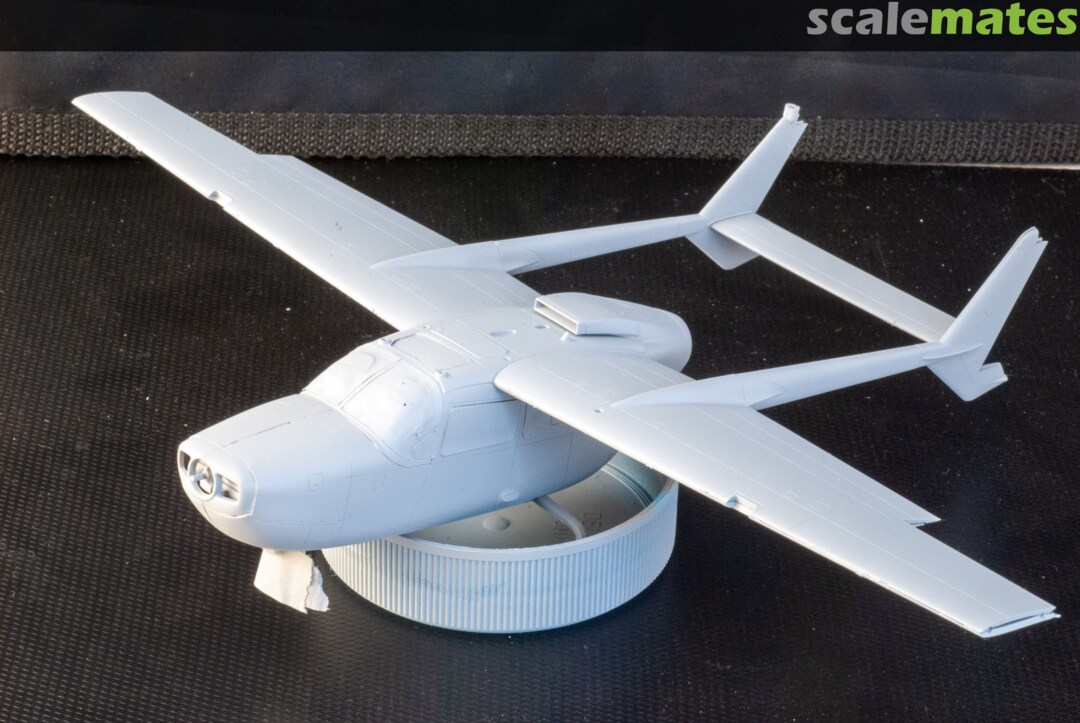
Post 7: Wings, booms, tails and stabilizer assembled, all seams filled and sanded
Post 6: Seams filled and sanded, ready for wing and boom assembly
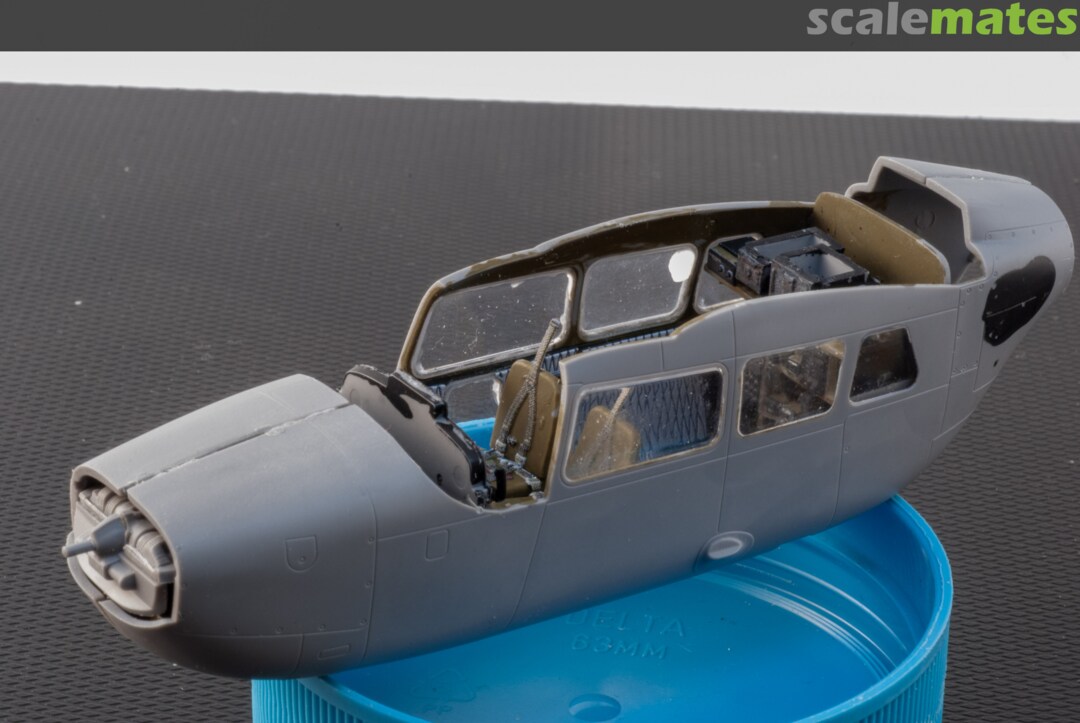
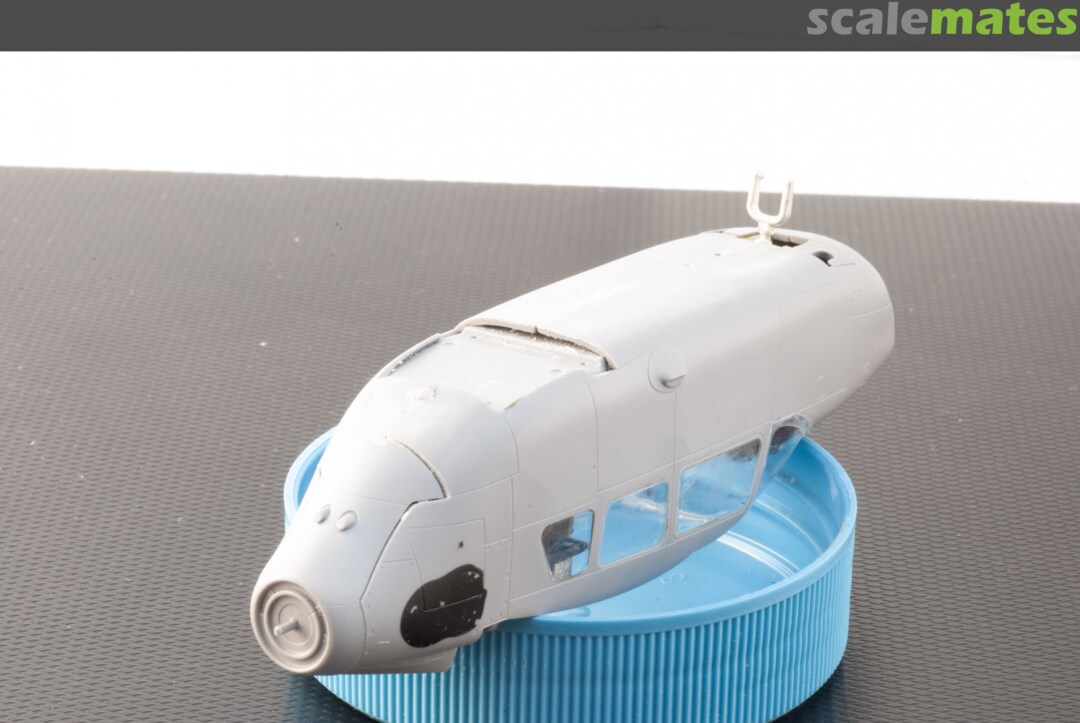
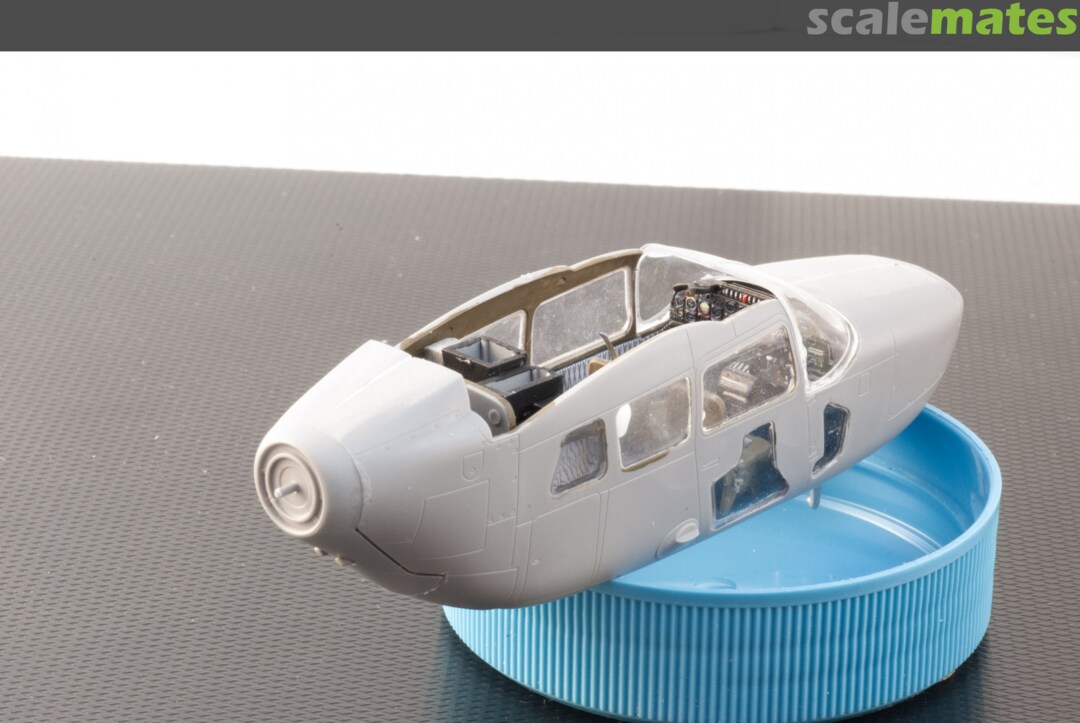
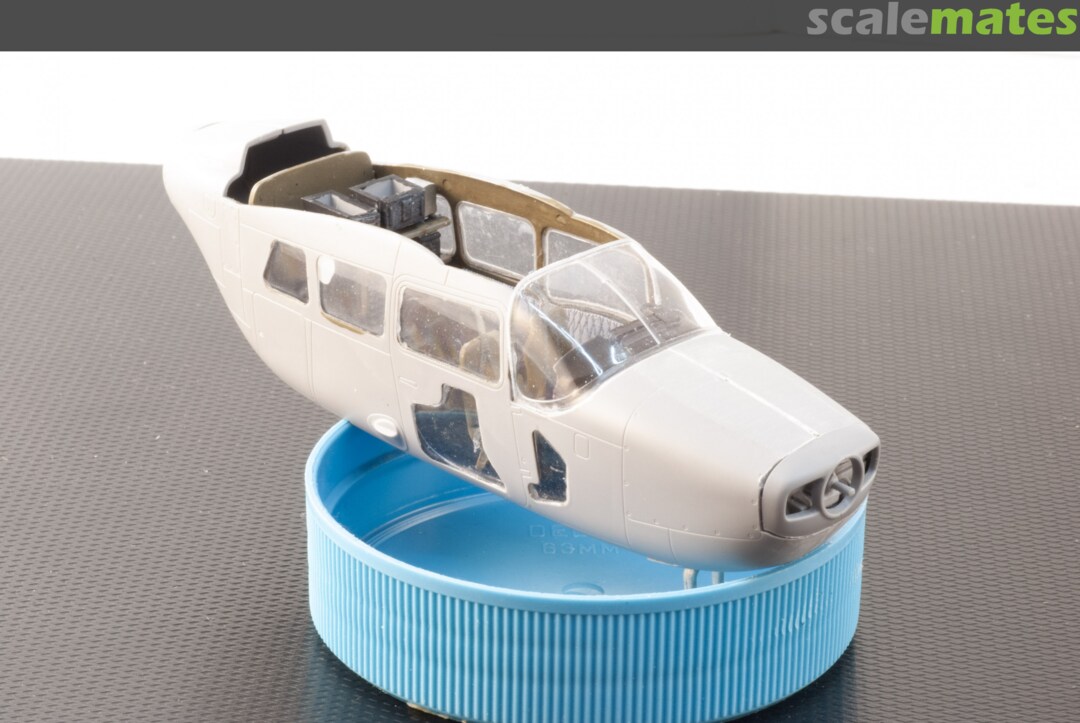
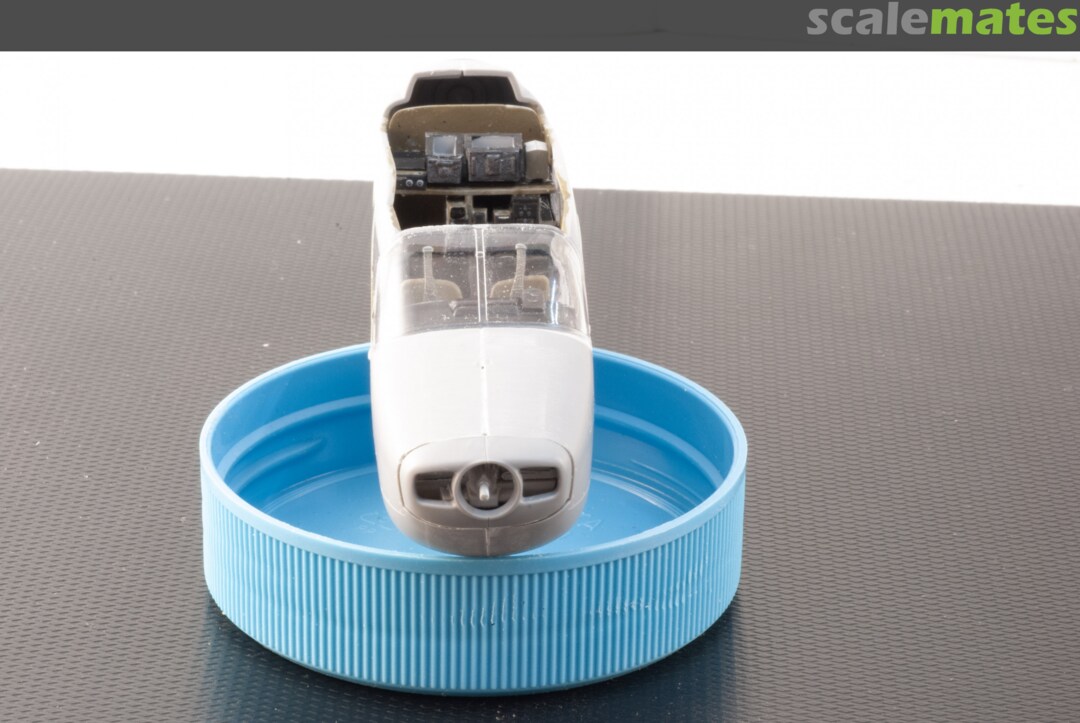
Post 5: Fuselage assembly, need to clean up seam lines on cowl, underside and rear upper.
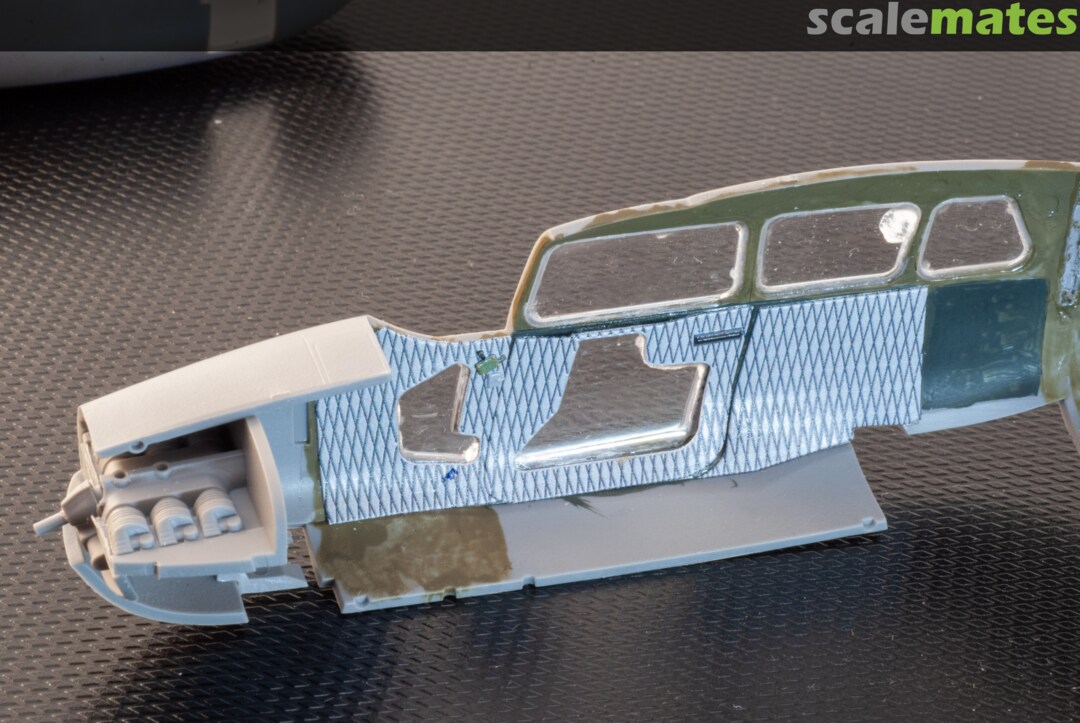
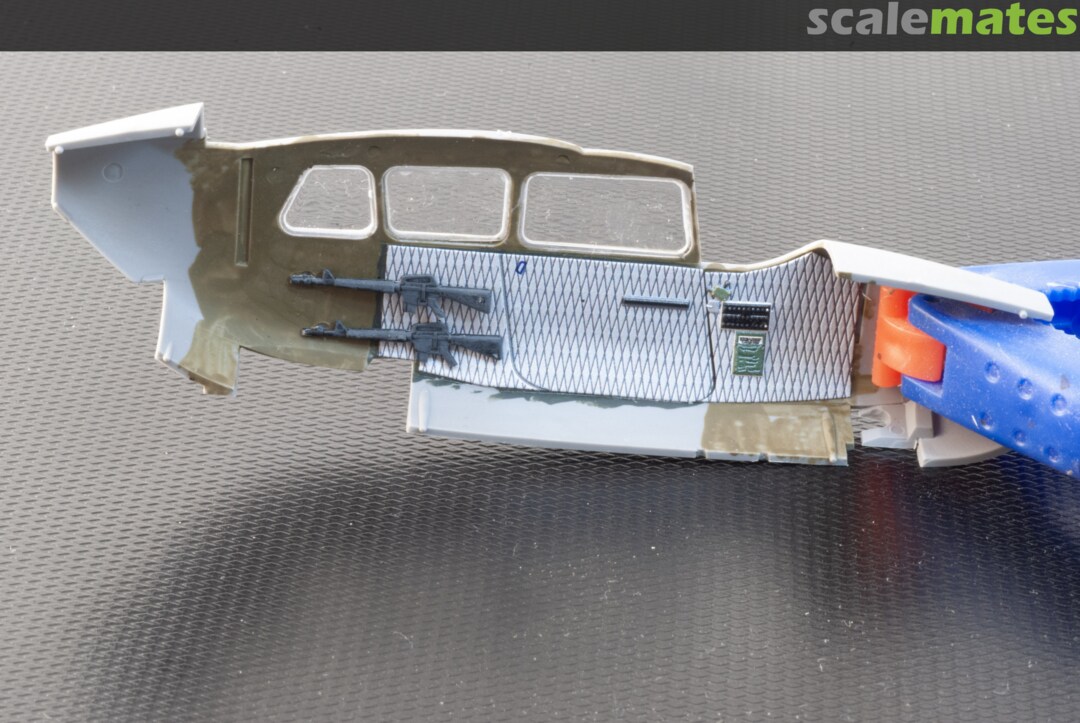
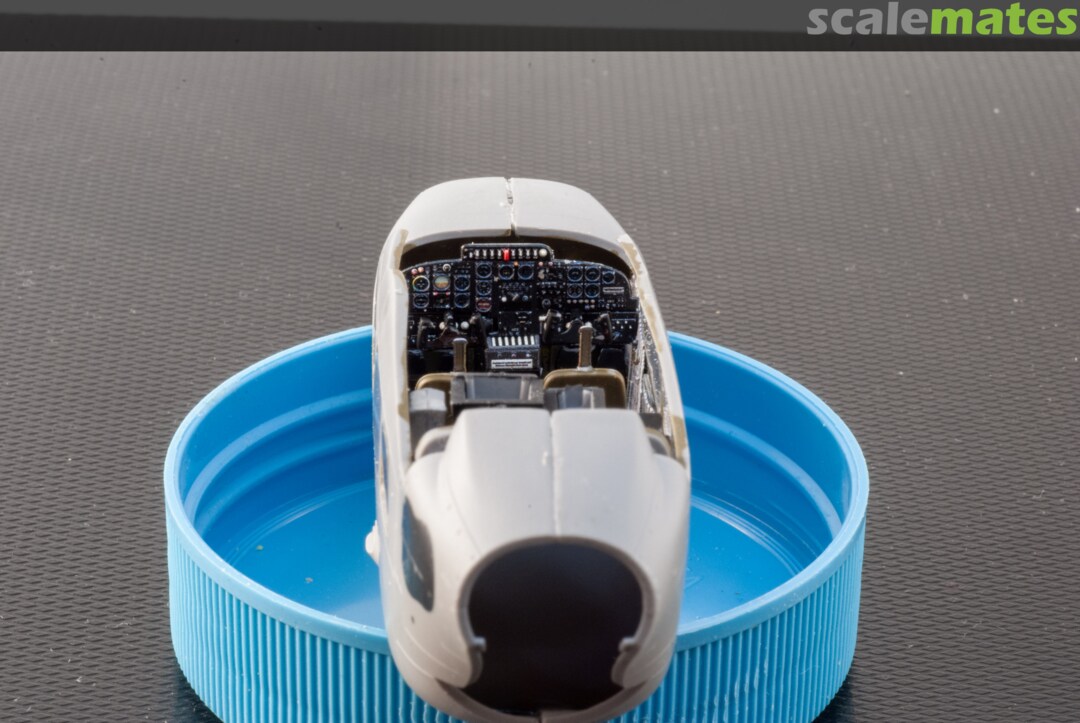
Post 4: Interior details added to Port and Starboard fuselage halves, note I used the metal front landing gear and wheel well, I also kept the engine unpainted since it will not be visible after the build.
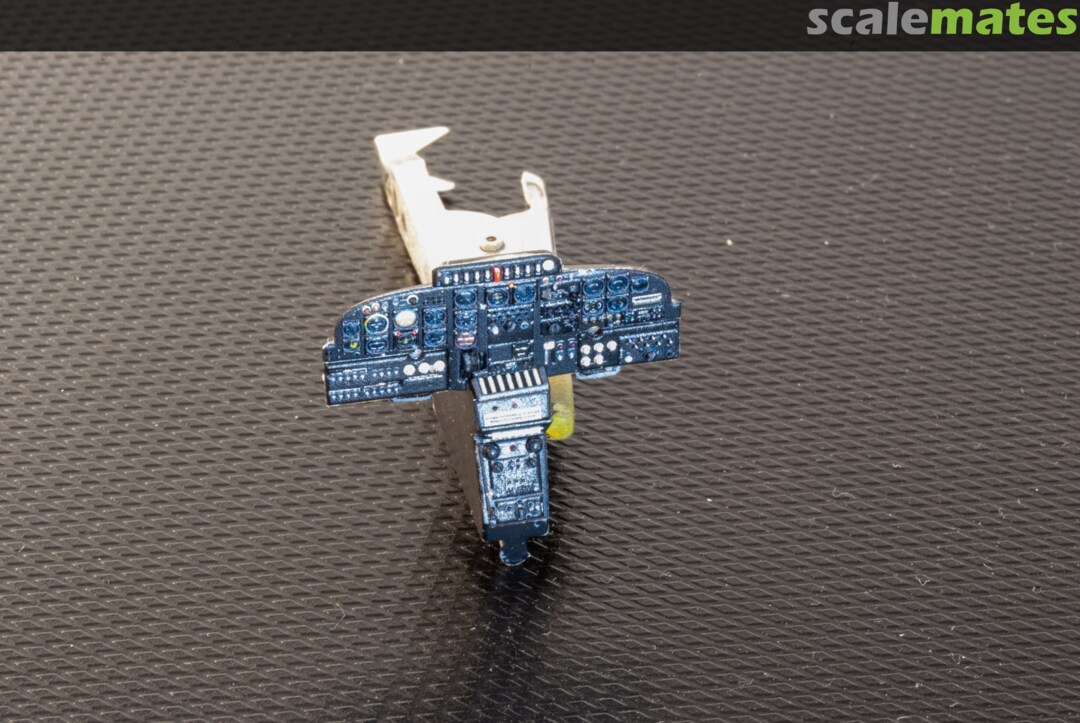
Post 3: Port and Starboard interior detail and instrument panel with Kelik decals. I found that they adhered better with diluted white glue.
Post 2: Afterward I applied the Kelik 3D decals you can see the difference in the detail they provide
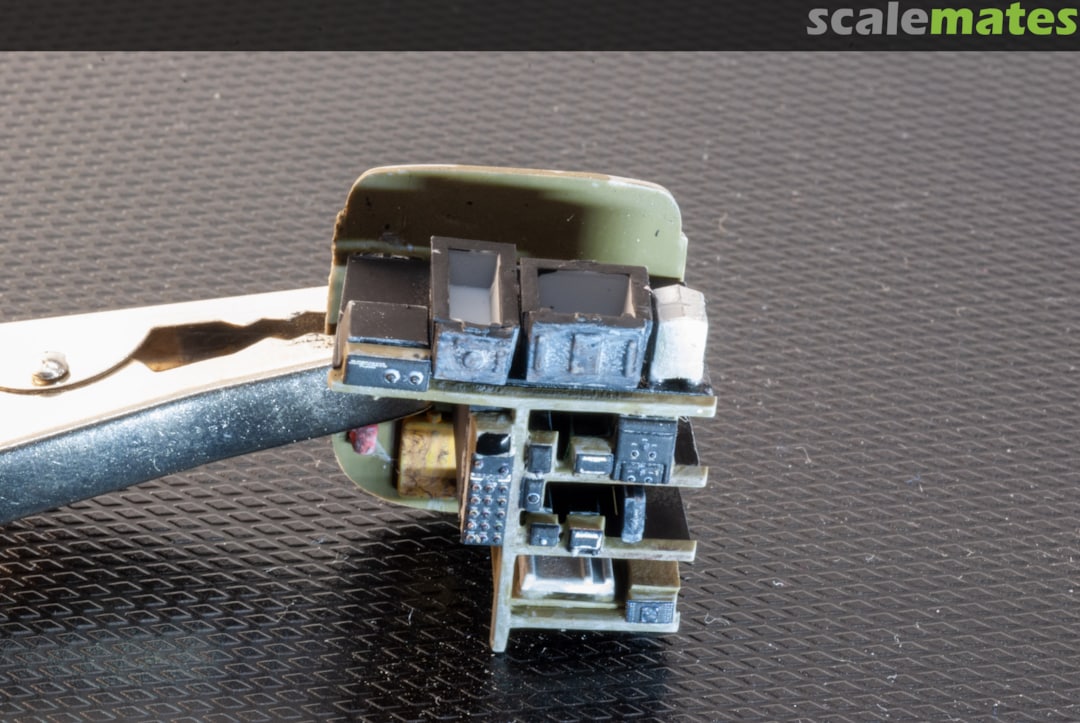
Post 1: Start of the build, steps 1-15 for the communications rack. I prepainted the components using Vallejo Acrylics and POSCA paint pens. After basic construction I touched up the paint and added details in black using a micro qtip, the whole rack was lightly dry brushed with Vallejo neutral gray, and then Flory grime was was applied and removed to bring out some additional details.