

F-16C Block 40 35th FS "Pantons"


Comments
Album info
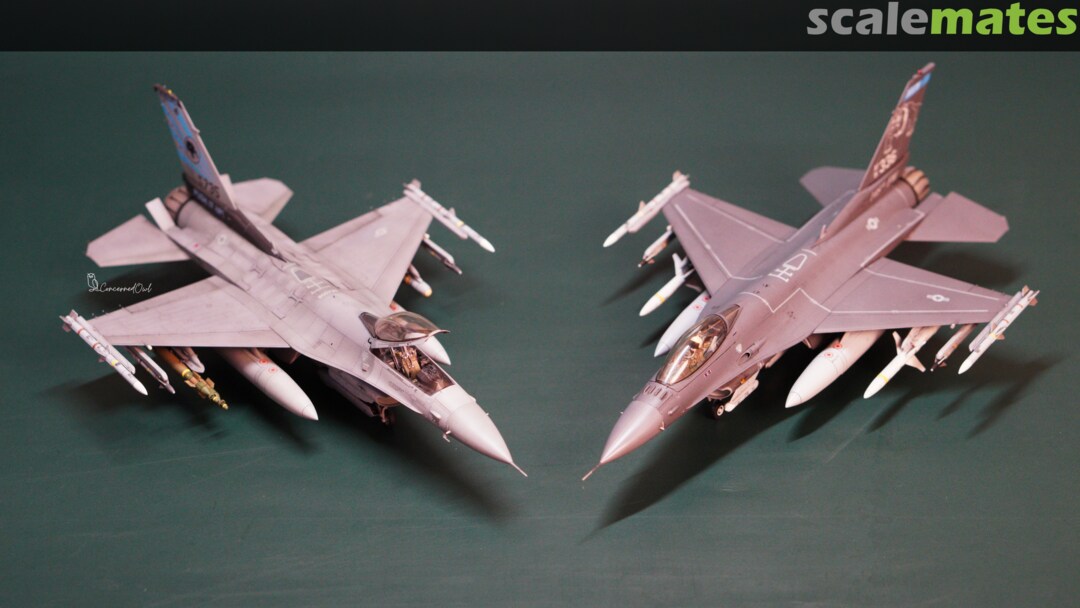
Hi all, it's time for my beloved Vipers!
This project was the first time I had ever built an aircraft model that featured numerous aftermarket parts and scratches, and yeah, I've faced countless obstacles.
The goal of this project is to build an F-16C Block 40 by using an excellent Tamiya Block 50, as I couldn't find any available Academy tooling anymore. Tamiya's Viper kit is probably the best on the market right now, but there are some challenges in converting it into Block 40 "Pantons" of the USAF in Kunsan, ROK.
Here's a breakdown:
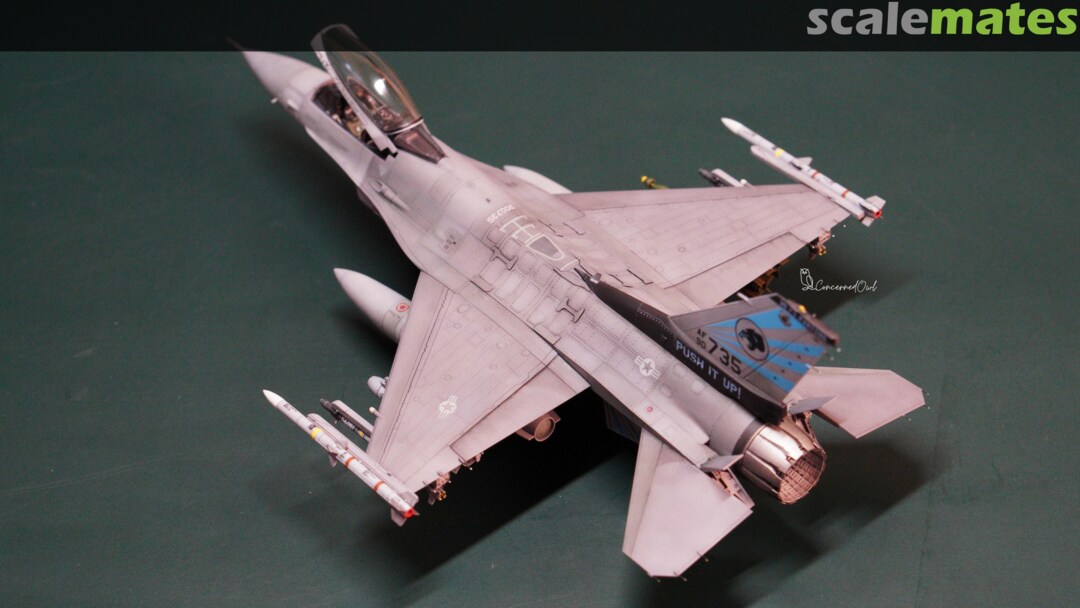
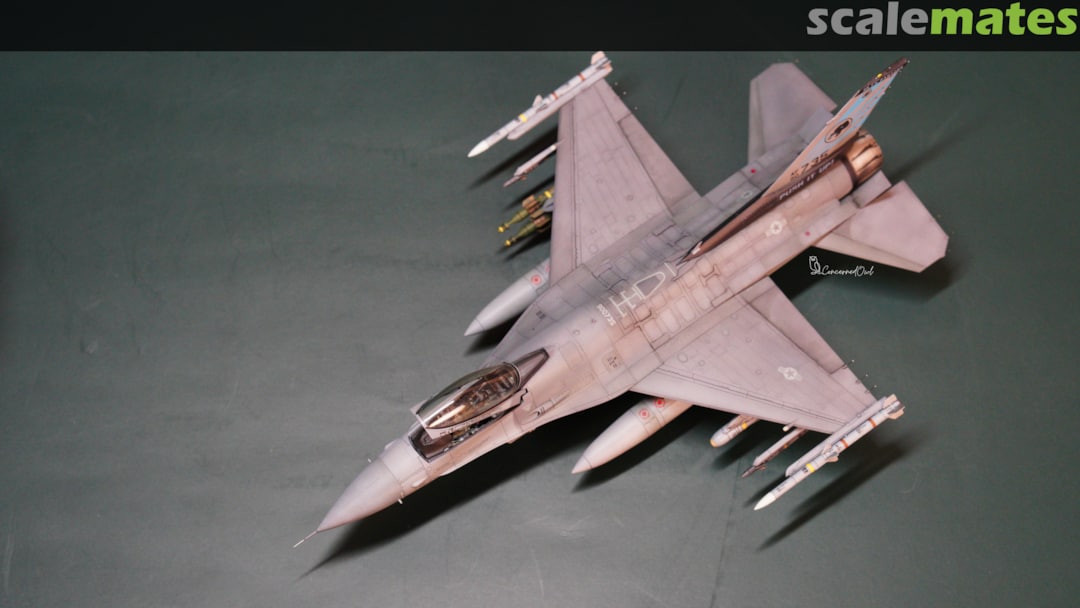
1) The stiffener plates or reinforcement plates needed to be added to the spine of the airframe, as most of the Block 40 have this, including the Airframe I built. The stiffener plates that I used are FABScale's; they are excellent and came as a floating PE set, which I didn't need to cut off from its sprue, but needed to bend a little to align with the curvy surface of the airframe.
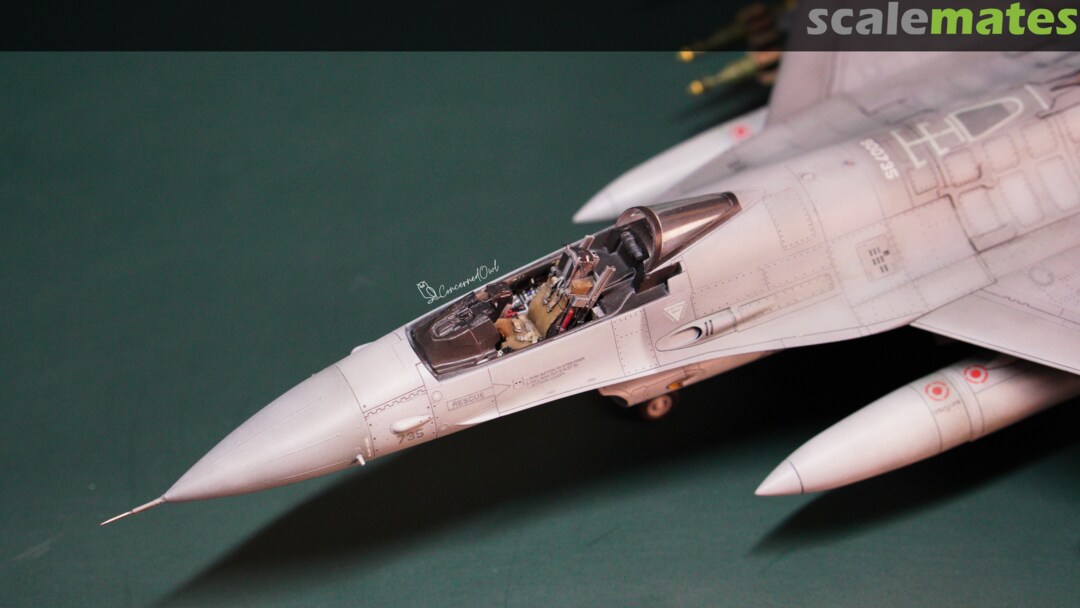
2) The cockpit needed some attentions, especially the HUD, as Block 40 is flying with the WAR HUD instead of kit-supplied WAC HUD. This led me to scratch-building for the first time, and this process was a bit too harsh for me, that's what I can tell you. However, I was satisfied with what came out.
3) Some parts that came inside the box needed to be given up or changed. First, the IFF antennas are not required on the airframe I built. I had to do some research and found that some Block 40s have IFF antennas, but some don't; that's where the ref photos come to play. Luckily, Tamiya supplied both styles, so there's no major problem. Lastly, AN/ASQ-213 under intake also needed to be given up.
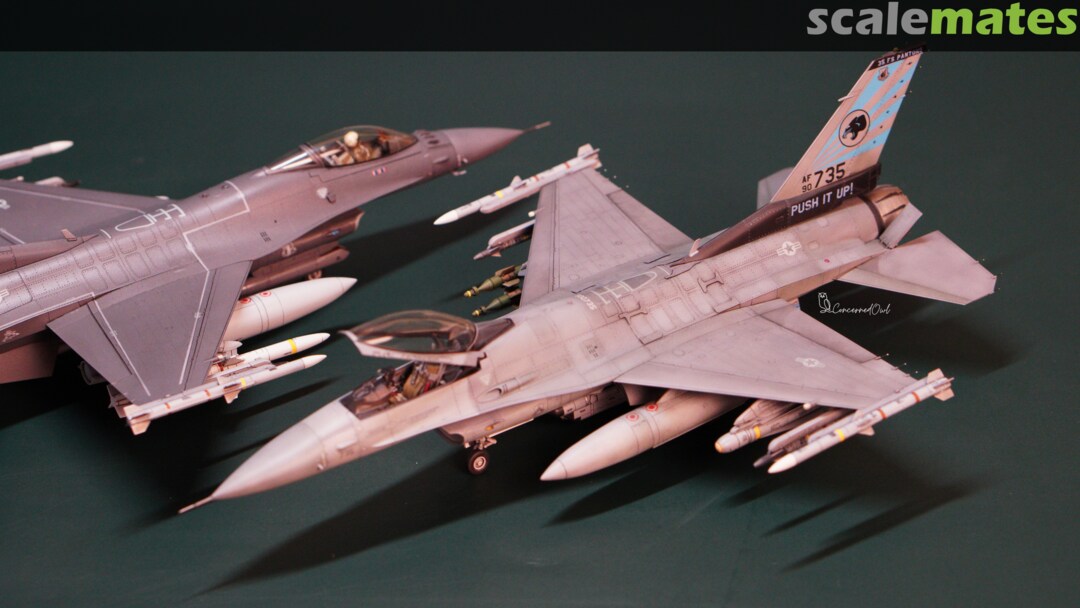
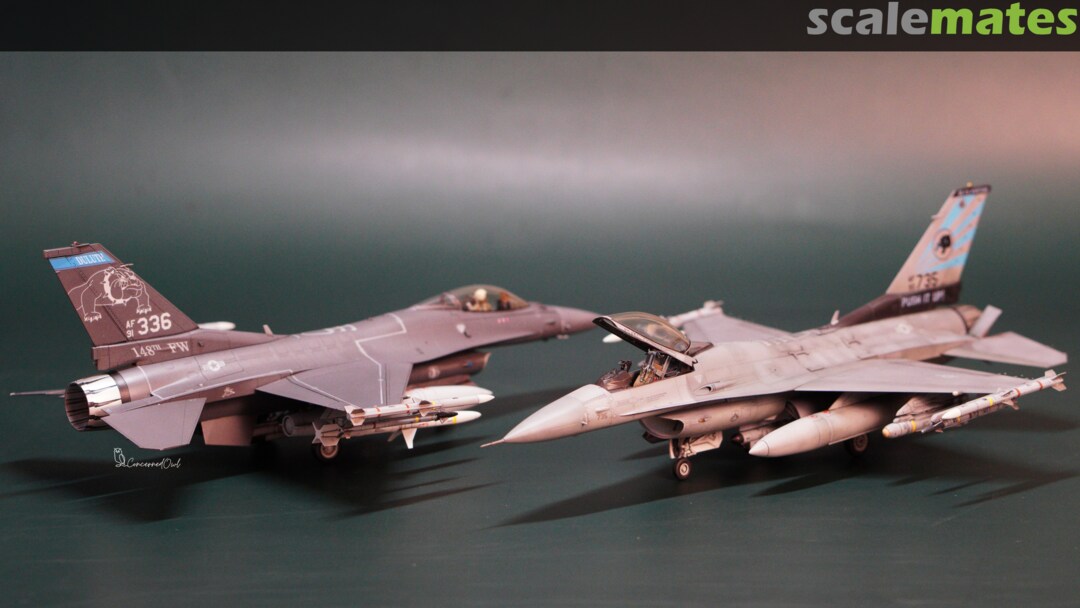
A guidance kit, Have Glass Viper.
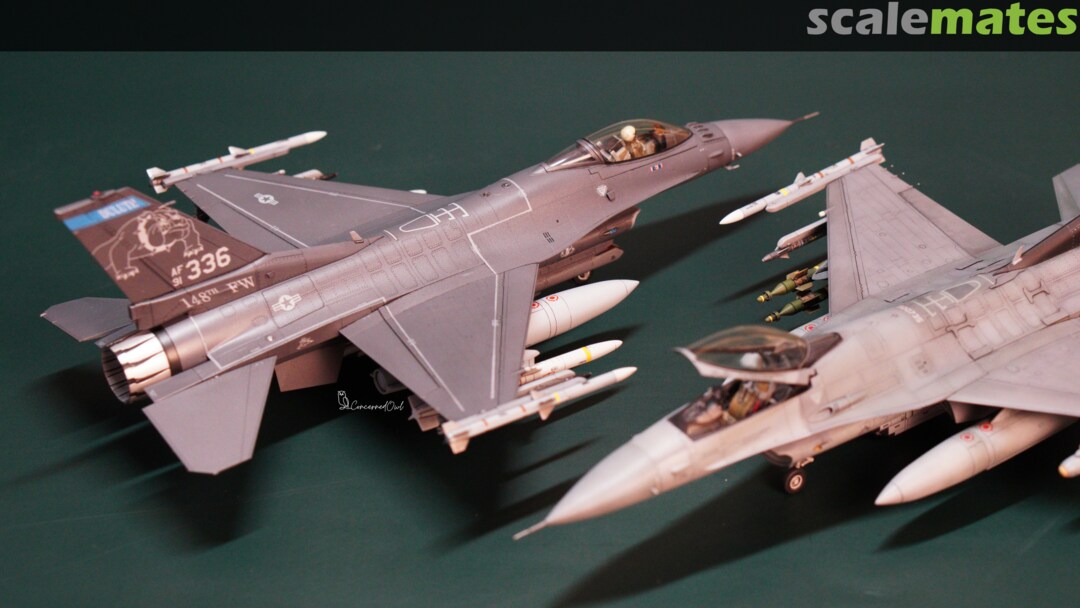
As soon as I knew everything that I needed to know, I decided to go with the OOB version first, and that's a Block 50 with the Have Glass scheme. I built that airframe as a guidance kit because I've never had this kit before, and I felt lucky that I did because this kit is not as easy as it should be, since it requires some filling on the airframe, and the hardest part of the building process was the intake. I painted my Block 50 with my own mix of Have Glass. I mixed it up with XF-56 Metallic Grey and XF-24 Dark Grey in a ratio of 1:1 as a base coat on my Mr.Surfacer Grey 1500 primer. Then I realized that the glitter of XF-56 was too big, and I didn't like it, so I went with a new mix between XF-24 and Alclad II 4107 Chrome with a ratio of 2:1, then sprayed it in several thin layers until I got what I was satisfied. The decals are FABScale's, but I can only use the tailarts and few more, since most of them, especially the labels, are printed in dark grey instead of it supposedly light grey. All ordnance and figures are from the box.
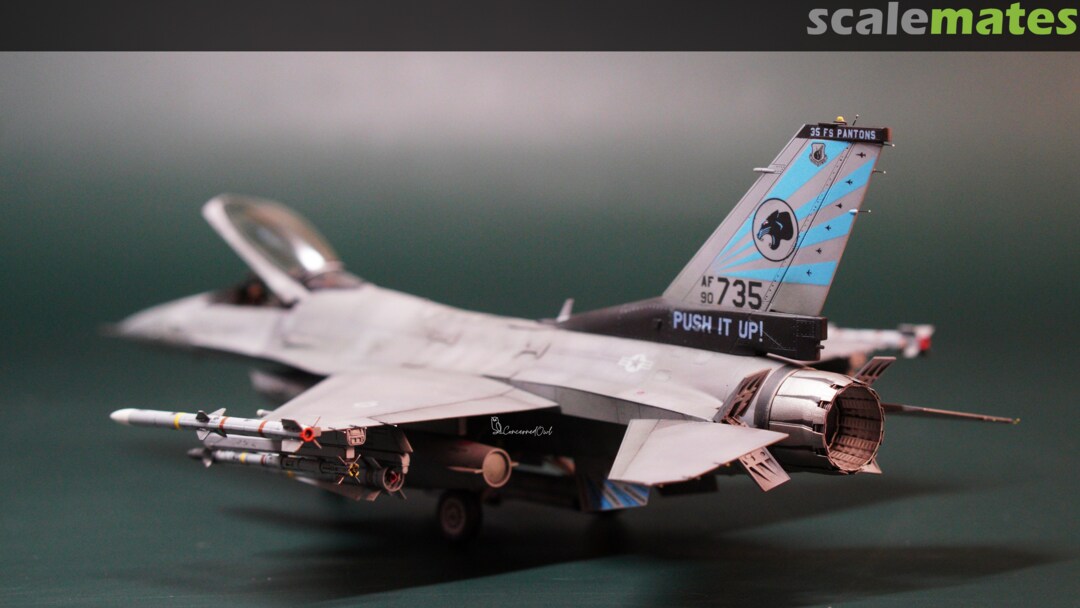
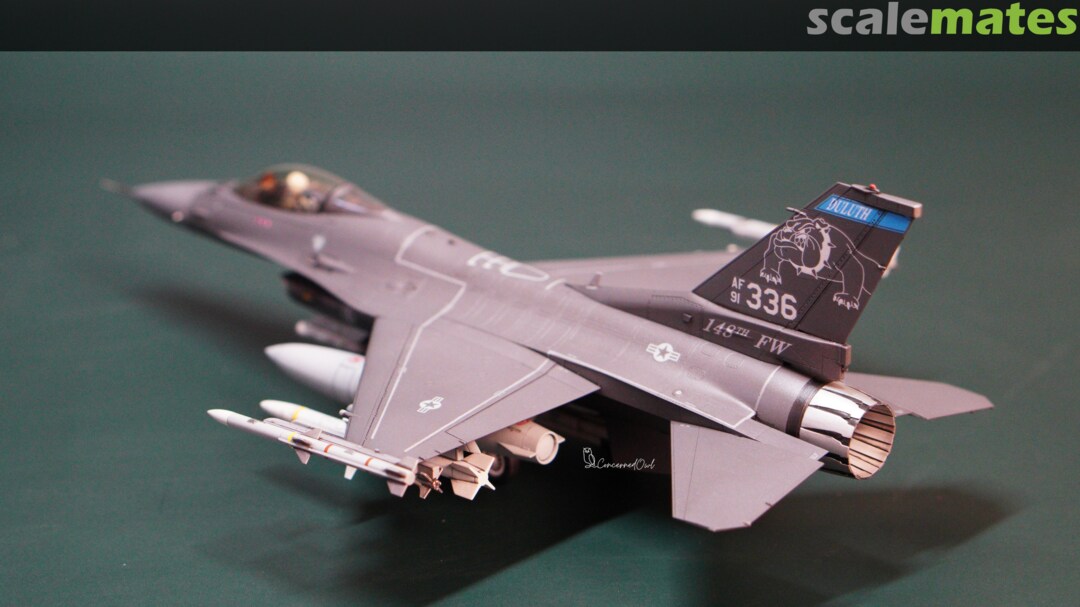
The Pantons.
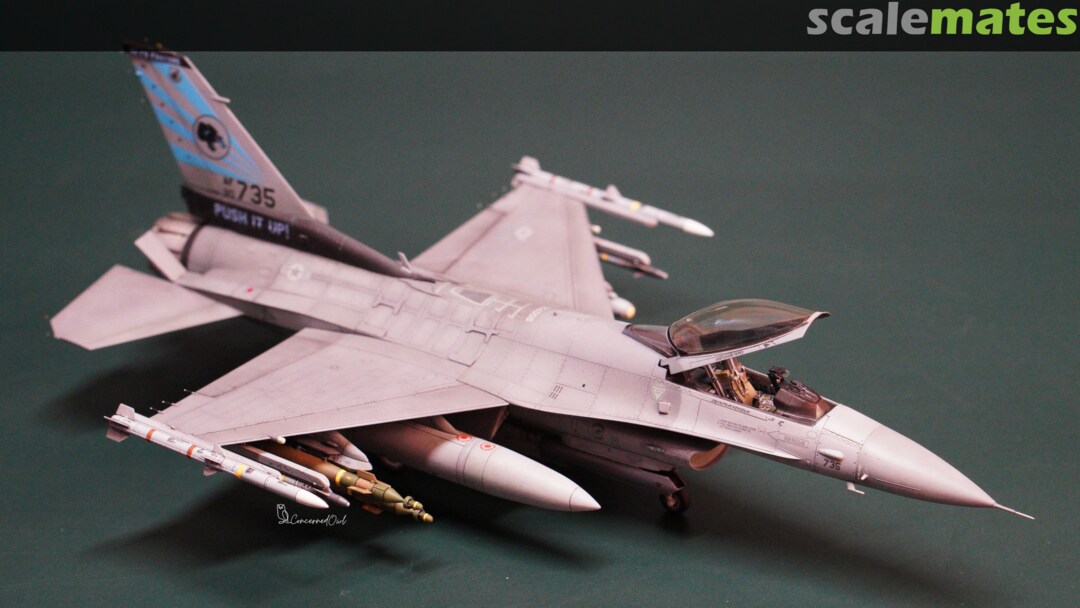
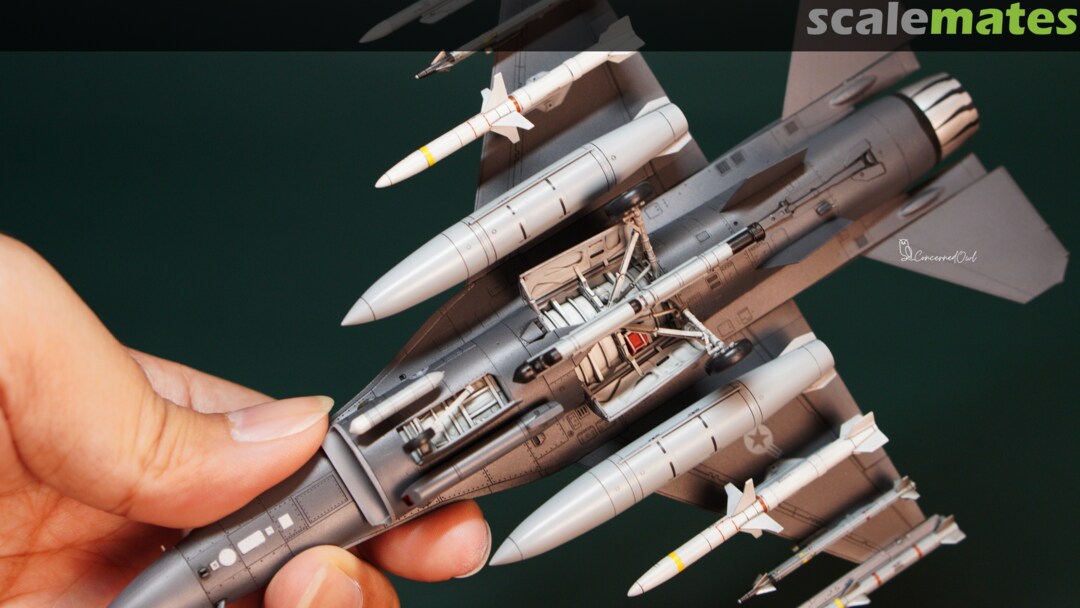
The building process was quite straightforward, as I had gained experience from Bulldogs Viper before. The stiffener plates were glued to the airframe with acrylic glue as well as Eduard's PEs. Cockpit instruction panels are 3D printed decals from Quinta, which have good details and are easy to use. However, my inexperience struck again as I tried to install those decals by using Arclyric glue; they were not in a proper shape since I only placed glue on the outer side, so it's "curved-up" when dried, and I had to fix it by cutting them into pieces and gluing them with Tamiya clear to make them align properly on the surfaces. Cockpit also features a 3D printed ACE II seat from MCC and a scratch HUD using leftover PEs, plasheets, and transparent films. On the nose, I used Finemolds' pitot tube and undercarriage parts also reinforced by Eduard's PEs, while the engine nozzle is FABScale's, airbrakes are Eduard's, and static dischargers are stretched sprues.
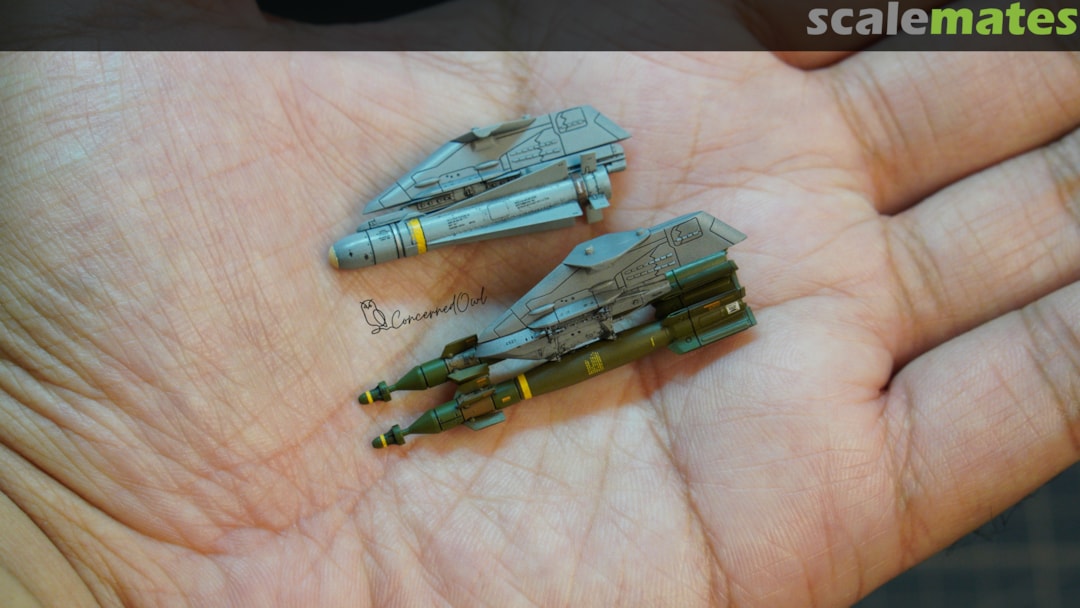
Ordnances are 3d printed, both A2G weapons are Reskit's, and AAMs are FABScale's. I also added AN/ALE-50s from FABScale under the wings, while both ALQ-184 and sniper pod are Tamiya's.
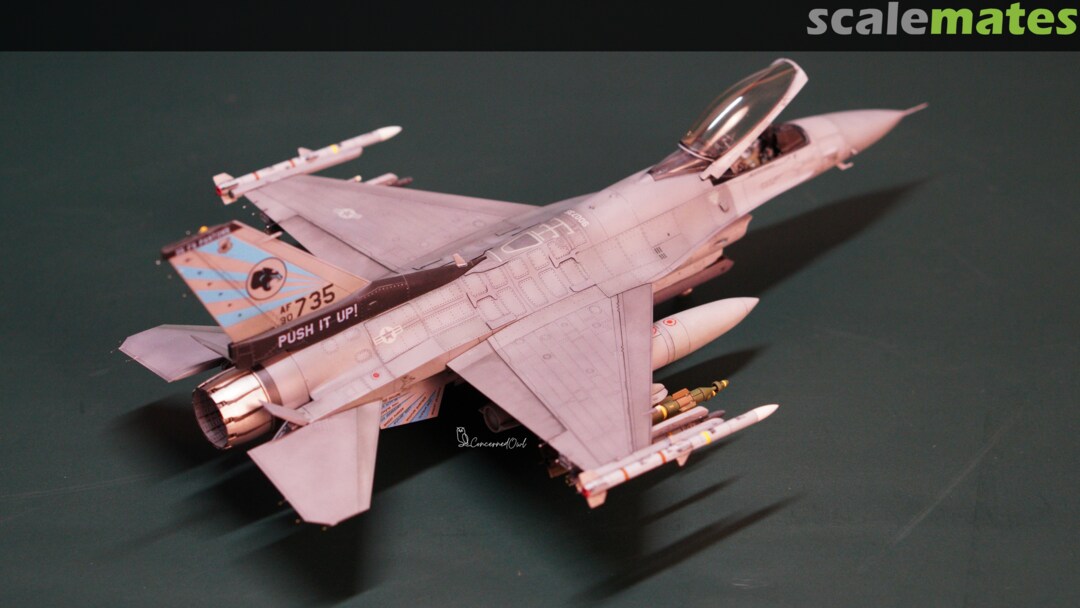
Paintings were simple. I primed the surface with Mr Surfacer 1500 black, then preshaded with Grey 1500. The fuselage was painted by Mr.Color 92, 305, 306, and 316 for gear bays and the inside intake. I used a simple method of painting to keep the paint from being too dark.
Decals weren't what I expected. I knew before from my Bulldogs Viper that FABScale decals have some flaws, but this set of decals is somewhat beyond. Those blue texts on tails and airframe serials in grey are just unusable as they disappeared while being out in a dark background like black or dark grey. That was the first time I experienced something like this. I later contacted a printer near my place, asking them about this issue. I soon learned that this set from FABScale doesn't have what they call "white base" print decals, so the lighter color on the decals couldn't stand the darker background. I ended up creating my own decals and had a printer print them for me (this is also my very first time doing it, including using Adobe Illustrator). As mush efforts as I had put to fix it, it is still not perfect. I later realized that one of the aircraft silhouettes was missing, and I haven't fixed it until now because I have to wait until I have to print the decals next time.
Washing and weathering are nothing special. I washed the whole panel lines with Tamiya Panel Line Accent, simply used Grey in the lighter area and Dark Grey in the darker areas. Then I faded up the paint with various tones of grey oils, mostly from ABT501, before recreating stains with some enamel products.
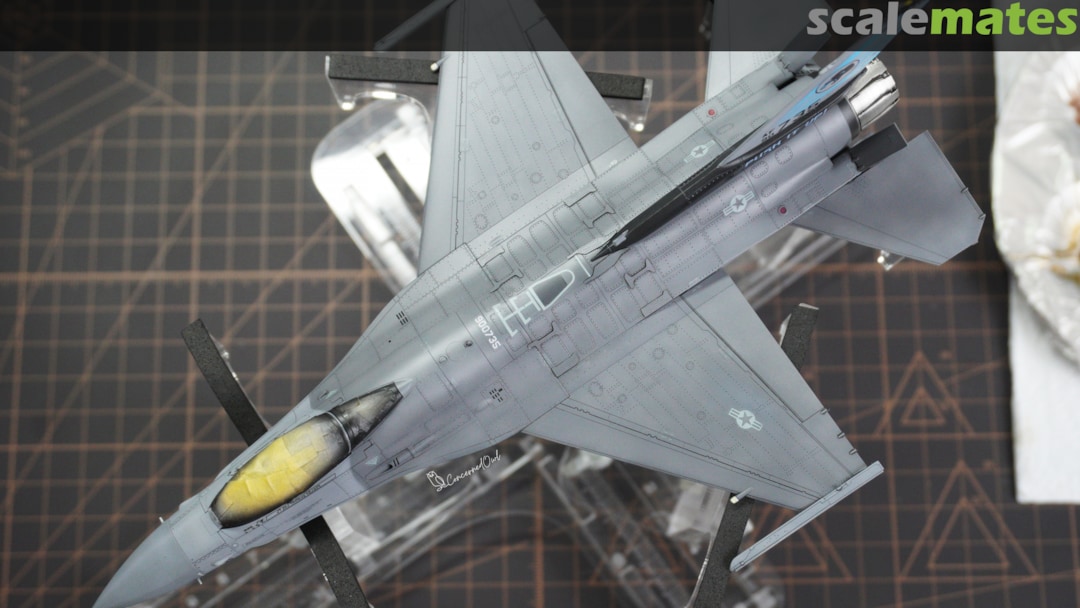
Sh*t happens.
Everything seemed to be added up in the final process perfectly until I decided to re-tint the canopy. I cleaned inside the canopy with a handheld rotary tool and accidentally cracked the canopy from the inside. I sanded the hell out with a micro sanding sponge from 3M until I realized that I couldn't get it off completely. However, the crack in the final state is only visible in a limited amount; that's the best that I could do, or else, finding a dornor canopy from another kit, which I didn't have. The canopy was later tinted by using Tamiya X19 and X26 mixed with Mr.Leveling thinner in a 1:8 ratio before slightly applying with a couple of thin layers and letting it dry in a closed container.
A step to take.
This project took me more than 80 working hours to finish. I've put countless efforts into this kit, and all those efforts seem to be put into fixing rather than building. I expected to build the highest detail model that I have ever done, and somehow I achieved it, despite it ending up with many flaws. However, I see it as a learning curve in this hobby; I did so many things that I never did before. Doesn't it call a progress? It might be a little progress on this little scale that I've messed up. But this Pantons is a real step that I've already taken, and I'll always be looking for more.
Thank you for reading. Any criticism will be helpful.
Nate.

![1:72 F-16CJ [Block 50] Fighting Falcon (Tamiya 60788)](/products/img/2/9/1/644291-10105-25-t180.jpg)
![1:72 F-16CJ [Block 50] Fighting Falcon (Eduard 73672)](/products/img/8/9/0/1212890-33840-74-t180.jpg)
