

Tamiya 1:35 Stug IV
 1January 13, 2025I wanted to see if this 1976 kit could still make a presentable model when there are many newer kits available now. Opinions vary but I think it's better than the Italeri model of similar vintage. You can easily pick one up for well under £20.
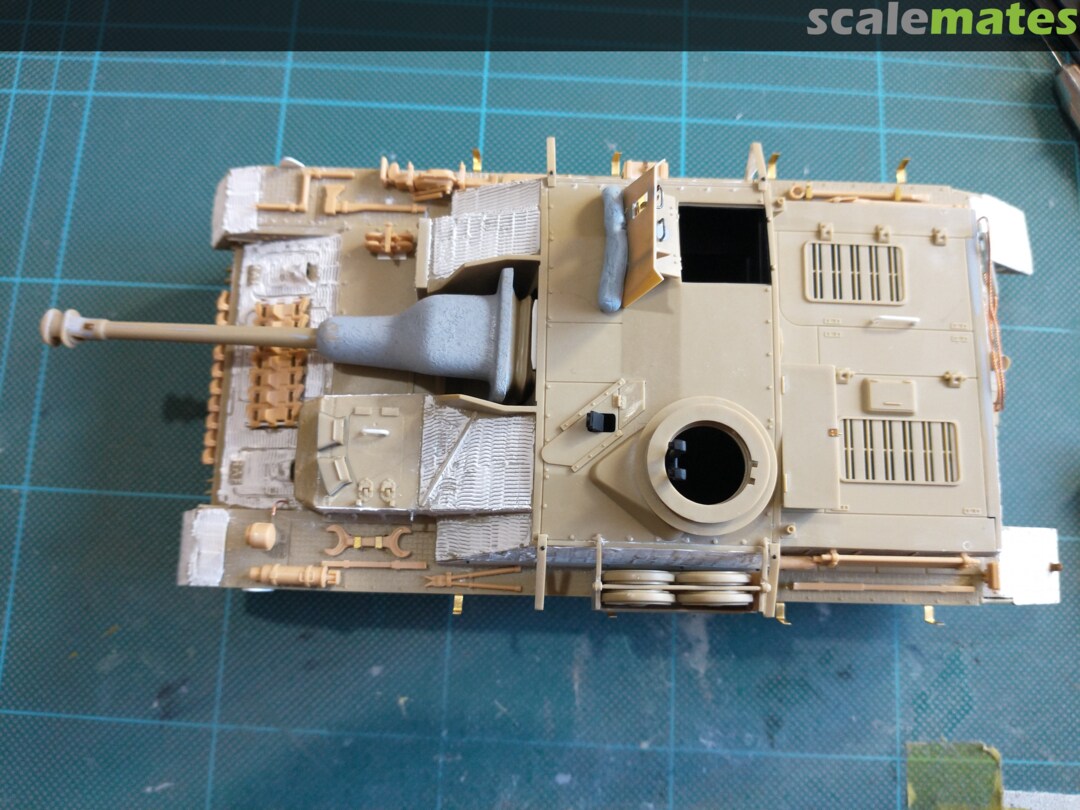
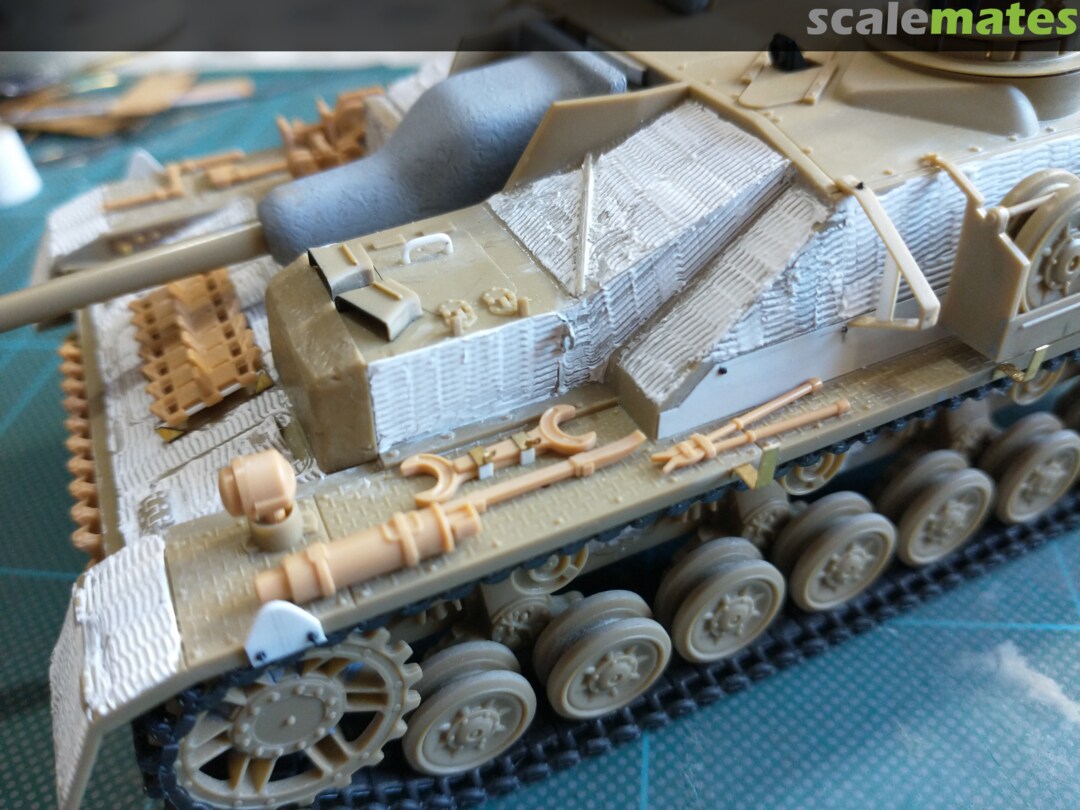
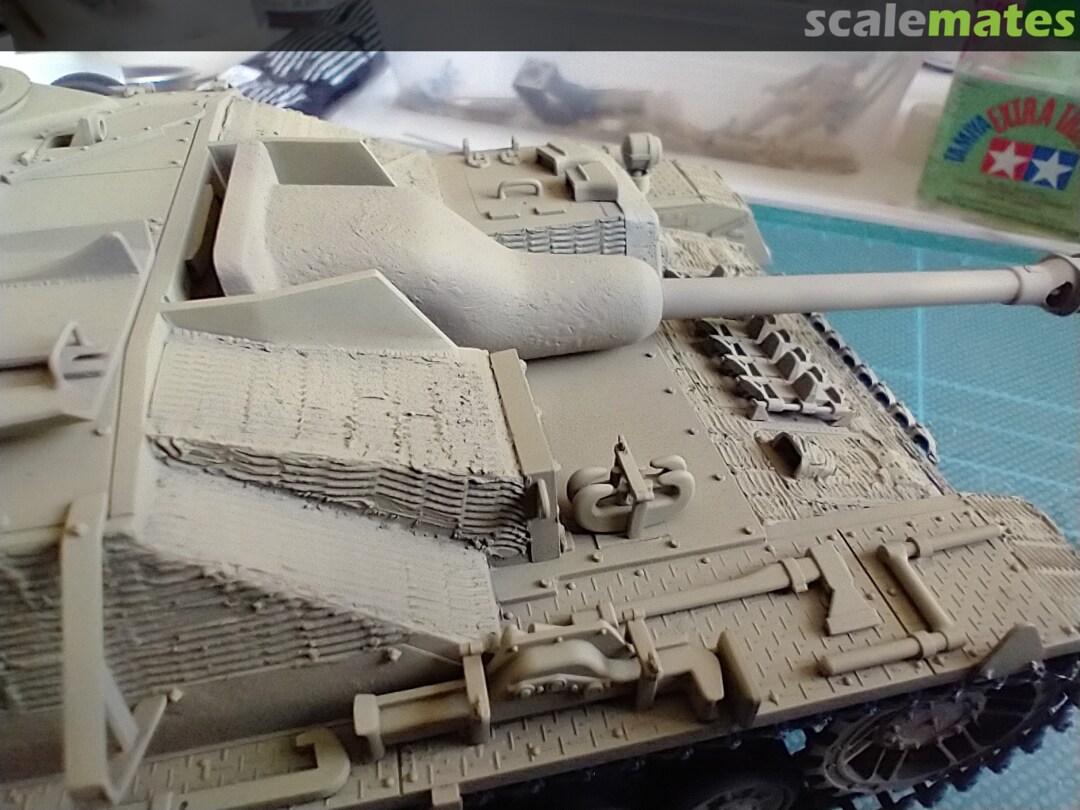
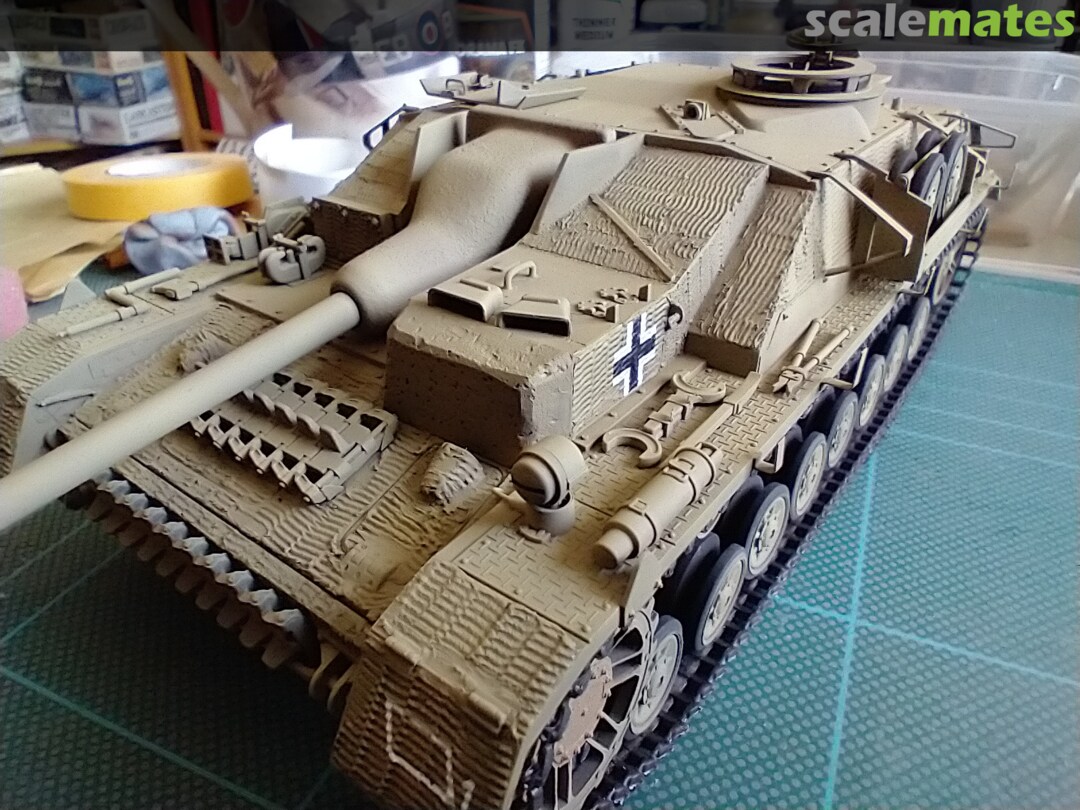
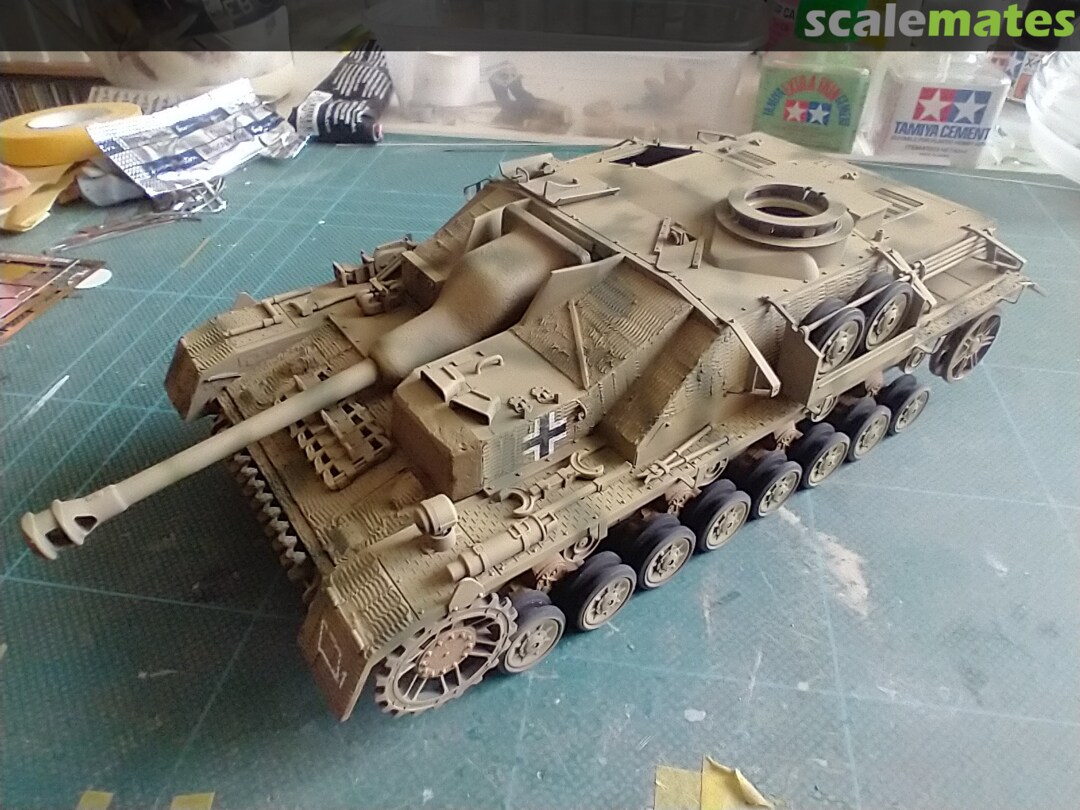
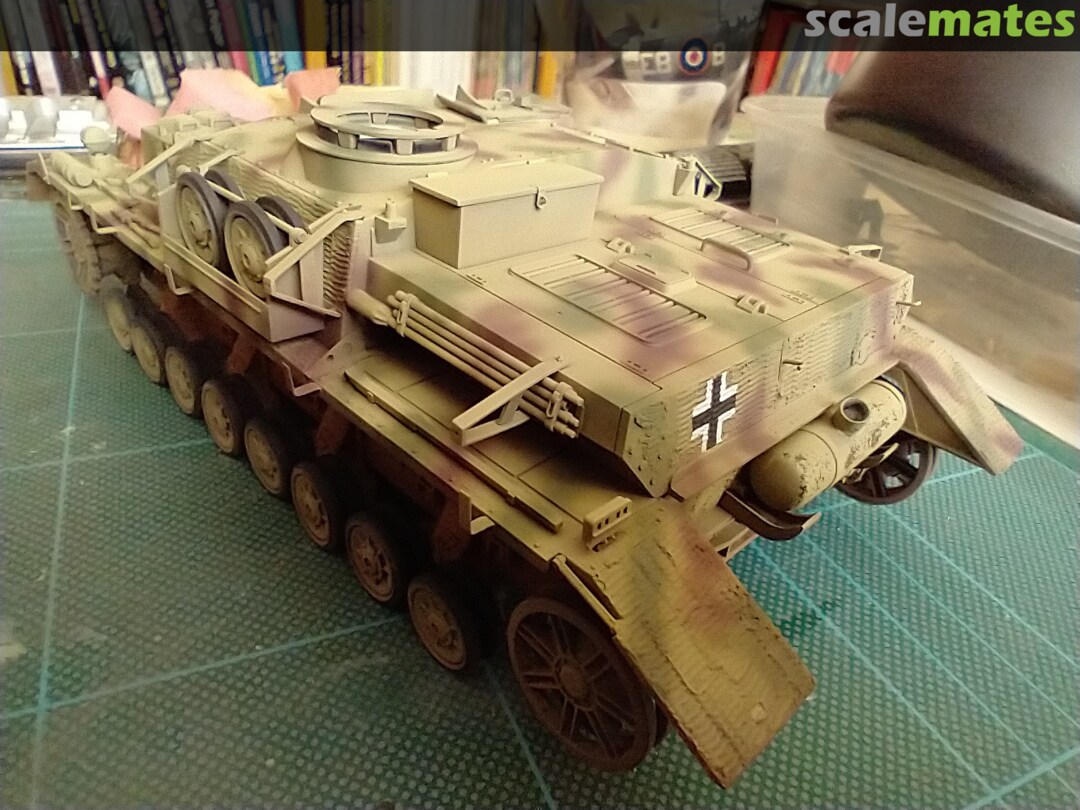
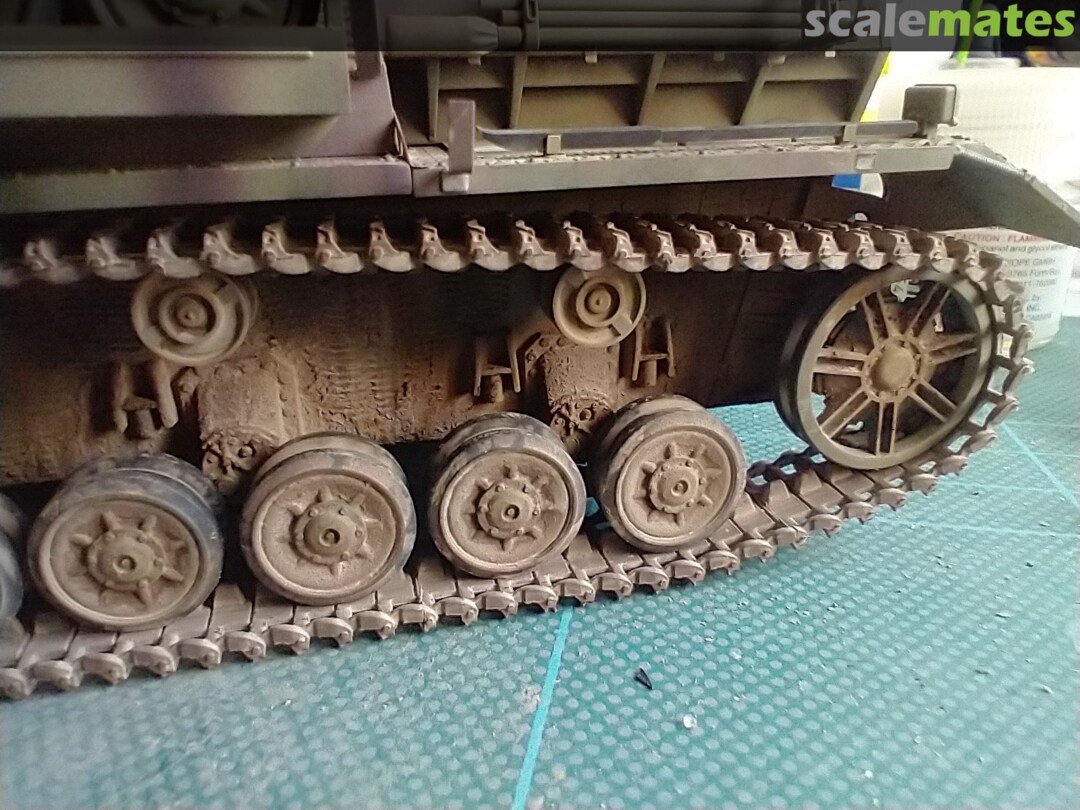
For me, the Tamiya kit's worst accuracy faults are the skinny roadwheels, slightly off vertical rear plate on the fighting compartment, missing fuel filler caps on the lower hull and the hideously thick schurzen mountings and rails. The tools are poor as well. Most early Stug IVs had the cast idler wheel, so I added a pair taken from a Tamiya Panzer IV Ausf J kit which contains both cast and welded types. 2January 13, 2025All the tools were replaced with the much newer and better Tamiya Panzer IV on vehicle equipment set. Zimmerit is also mandatory for an early Stug IV. Mr Surfacer on the mantlet gives a bit more texture. Solid plastic grab handles replaced with bent metal or rod. The interior through the commander and loaders hatches is very dark but wouldn't be unless I had installed a firewall between the engine bay and fighting compartment and sheeted over the open undersides of the superstructure above the tracks - that horrible feature of most Tamiya tank models until recently.
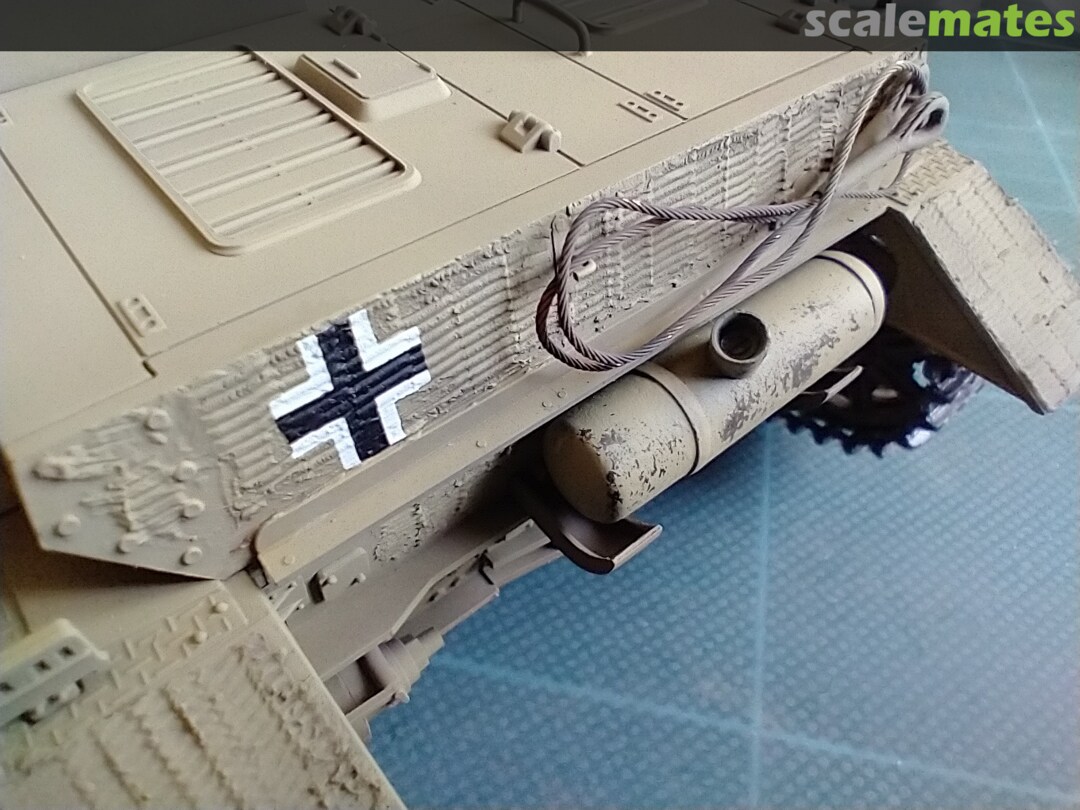
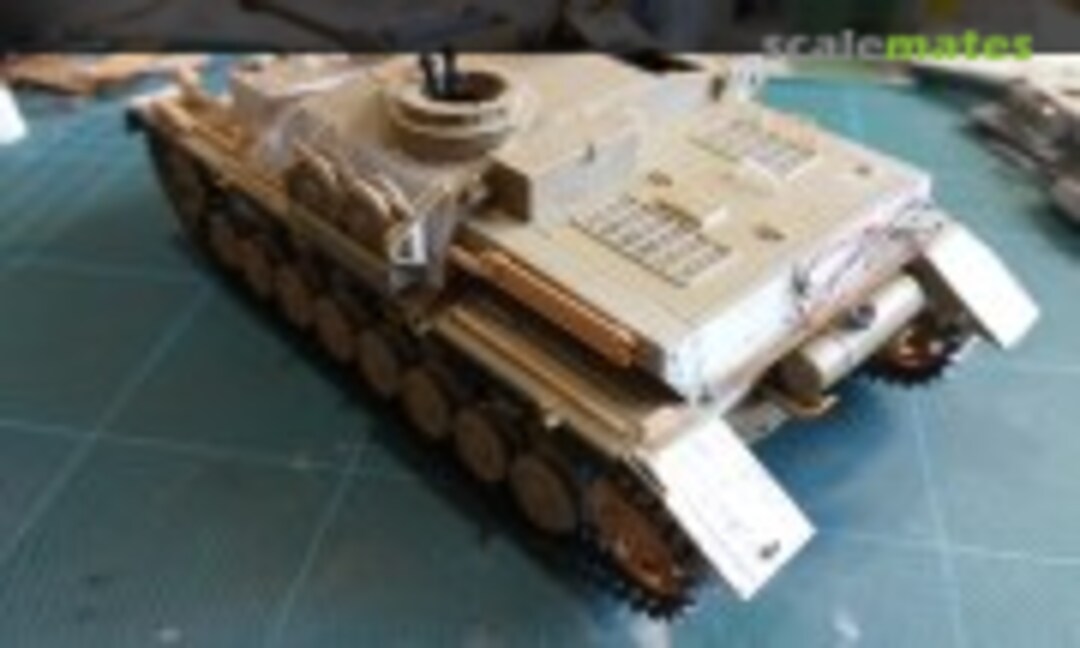 3January 13, 2025Copper tow cable and resin cable ends. Thinned out schurzen brackets with plastic strip strengthening bars and Grandt Line bolts. Small bits from the Eduard photoetch set. Home made schurzen spacers on mudguard edges using brass strip. I must have knocked the commander's
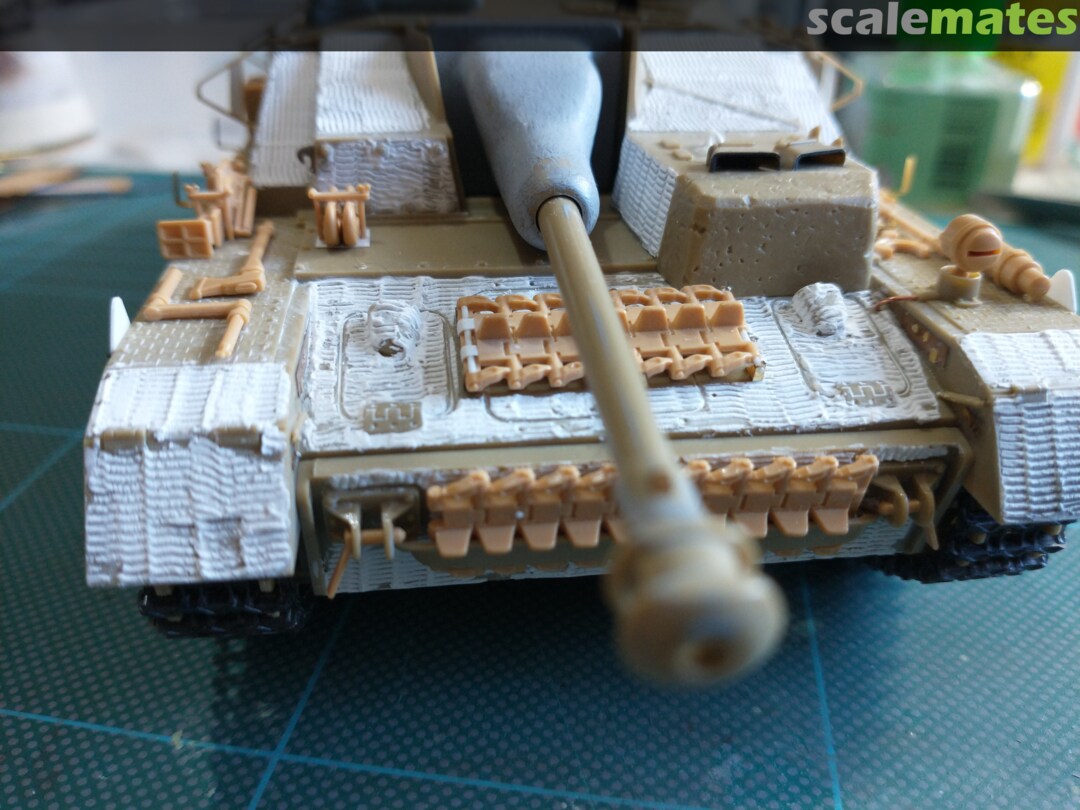
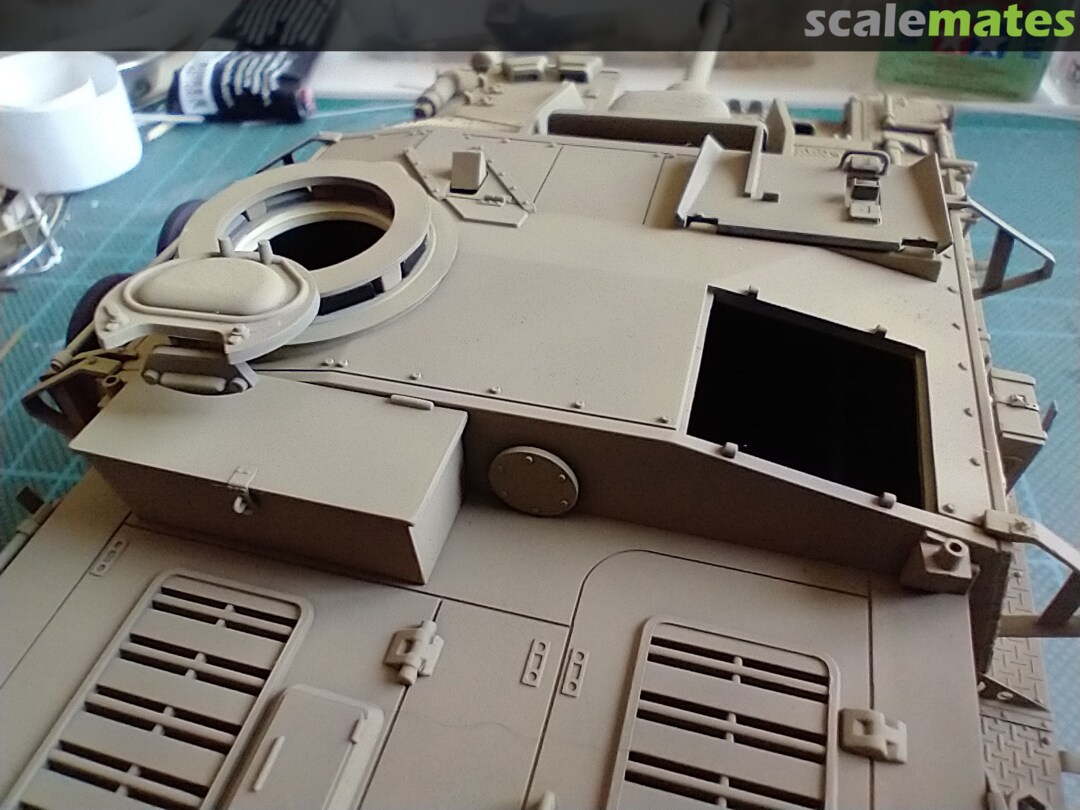
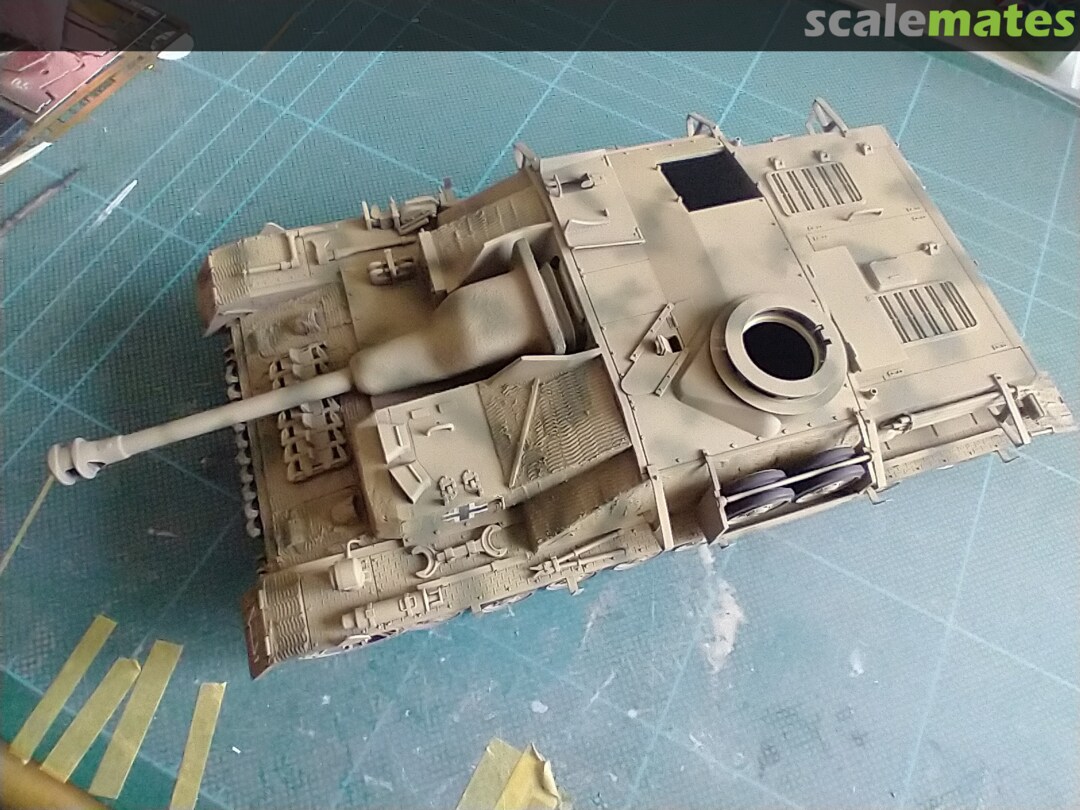
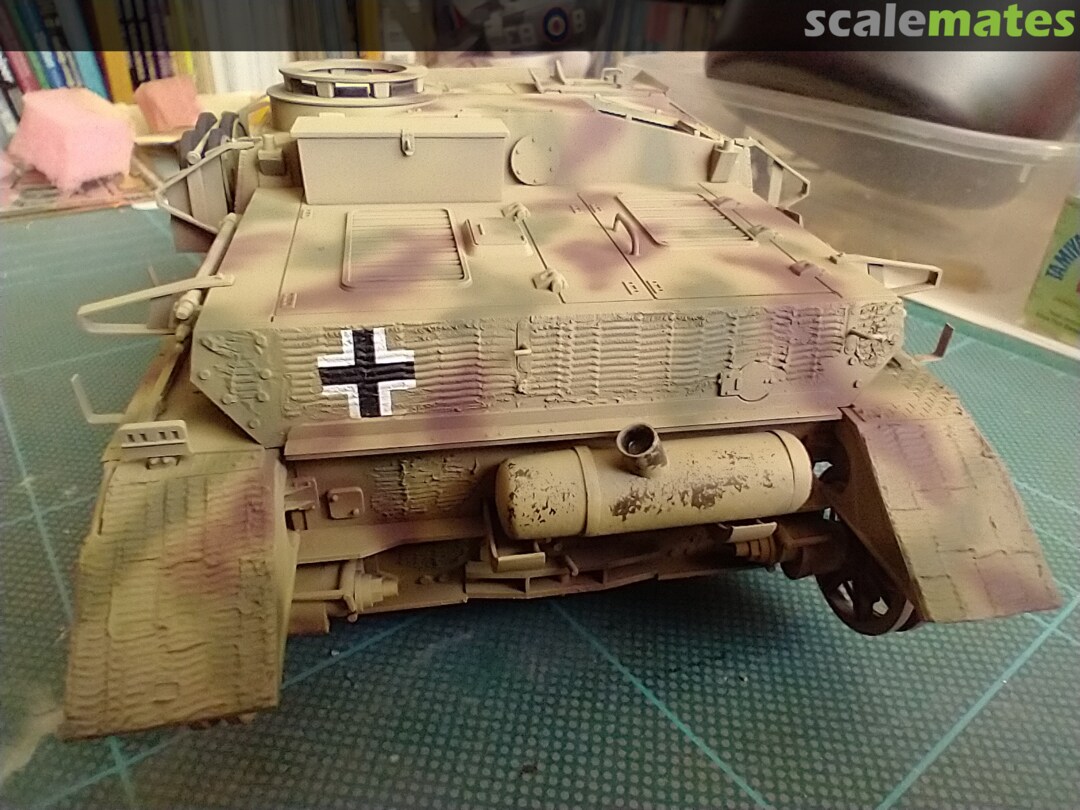
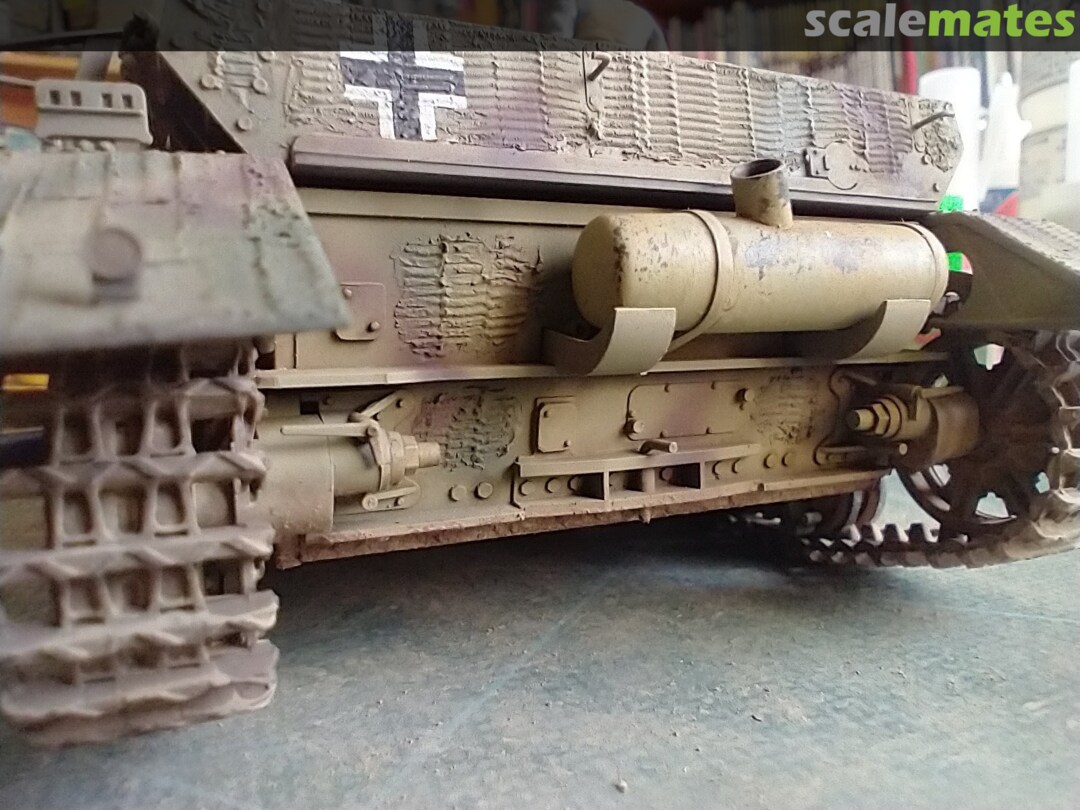
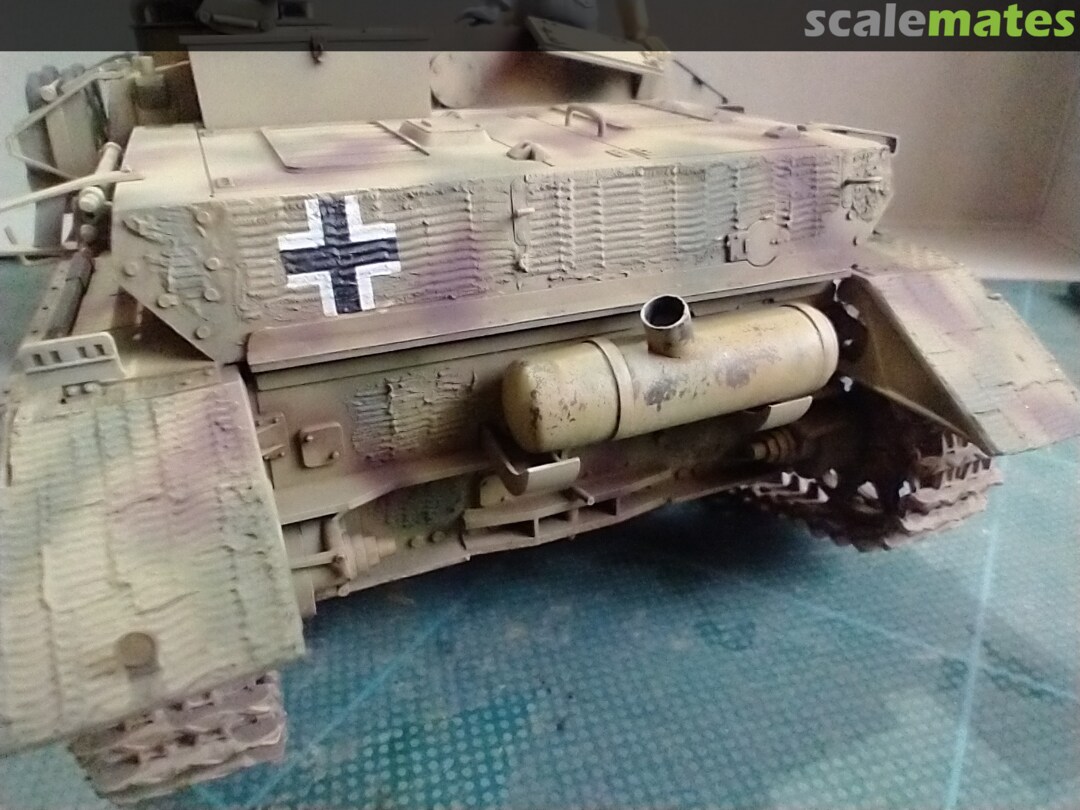
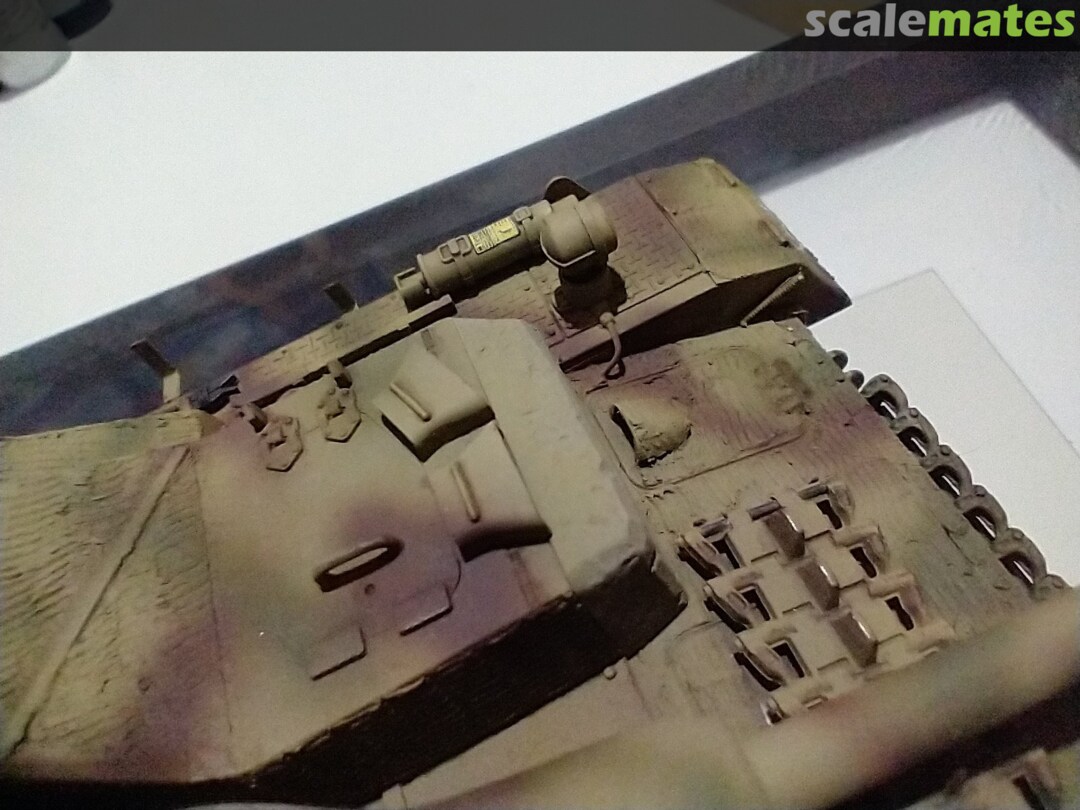
cupola out of place during the photos - it isn't yet fixed in position. 4January 13, 2025Jack block location on Stug IVs seems to have mystified many kit manufacturers but the normal position is here on the starboard track guard. Stug IVs also had a sheet metal strip at the bottom of the fighting compartment sides, secured by five bolts. The MG shield also benefits from being thinned down a bit.
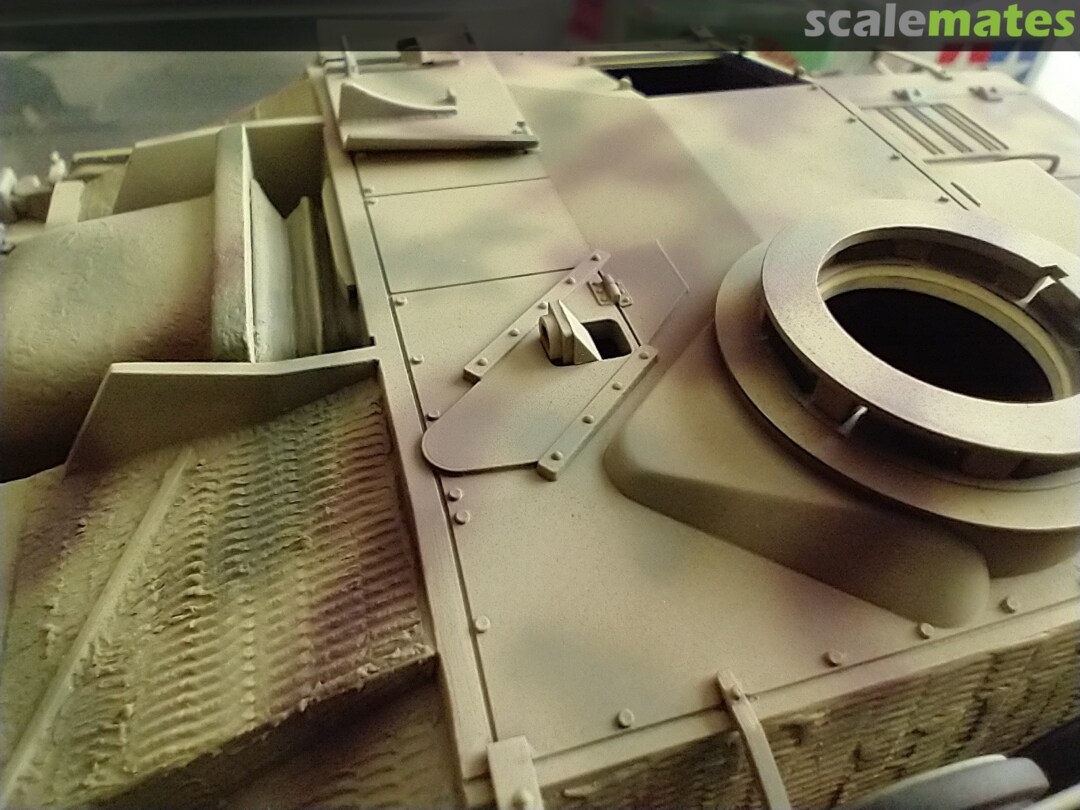
 5January 13, 2025The kit lacks the correct lifting hooks on either side of the front plate. I used TRex 3D printed replacements.
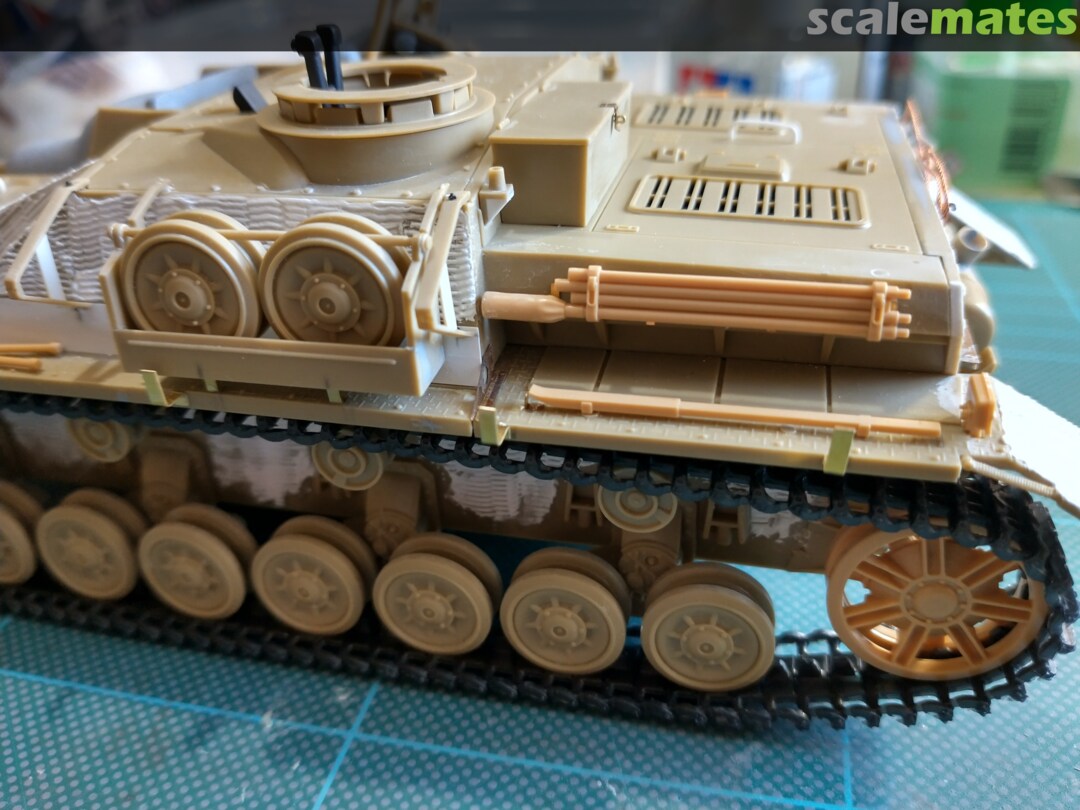
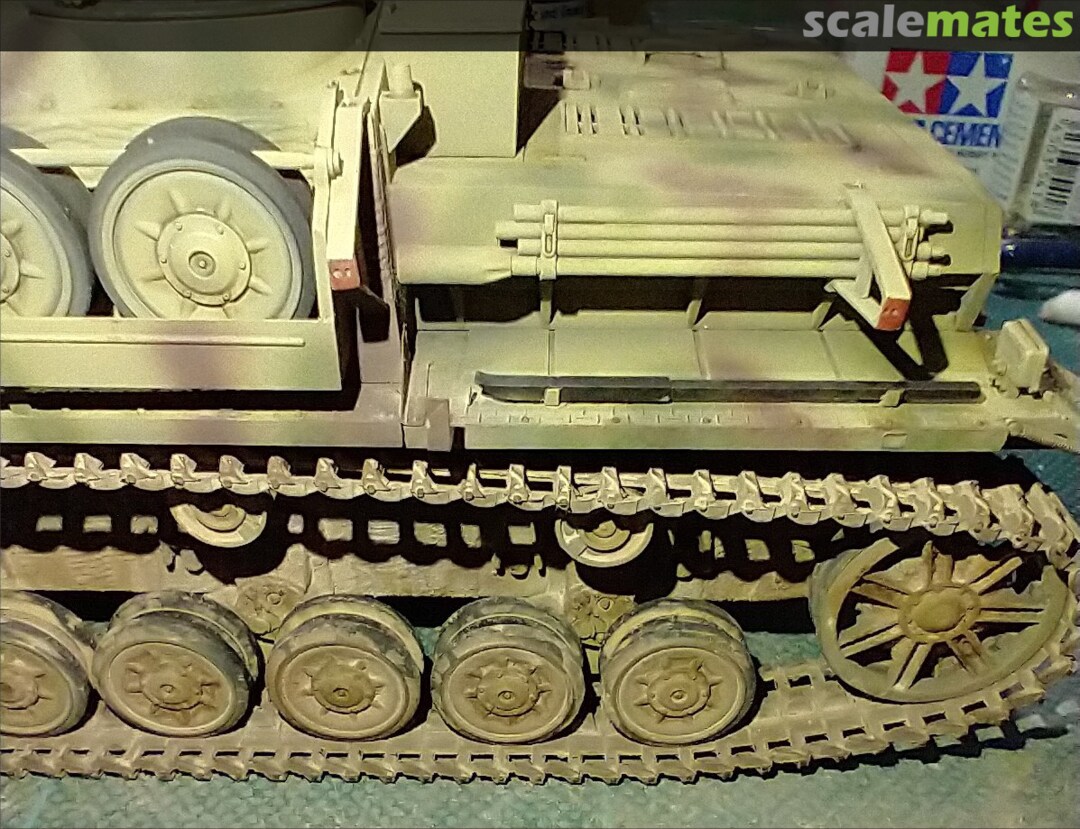
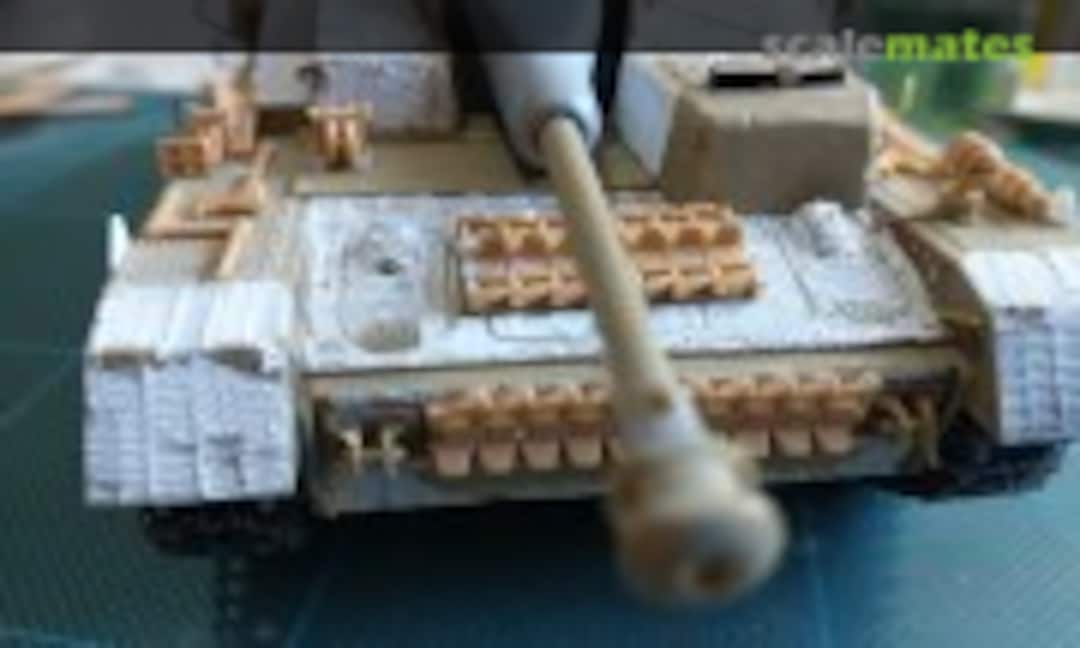 6January 13, 2025Bosch headlight and spare track links both from the Tamiya Panzer IV on vehicle equipment set and light cable added. I rather like how Tamiya represented the texture of the add on concrete armour in front of the drivers position. In case anyone cares, the Zimmerit was done using Deluxe Materials Perfect Plastic Putty and a Tamiya Zim tool.
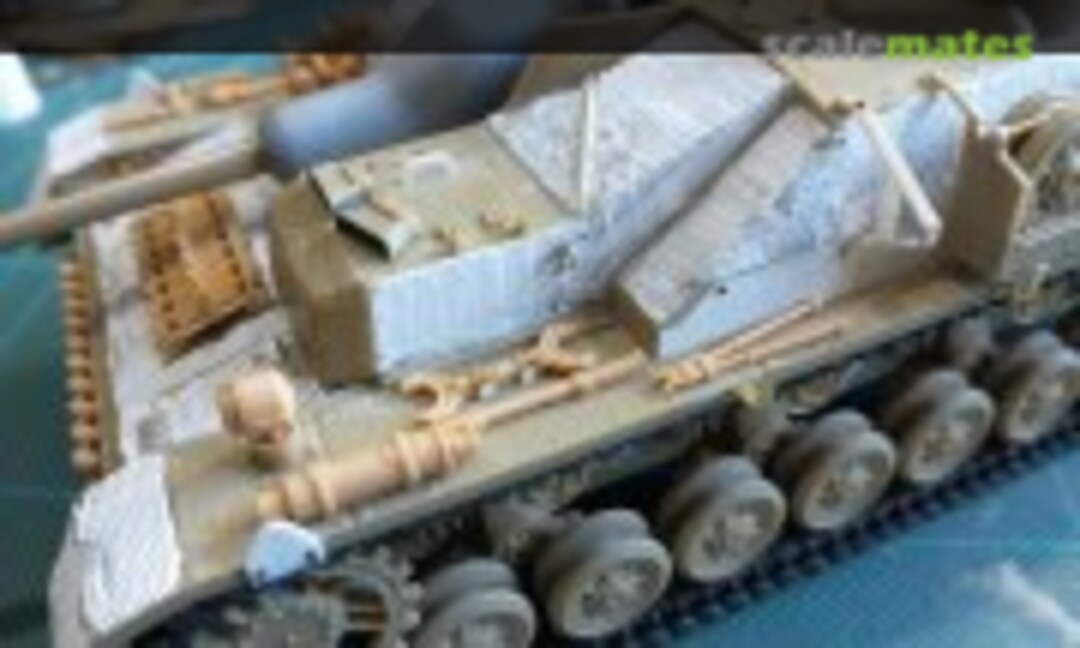 7January 13, 2025The amount of thinning applied to the schurzen brackets was huge, but worth it and the plastic strip insert makes them reasonably strong. Took a while to do though.
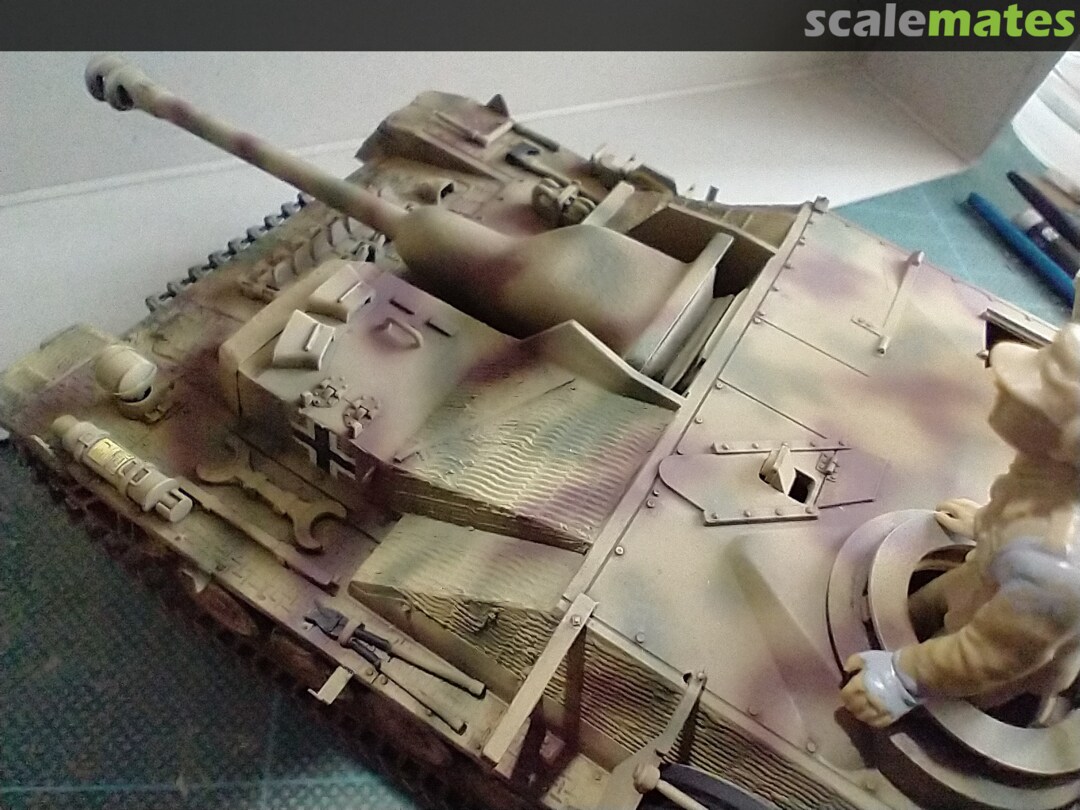
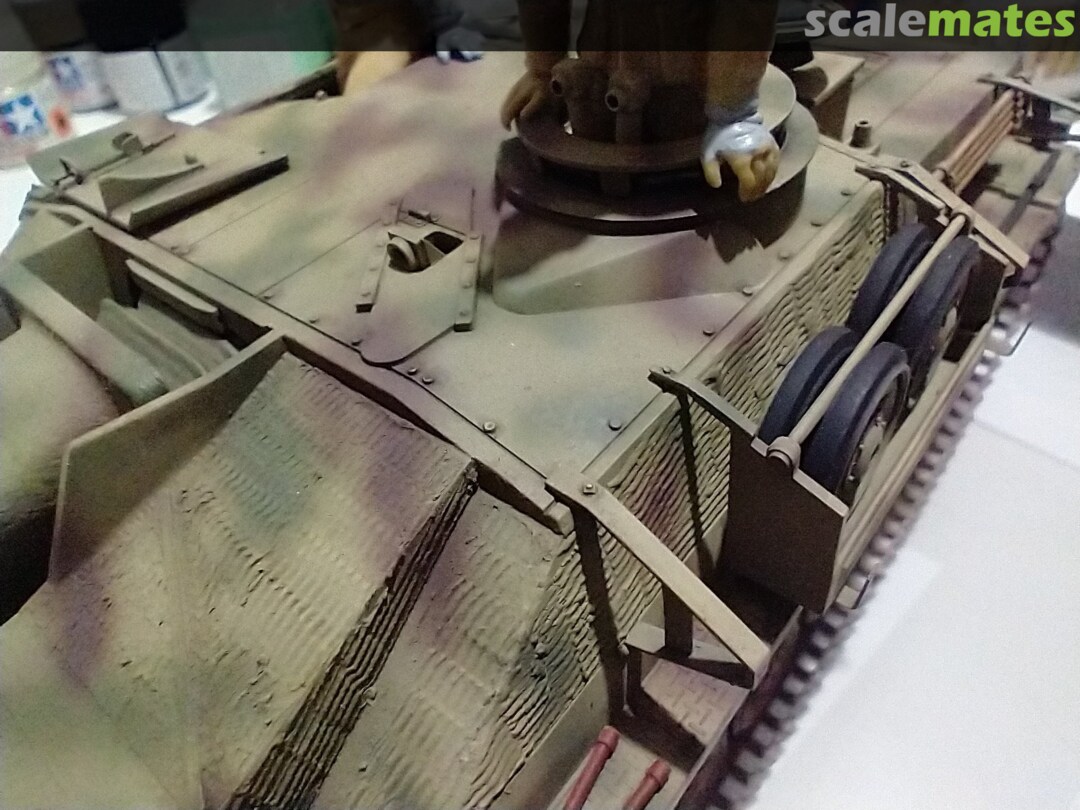
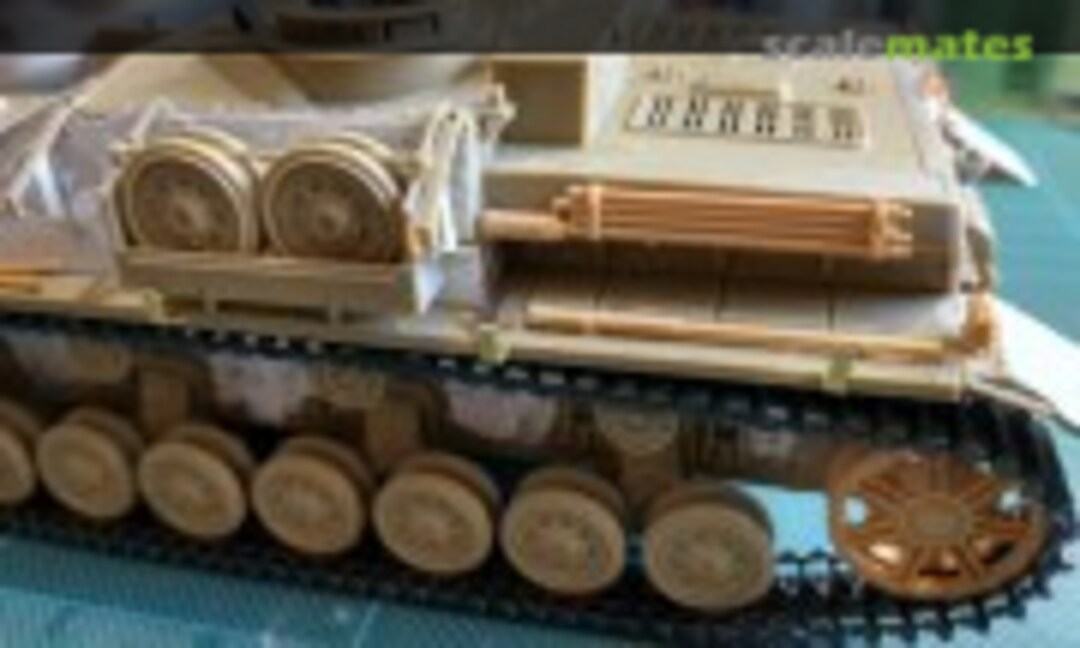 8January 13, 2025I added some etched brass strip for the two brackets supporting the spare wheel rack, filled the incorrectly positioned rear schurzen bracket locating holes, but left them off for the time being until I have some paint down. The aerial mount on the left side is missing its covering plates so these were added from scrap plastic. Stowage box had a latch added from the Eduard set.
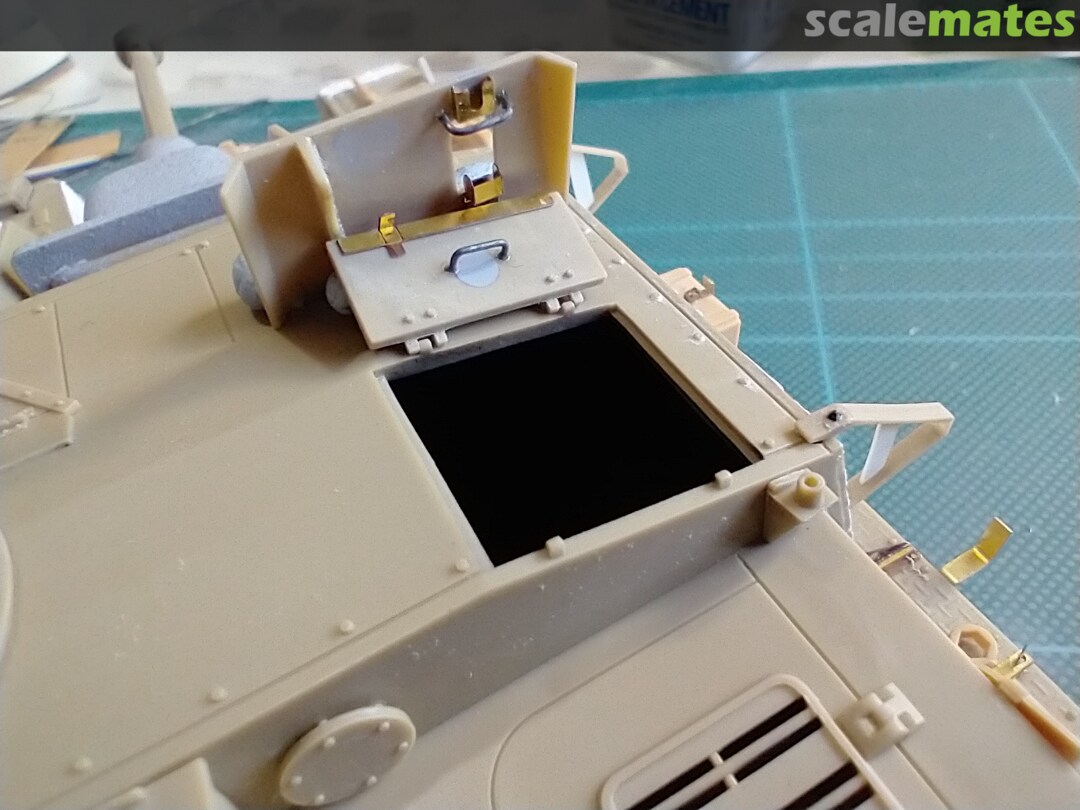
 9January 13, 2025Eduard's etch bits enhance the MG shield and loader's hatches, after the ejection marks have been filled and sanded smooth.
 10January 13, 2025More ejector pin marks on the rear mudflap inside need dealing with. I also added a cover plate on the left of the exhaust to cover the hole left by the deletion of the removed auxiliary generator exhaust.
 11January 24, 2025These two pages in the August 1976 issue of Military Modelling Magazine featured the work of someone almost no-one knew then. All the kits were well known to any AFV modeller - all from Tamiya except the US truck from Max. I'd never seen anyone present these kits in such well composed and beautiful ways. I was in awe and it wasn't long before the mighty Tamiya noticed him too...
 12January 24, 2025Within a year or two, Tamiya were routinely devoting two pages in their kit catalogue to Francois Verlinden's renditions of their kits. Here's his take on the Tamiya Stug IV. This inspired me to make the same kit today in my own way, but still paying respect to this original inspiration from almost 50 years ago. My cover version of a classic if you like.
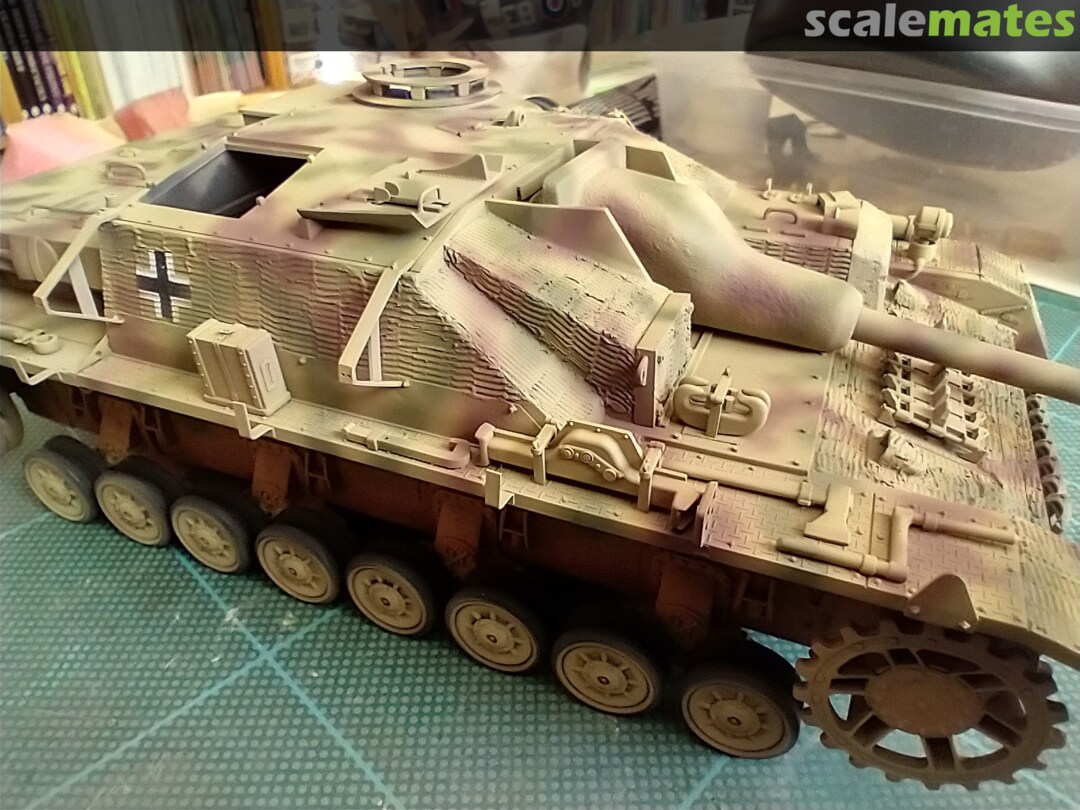
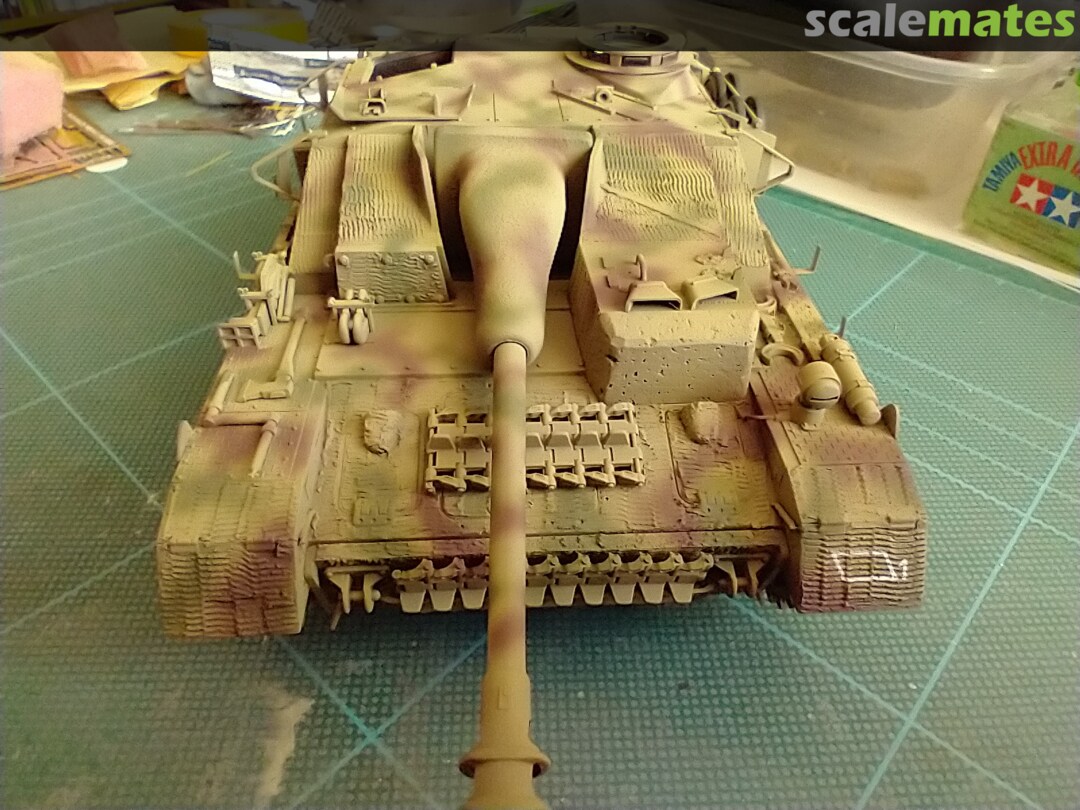
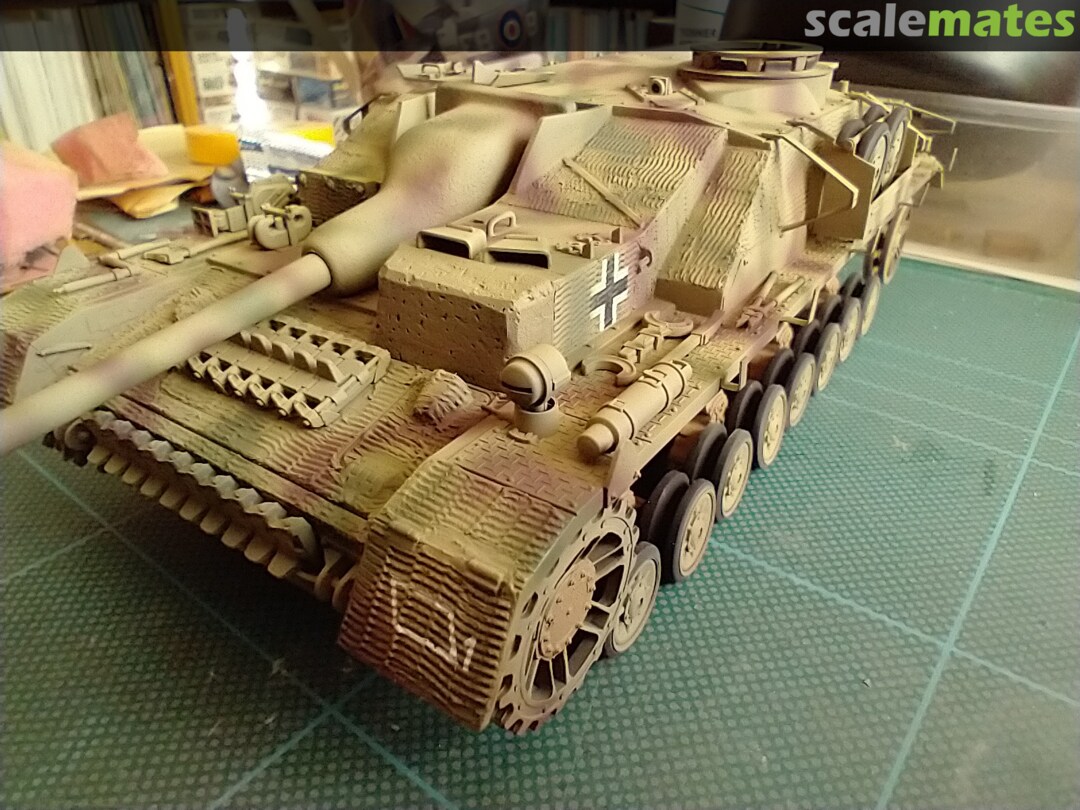
In 1976 no-one knew or cared that all early Stug IVs had Zimmerit. Or that panzer grey let alone this light grey was the wrong colour. Forget all that though, this and almost all his early work show a mastery of light and shade, composition, and balance whereby the whole scene enagages the eye and leads the viewer in exactly the same way as the paintings of old masters. 13May 11, 2025Basic painting layers and decals are on now and the Zimmerit success or failure can be assessed. There are actually three paint layers down already. Black Mr Surfacer 1500, followed by Tamiya flat earth acrylic and then Tamiya Dark Yellow 2 acrylic. Hard to see here, but the Dark Yellow being a very thin layer, has patches of the undercoats showing through providing a start to the weathering. Even Tamiya's thick decals have settled down nicely into the Zimmerit thanks to Mr Mark Softer.
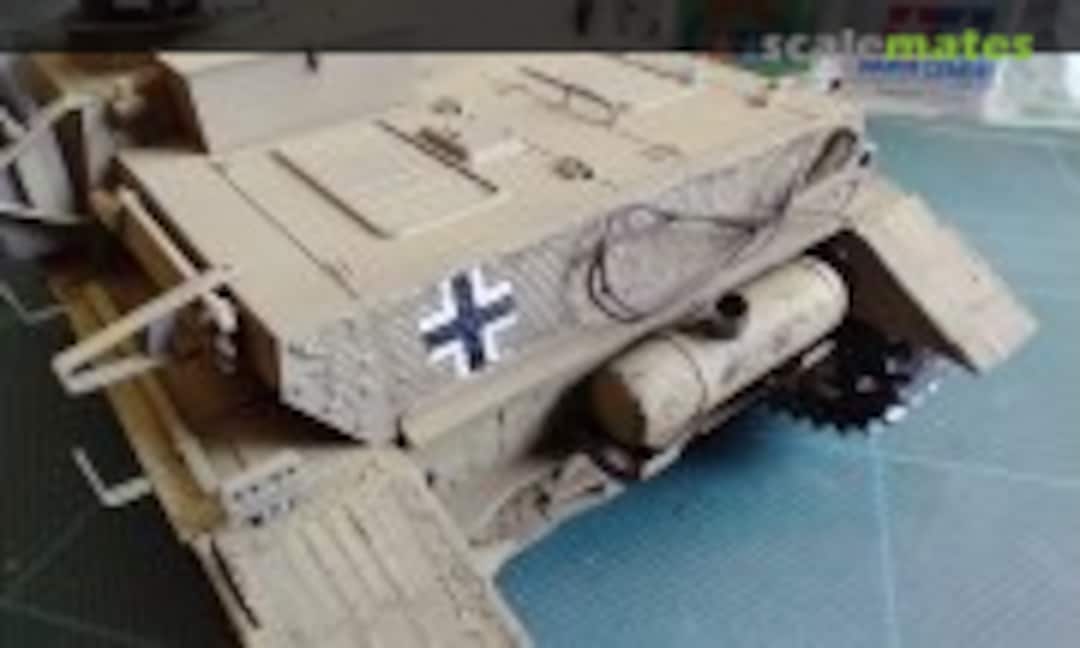 14May 11, 2025The exhaust was precoated in a mix of dark browns then given a hairspray coat, then Dark Yellow, then chipped away with a stiff brush to show a relatively new i.e. not heavily rusted exhaust.
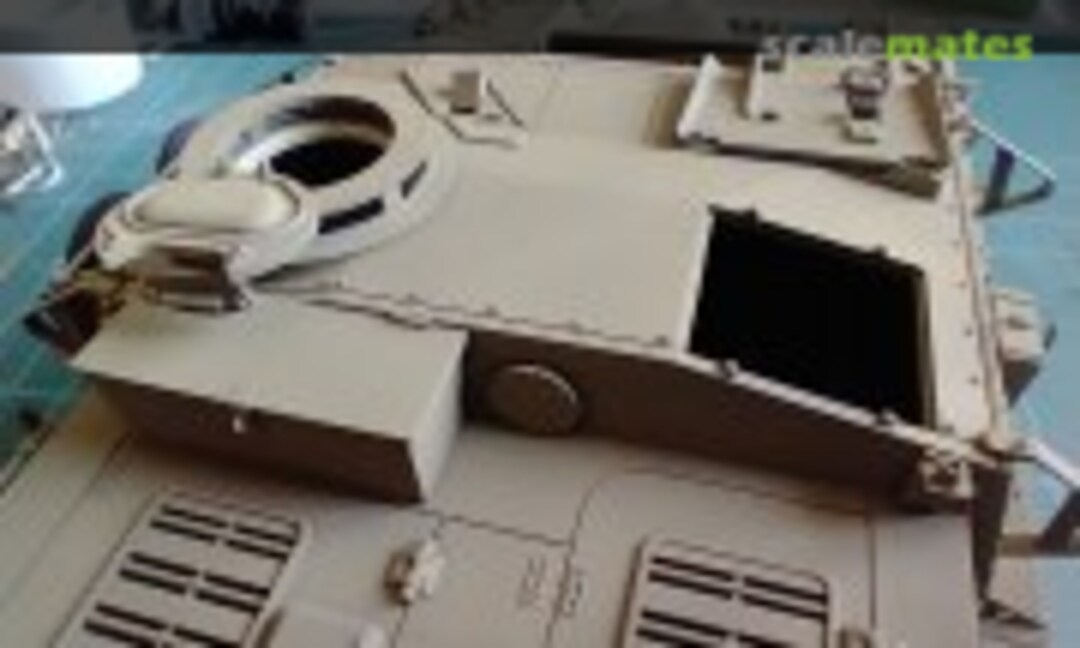 15May 11, 2025Installing the sponson filling plates as well as the engine bulkhead and spraying black into the interior hides the lack of interior details and the black voids will be mostly filled with crew figures.
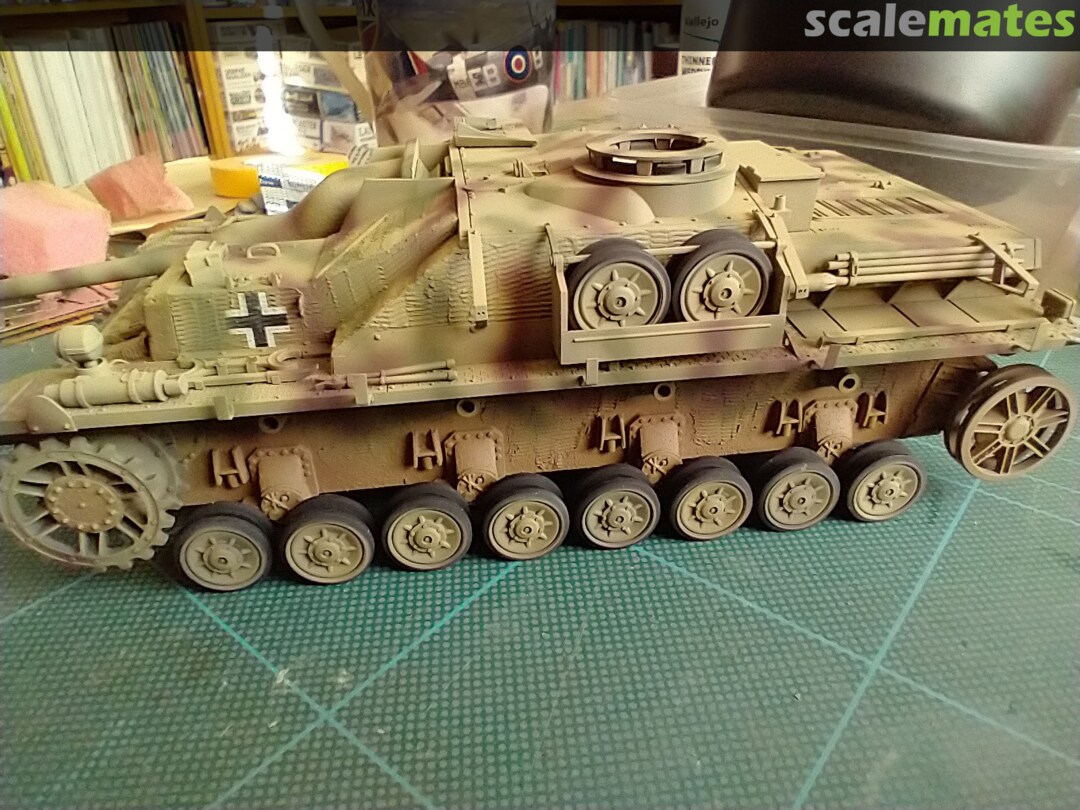
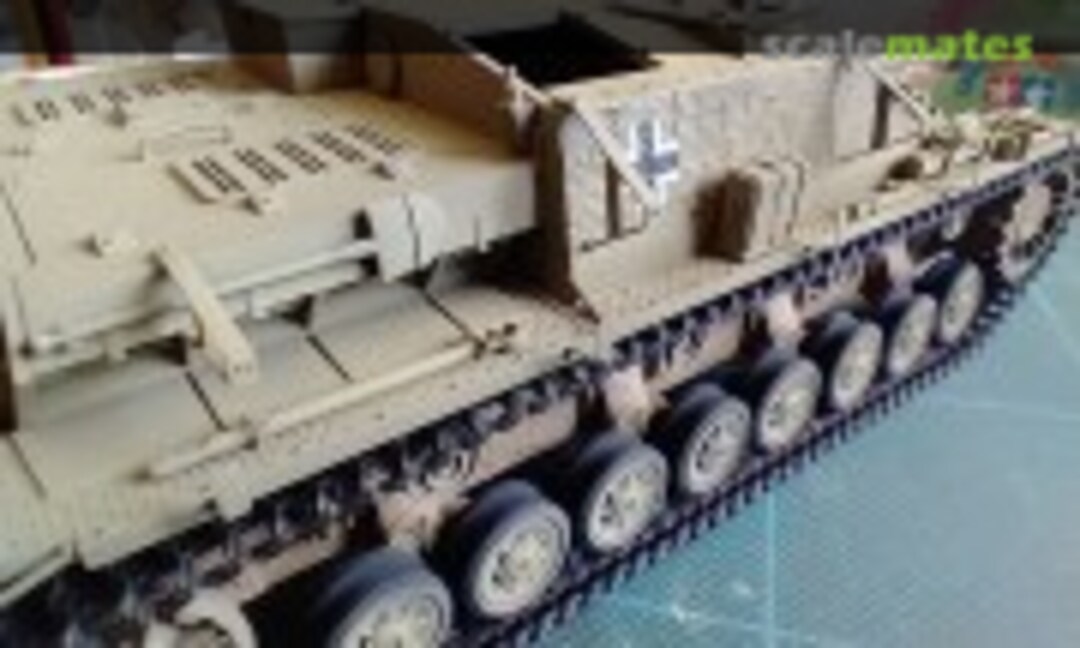 16May 11, 2025A little Vallejo wet mud texture paint is on the lower hull, but I will add more as the weathering develops. The benefit of the tool upgrades shows here too.
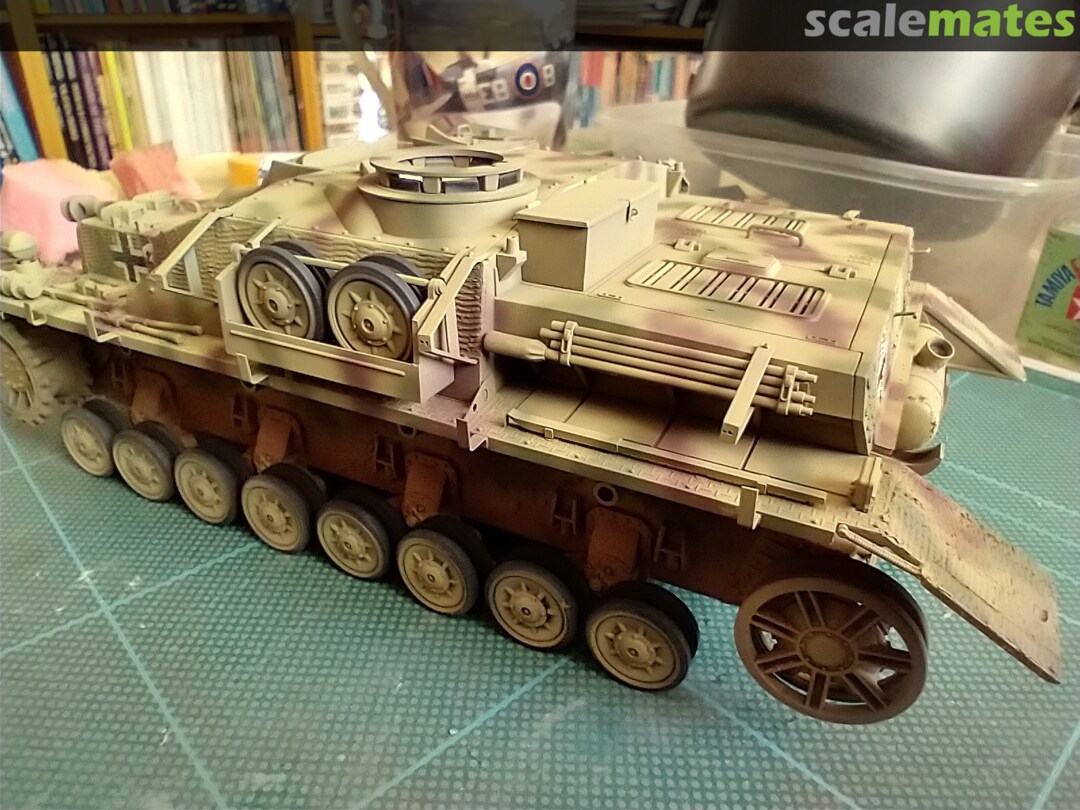
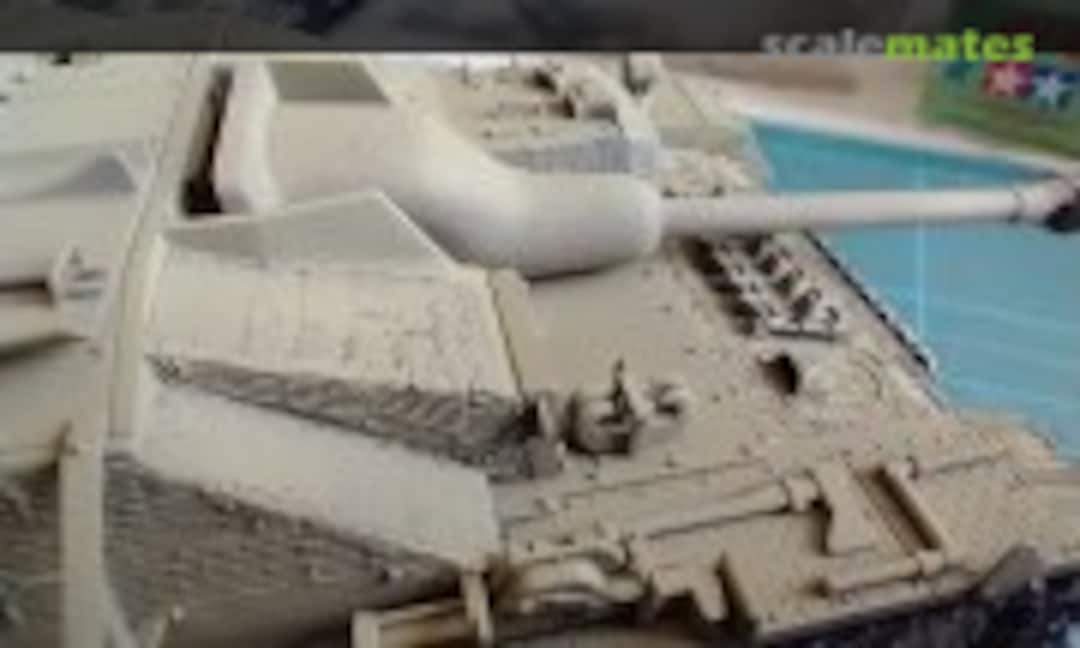 17May 11, 2025Lots of different textures visible which will weather up nicely I hope.
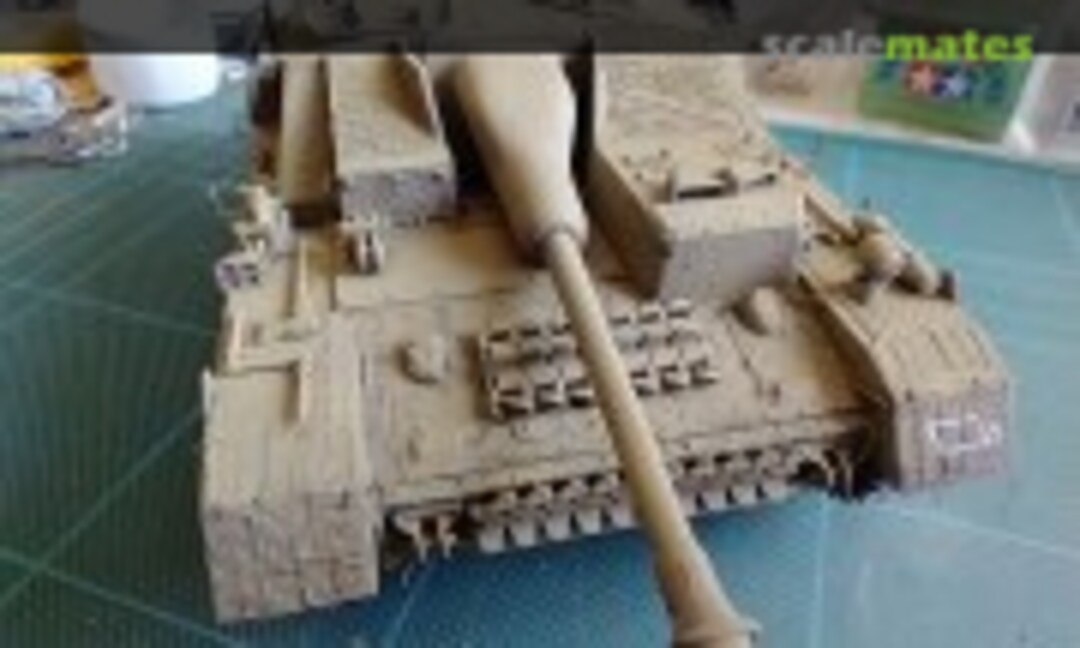 18May 11, 2025
 19May 11, 2025
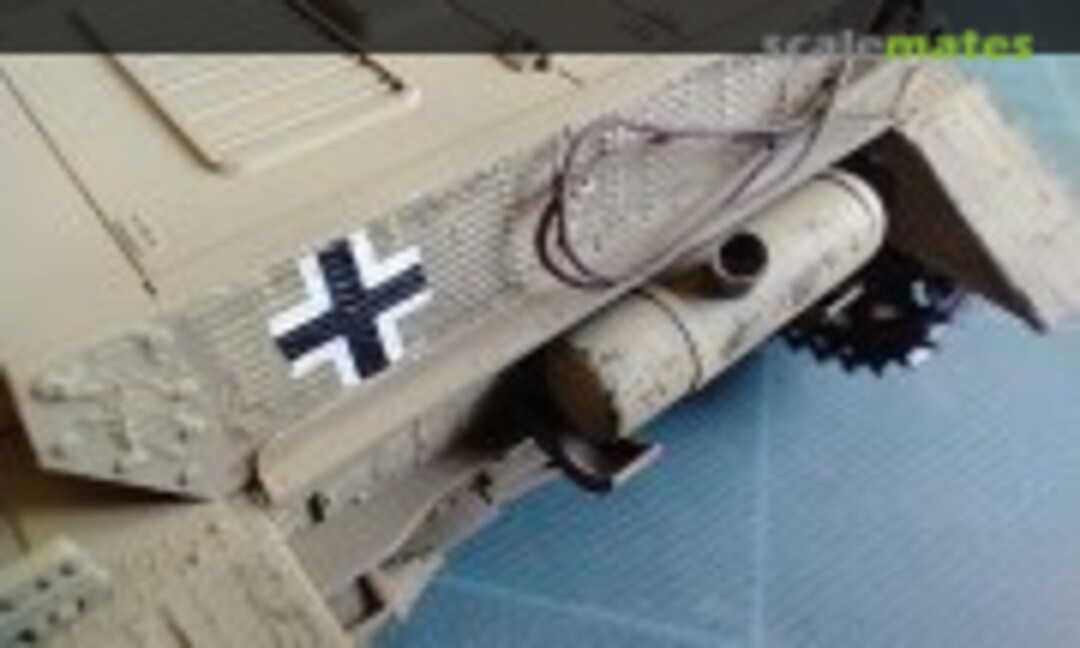 20May 11, 2025
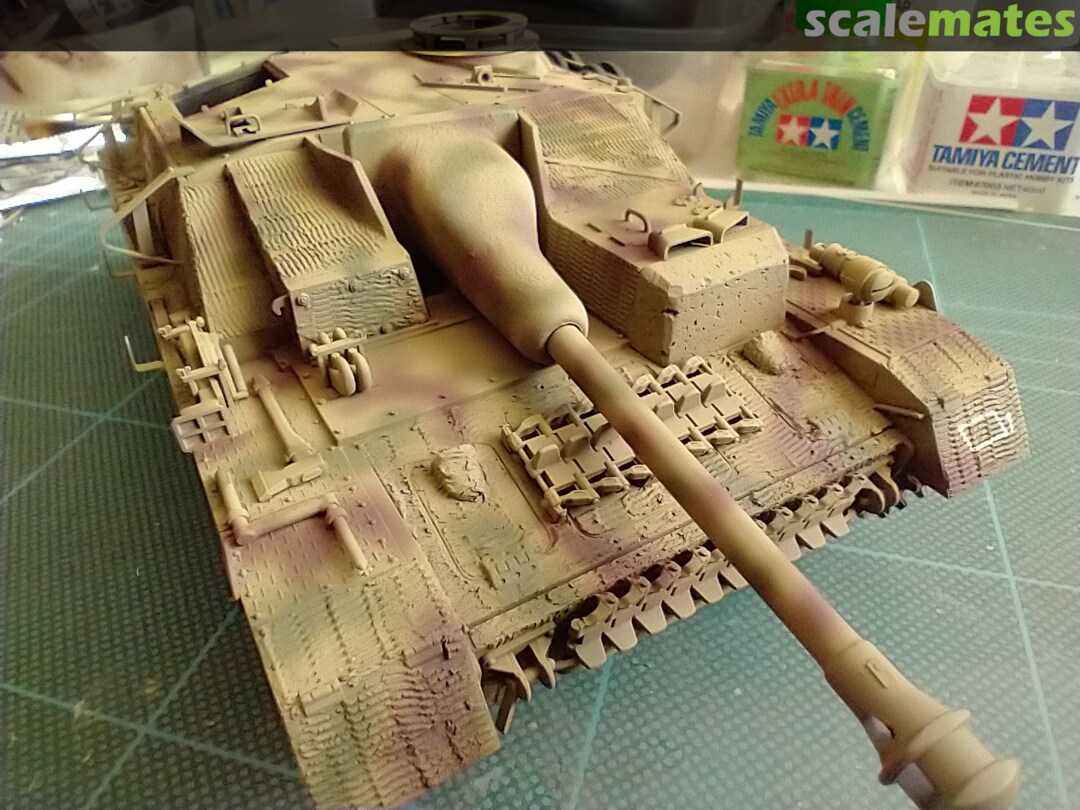
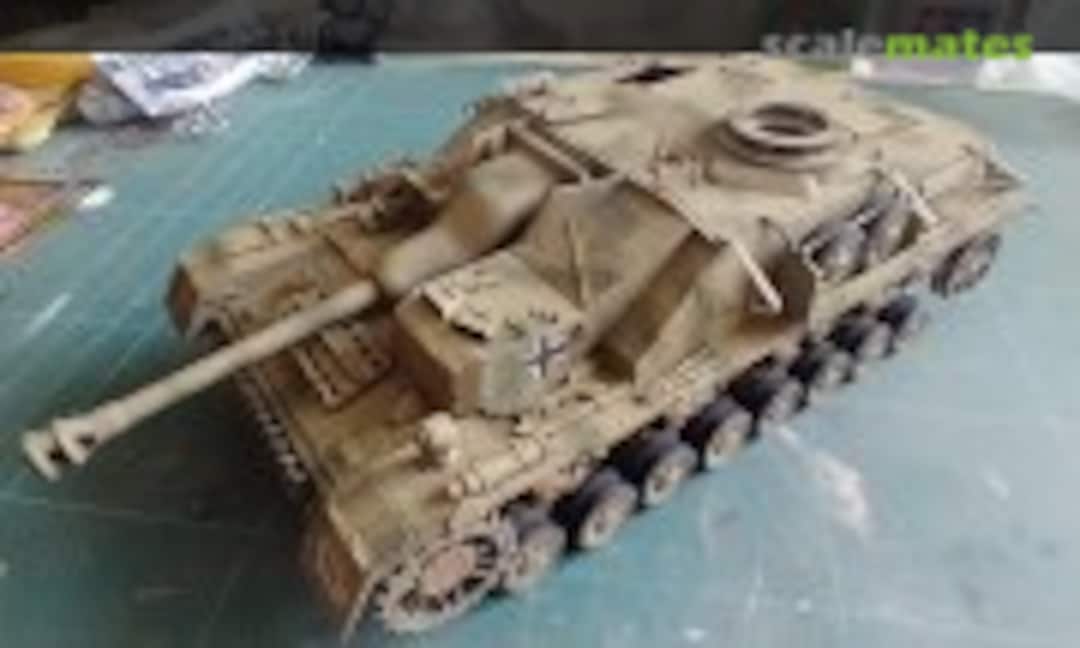 21May 12, 2025First camo colour is added mixed with matt clear and Dark Yellow 2 to subdue the contrast. This is why I placed the decals on before the camo colours as these were factory applied and crew applied camo frequently oversprayed these markings.
 22May 12, 2025
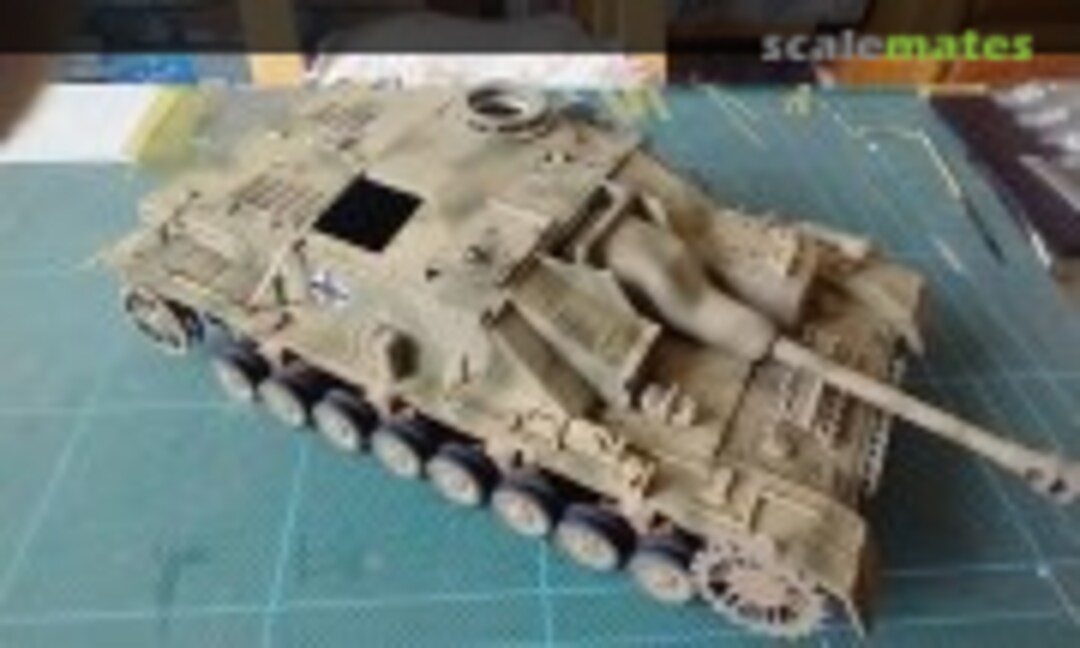 23May 12, 2025
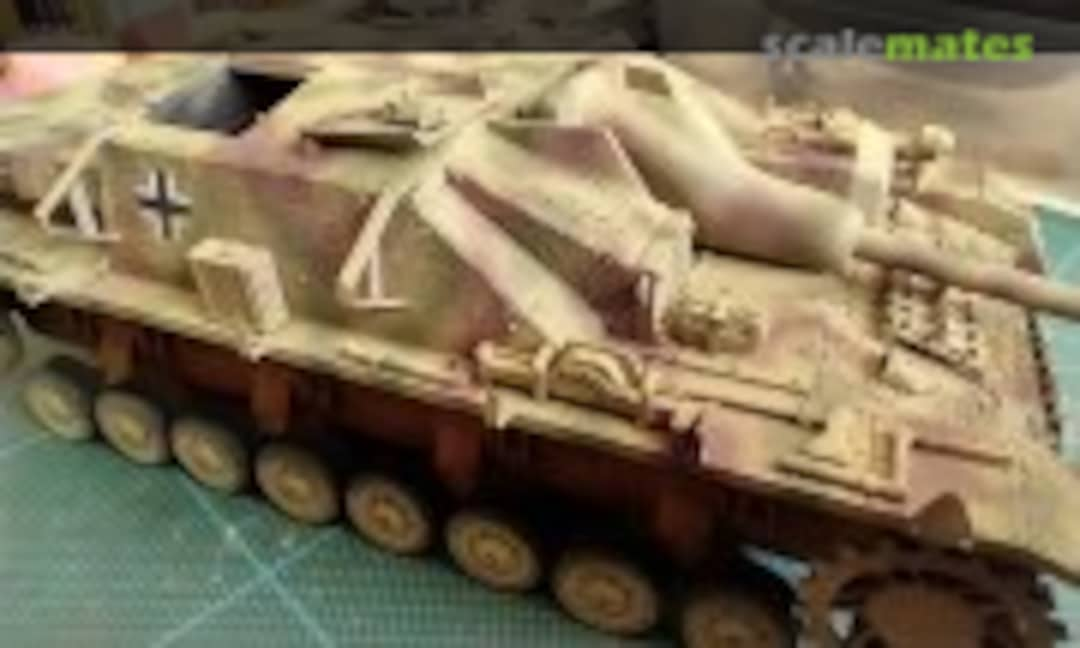 24May 14, 2025Rotbraun camo added.
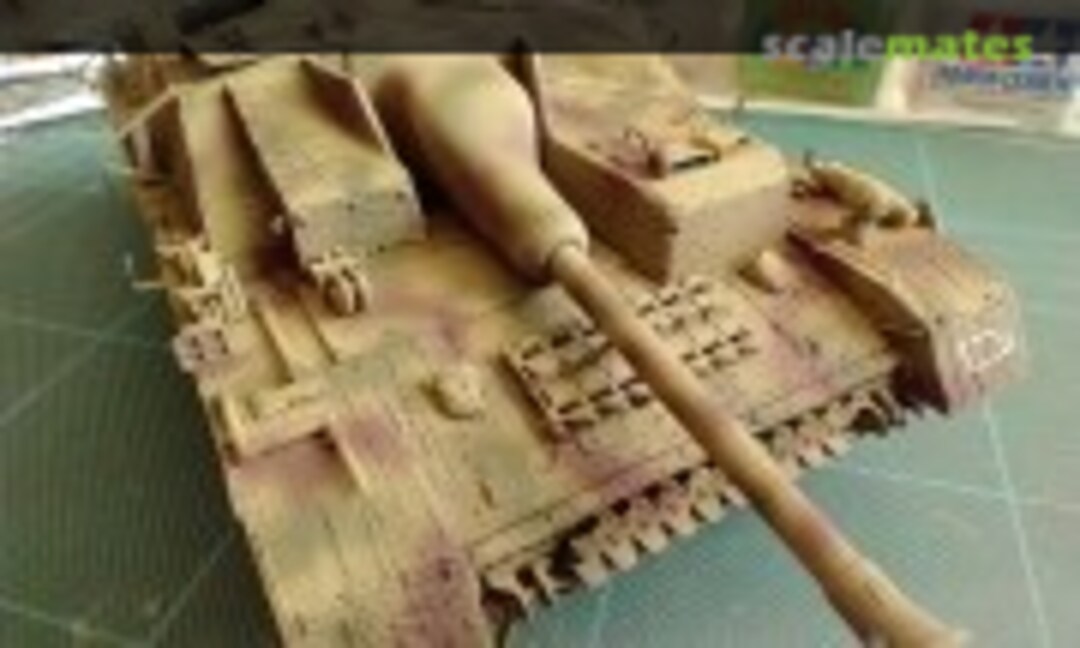 25May 14, 2025
 26May 14, 2025
 27May 14, 2025
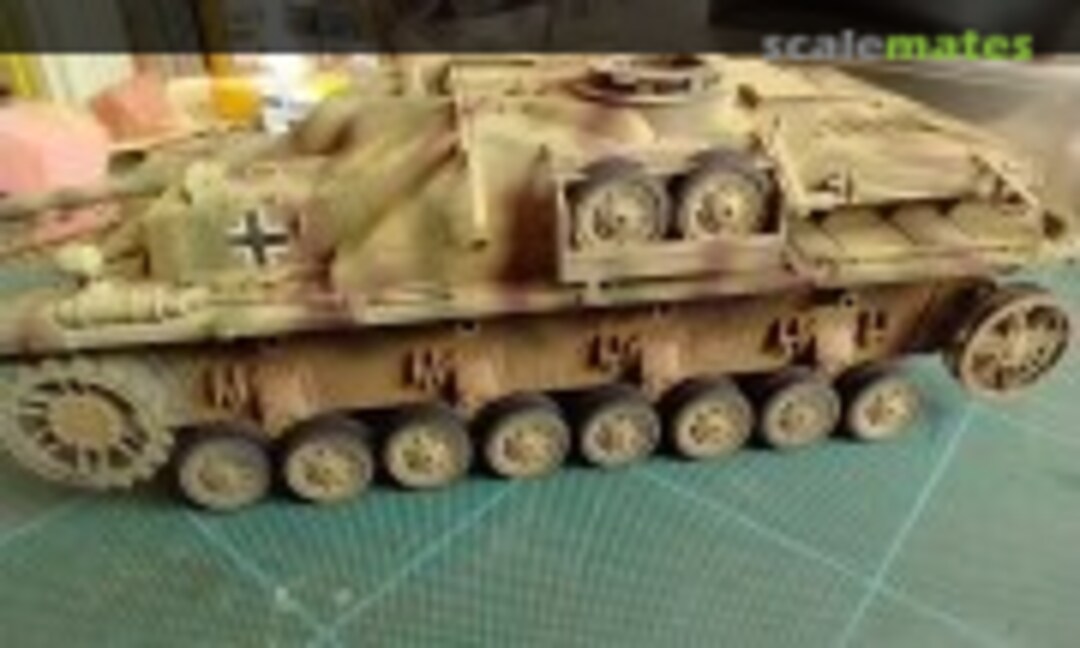 28May 14, 2025
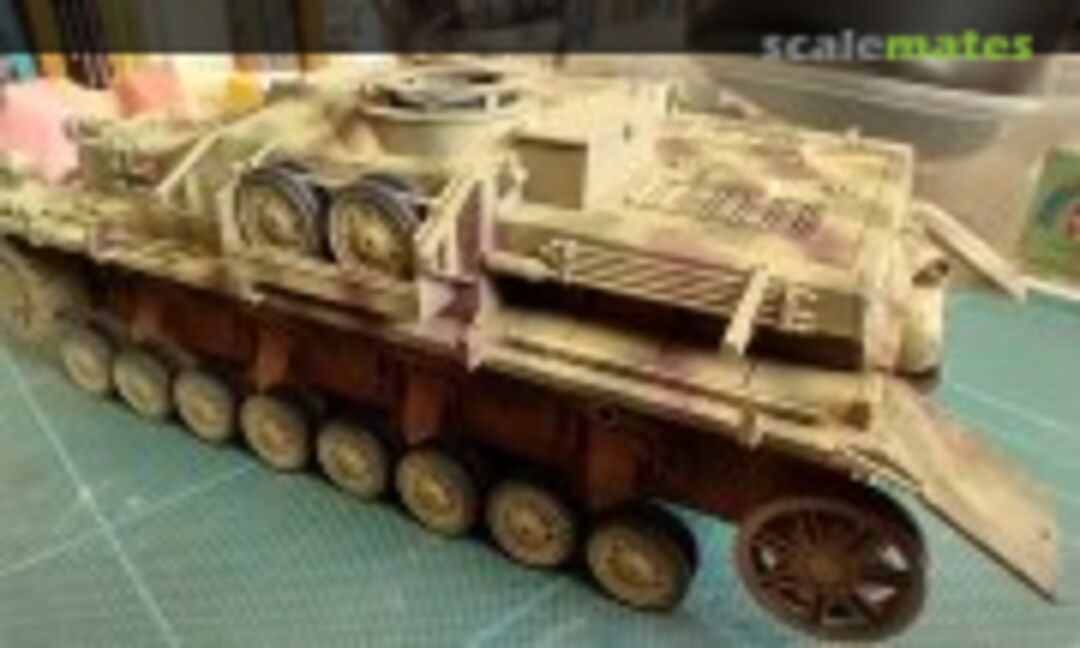 29May 14, 2025
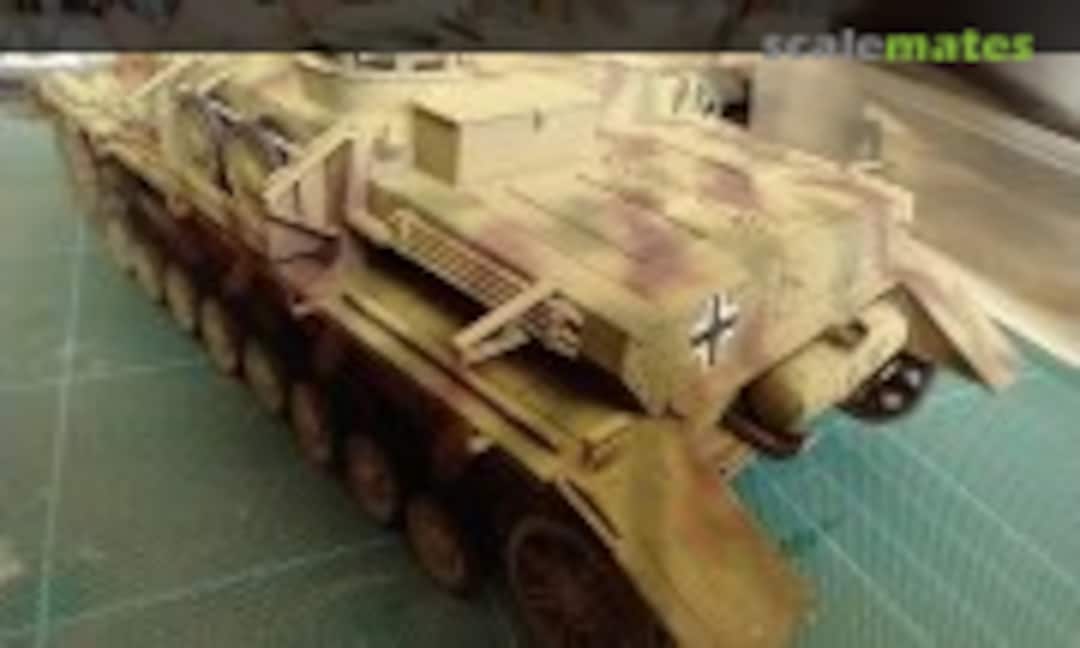 30May 14, 2025
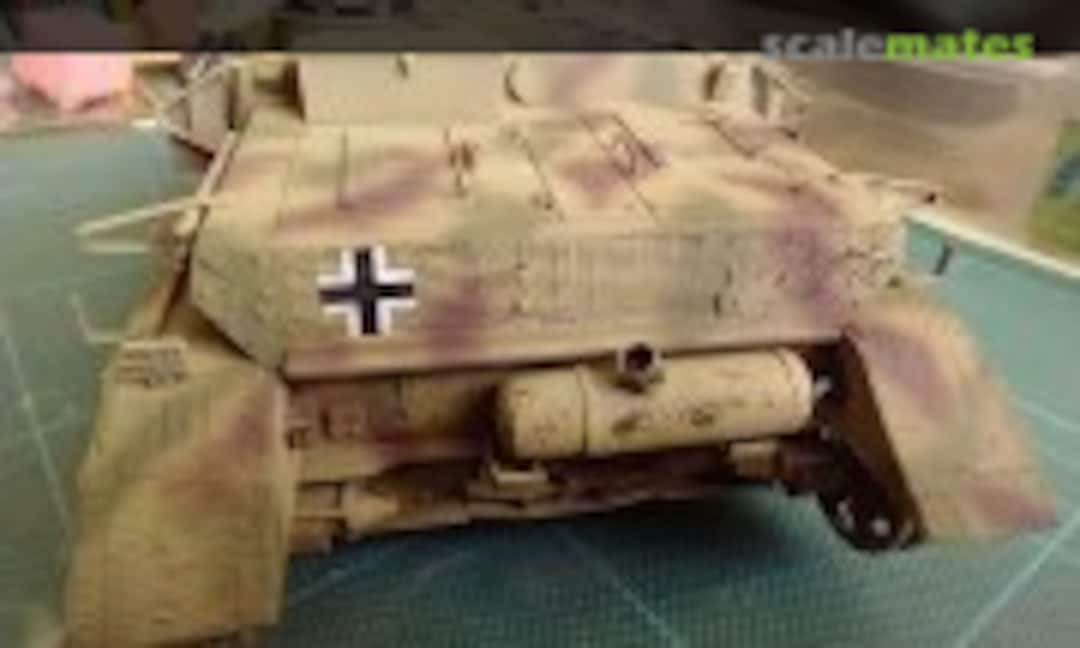 31May 14, 2025
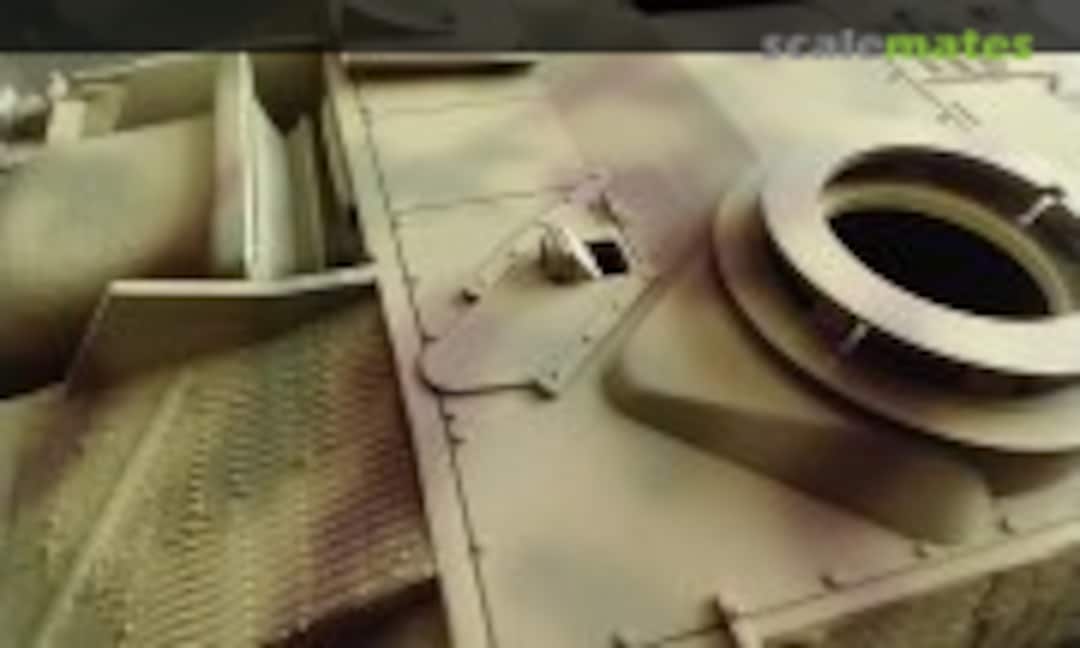 32May 14, 2025
 33May 14, 2025
 34August 26, 2025The ungluable vinyl tracks painted and installed now using the old hot screwdriver melting method!
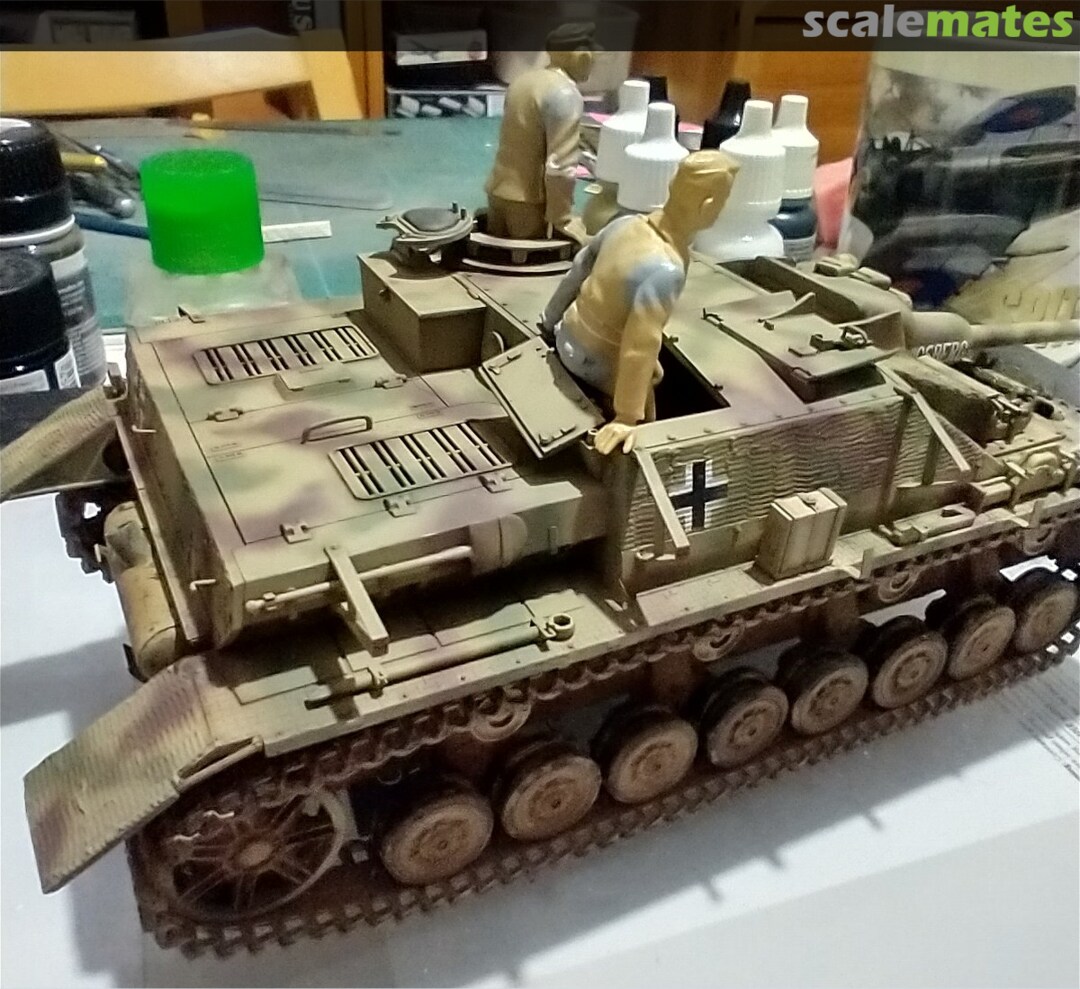
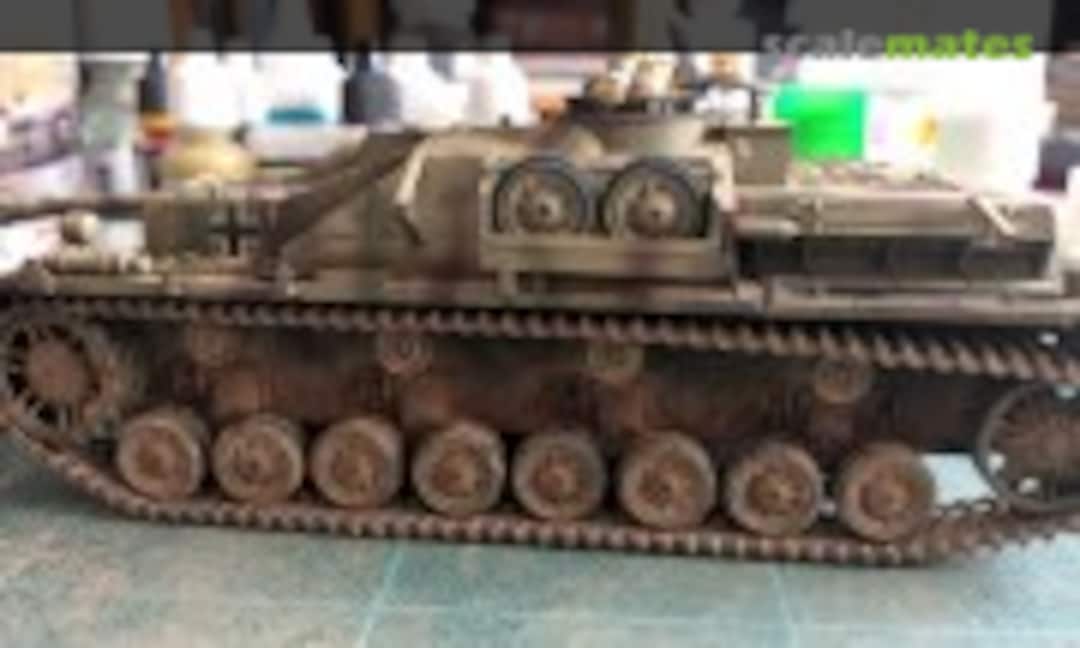 35August 26, 2025Finally taking shape, but still lots of details to paint. Old Tamiya crew figures joining in...
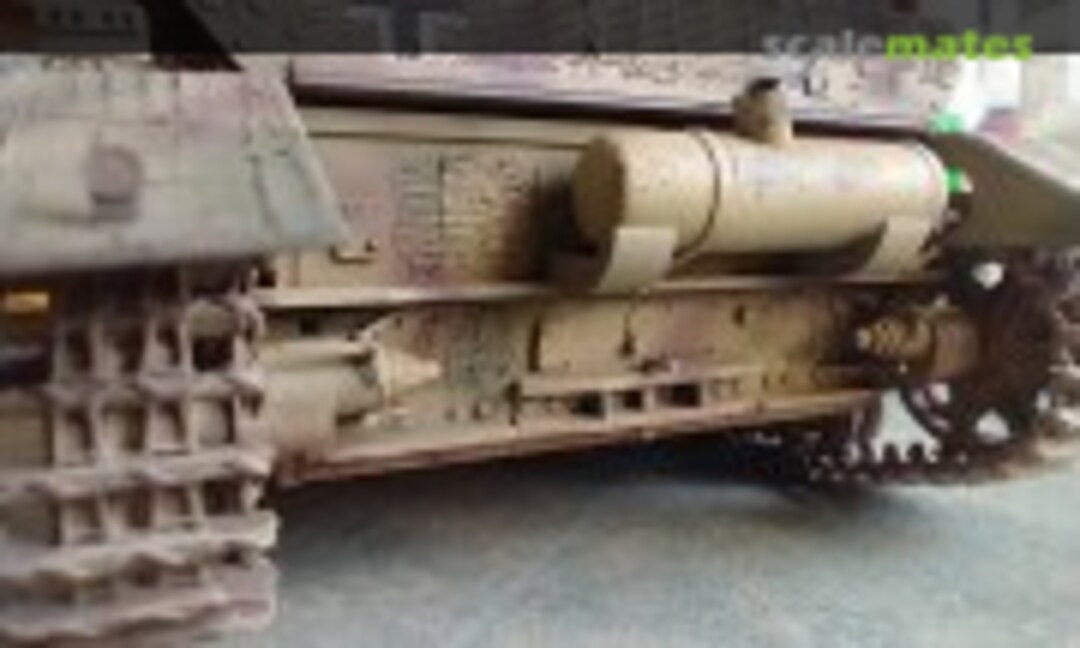 36August 26, 2025
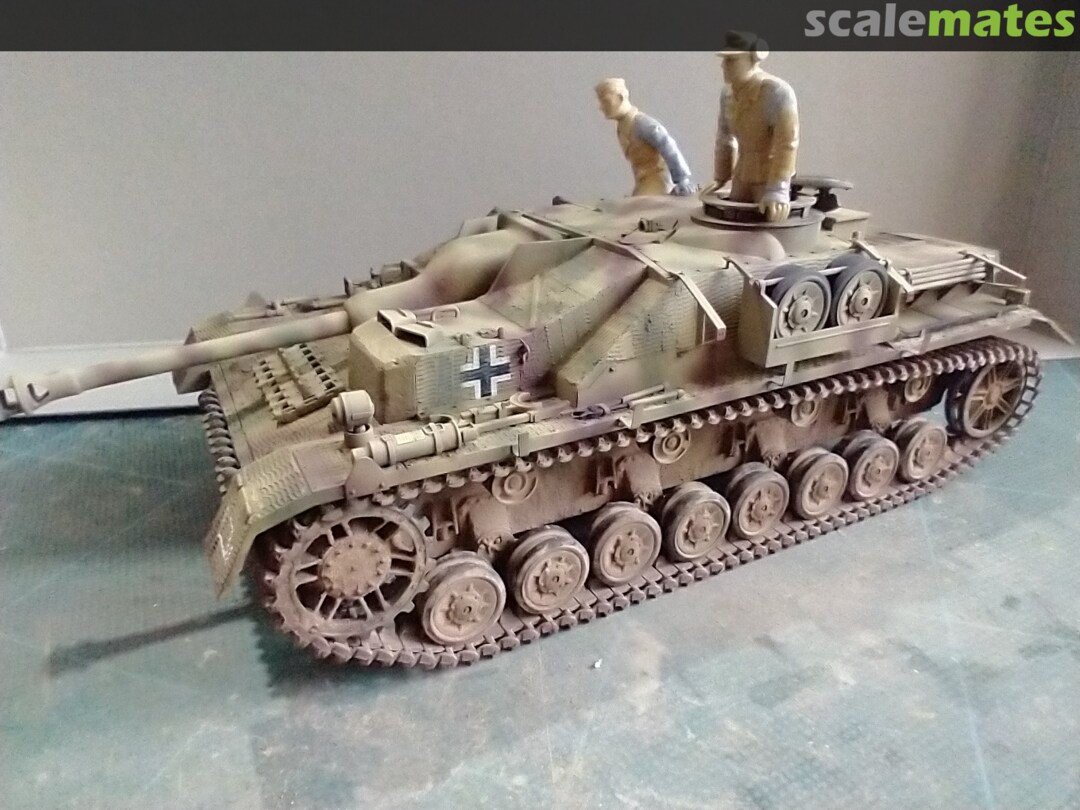
 37August 26, 2025Not quite Friulmodellisimo, but not terrible either...?
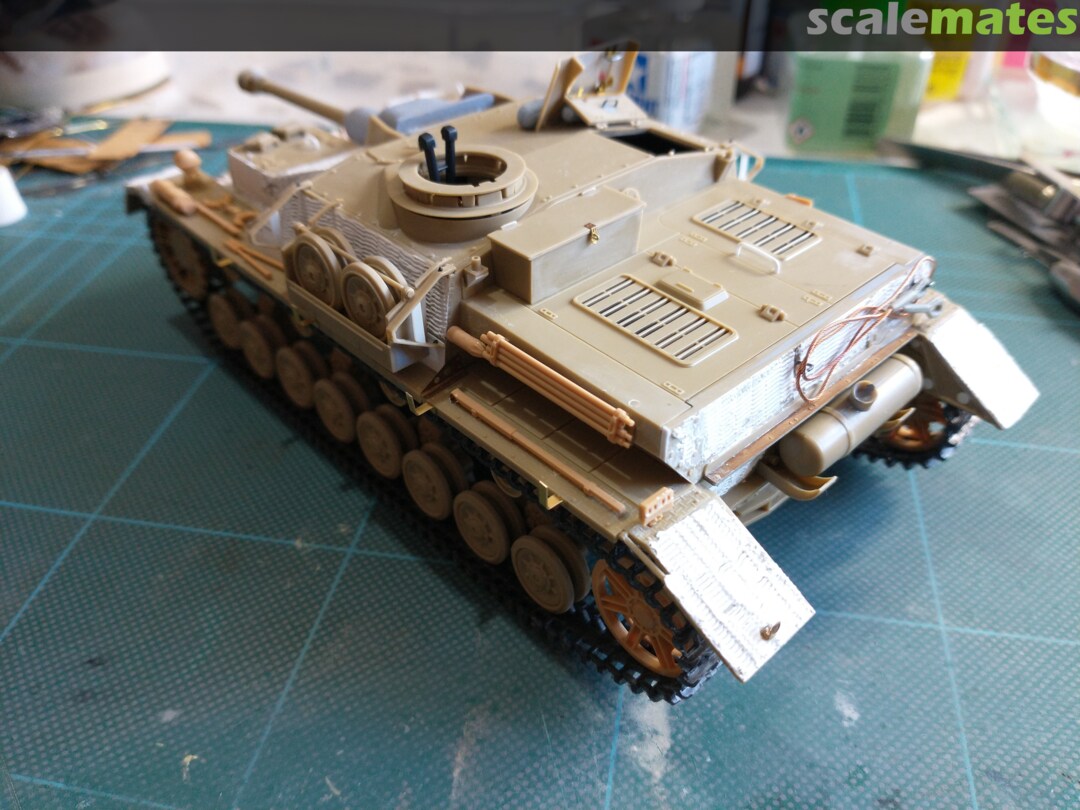
 38August 26, 2025What consistently impresses me about this 1970s tooling is how sharp it all is even after 50 years
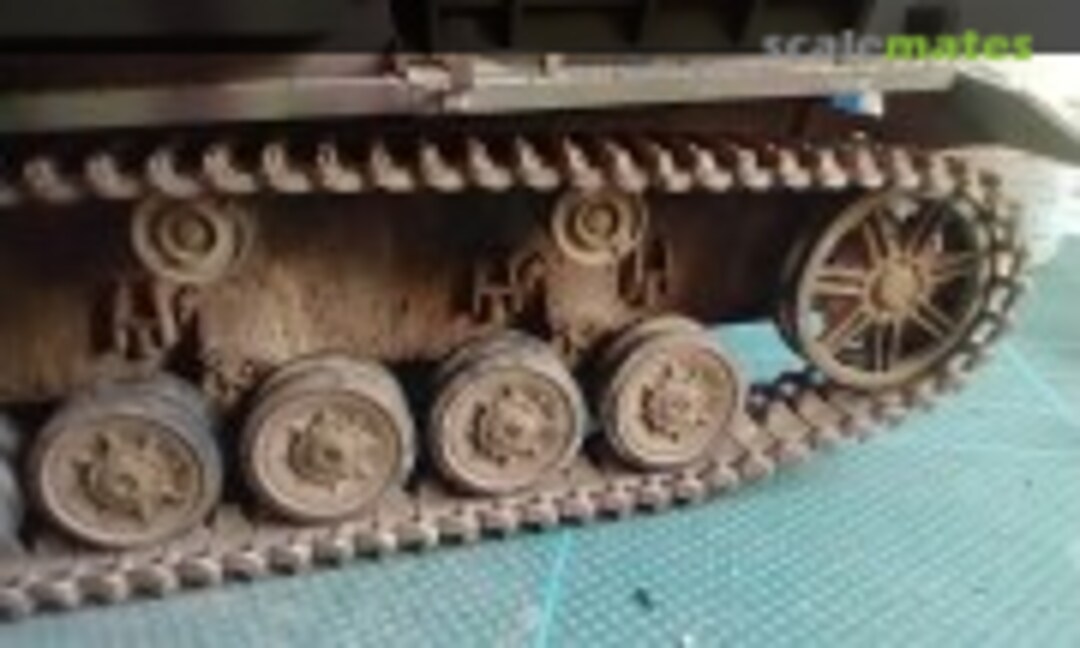 39August 26, 2025
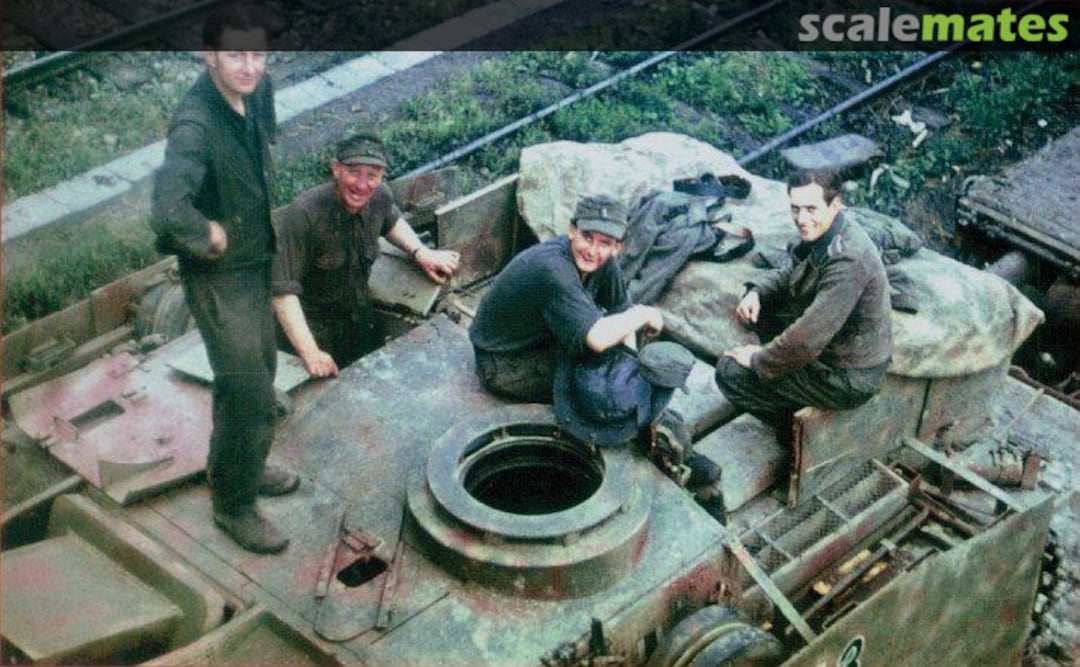
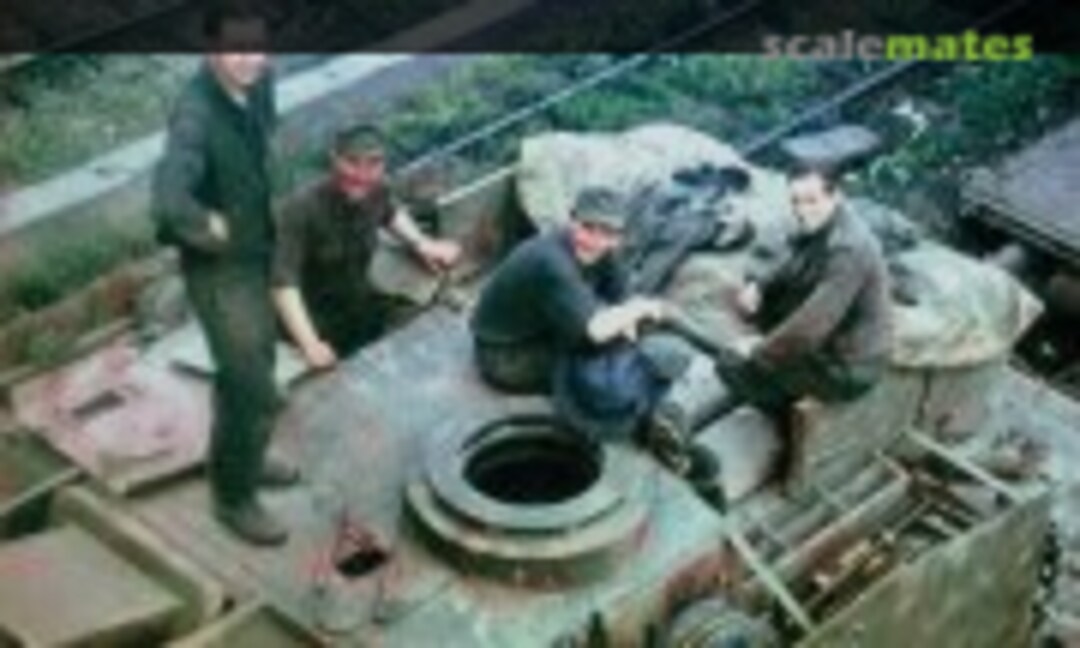 40August 26, 2025Rare to get a colour overhead view of a Stug (granted this is a III not a IV), but lots of useful details visible.
 41August 31, 2025
 42August 31, 2025
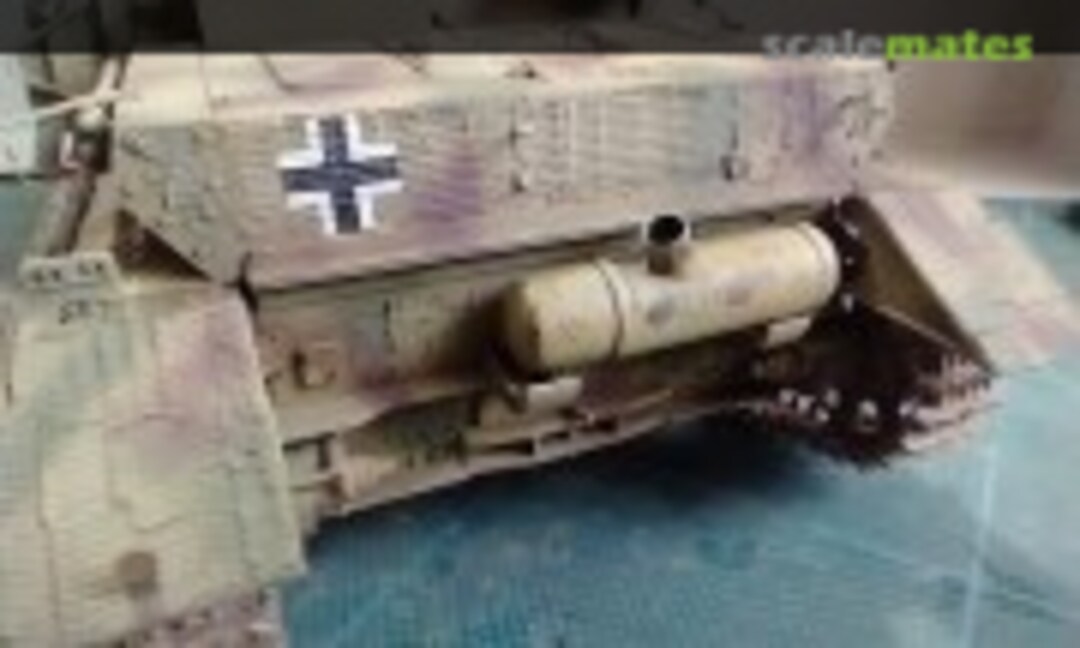 43August 31, 2025
 44August 31, 2025
 45August 31, 2025
 46November 12, 2025
 47November 12, 2025
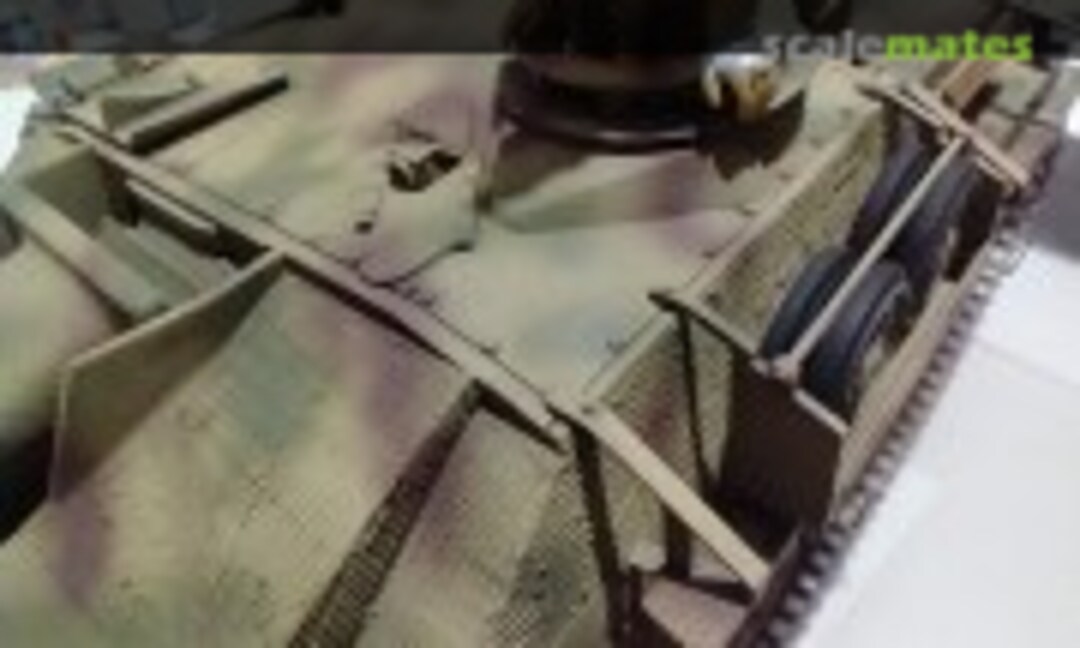 48November 12, 2025
 49November 12, 2025


Comments
17 13 January, 00:01
Thank you very much Andre. I'm very keen to see the Zim under some paint...
13 January, 09:31
Wow, that's a big One... Great detailing work on this oldie👍. I'm enjoying a lot your new album.
25 January, 01:22
Welcome Rui! Yes bigger but still an oldie. Hope to get some paint on very soon....
25 January, 01:37
Thank you Randy. Been meaning to build one of these for about 50 years.
1 14 May, 06:20
Thank you very much Rui. Not much bench time these last few months, but good to be back!
1 14 May, 18:28
