

1/144 Revell F-16C Build
 1December 16, 2024Its a rough start on this build. There are areas of very fine detail that I'm very happy with and its why I selected this kit for my project. However, as the following pictures show, there where a lot of issues with the mold. Note the speed brake on the starboard undersurface. I'll have to replace this with a scratch part or fill with putty. 🙁
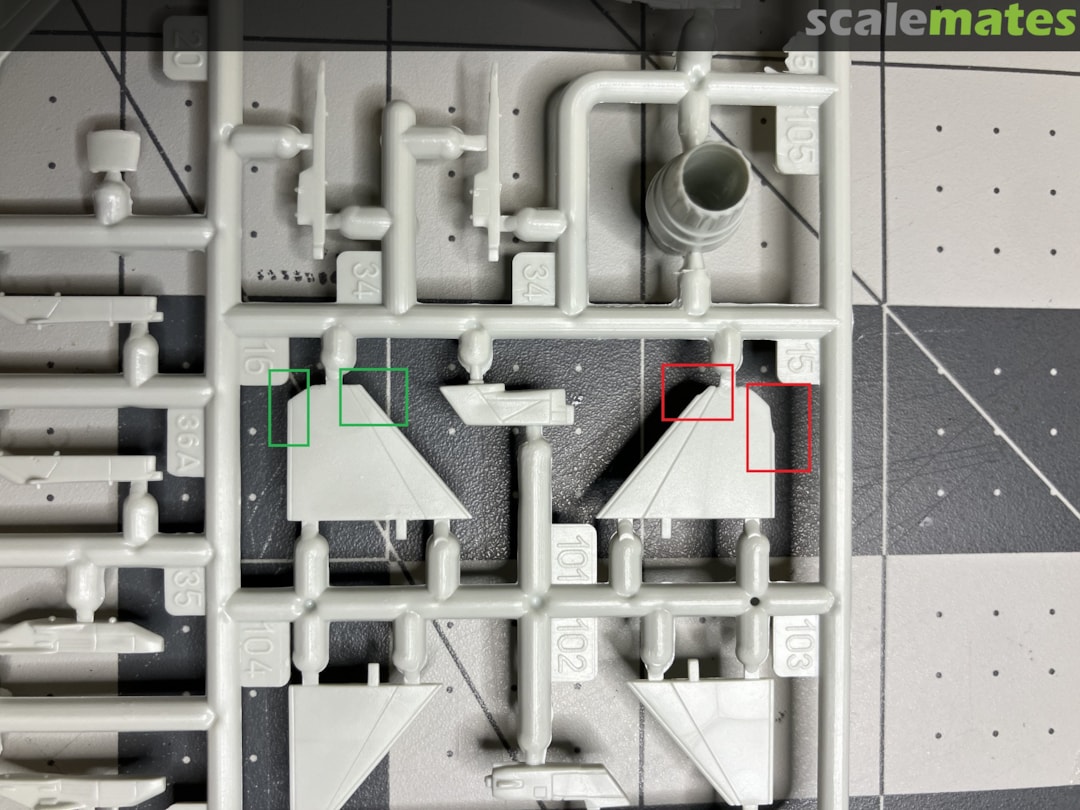
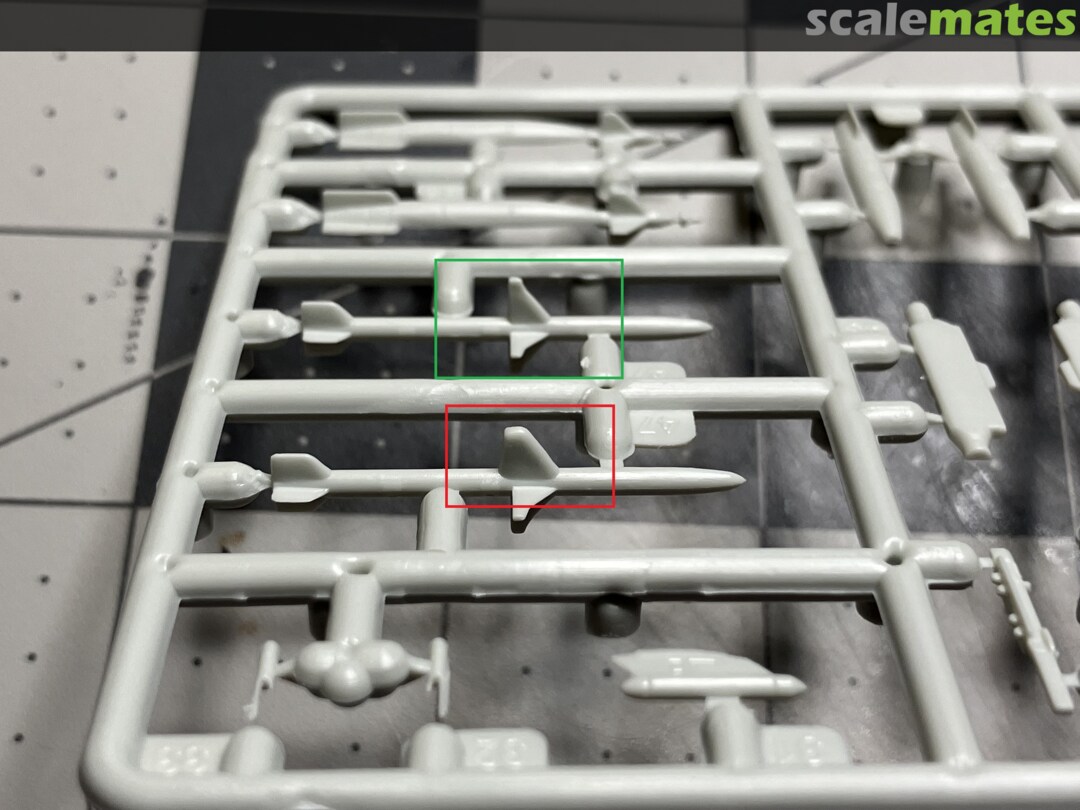
 2December 16, 2024And in the Block 40 model elevators where the red boxes show the missing leading and trailing edges.
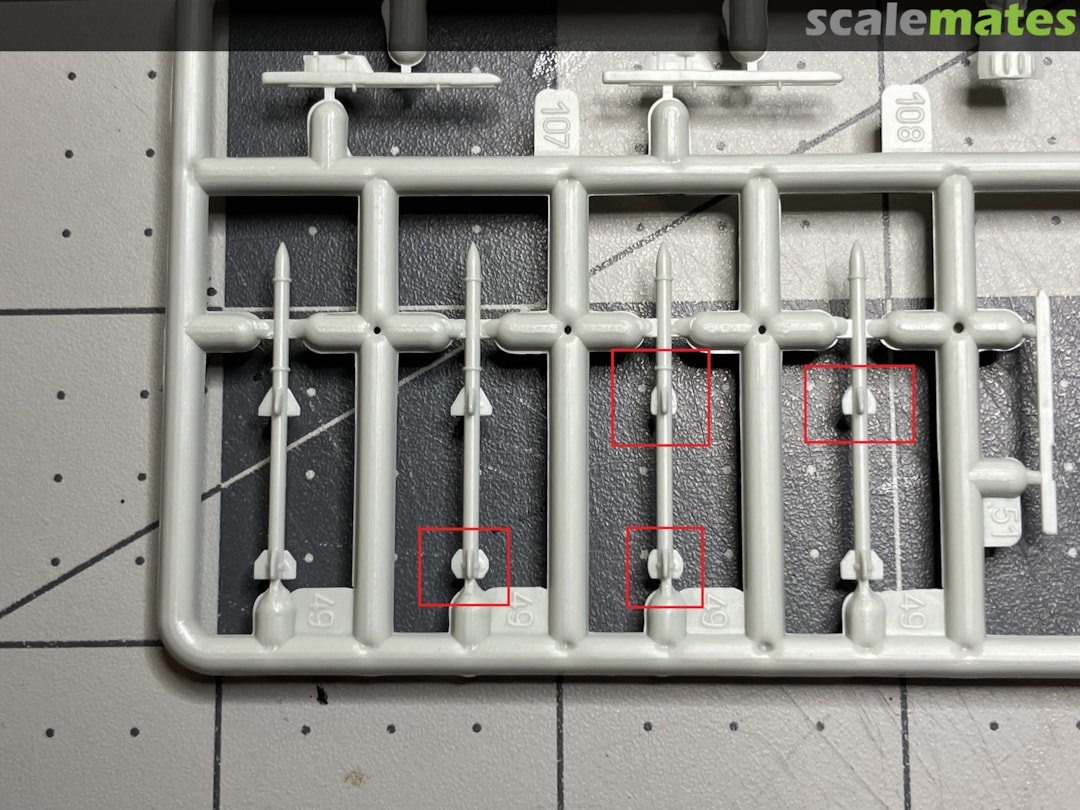
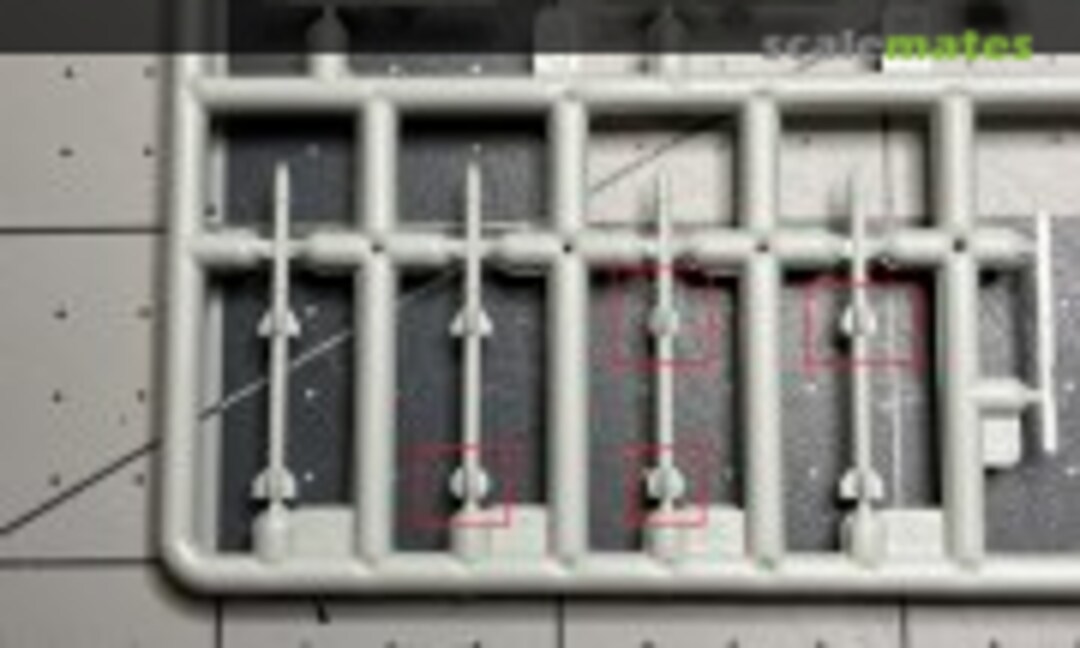 3December 16, 2024Thee AMRAAMs have a lot of issues with the fins. If I mount these, I might just cut the fins from card stock and mount them fresh rather than use the kit. But I'll visit the parts bin first. BTW, why do injection molders continue to attach the sprue to the sides of these thin pieces. So difficult to release without bending or deforming.
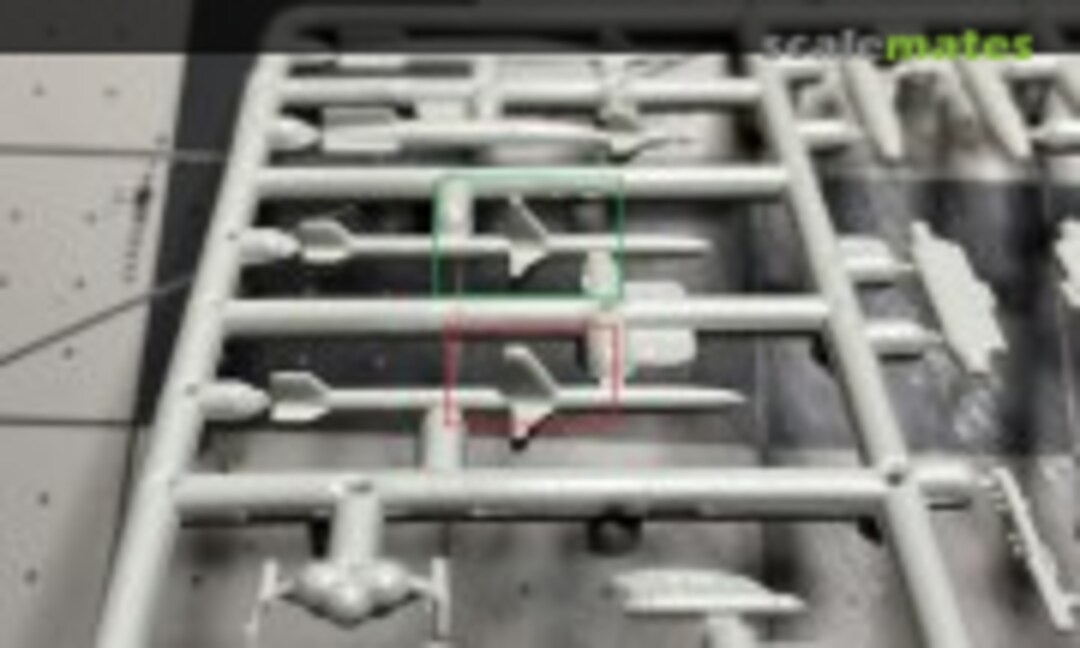 4December 16, 2024HARMs have similar issues and the ECM pod, though its hard to see at this angle, has no details at all.
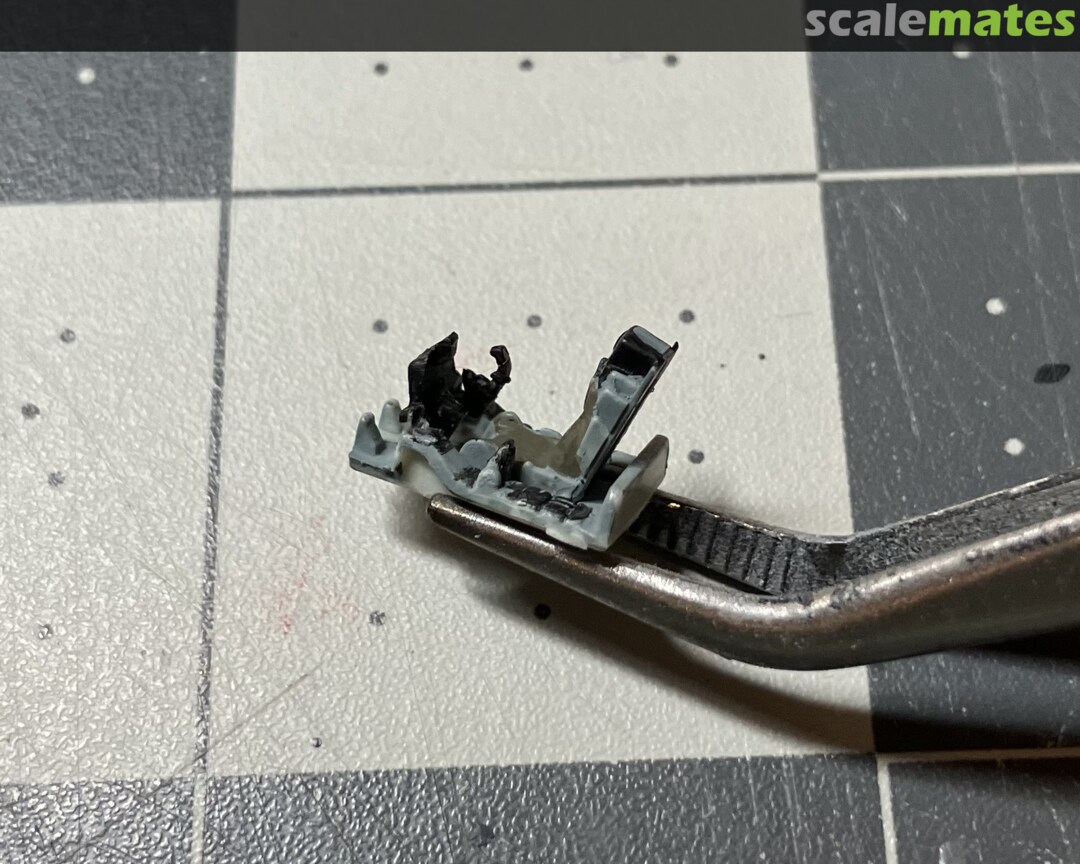
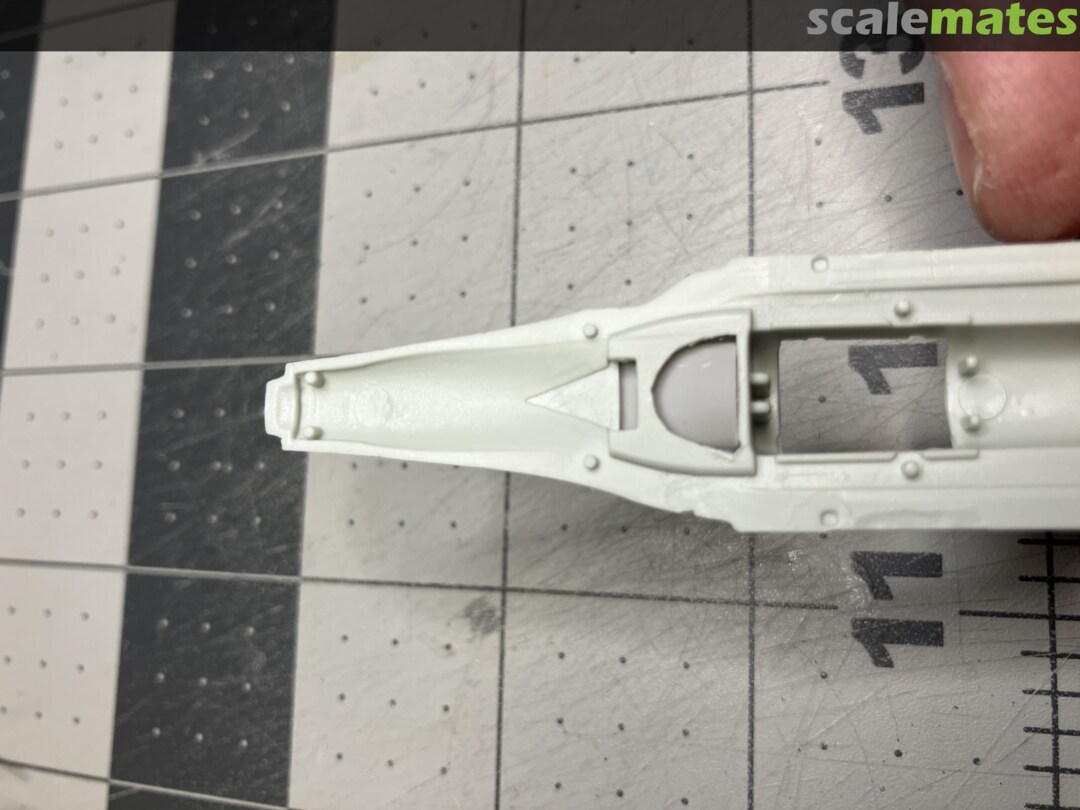
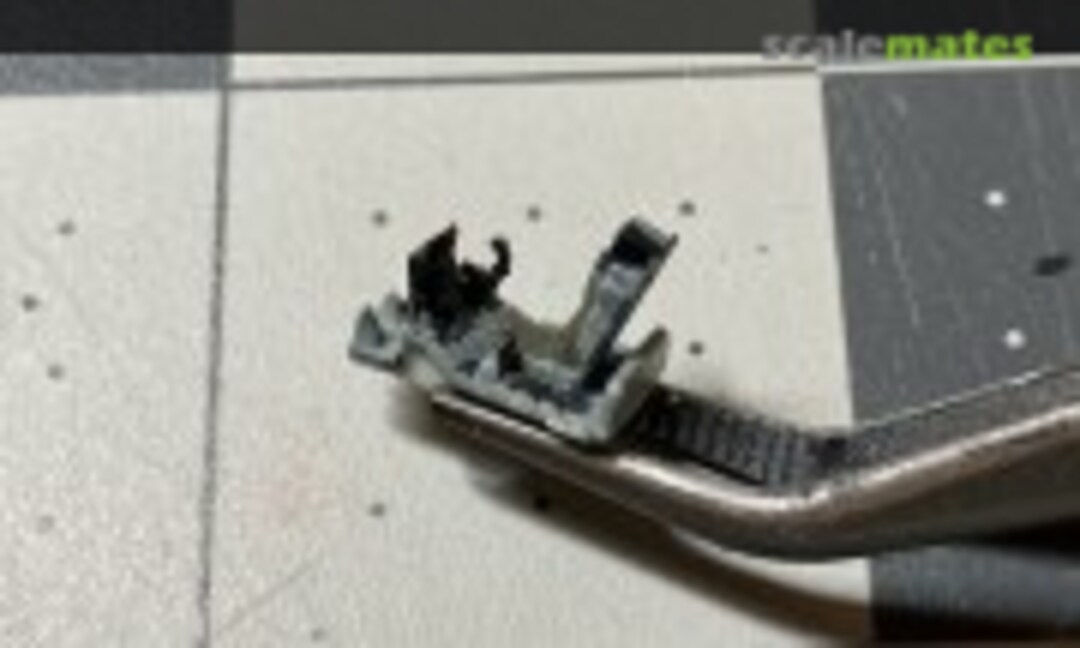 5February 5, 2025I assembled the cockpit which is simple but provides some detail for the scale. There's better ways to draw and enhance the controls and panels. I might use some of my alcohol pens to add some for instance. There's also an opportunity to add to the kit's ACES ejection seat, but if I am successful in tinting the canopy, you're not likely to notice much of my work here.
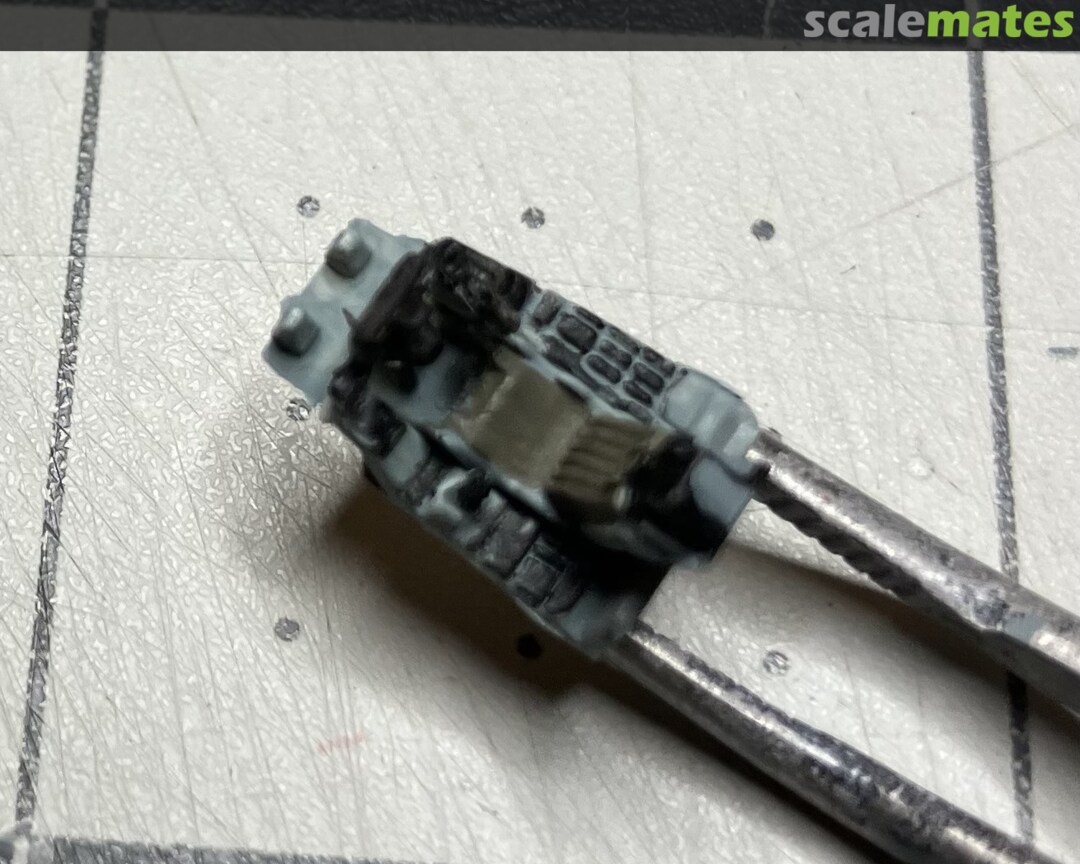
 6February 5, 2025I did add a wash to the seat but I've yet to add belts. I need a reference photo for that first though. BTW there is no kit decal or detail on the main panel.
 7February 5, 2025The state of the speed brakes had me sourcing replacements and I found that Rise 144 also had some other parts - saving me from so horrendous work on the three part intake assembly.
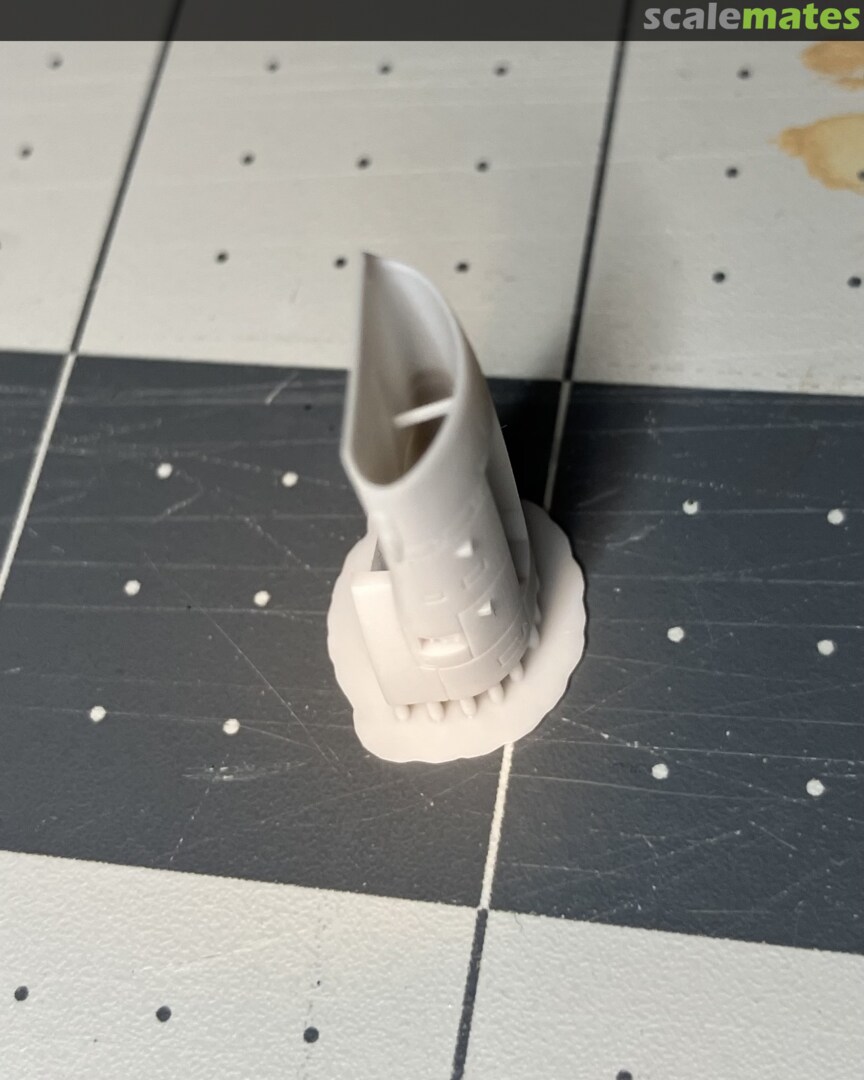
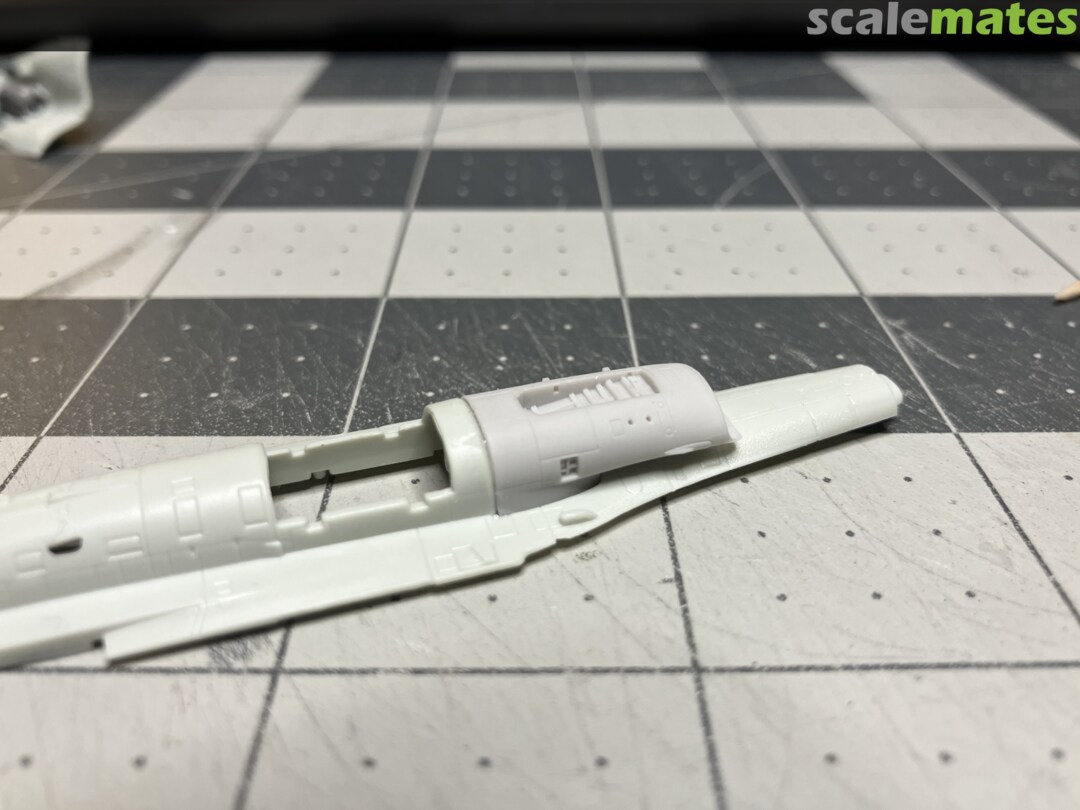
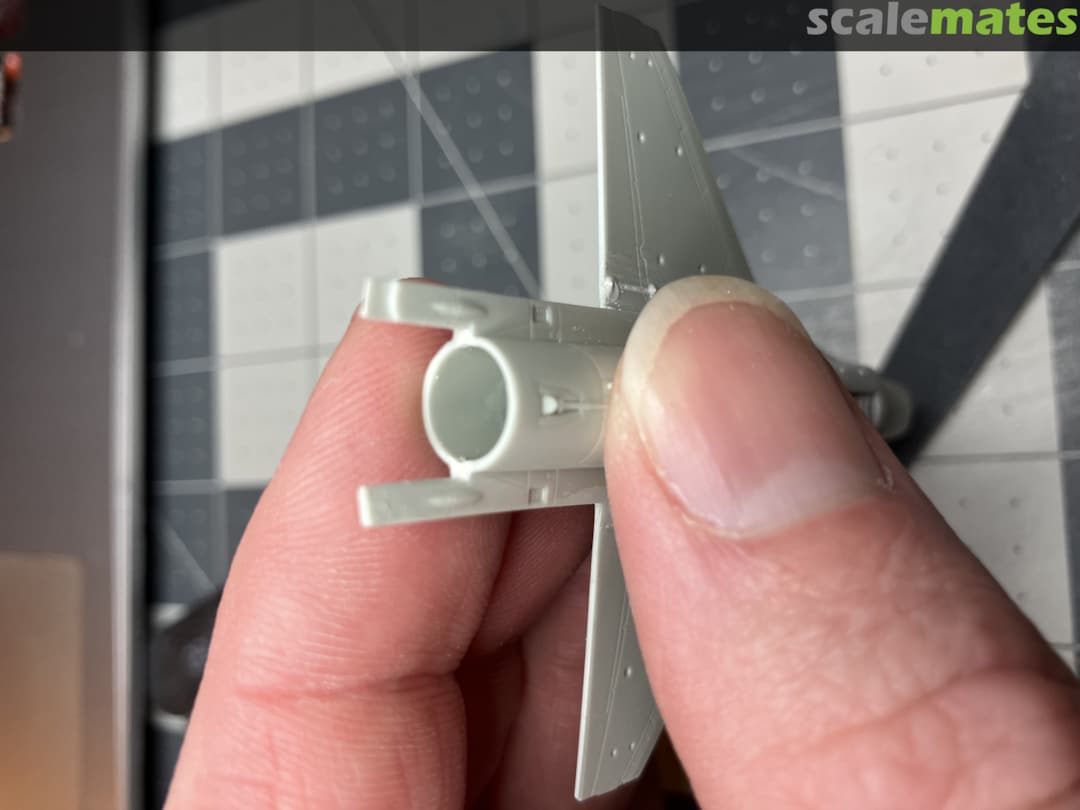
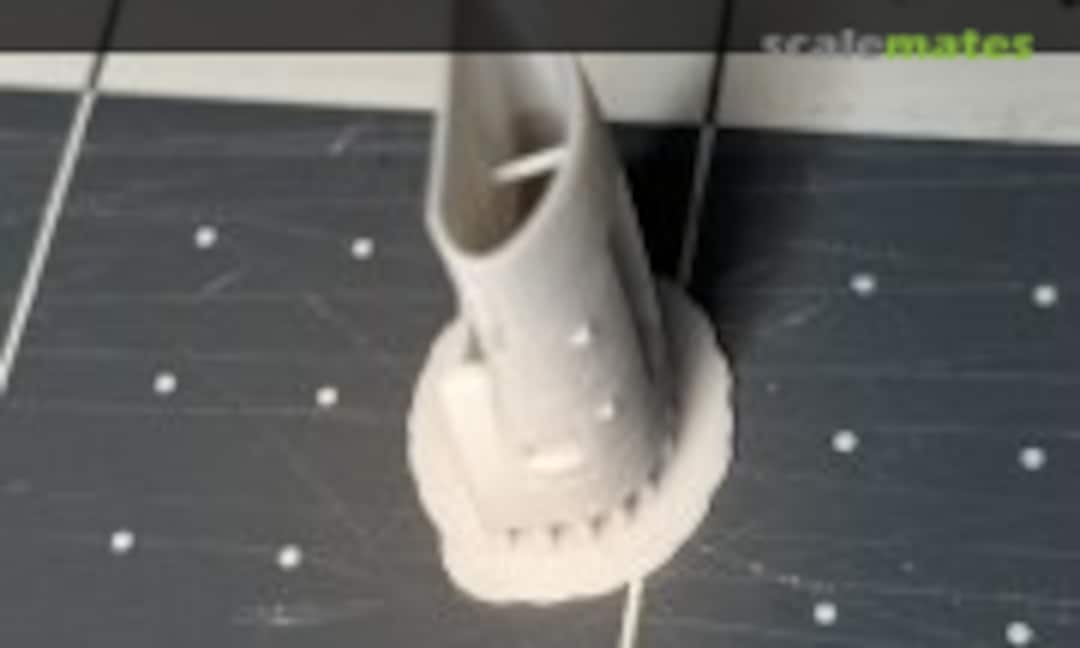 8February 5, 2025The detail on this part is really incredible.
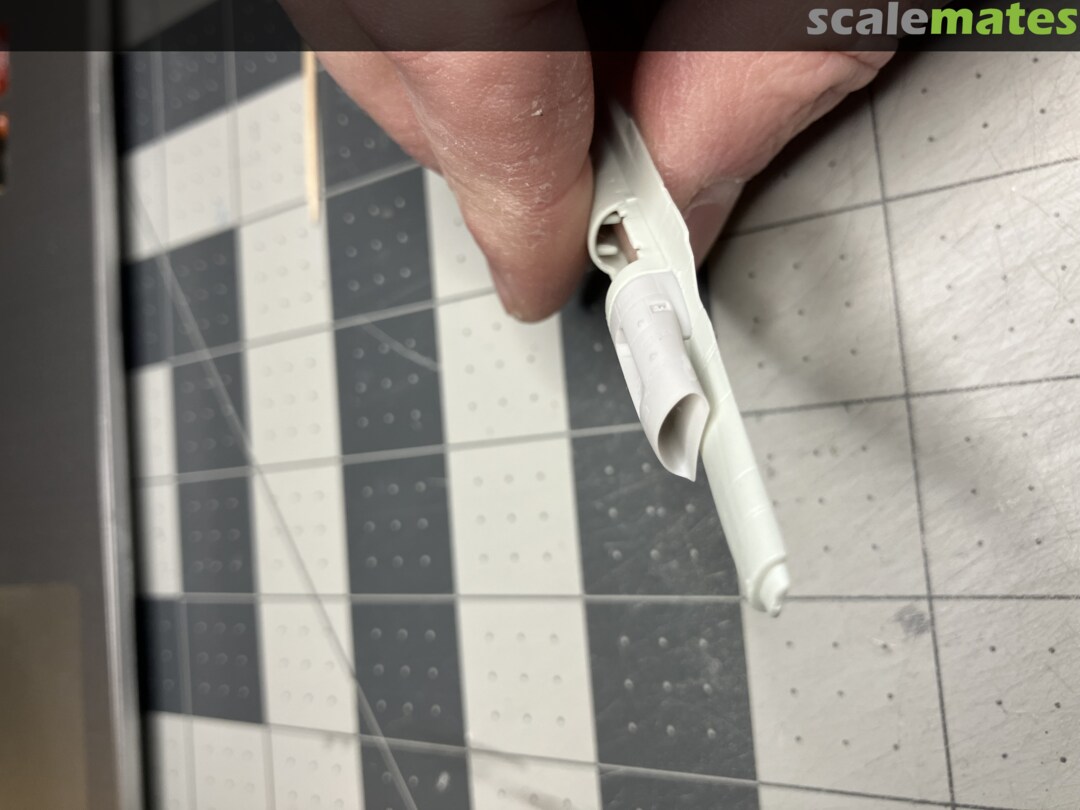
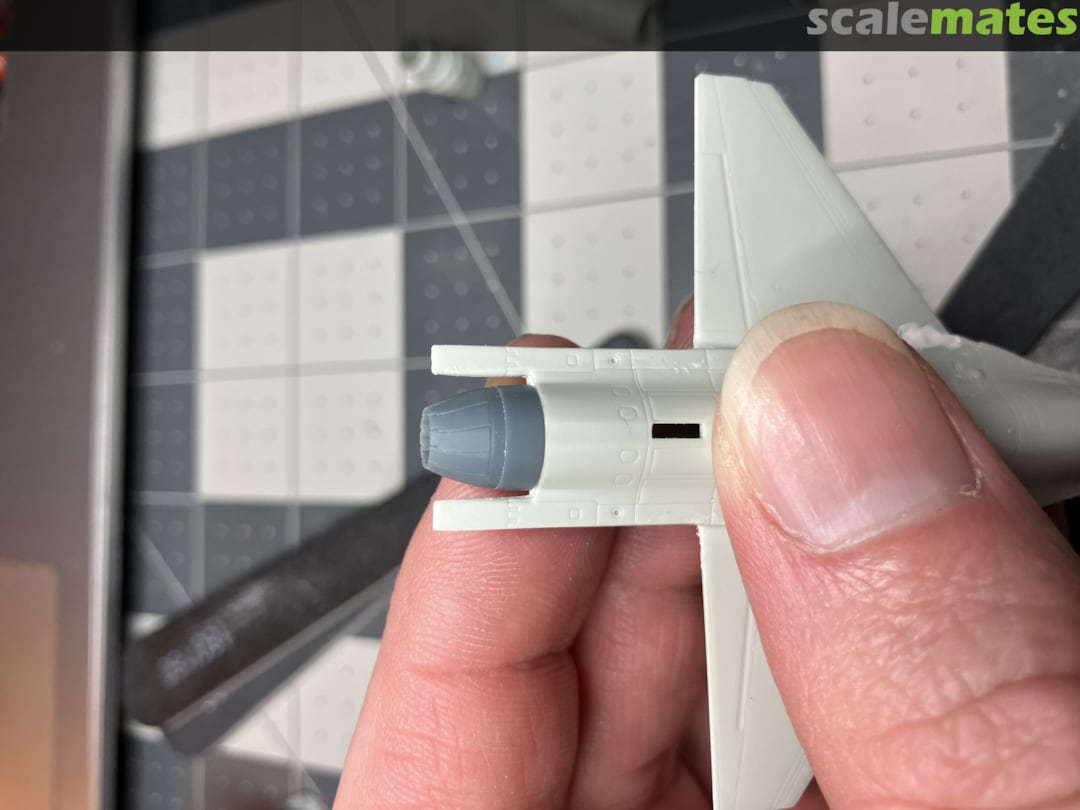
 9February 5, 2025While the kit part ends the intake at the fuselage body, the Rise144 part actually molds the intake back a bit further and is open on the far end.
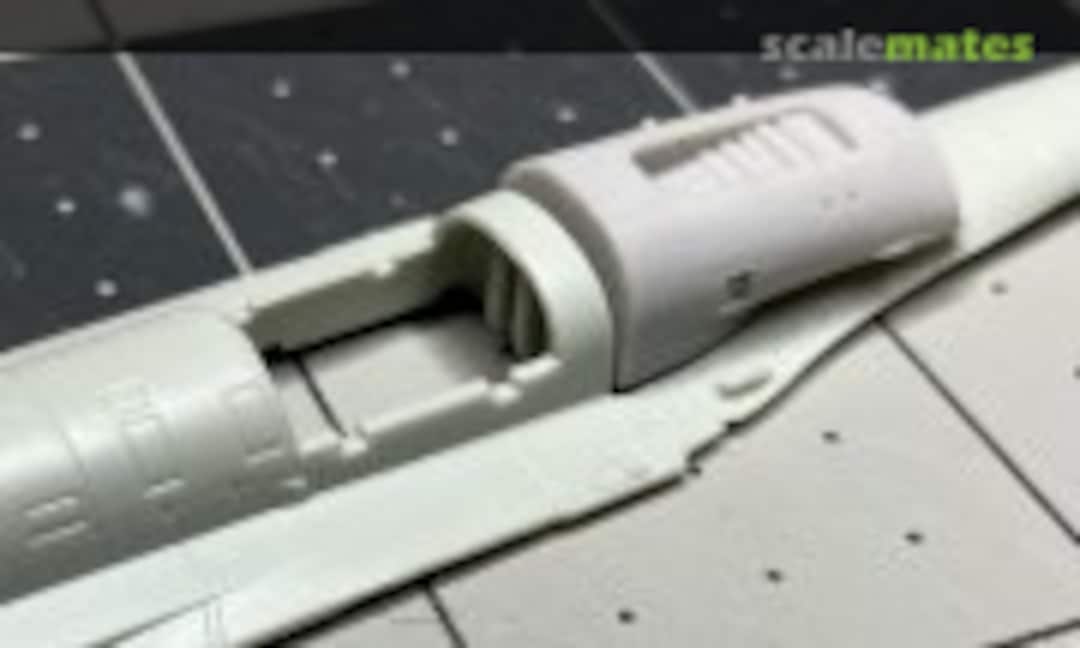 10February 5, 2025But as you can see this means that the modeler will have some bodywork to fit the replacement.
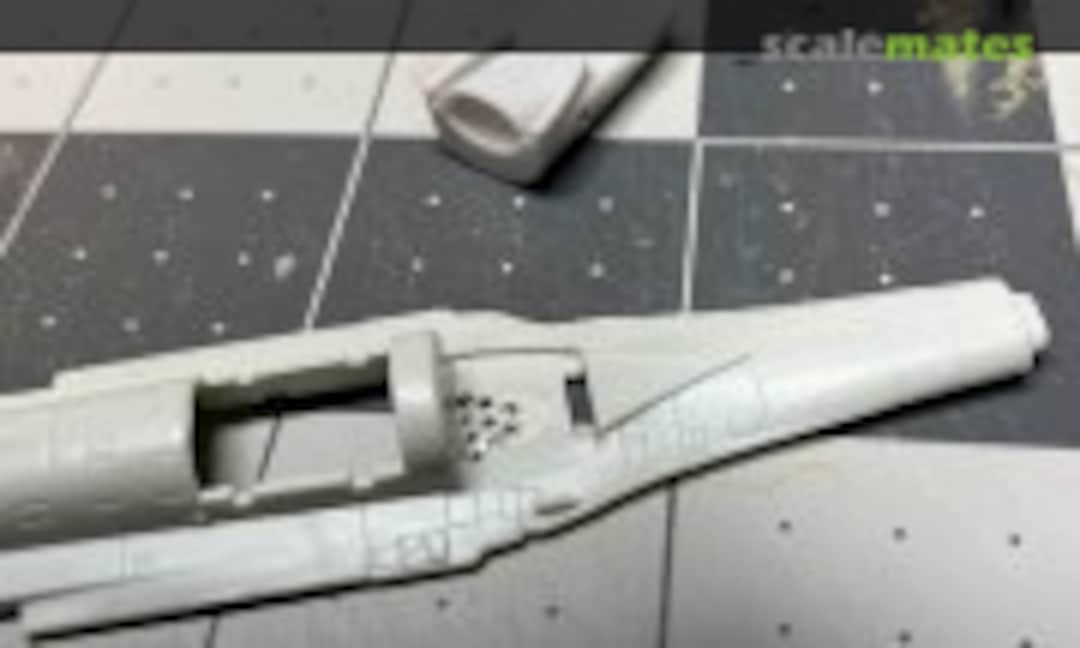 11February 5, 2025I should be able to trim away this shelf to fit the intake better.
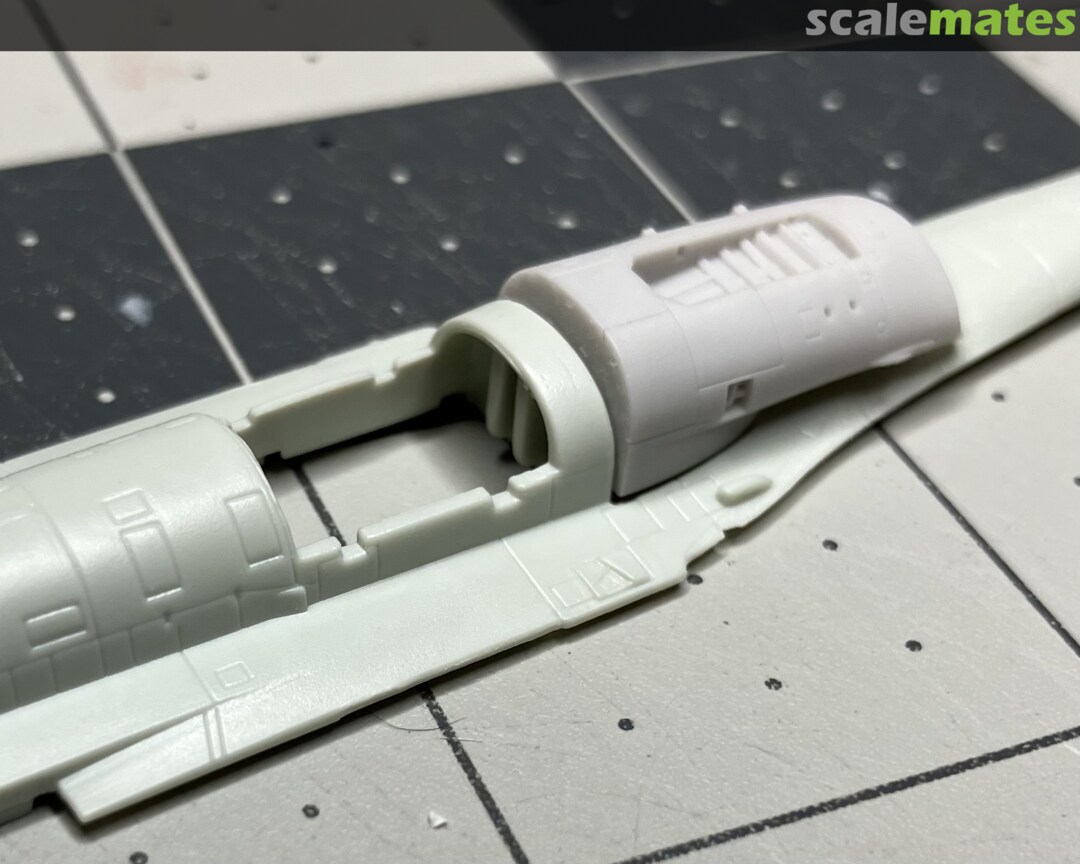
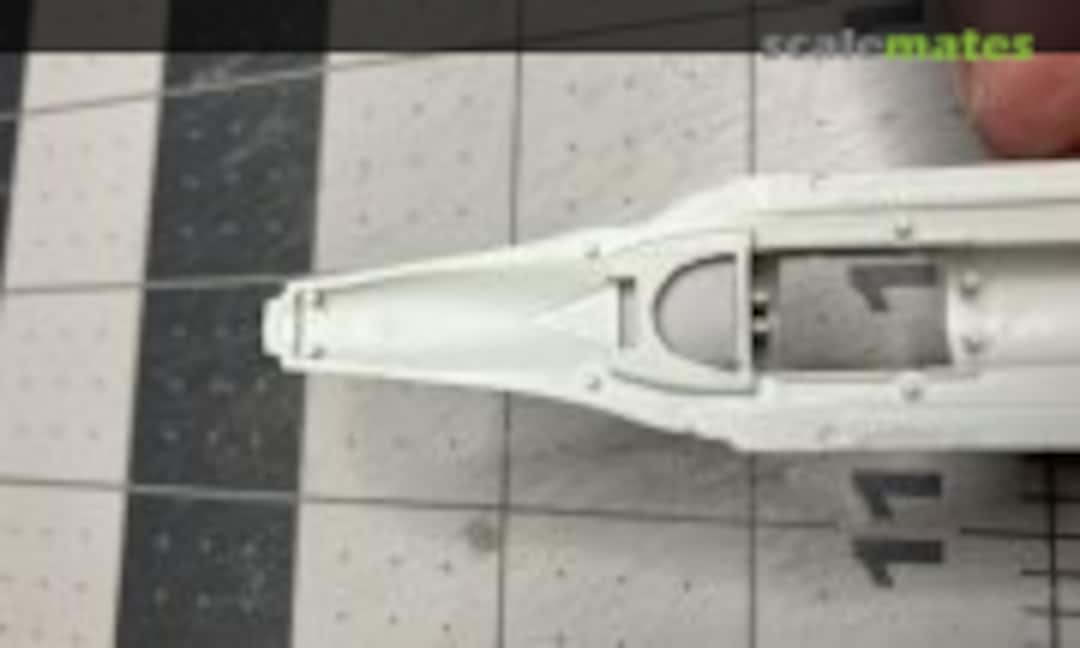 12February 6, 2025Trimming complete. I took away more than maybe was needed. But I wanted to be sure that it would fit flush and not make more work on the seam later.
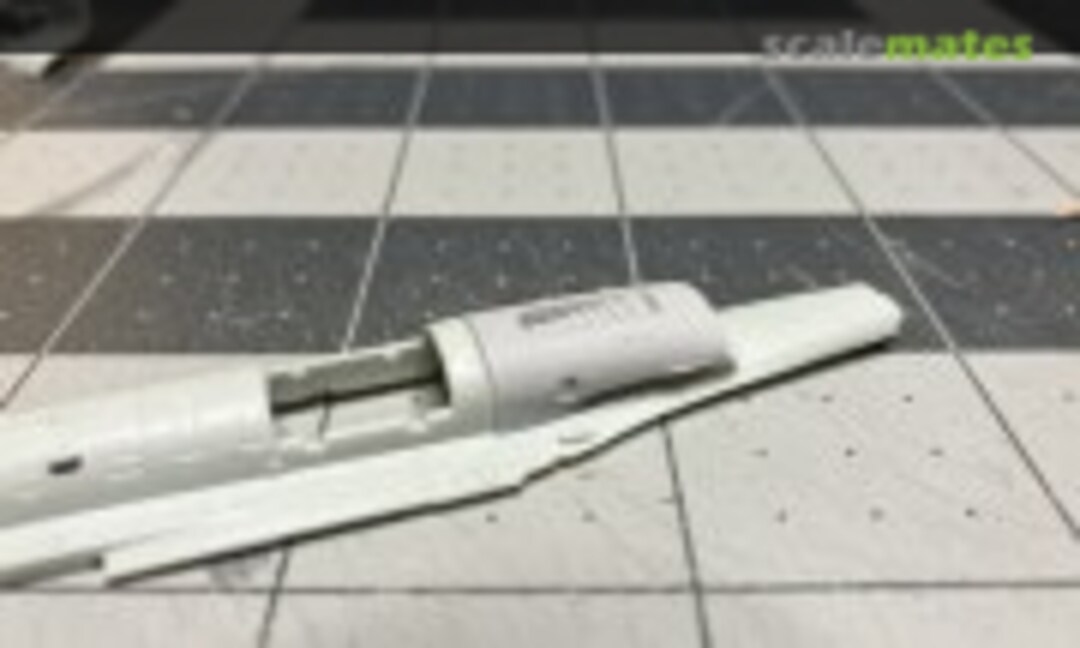 13February 6, 2025And I think you can see that with that work the part fits perfectly.
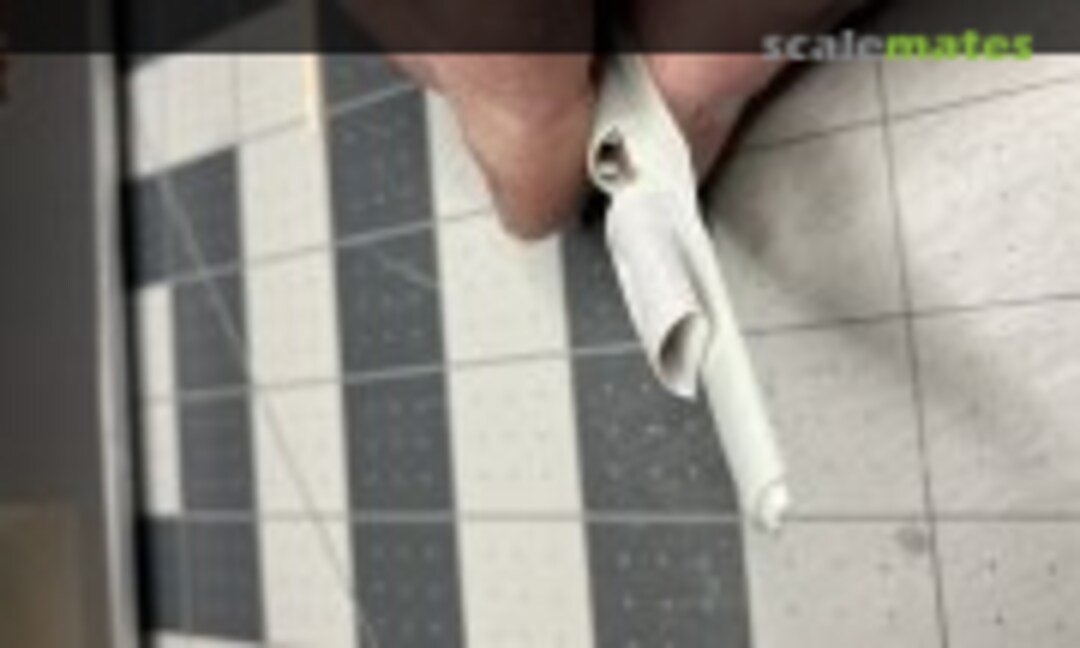 14February 6, 2025However, I did break the fin inside the intake as I held it firmly to the fuselage waiting for the glue to set. I should be able to fit some card stock in there later to serve the purpose, so I'm not too frustrated.
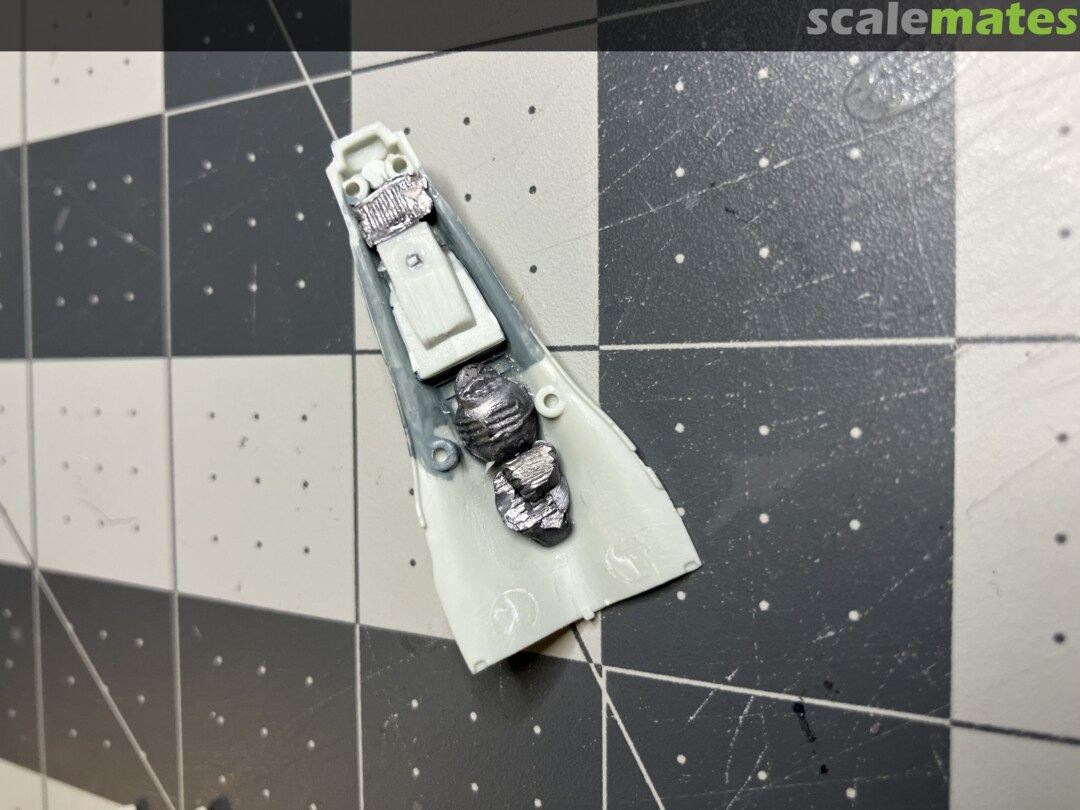
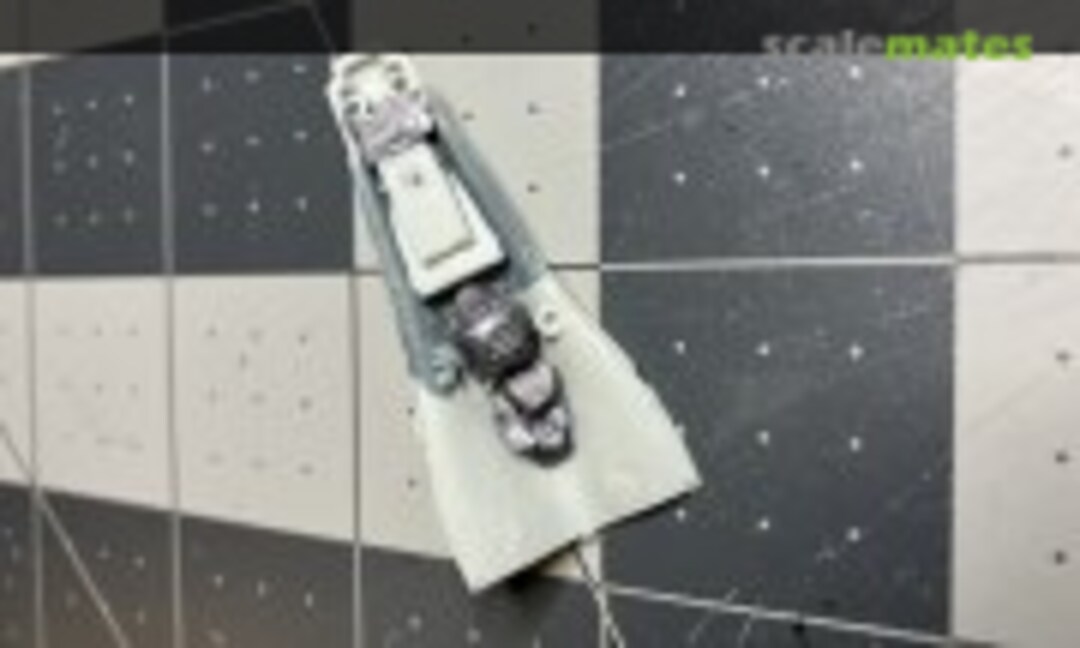 15February 6, 2025Expecting nose weight to be an issue, I started adding some crushed fishing weights, dry fitting as I went. The nose may hold a few pieces more. In total I'll maybe have 2g.
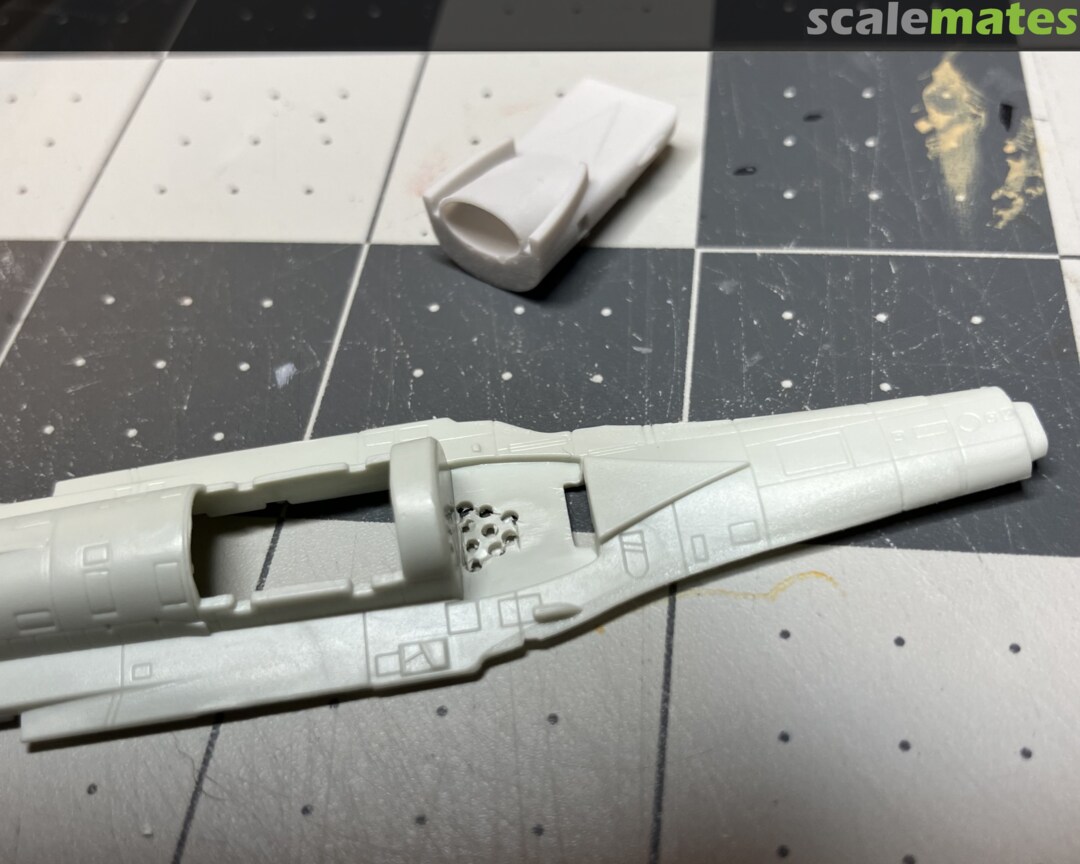
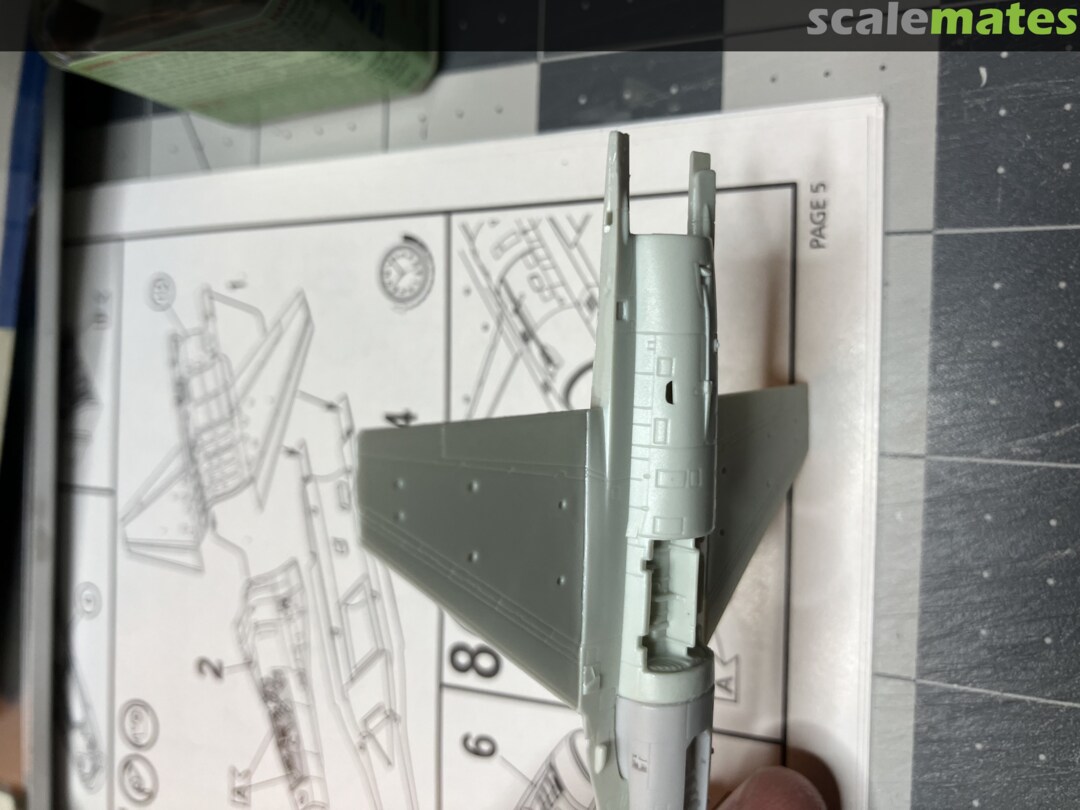
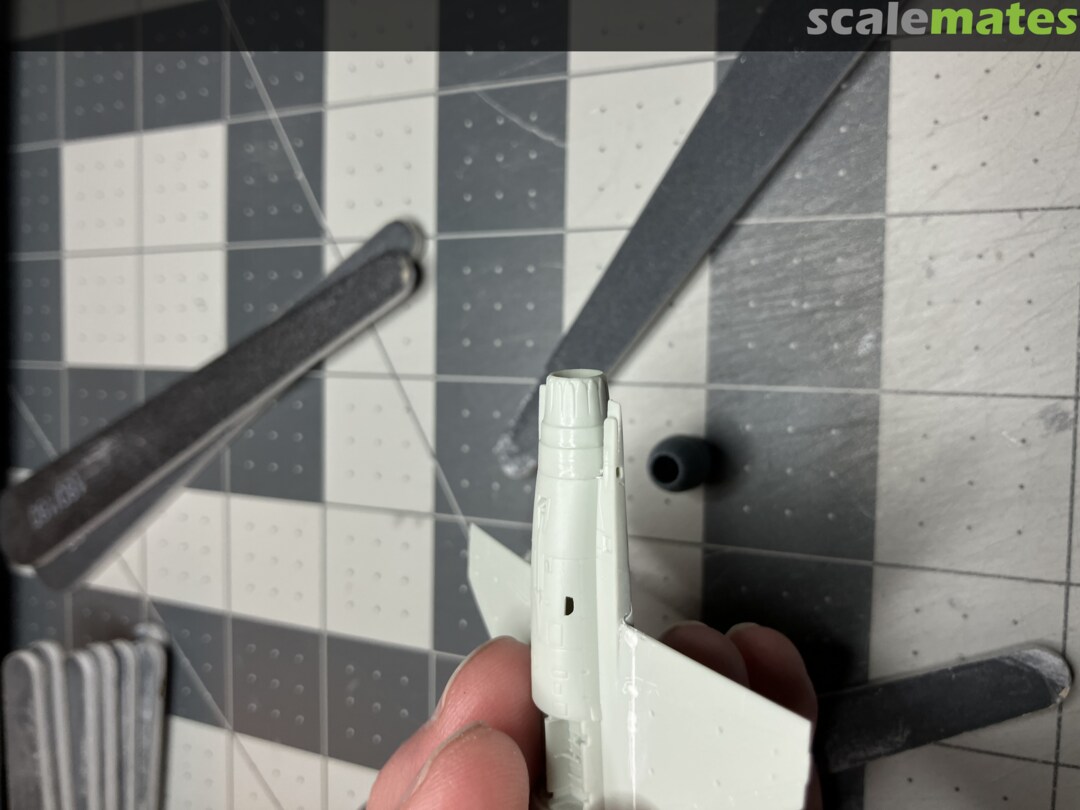
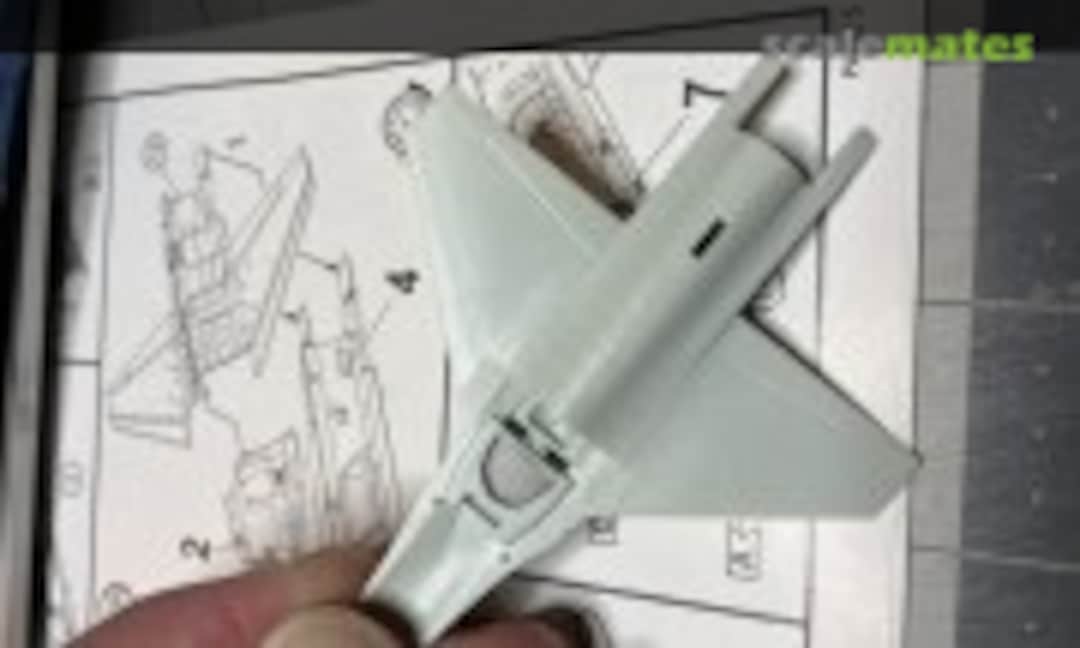 16March 16, 2025In this image you can see the size of the hole I cut out to fit the intake from Rise144. I probably could have gone smaller, but this had no interference.
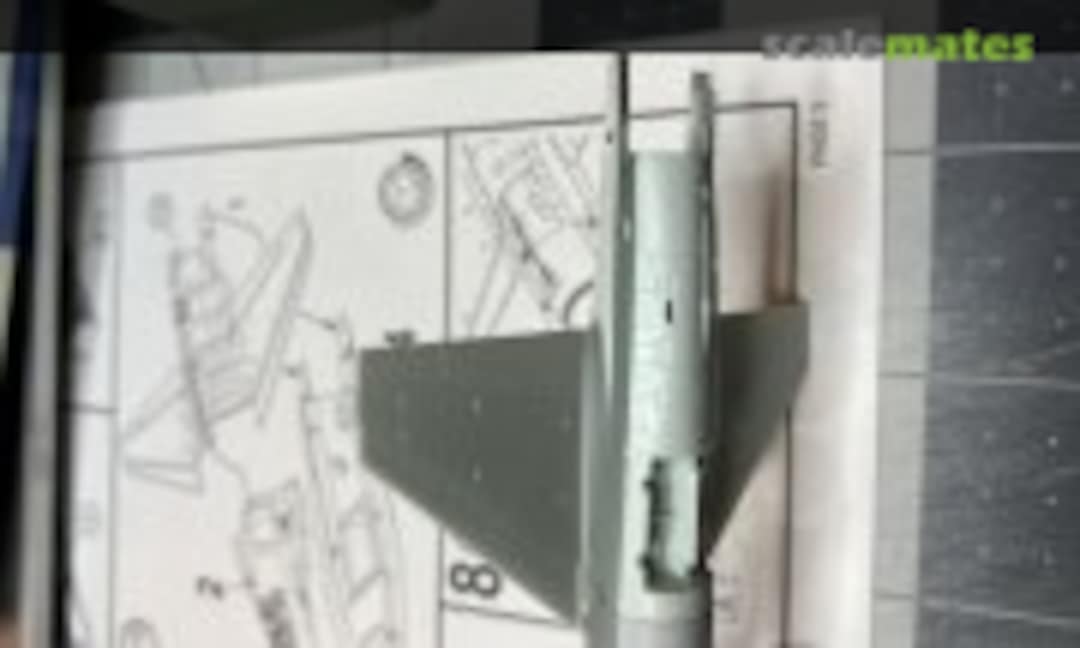 17March 16, 2025There's also a bit of work to be done along the tail where the elevators will eventually go. Much of this can be sanded smooth though. Note the future work I'll need to perform on the speak brakes.
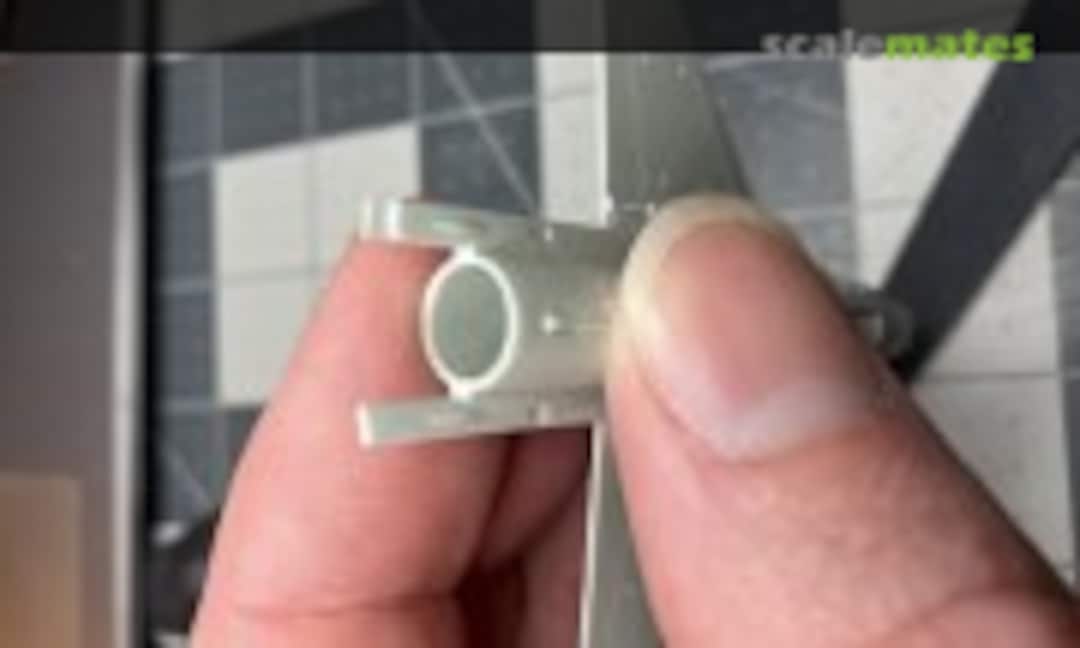 18March 16, 2025The area around the exhaust needed a small amount of work too.
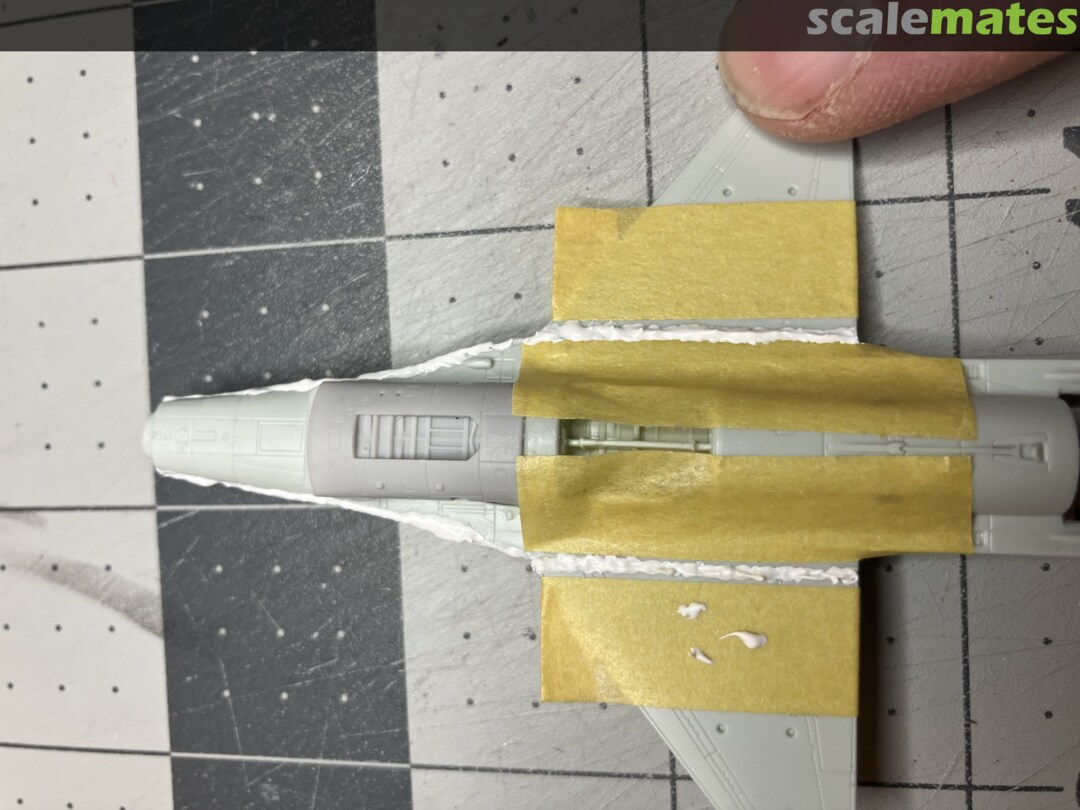
 19March 16, 2025With the intake fit satisfied, its time to connect the two halves of the falcon. You can see that there is a good sized gap at the wing roots and where the intake and fuselage connect. Gaps I can deal with, steps I cannot (insert foreshadowing).
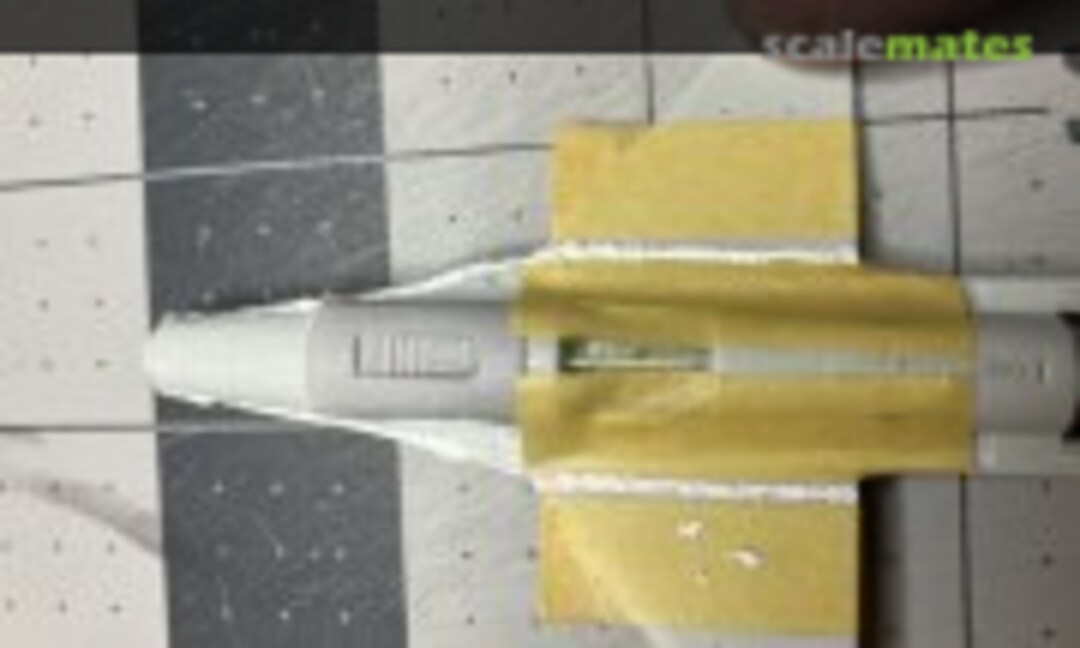 20March 16, 2025My model also suffered from poor molding on the underside of the wing extensions, or chin. Introducing a healthy dose of Vallejo Plastic Putty.
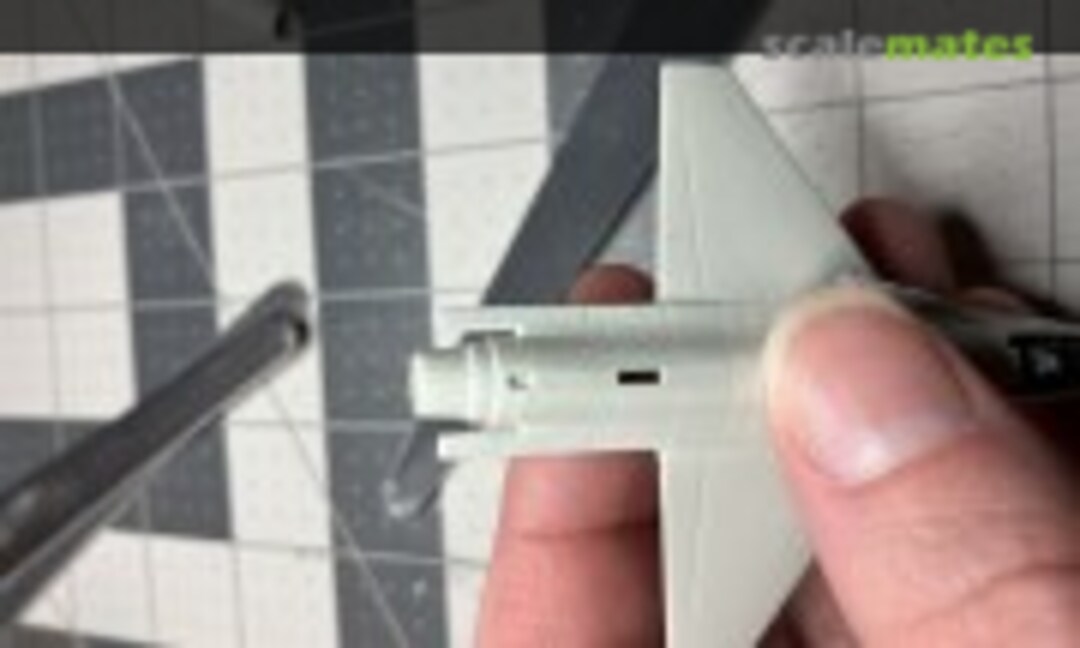 21March 16, 2025I dry fit the kit exhaust. You can see that using this part will have some work to pair down the step between parts.
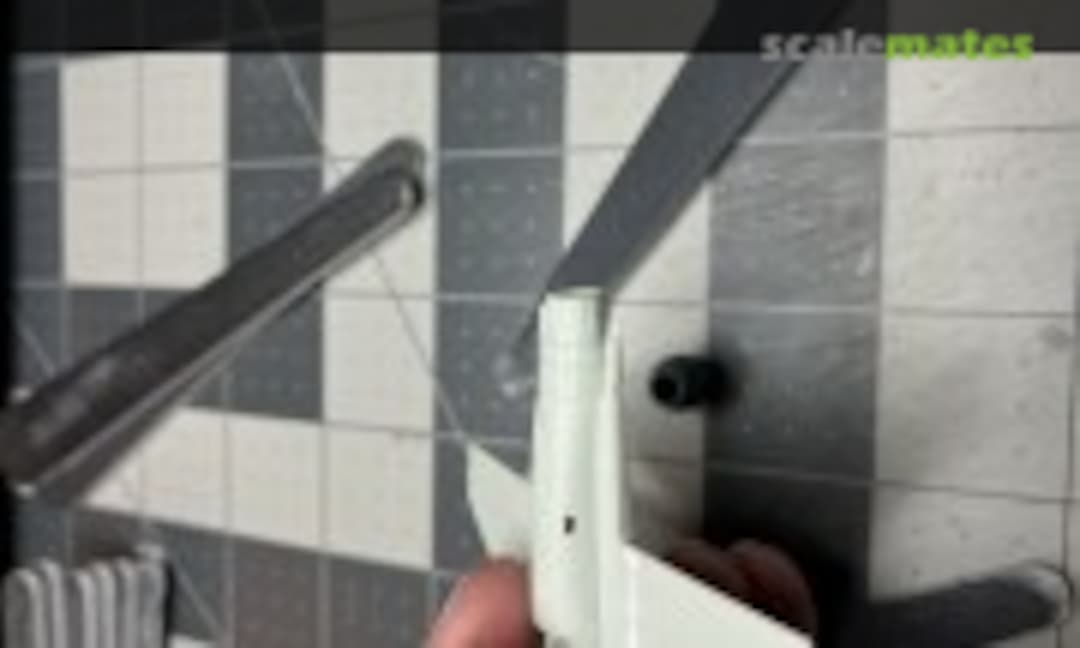 22March 16, 2025Though it looks a bit better from this angle.
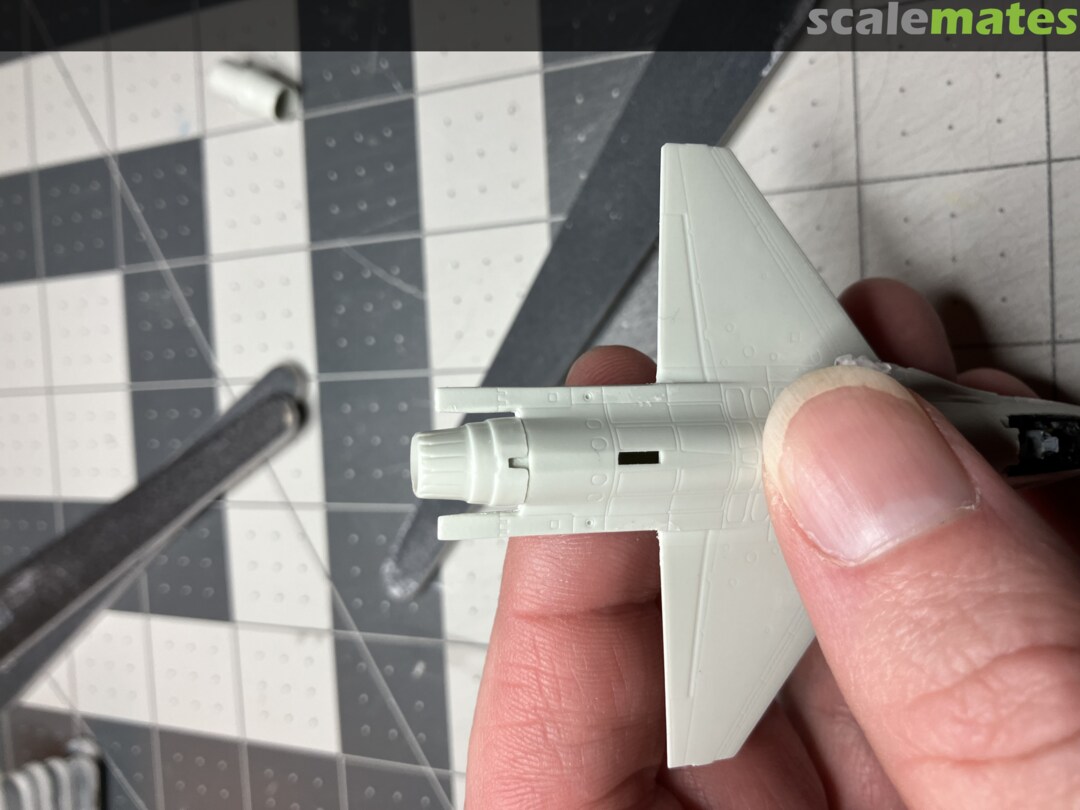
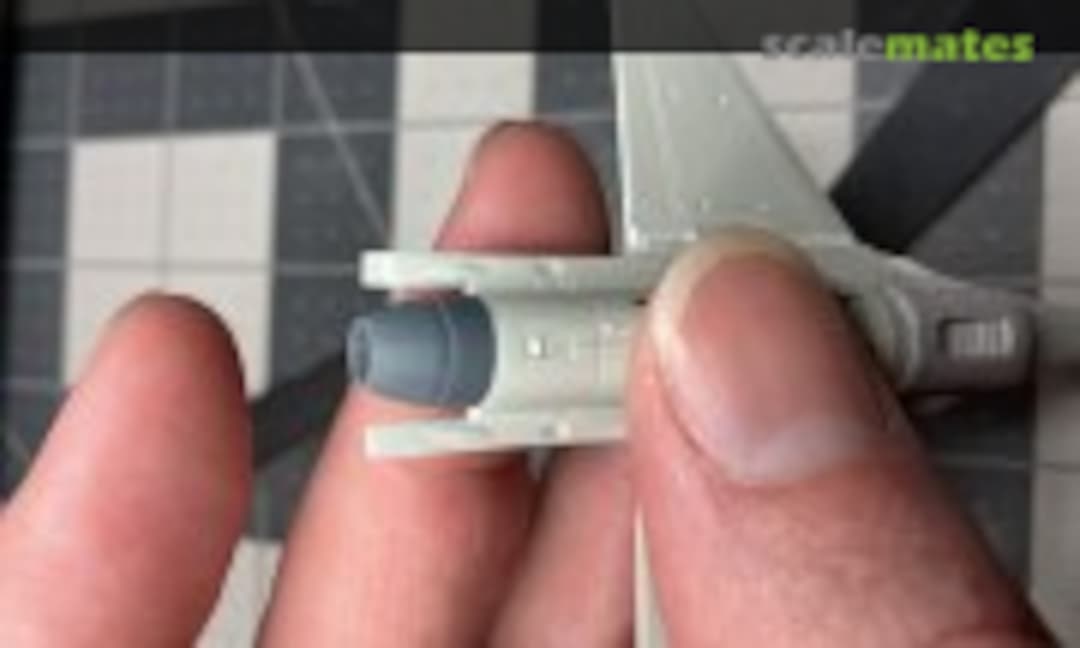 23March 16, 2025But by far the better solution will be the Rise144 part.
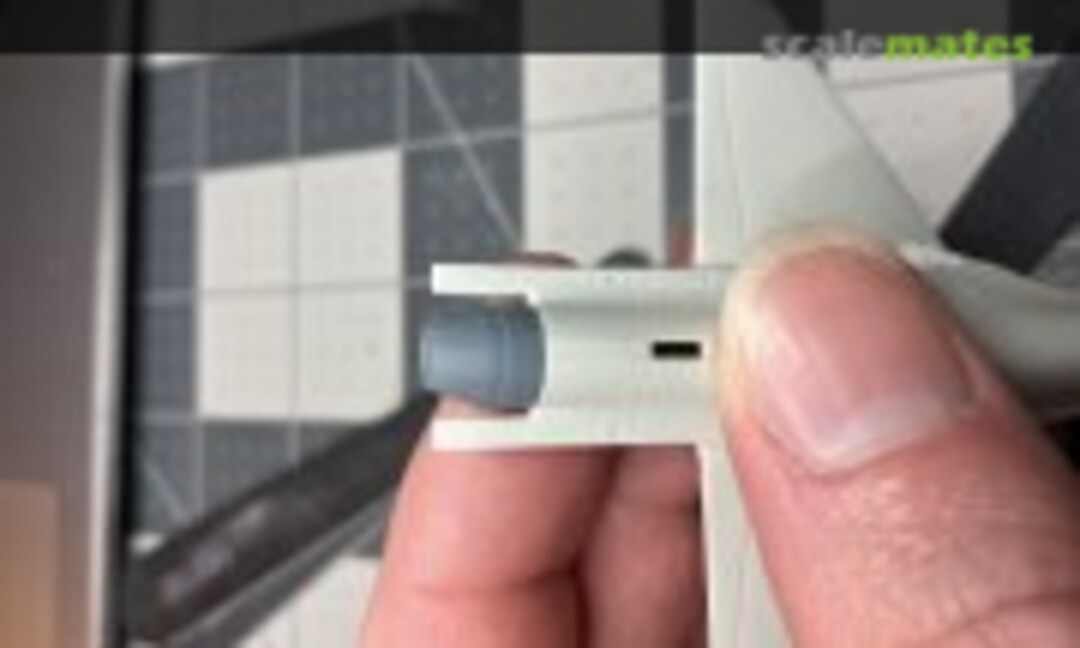 24March 16, 2025This fit is like butter.
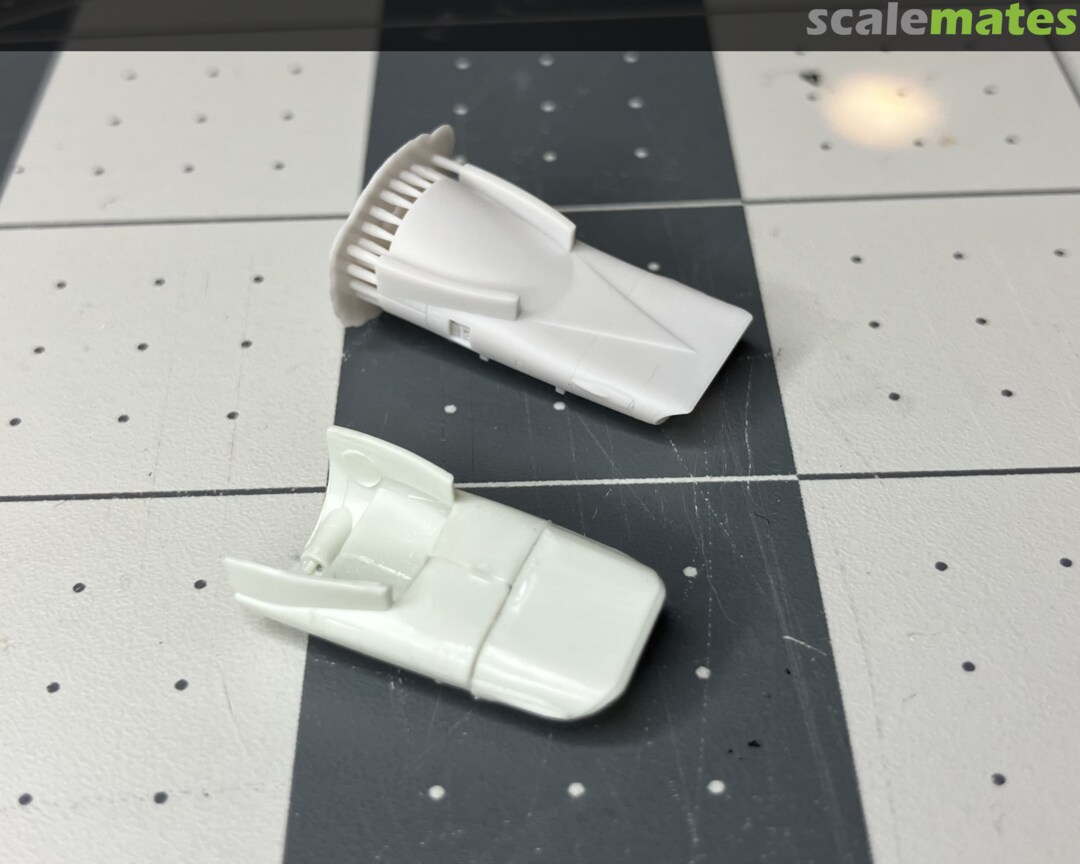
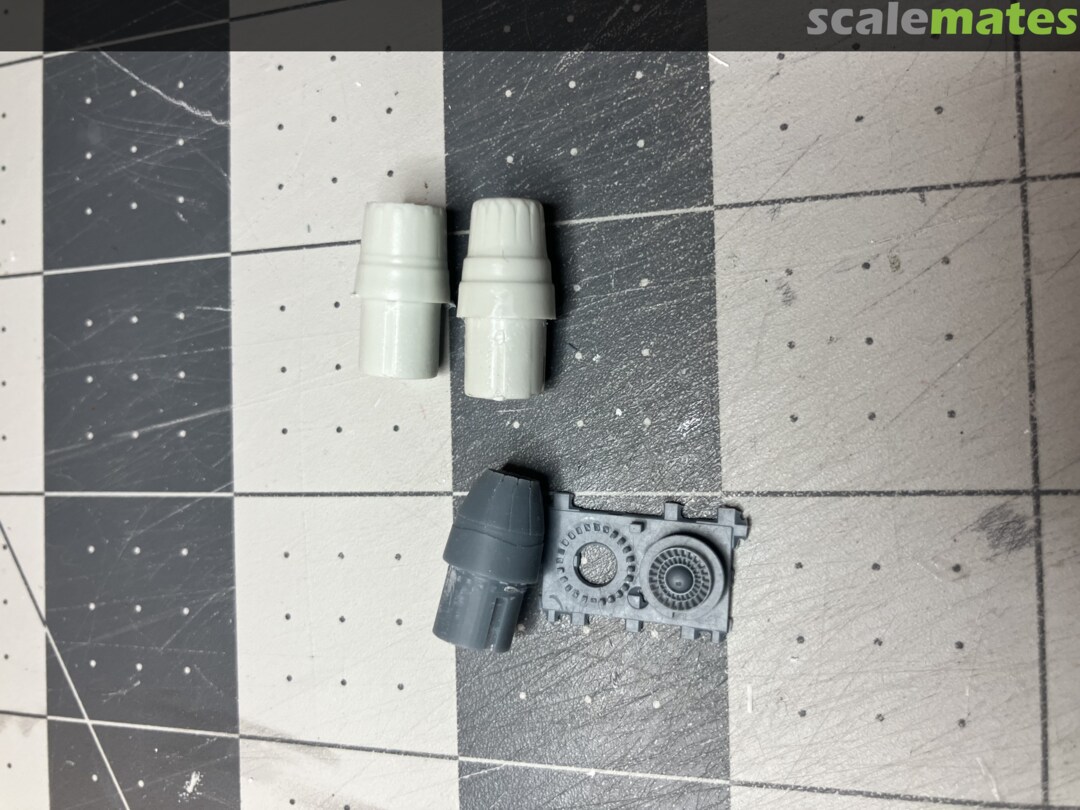
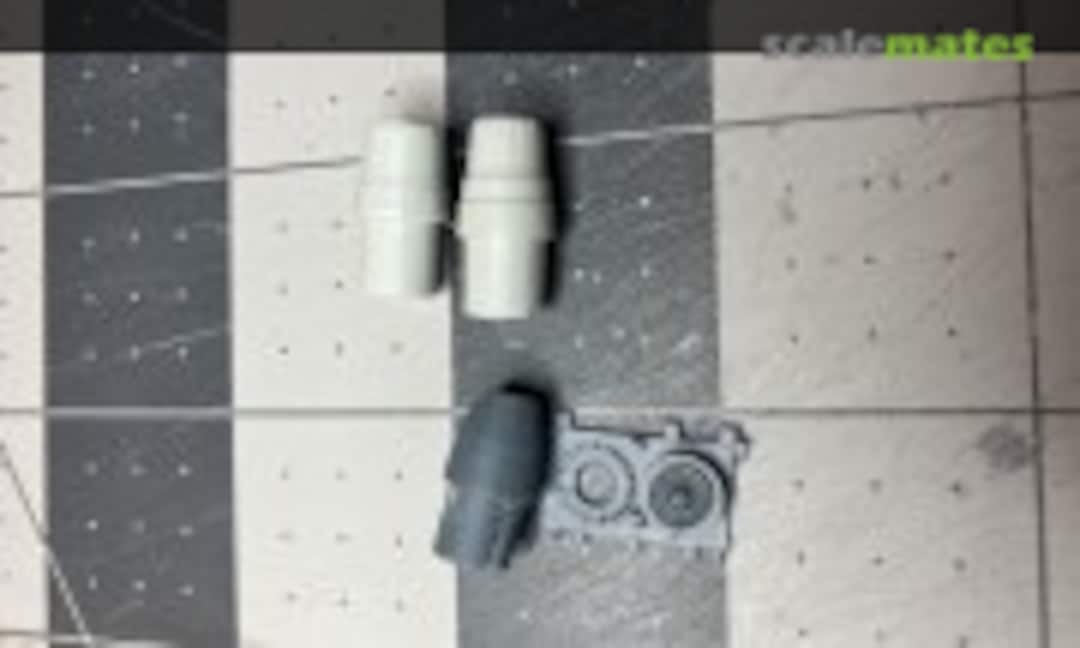 25March 16, 2025Let's introduce and compare the kit parts (you get two engine versions from Revell) and the Rise144 part I selected. Note it comes in two parts and has great internal details.
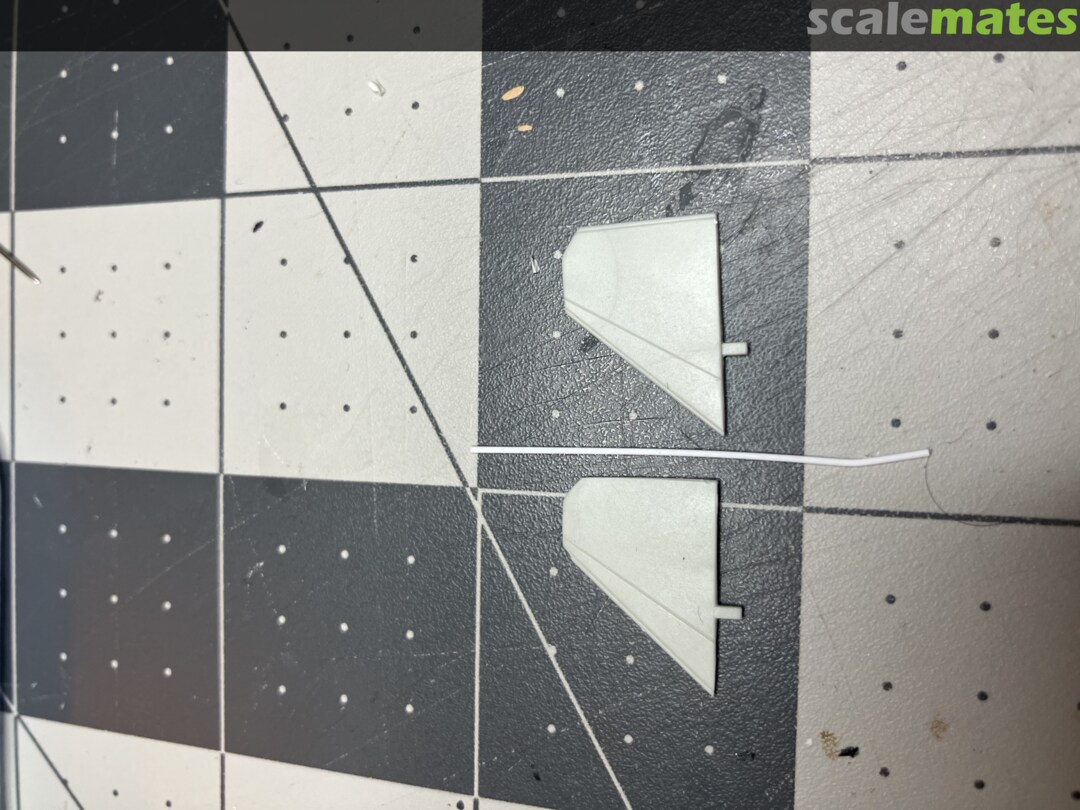
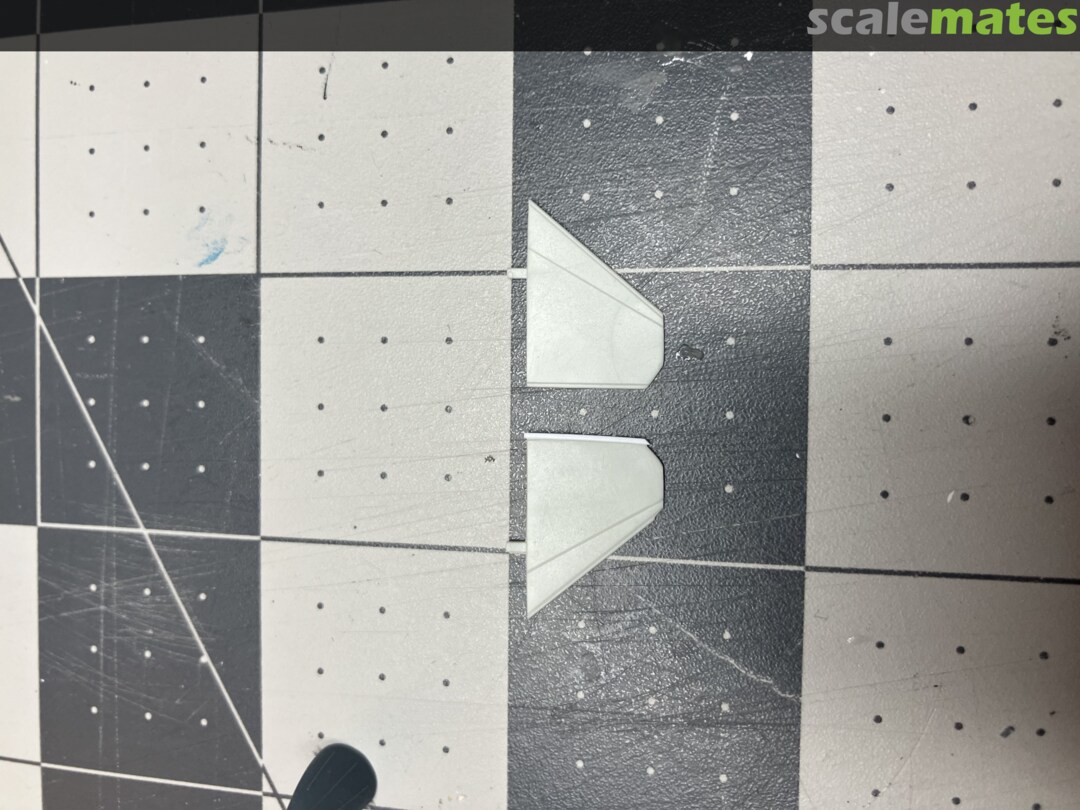
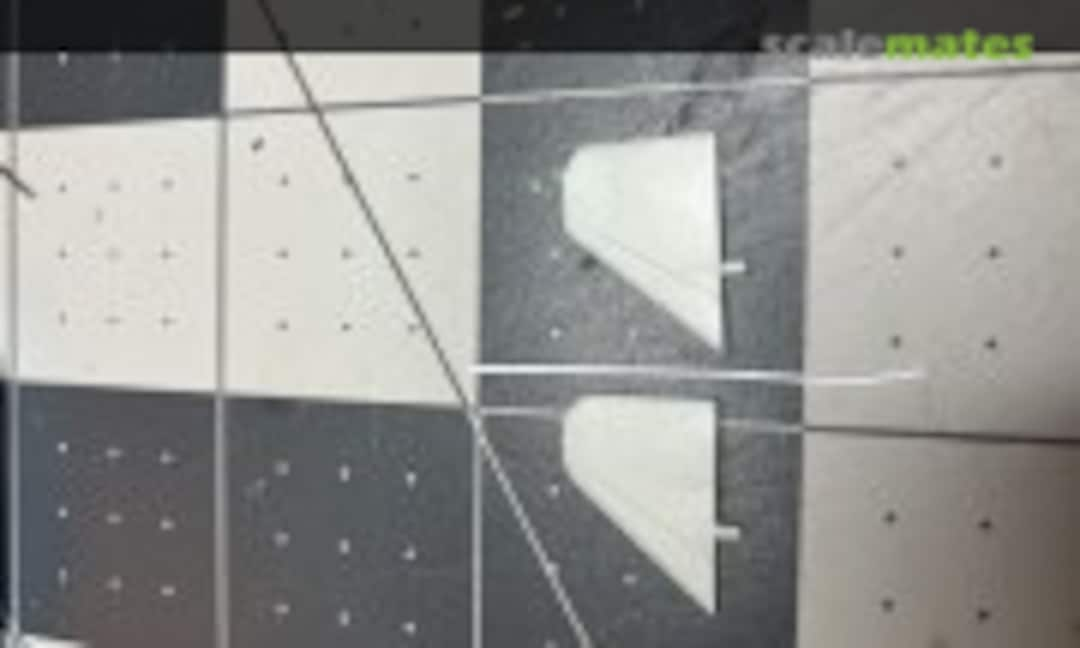 26March 16, 2025Those elevators. So the starboard elevator was modeled okay. The port side is another matter. I trimmed off the rear section and will replace it with a strip of .5mm square styrene rod.
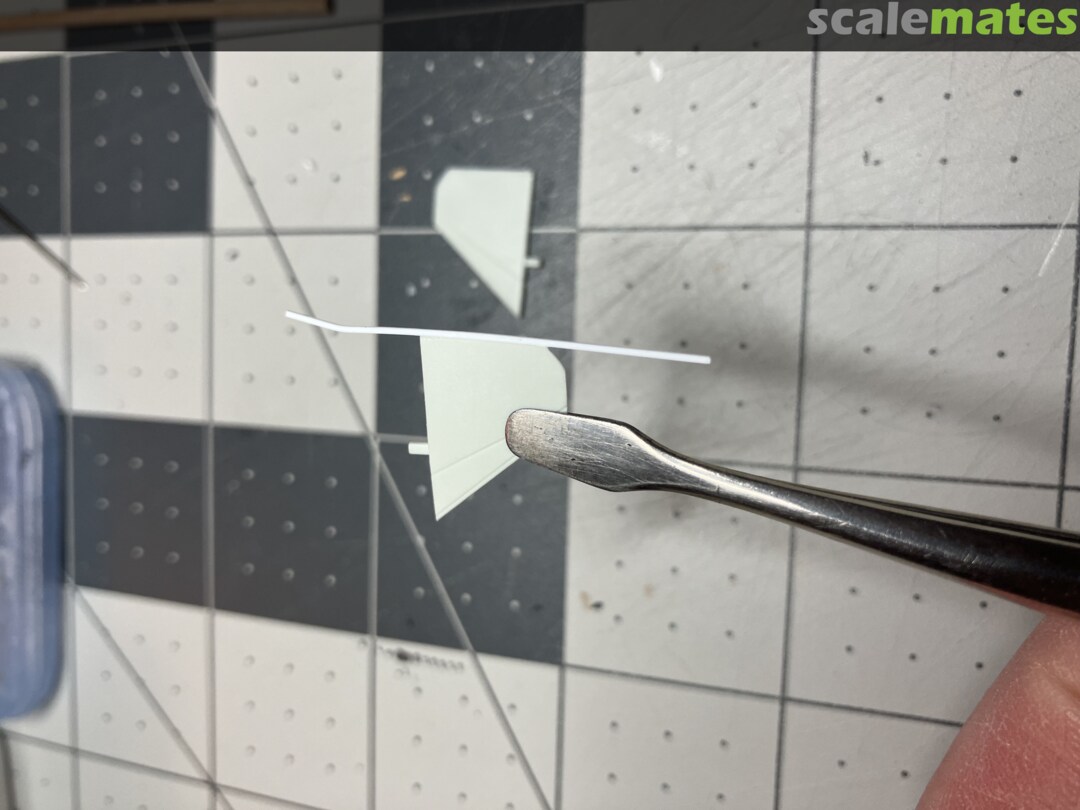
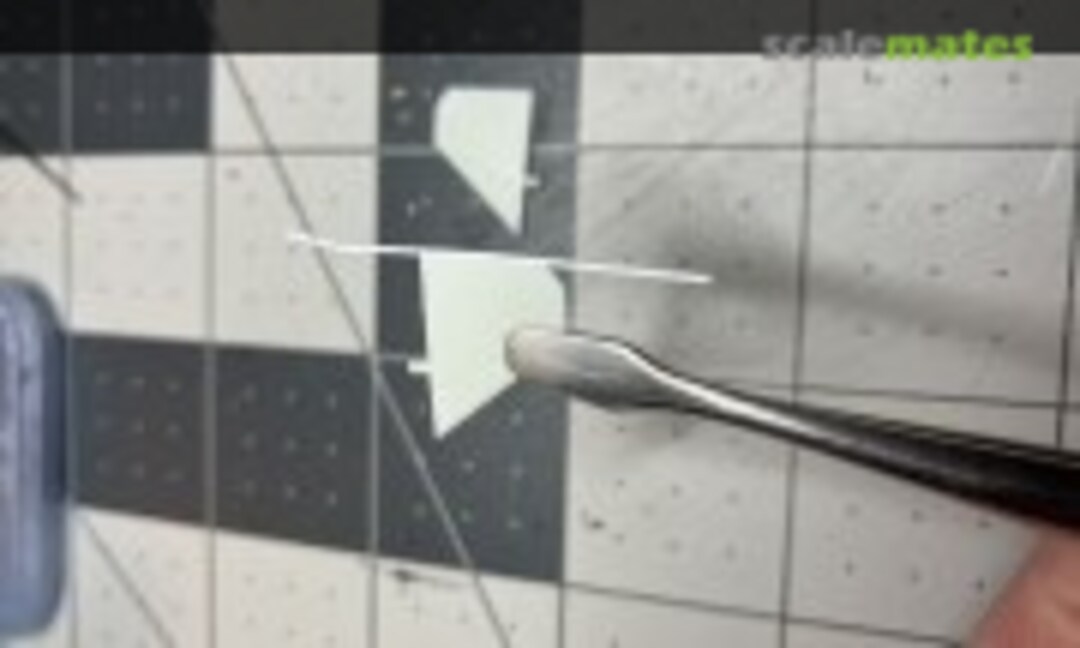 27March 16, 2025Attached to the part, I can trim it to length and then sand it gently to the correct couture and thickness.
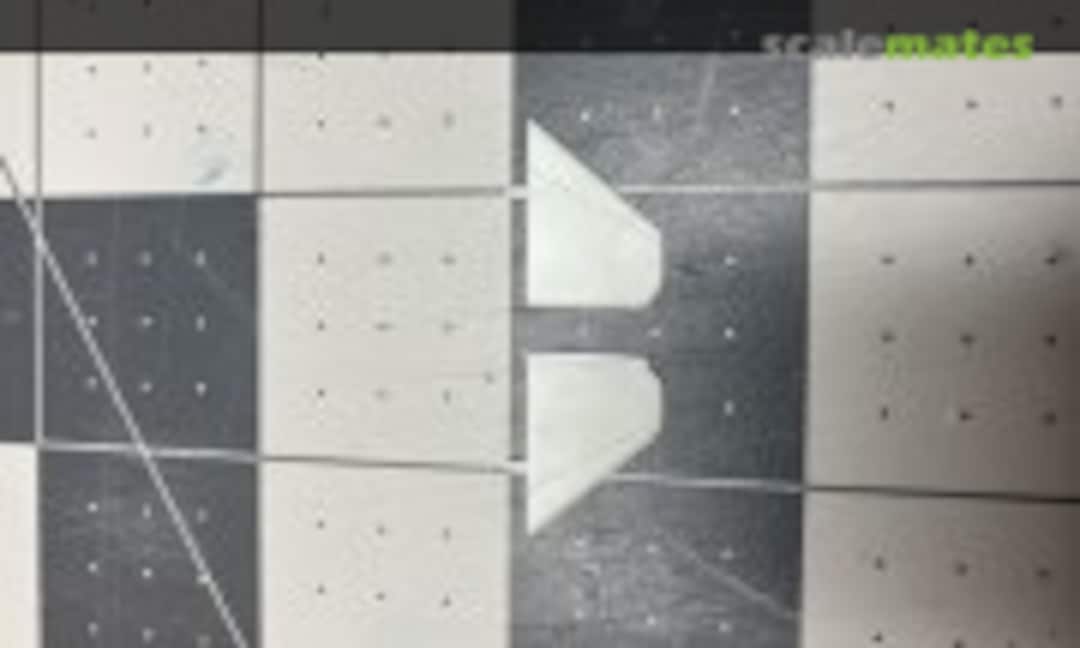 28March 16, 2025For the leading edge of the elevator I will simply add a piece of trim to fit out the end. So long as priming doesn't show a step, I'll be satisfied. Otherwise, I'll sand it all off and replace as I did the trailing edge.
 29November 5, 2025It was a long hiatus on this project I had a number of difficult issues. Firstly, I had to revise my armament load to be period realistic. That took a lot of additional research that I wasn't prepared for.
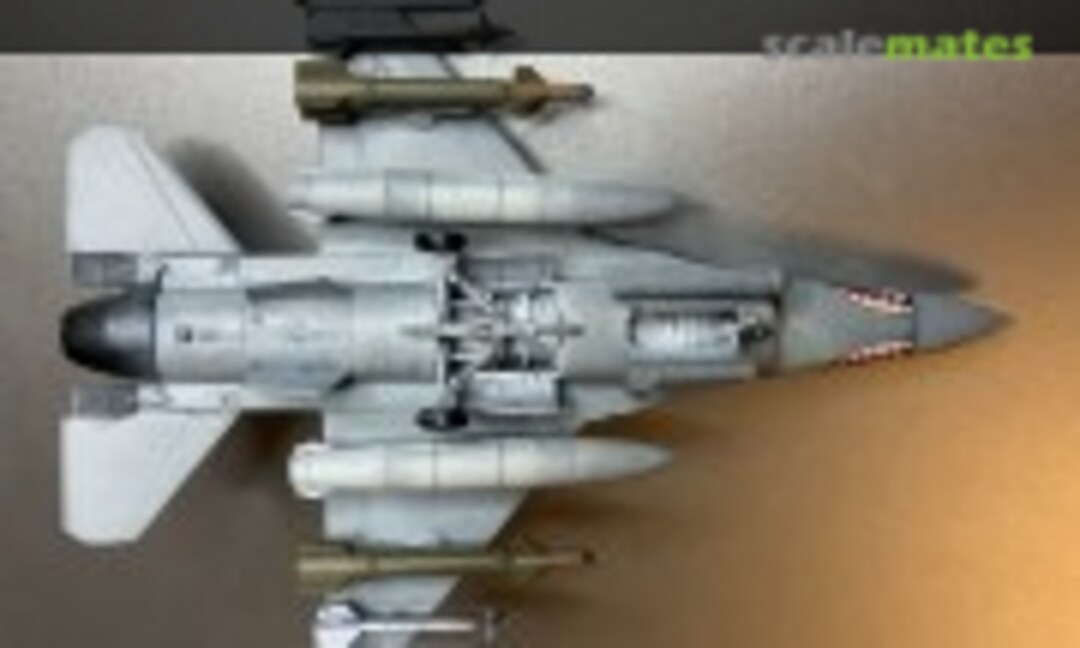 30November 5, 2025Next, I dropped it .... twice. Once while still assembling, and again while preparing for weathering. I damaged the stabilizers, speed breaks, nose, weapons pilons. The intake was cracked and the structural fin inside was unalived. Amazingly the gear held, but it did get bent. 🙁
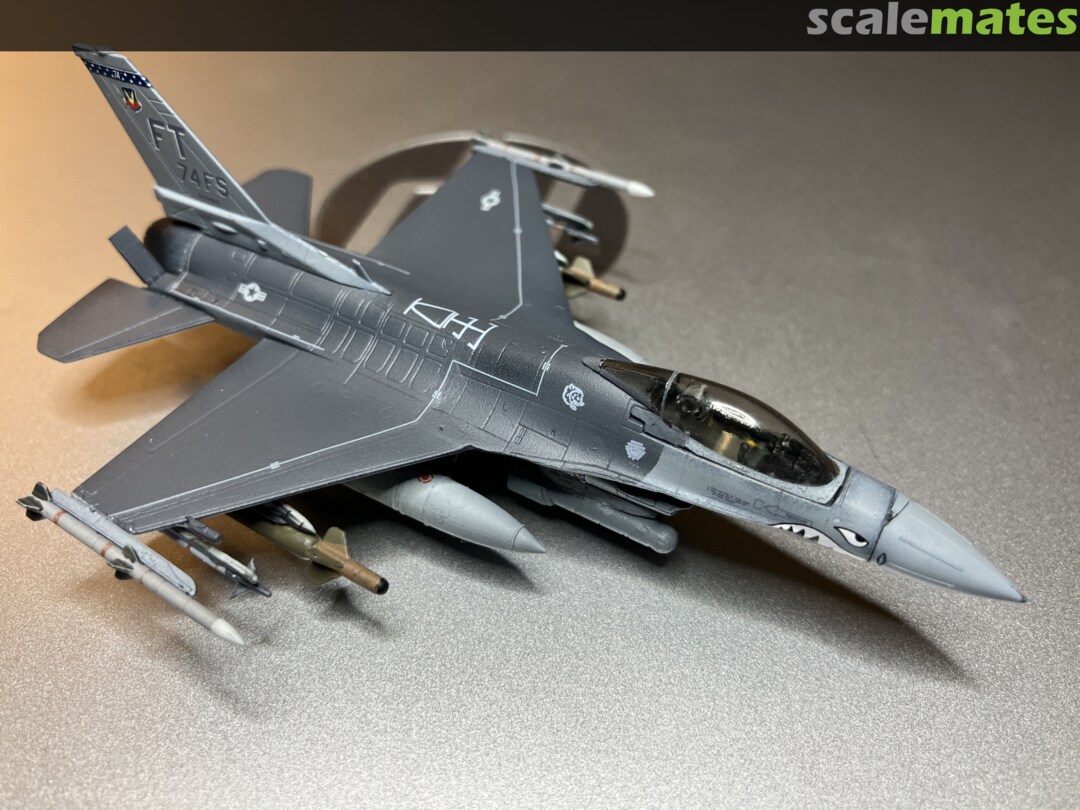
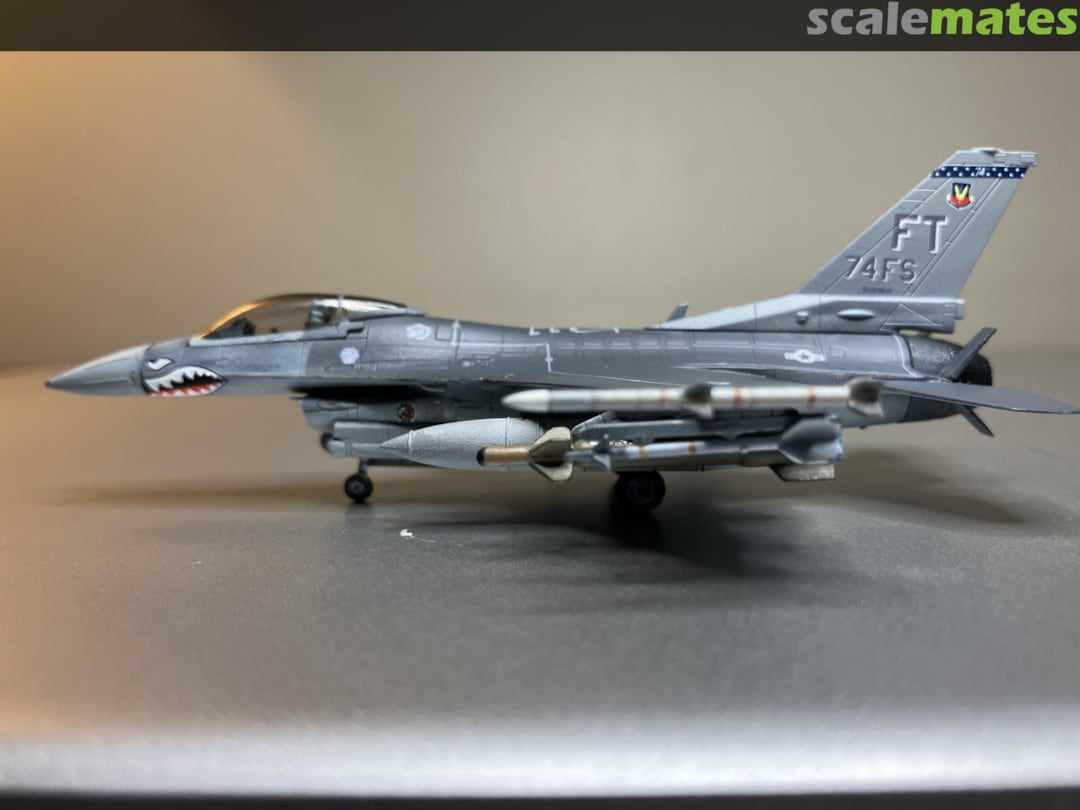
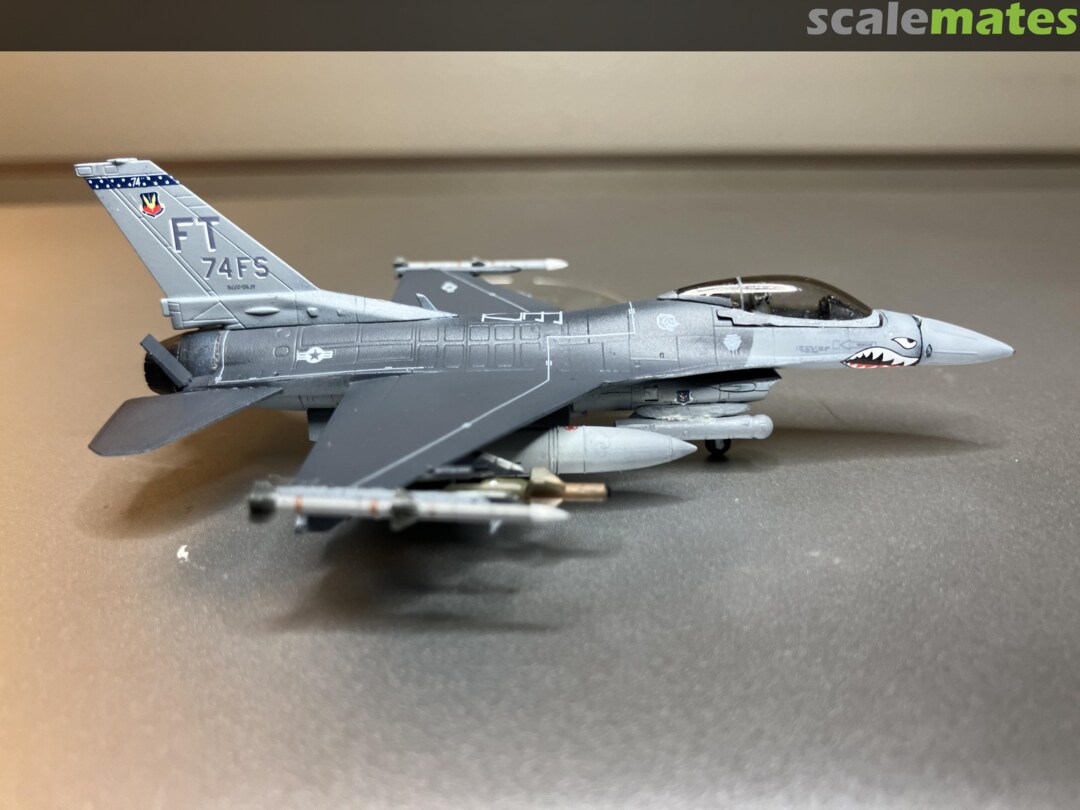
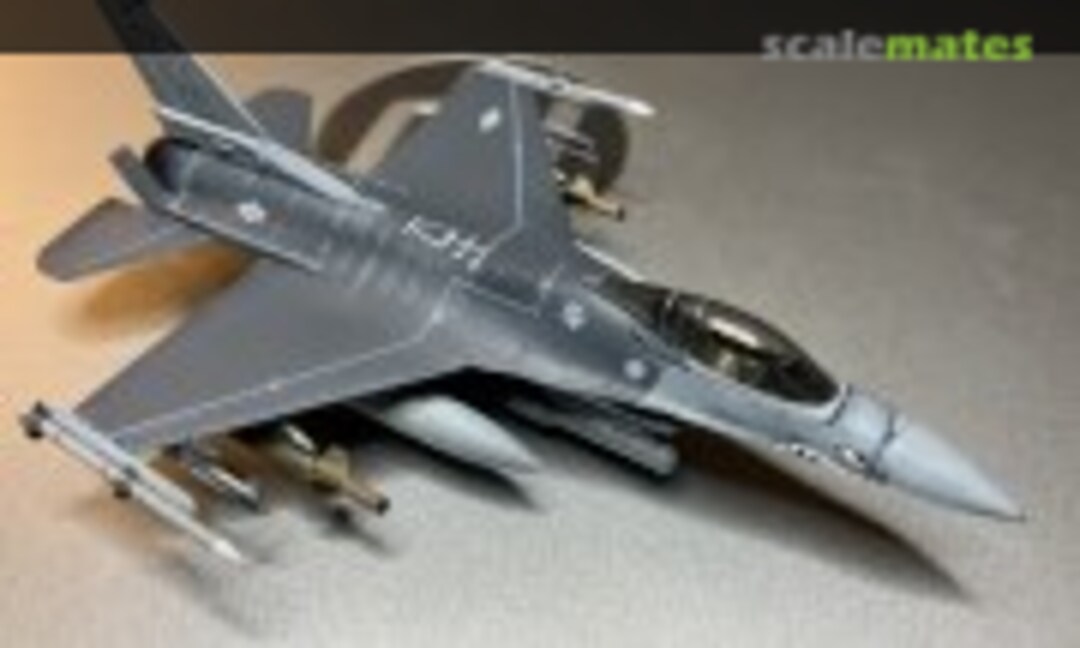 31November 5, 2025A word about PaulusVictor decals - Amazing. They went on smooth and stuck well. There was a lot of research presented and helped in planning the build. I did add the No Step stencils from the box kit as think it did flesh out the model better.
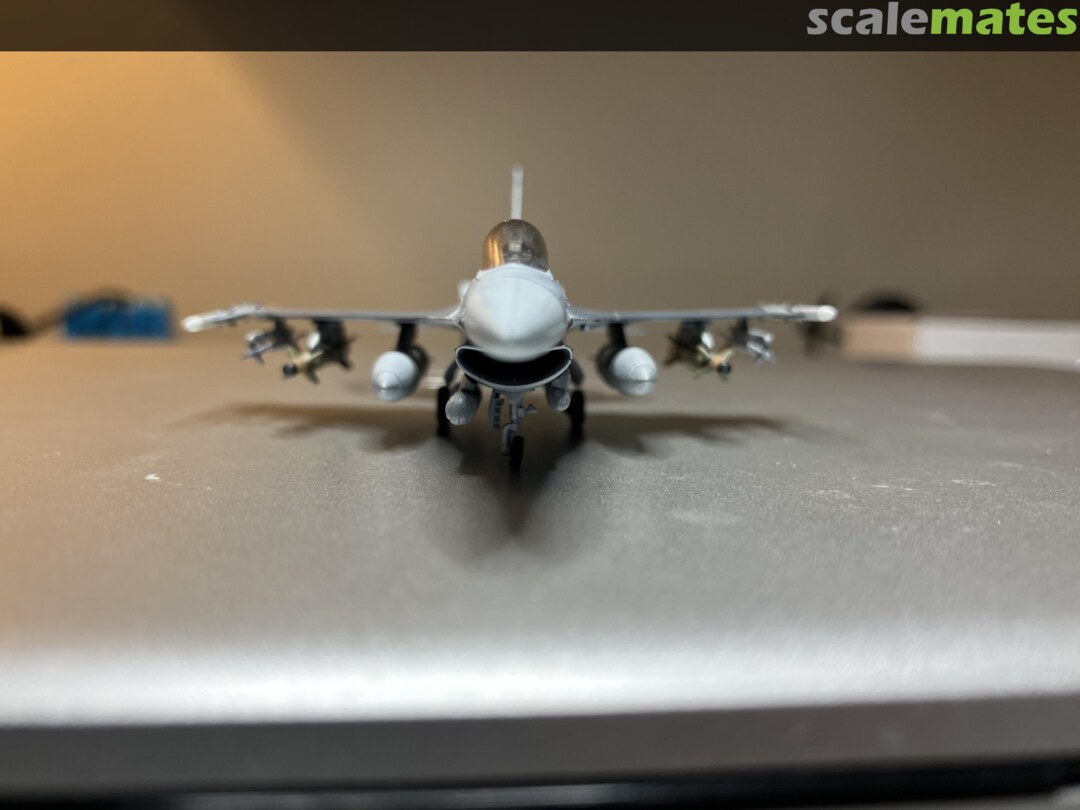
 32November 5, 2025I tinted the canopy with Tamiya Smoke, my first attempt. It was challenging to shoot with my limited airbrush skills - but it went well enough.
 33November 5, 2025The Rise144 detail parts come very highly recommended by me. My first use. I hope my build showed the difference in detail and quality. While there was damage due to my high-G maneuvers into terrain, I'd definitely source them again for this kit.
 34November 5, 2025Just look at the detail on the speed brakes. Great.
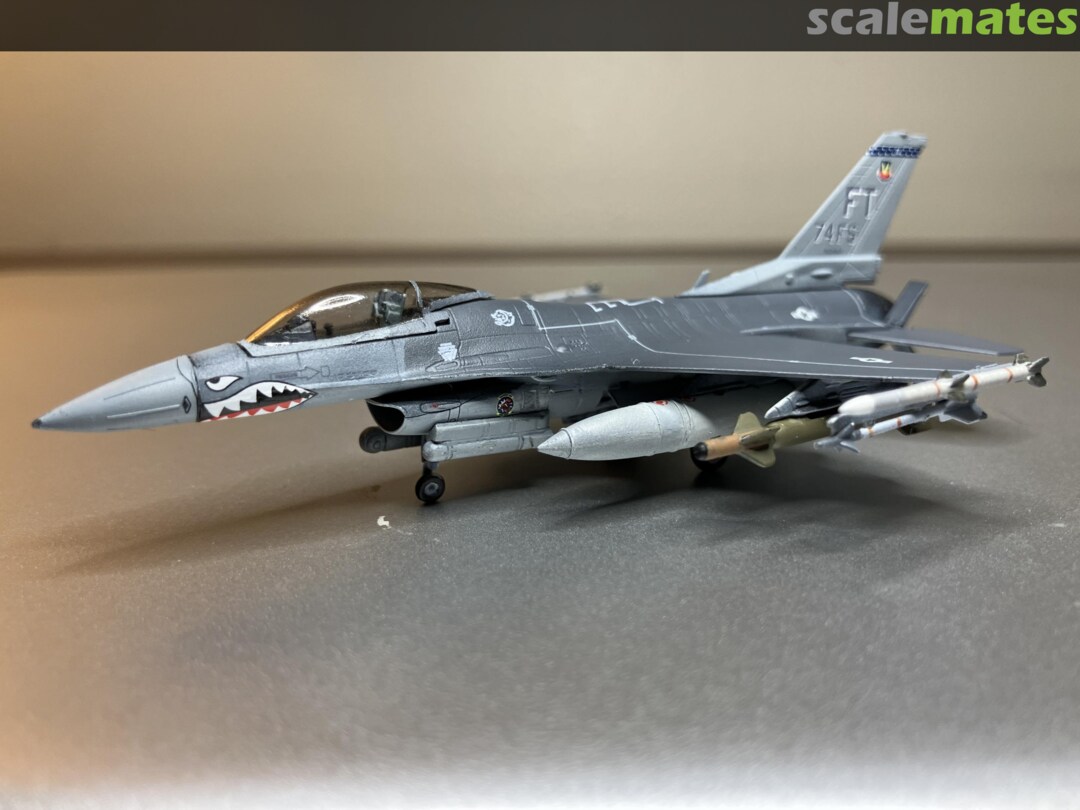
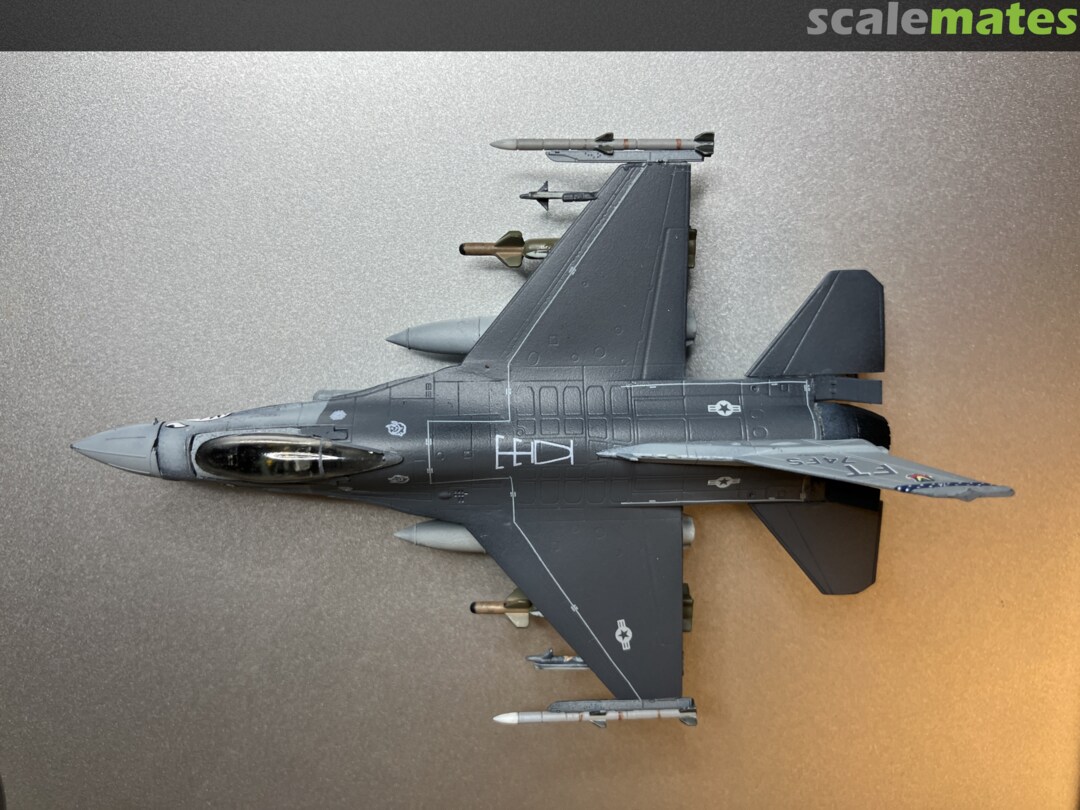
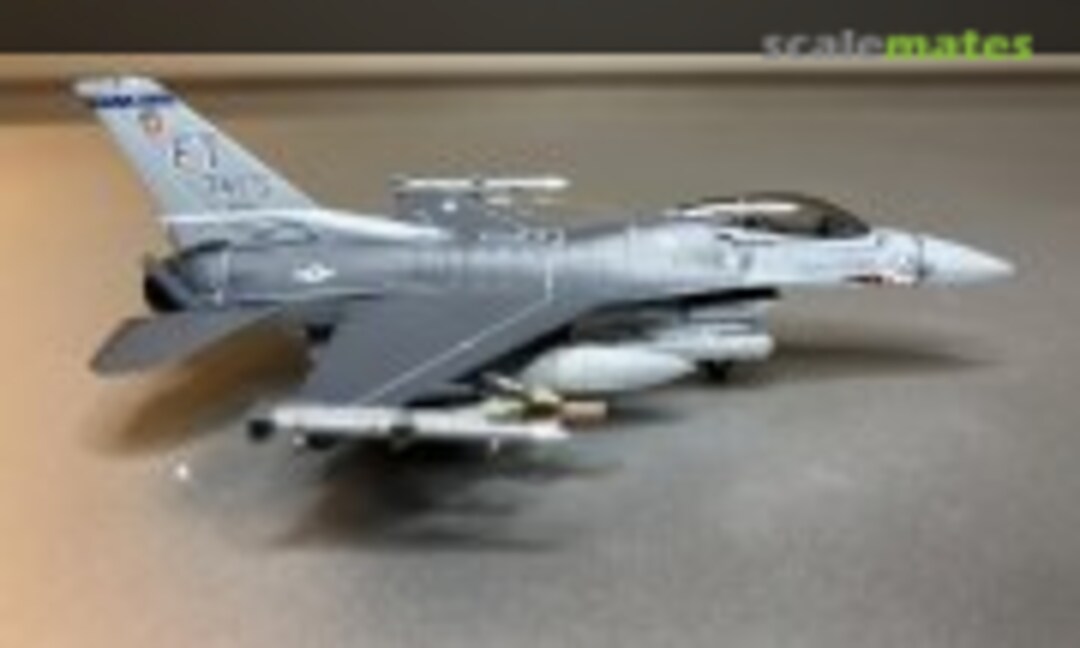 35November 5, 2025So, research doesn't show as much weathering as on US Navy aircraft, I did intend to do some. However due to my drops, I'm going to cut my losses on the kit and consider it for the next version.
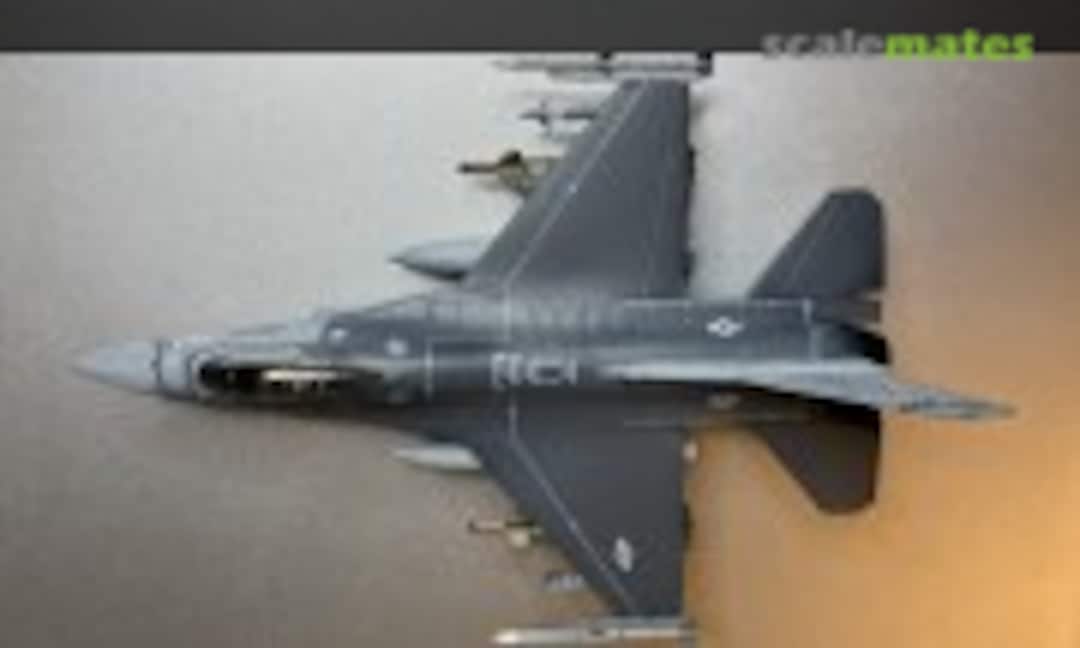 36November 5, 2025As mentioned this was a rough build, but I like the results as they are. Now on to my shelf-of-shame for a recovery kit. 🙂


Comments
10 16 December 2024, 14:24


